Table of Contents
Marvel Snap, just like most other card games, typically has a “best deck in the game” narrative at almost all times (except for right after big balance changes). In the past, this best deck tended to be head and shoulders above the competition, posting much better numbers while only growing in popularity as time passed. Eventually, the metagame would become a dichotomy, pitting those playing said deck against those trying to counter it. If the best deck was popular enough, countering it could feed someone’s cube average if they could do it consistently. Thanos Lockjaw, Shuri Zero, and Bounce are the most recent examples of this, and they all ended with Second Dinner stepping in and either reworking or nerfing one or several of the core cards in each of those decks.
Currently, one could argue Move Legion is that deck; it is posting the best performance since the start of “Big in Japan”, and its popularity is only growing over time. However, one big difference the deck has compared to its predecessors is that it’s joined by other excellent decks: Good Cards Stature, Silver Surfer, and even Shuri Sauron. As such, Move Legion isn’t in the same situation as Bounce or Thanos Lockjaw were in the past. They had a whole environment coming for them, as they had represented 15% to 20% of the Marvel Snap metagame.
Right now, there isn’t a deck even close to the 10% popularity mark. Instead, we have a group of three to five super strong decks, depending on who you ask and your definition of a strong deck. This could be considered a healthy, diverse metagame, and it’s much more enjoyable than the “one deck above all” kind of environment we had in the past. However, it also limits what can be played outside the elite group by a ton because you can’t really build decks to counter a specific target.
This situation has lead to strong, flexible decks that are able to adapt their game plan (or enforce it) come out on top again and again. It has also made the Move synergy feel absolutely insane, or at least its better cards with a solid base power. Especially because there isn’t an Armor or Cosmo to come and ruin things for them, which is something Discard, Destroy, On Reveal, and Ongoing decks cannot appreciate.
If you enjoy strong decks and the challenge of learning their ins and outs to gain an edge over the competition, you must be having one hell of a time in Marvel Snap lately. If you are more of an innovator looking to disrupt the established order of power, it could be a little more difficult to create something strong enough to shake up the current situation.
In this report, let’s take a look at the decks that managed to be a part of that elite group, and those who might need a little push to stay relevant in the future.
Happy Tier List, everyone!
Marvel Snap Ranked Meta Tier List
| Tier | Deck | Guide |
|---|---|---|
| Silent Performer | Hela Tribunal | Guide |
| Silent Performer | Destroyer | Guide |
| Silent Performer | Devil Darkhawk | Guide |
| Tier 1 | Move Legion | Guide 🆕 |
| Tier 1 | Shuri Sauron 🔼 | Guide |
| Tier 1 | Sera Surfer 🔼 | Guide |
| Tier 1 | InSheNaut | Guide 🆕 |
| Tier 1 | Good Cards Stature | Guide |
| Tier 2 | Sera Control 🔽 | Guide |
| Tier 2 | Thanos Death Control | Guide 🆕 |
| Tier 2 | Pure Evolutionary | Guide |
| Tier 2 | Galactus Destroy 🔼 | Guide |
| Tier 2 | Discard Dracula | Guide |
| Tier 2 | Evolved Lockjaw 🔽 | Guide |
| Tier 3 | Negative Surfer 🔽 | Guide |
| Tier 3 | Thanos Zoo 🆕 | Guide |
| Tier 3 | Deadpool Destroy 🆕 | Guide |
| Budget | Ongoing Kazoo | Guide |
| Budget | Devil Dinosaur Destroy | |
| Budget | Swarm Discard Aggro | |
| Budget | Ongoing Two Locations | |
| Budget | On Reveal Control | Guide |
| Budget | Big Cards |
Disclaimer and Tier Explanations
In order to be featured here, a deck needs to represent at least 1% of the current environment and have a positive cube average using data from our Marvel Snap Tracker. If a deck showed great performances with a very limited presence in the metagame, you can find it in the new “Silent Performers” section. There, I will highlight decks with an excellent cube per game ratio but too little of a sample size to be representative of their real strength.
Decks not good enough to be considered contenders but with a good representation will be ranked in Tier 3 or 4 in our chart and won’t have their own dedicated write up here but may be transferred to the main Tier List section. See those builds as decks that are good to know about, as you should face those when playing Marvel Snap. However, unless the metagame changes or a new variation of the build emerges, these decks are a notch below the dominant ones in Tier 1 and 2.
Silent Performer: Decks with a very little presence in the metagame, yet showcasing a cube average and win rate worth of being a tier 2 or better deck. Often times, these can be archetypes with a nice gameplay, left unchecked in the current environment, or decks on the rise, which found a few good match-ups to abuse.
Tier 1: Tier 1 represents decks with all the upsides we would be looking for to rack up Cubes. They have good match ups in the current metagame, offer different play patterns during a match, and often have the ability for explosive or surprising turns. These should be decks worth investing into in order to climb for the coming week.
Cube Average > 0.50
Tier 2: Tier 2 are very good decks but with a weakness holding them back – either not being as reliable in its draws as Tier 1 decks, countered by another popular deck, or still being a work in progress as you read this. A good pilot could probably take these and have the same results as with a Tier 1 deck, but their play patterns are more difficult to enact compared to the Tier above.
Cube Average > 0.2
Tier 3: This tier is made of decks that have a pervasive issue compared to Tier One or Two decks. Usually, Tier 3 will be a mix of decks on the rise which don’t have much data about themselves, old archetypes on the decline, decks that require substantial experience and/or knowledge to pilot properly, powerful decks that aren’t well positioned, or niche decks.
Cube Average > 0.1
Tier 4: Off-meta decks that have fallen off in recent times, or counter picks relying on specific match-ups to stay afloat competitively.
Cube Average > 0.00
Budget: Decks that consist only cards in Pool 1 and 2 but are still capable of competing with an experienced pilot in a similar Collection Level, Rank, and MMR range. See our matchmaking guide for more details.
Meta stats and analytics directly from our Marvel Snap Tracker can also be found here.
Tier 1
Move Legion
Rank Justification:
A steady performance has kept Move Legion atop our rankings – although the gap isn’t as wide as last week, probably because the deck lost its surprise factor. Nevertheless, the Good Cards Move archetype remains a fantastic mix of points and mobility, and not just mobility for your cards either. This last upside to the deck allows Move Legion to function as a disruptive deck, even with Shang-Chi alone, when most other decks are running Enchantress, Rogue, Shadow King, Spider-Ham as well.
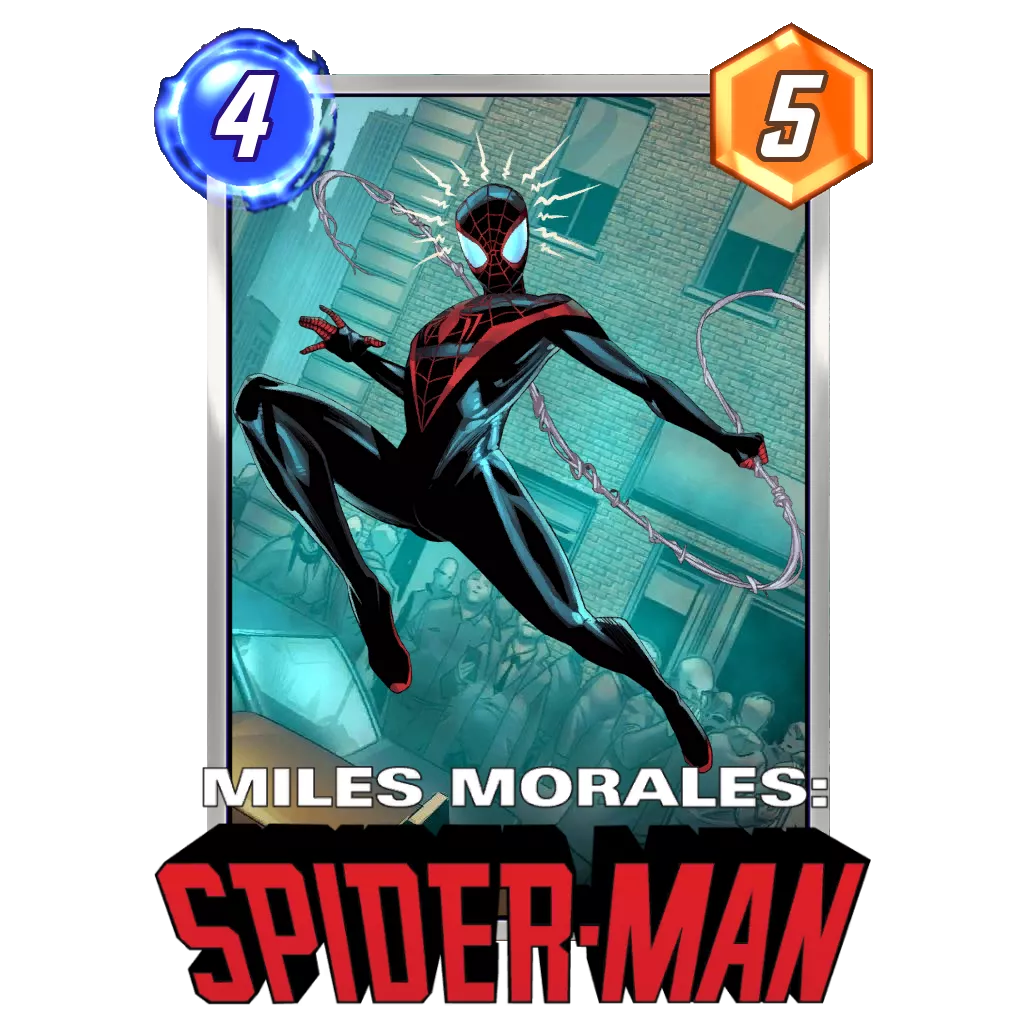
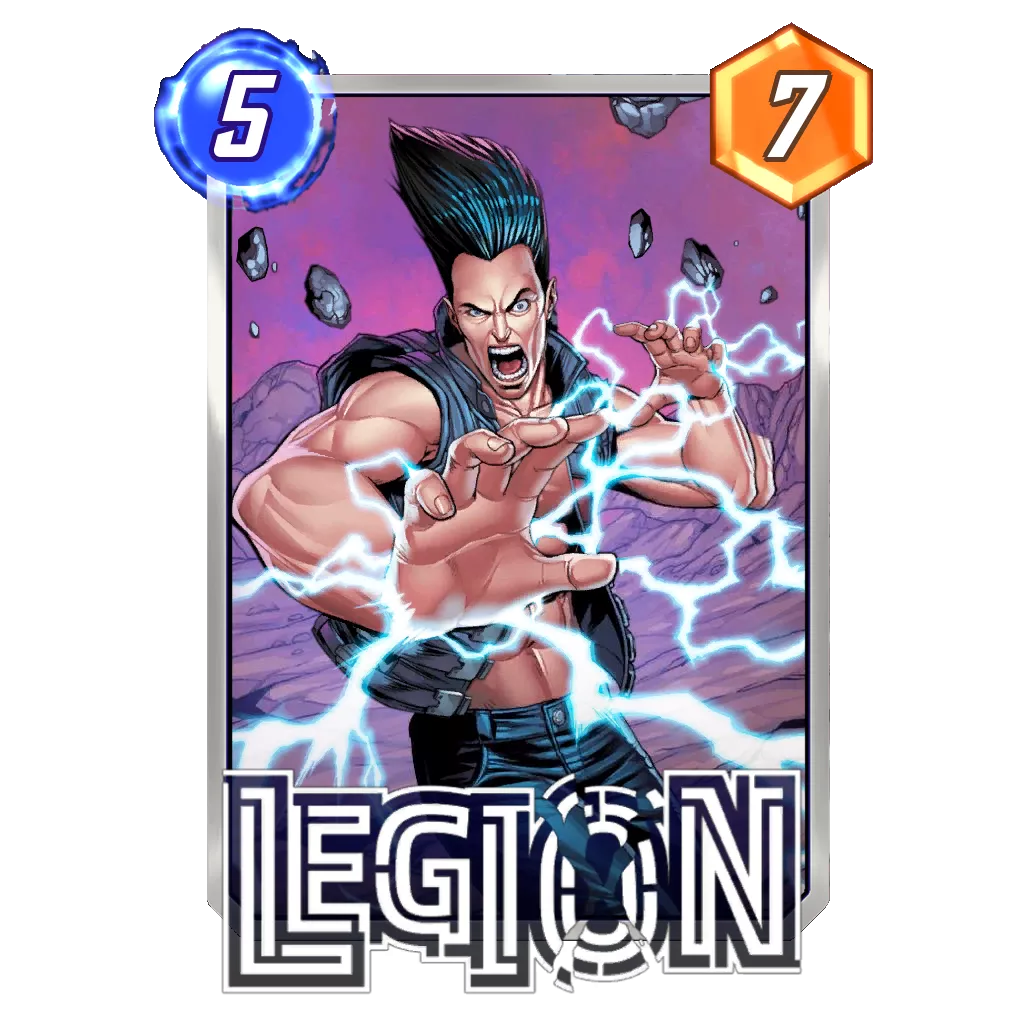
Thanks to Legion and Spider-Man, the deck can surprise its opponent by changing the set up they had in mind. And it doesn’t even have to play cards with subpar power. Also, moving cards and changing locations is something that can potentially annoy any opponent, when cards like Enchantress and Armor will have a more targeted utility. This is a slight difference compared to the other flexible decks in Tier 1, but when the metagame is diverse it can be huge.
How to Play:
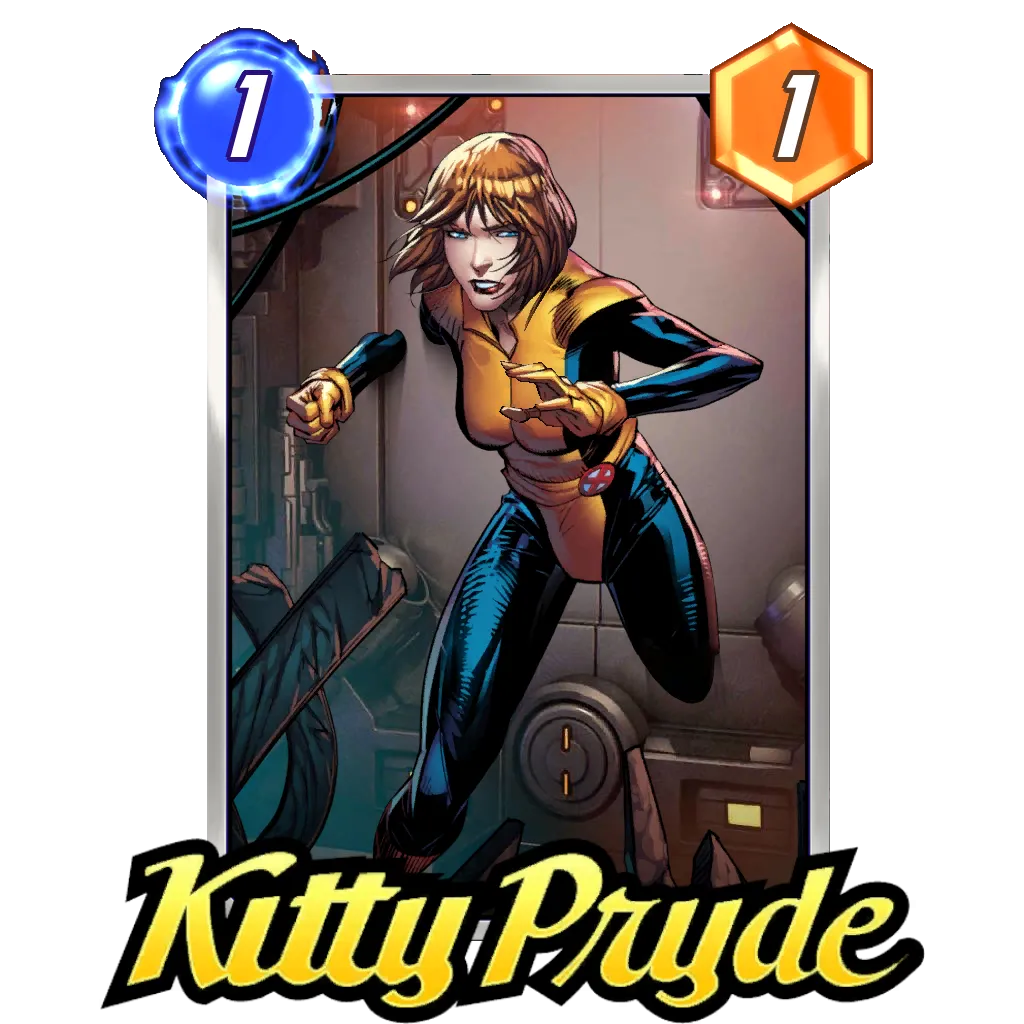
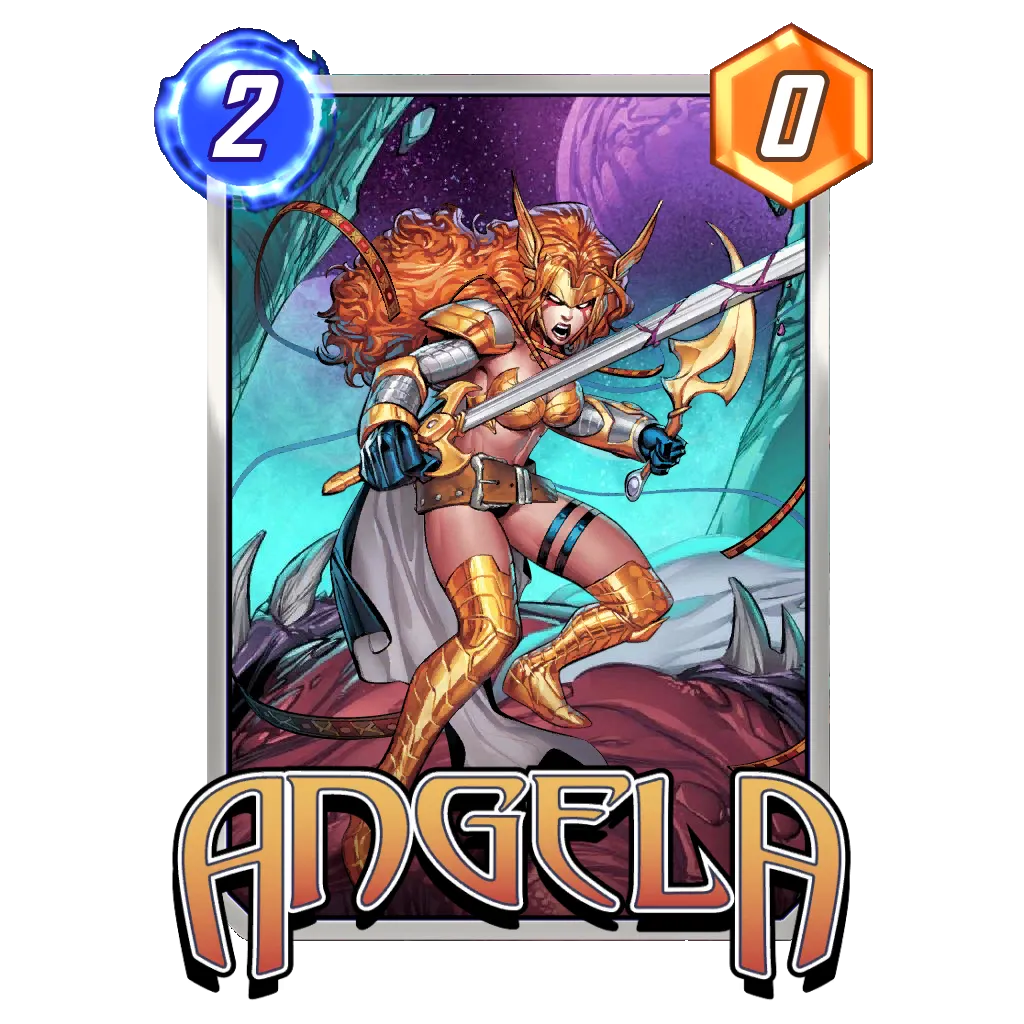
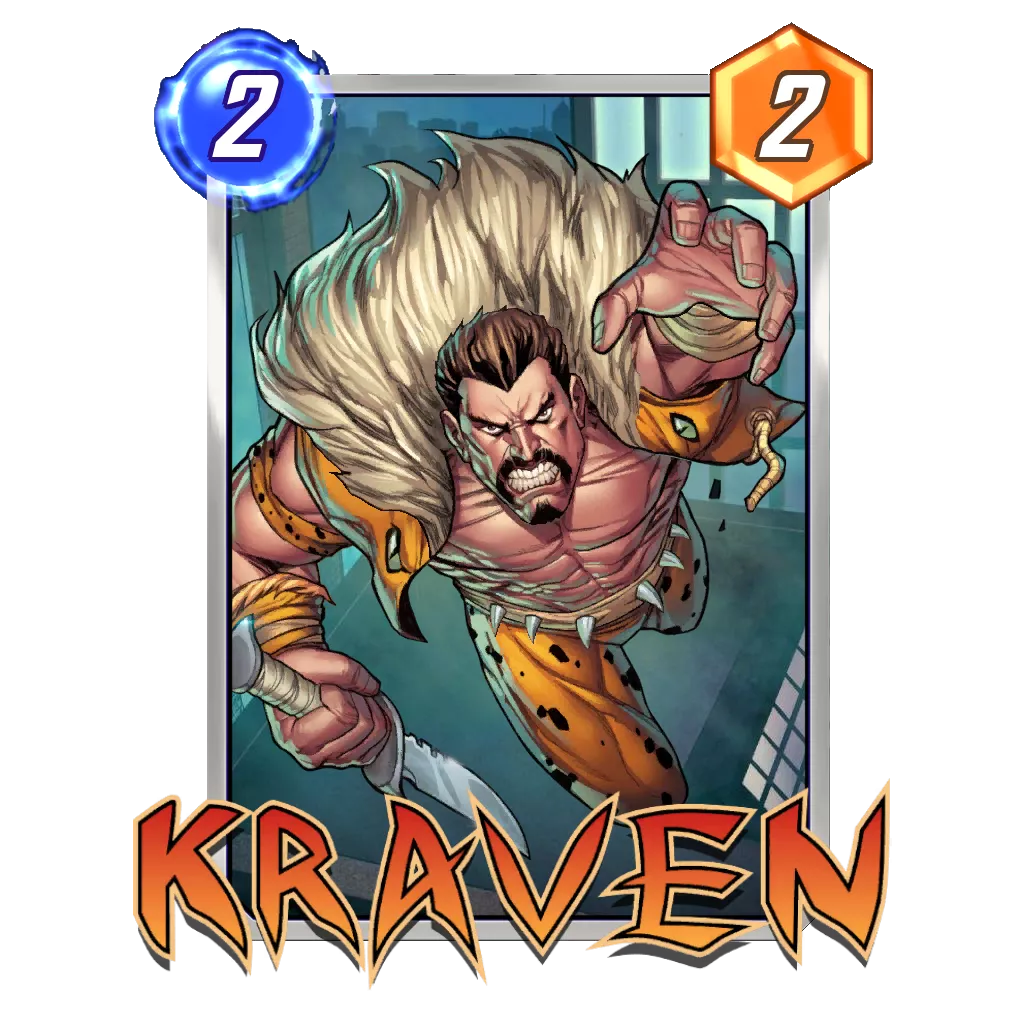
Mostly looking to build points proactively, Move Legion relies on Kraven and Angela to anchor your lanes. Either card is able to grow to eight, maybe even ten, power over the course of a match.
Then, with one lane contested via points, the second lane can be challenged through three different means:
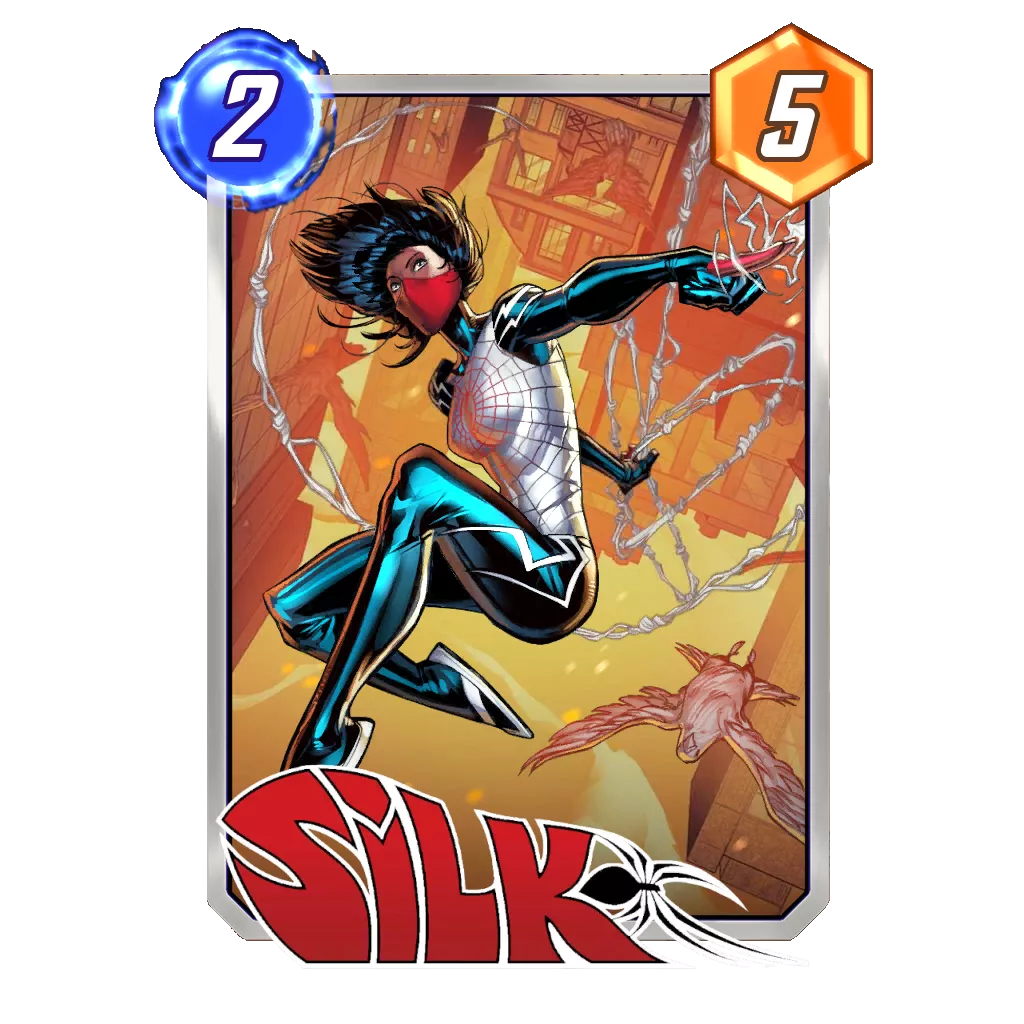
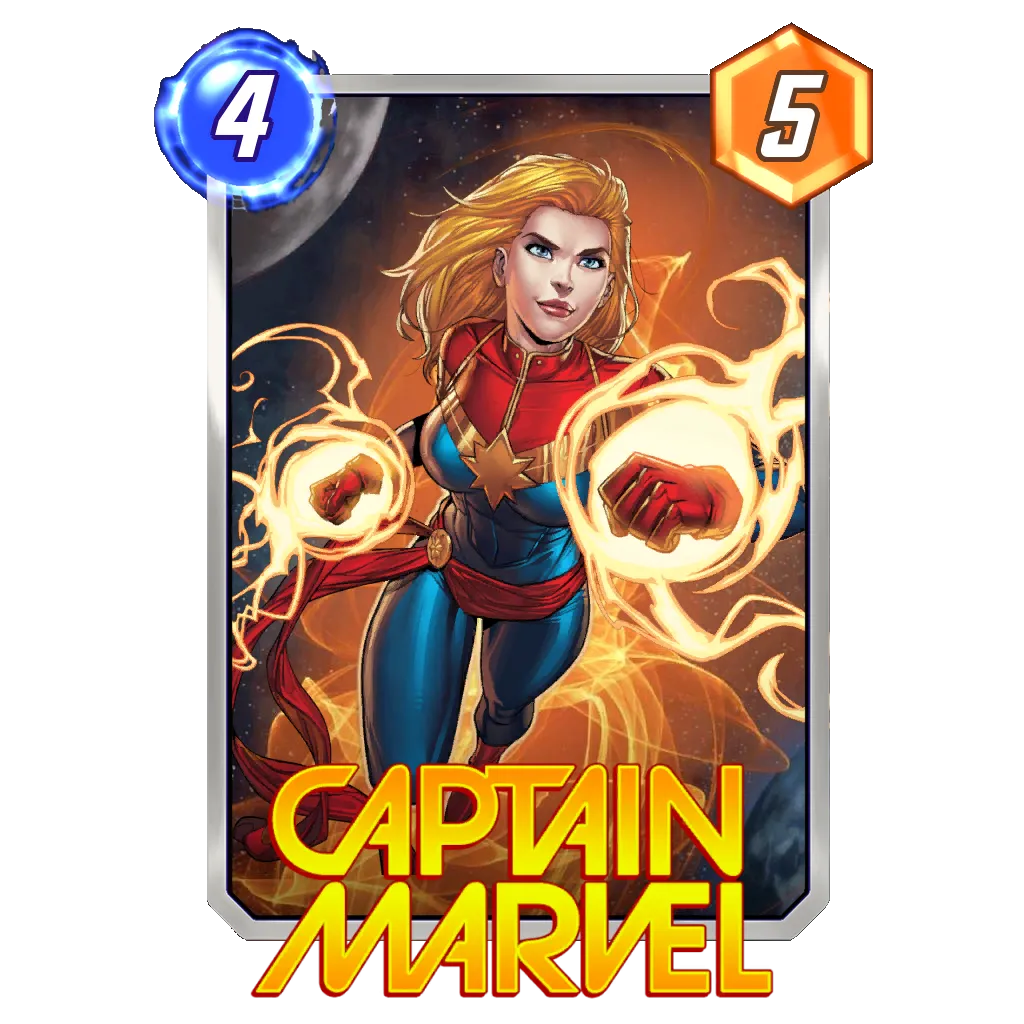
- You can easily get points on a locked or unplayable location with Silk, Captain Marvel, and Jeff the Baby Land Shark.
- You can play a disruptive game with Legion, Spider-Man, and Shang-Chi.
- You can win a second lane on points with Silk, Legion, and a 1-Cost Miles Morales all representing good points for their costs.
Overall, it feels like once this deck is in the lead, its flexibility allows the pilot to dictate how the rest of the game will go. It does require some anticipation skills, but it has the ability to reach any location, develop points, and play counters, which gives you all the tools to turn an early lead into a successful Snap.
Potential Additions:
Aero can replace Vision for more disruption. Shang-Chi is the flexible card otherwise.
Shuri Sauron
Rank Justification:
This is kind of an odd deck in the mix of otherwise flexible decks. Shuri Sauron seems to be doing extremely well in a diverse environment, even with Shang-Chi as the most popular tech card in Marvel Snap. I would attribute a large part of this success to Shuri Sauron having an established game plan that is rather simple to understand and rarely deviates based on the opponent.
For most players without enough time to learn the intricacies of the perfect Move, Surfer, or Good Cards build, Shuri Sauron appears to be easy fix. The archetype is much more of a plug-and-play option compared to the other decks in Tier 1. It focuses on developing its proactive game plan and only plays around specific counters. Also, the list for Shuri Sauron hasn’t changed in quite a while, and most of the other decks are constantly adapting their counter cards to keep up with the environment.
Surfer has been picking up momentum since the last OTA, which leads to Shadow King seeing more play. If Shuri Sauron can use Armor against Shang-Chi, Shadow King will be a different problem to solve.
How to Play:
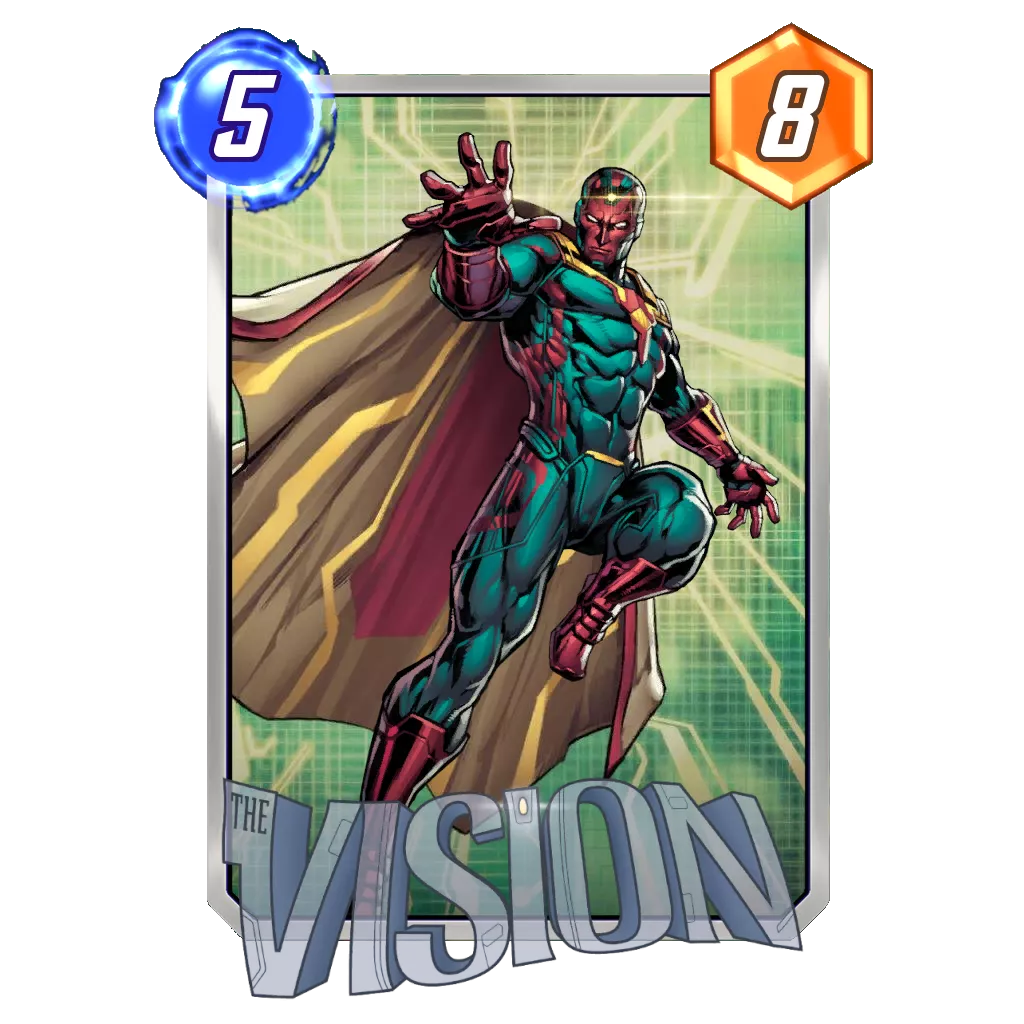
Shuri Sauron is based around the idea of cancelling negative Ongoing abilities with Sauron and abusing Shuri to create a huge amount of points. In that regard, the deck is very rigid in the mid-game since Turns 3, 4, and 5 are almost always the same: Sauron → Shuri → any card worth doubling the power. Often times, Turn 2 will also be dedicated to Armor as a way to prevent an opposing Shang-Chi from ruining your plans. Speaking of Shang-Chi, Vision is another way to play around it, as hitting a moving target isn’t so simple.
This leaves only Turn 1 and Turn 6 to be truly flexible, with Nebula taking up the 1-Cost slot and Taskmaster usually being the default Turn 6 play alongside Ebony Maw.
If this very straightforward approach can lead to a ton of points on two lanes, it also often doesn’t equate to a lot of cubes. Indeed, unless you are Snapping aggressively, the opponent can see the points coming and will rarely stay in the game once you show Shuri (and they can’t handle it). This creates two important factors to take into consideration when playing Shuri Sauron:
- You have to accept Snaps early in the game, especially when Sauron and Shuri show up.
- You need to find lines of play even when you don’t have the best play pattern with the deck, especially when the opponent does not Snap. Even without Shuri, the deck can develop a solid amount of points, and Enchantress is able to steal a few wins.
The last important point to cover is positioning, especially when you don’t draw into Sauron or Shuri. Indeed, while both cards will dictate a lot of your strategies, there are other pairings to know about:
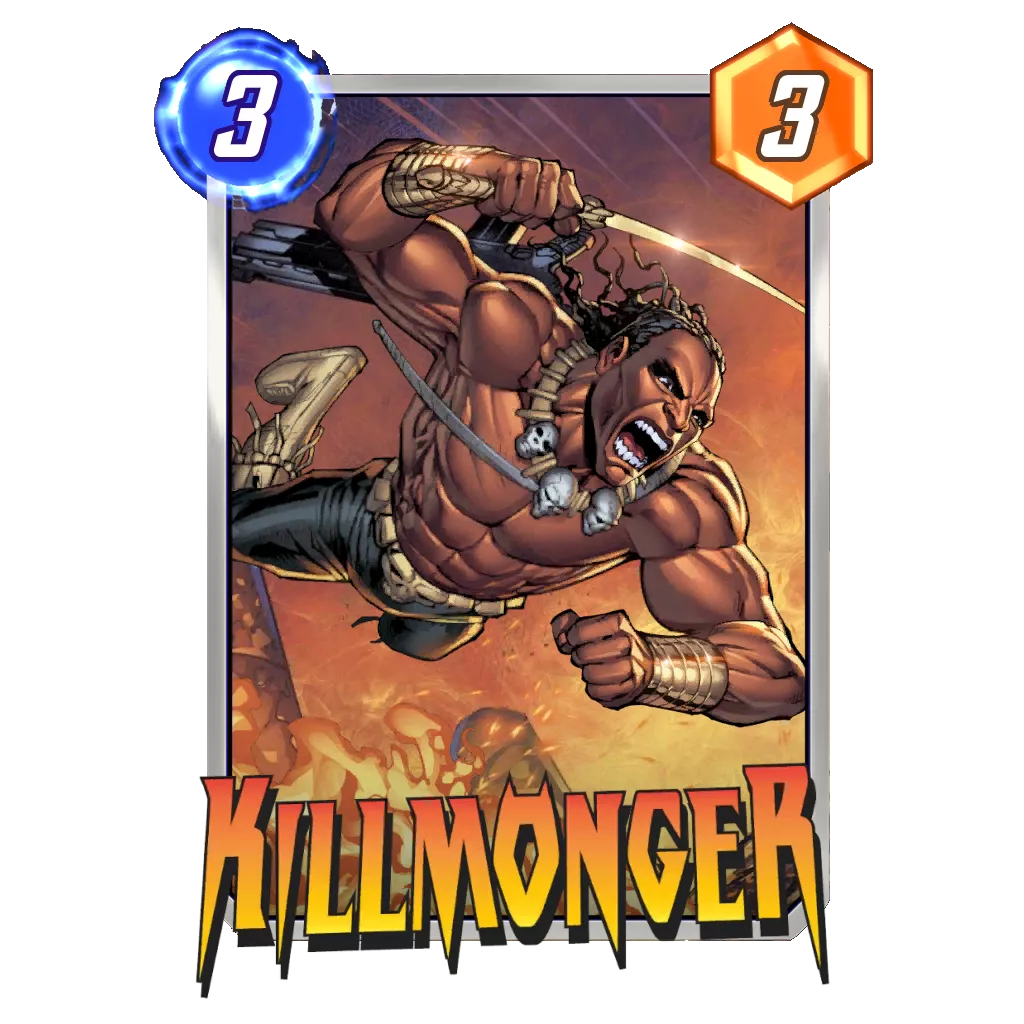
- Nebula and Armor is nice against Killmonger, and you could even follow it up with Ebony Maw if you don’t expect Sauron to show up.
- Enchantress can cancel the abilities of Lizard, Typhoid Mary, and Red Skull.
- Taskmaster into an unprotected card is better to play with priority. On the contrary, if the target can’t be destroyed, playing without priority protects Taskmaster. Position your cards in order to gain or lose priority depending on the situation.
- Invisible Woman allows you to hide Taskmaster so it copies your last played card on Turn 6 (or the card that reveals before it behind Invisible Woman). This is a great way to lose priority and make an opposing Shang-Chi worthless.
Potential Additions:
The deck has been the same for quite some time now. Enchantress and Nebula are the most flexible cards in the build, but no other options seem to do the trick in their place.
Sera Surfer
Rank Justification:
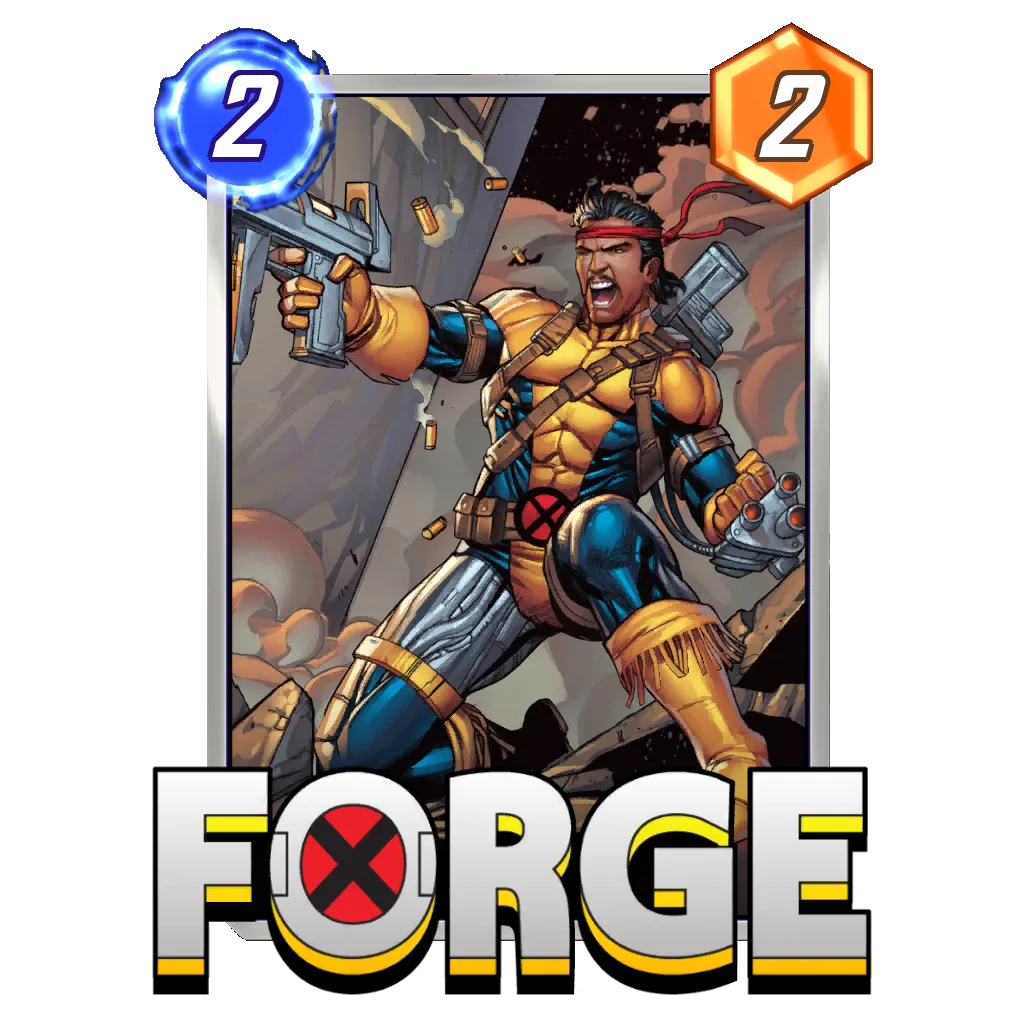
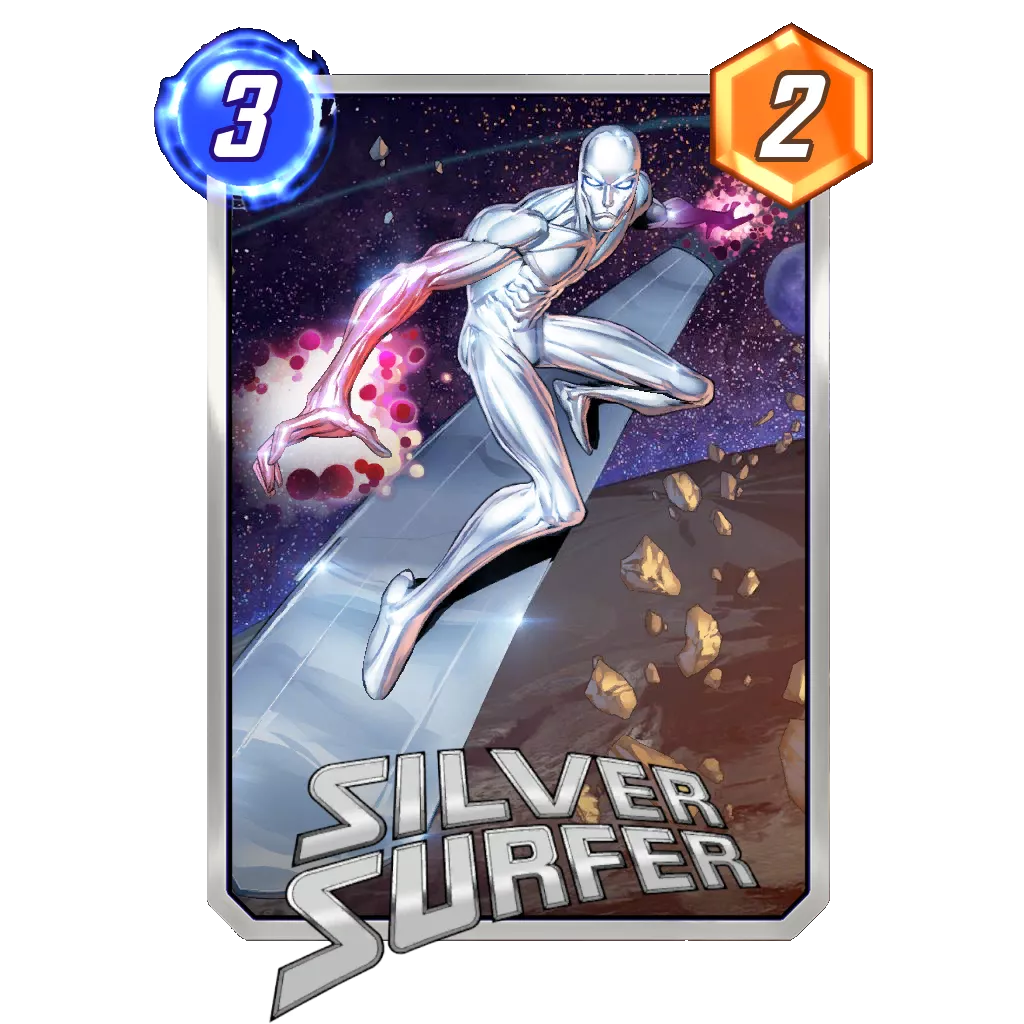
After spending the past few weeks in Tier 2, the buff to Forge has catapulted Silver Surfer back to Tier 1, and I wouldn’t be surprised to see the deck climb even more before the season is over. With Forge in the deck, Silver Surfer now has access to more points, which helps the deck adopt a more proactive mindset. Before, it was dependent on disrupting the opponent much more in order to win.
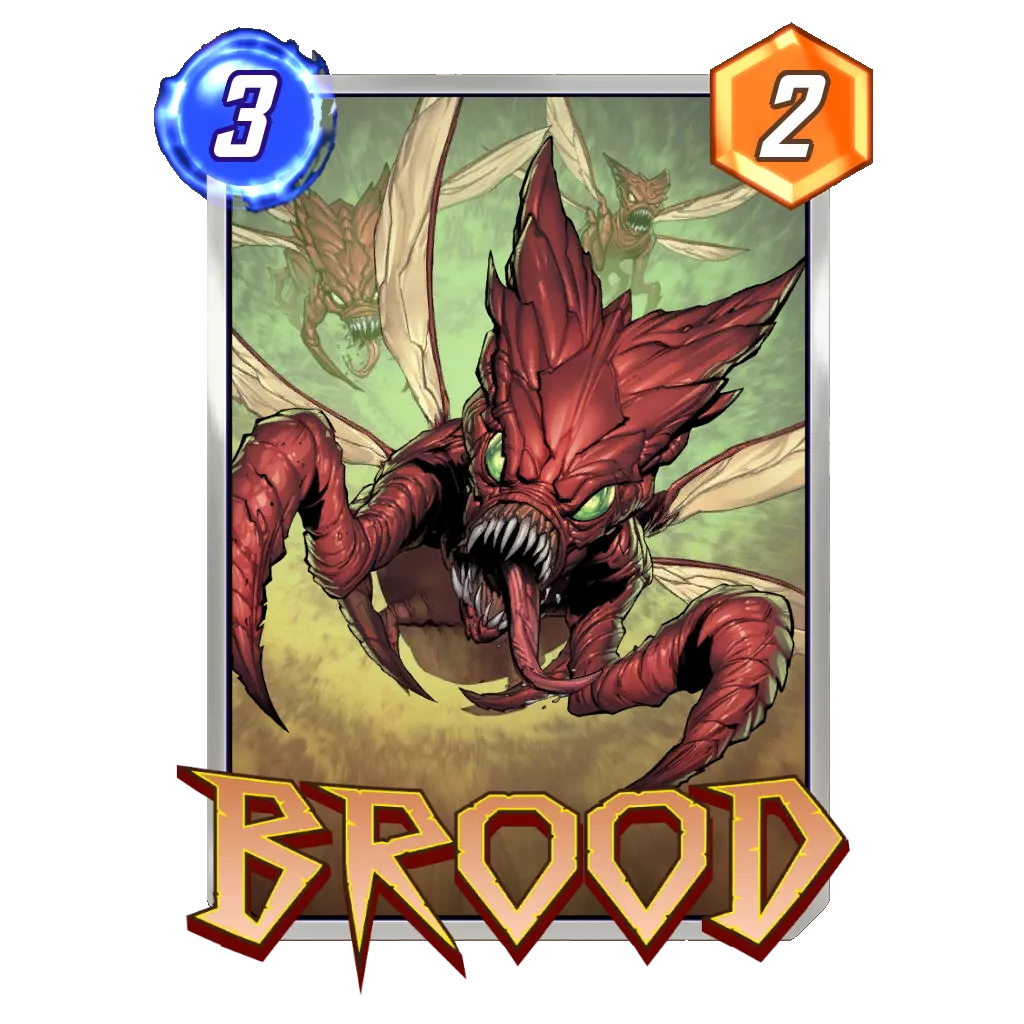
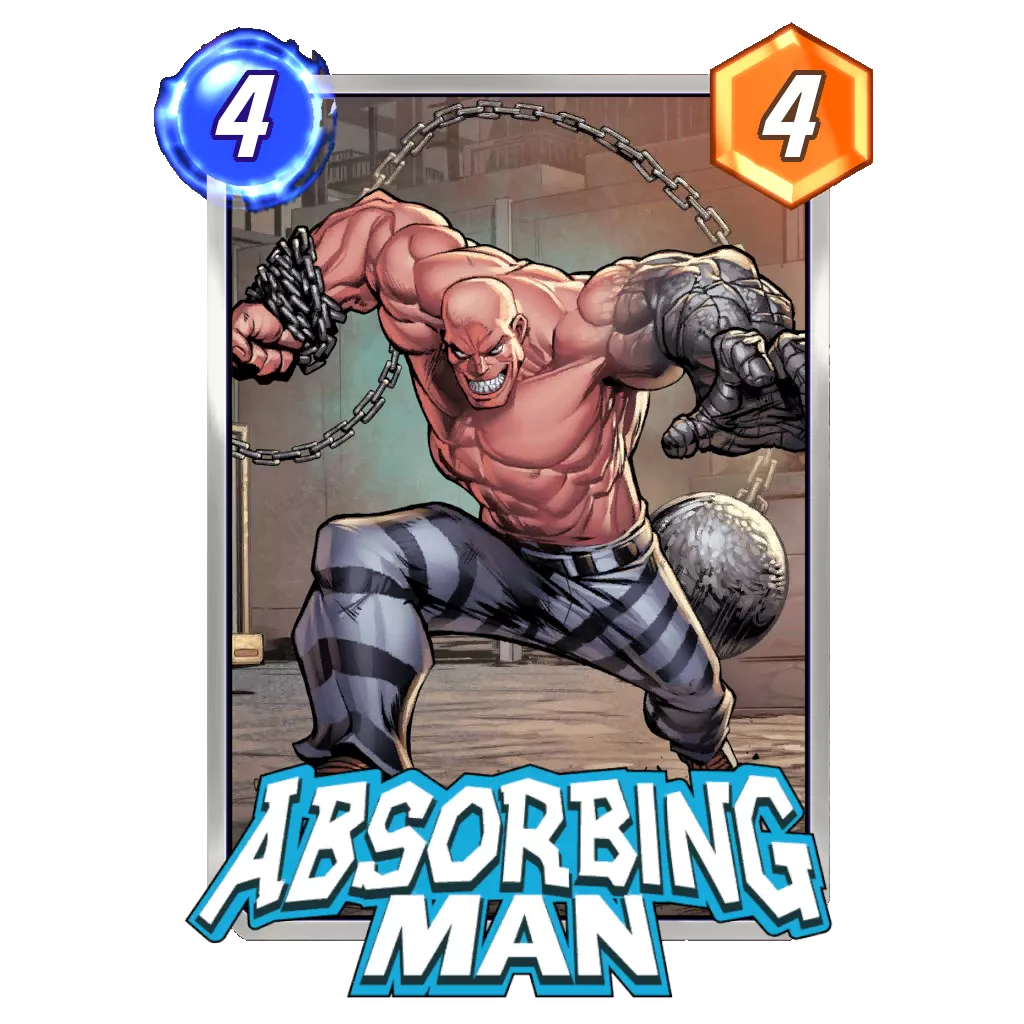
Forge → Brood → Absorbing Man has become one of the strongest mid-game patterns in Marvel Snap. When it happens, the deck becomes extremely flexible. It’s able to focus on disrupting the opponent as the points are already in place. Then, the ability to move opposing cards, deny certain abilities, or remove a location are big leverage to dominate the remaining turns.
How to Play:
The deck follows a pretty simple play pattern that culminates into an explosive Turn 6 and hopefully catches the opponent off guard.
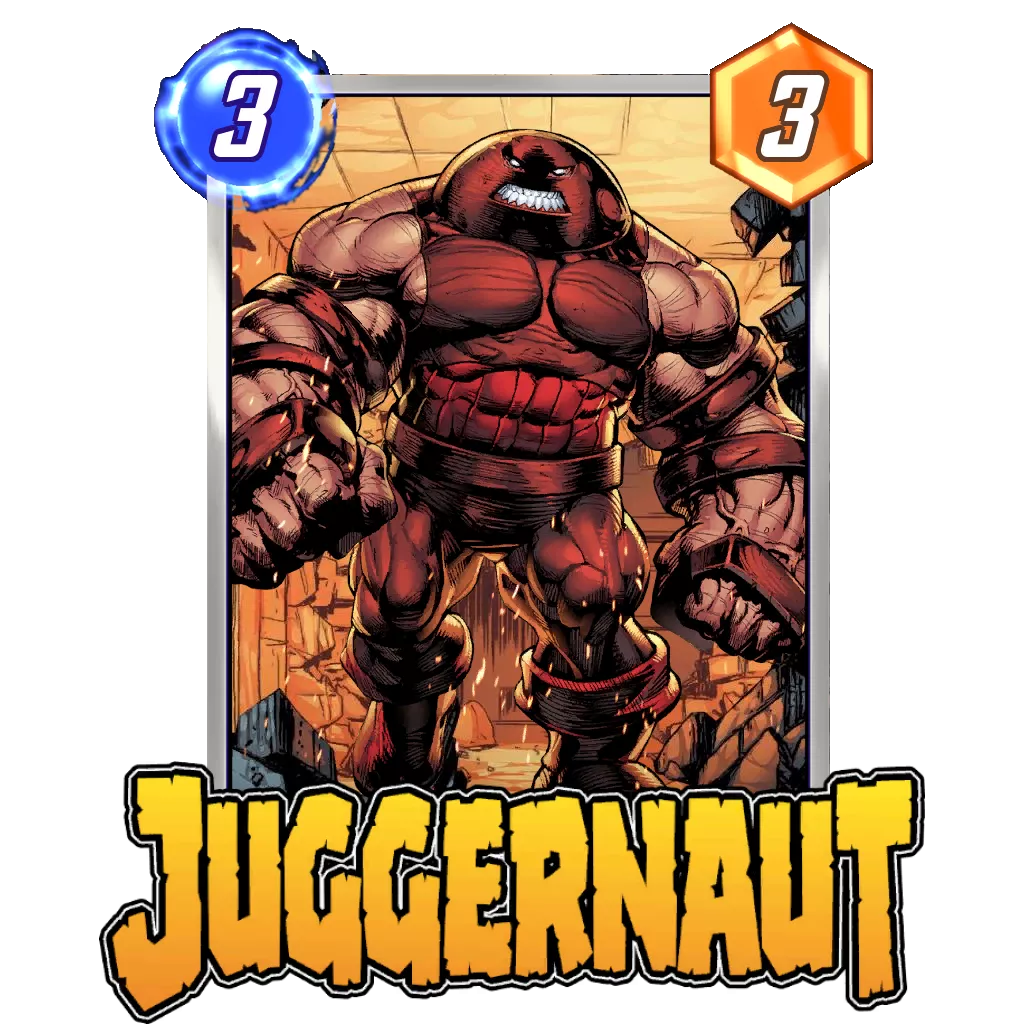
On Turns 2, 3, and 4, you will usually just play a card, focus on spending your energy efficiently, and advance your game plan. Your two most common patterns are Forge, Brood, and Absorbing Man, or Storm and Juggernaut. Otherwise, play cards you anticipate you won’t have the energy for later on.
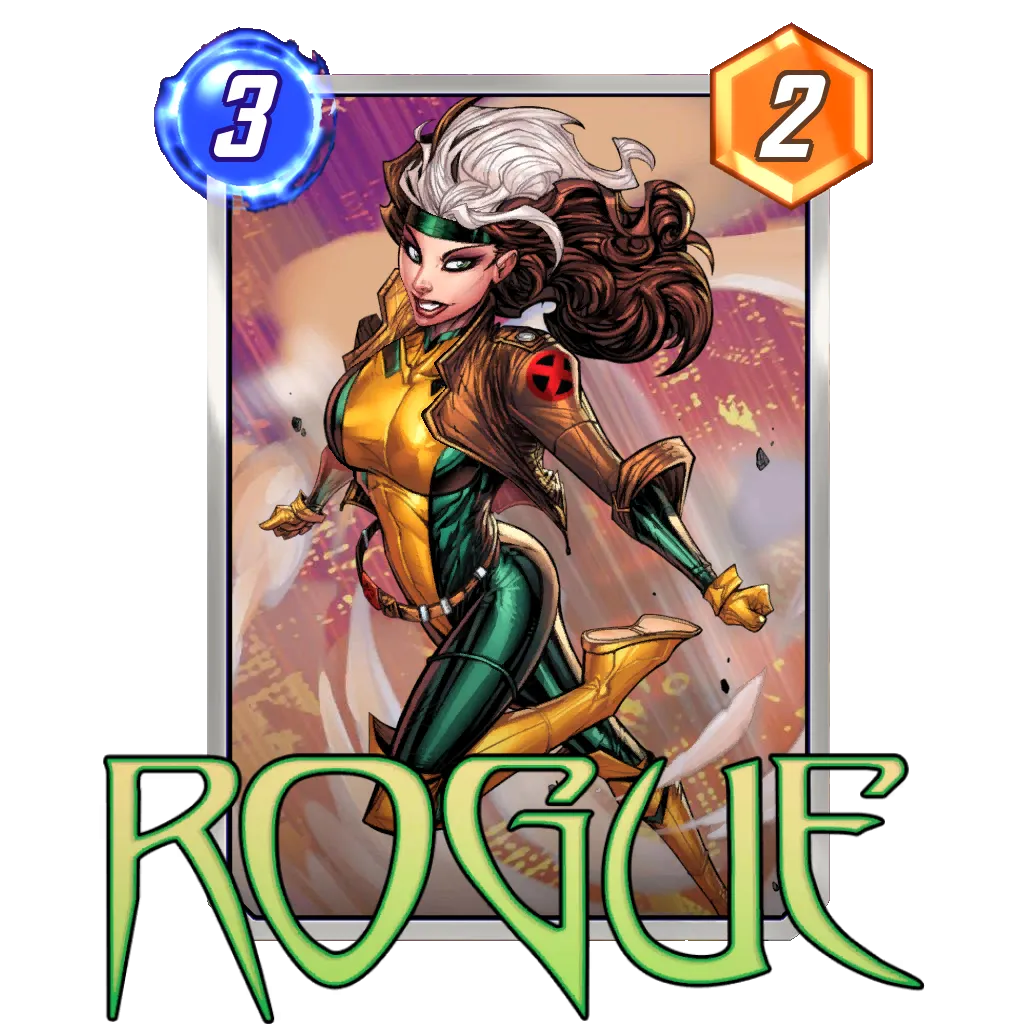
If you are running tech cards like Rogue, Killmonger, or Shadow King, you will be looking to keep those for Turn 6 in order to get the most out of them. As such, you need to play the more proactive cards during the early turns. Usually, Nova is better played on Turn 4 with more information available rather than on Turn 1. It also disguises your archetype from the opponent better.
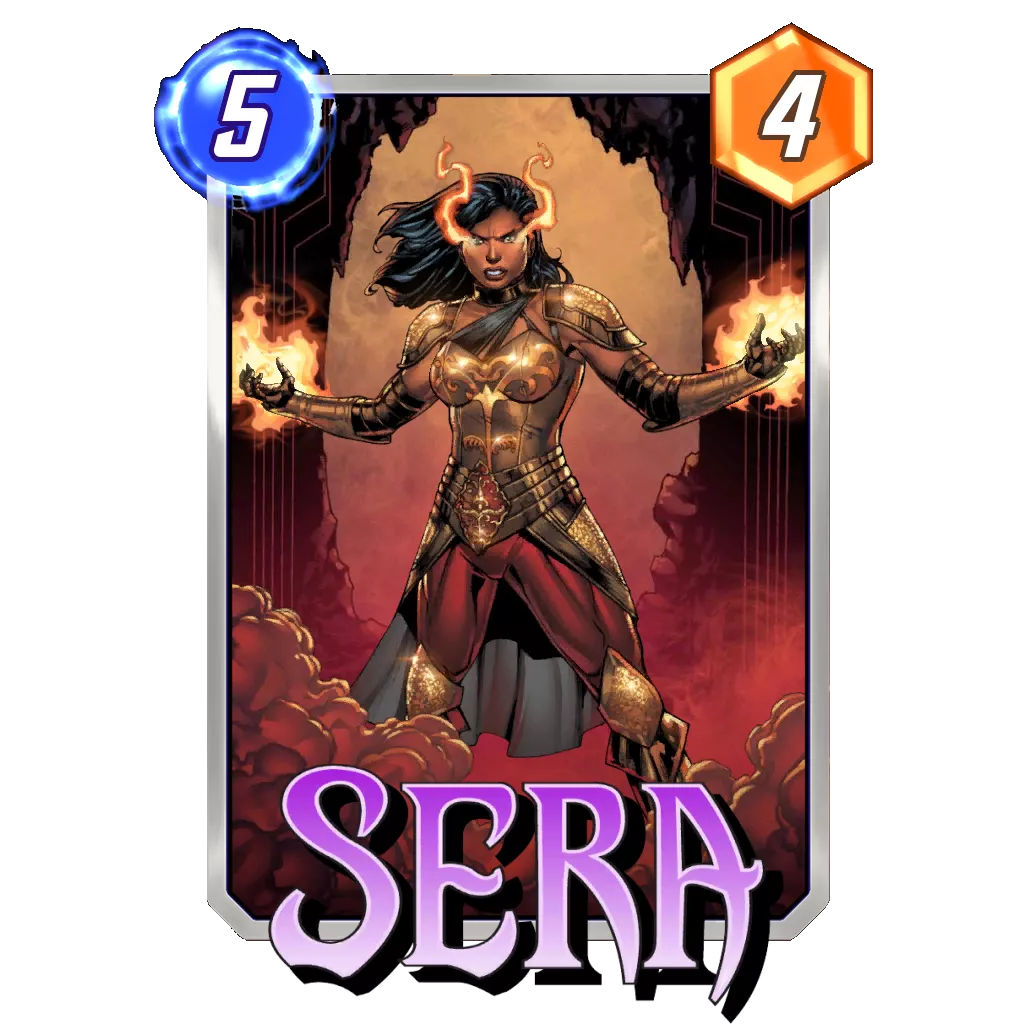
On Turn 5, the deck typically runs a card dedicated to this turn – which is most often Sera. While these are the go-to plays most of the time, a 3-Cost plus Goose can annoy a lot of opponents as well, especially those relying on a big card on Turn 6. In that scenario, Goose is basically a cheaper Professor X.
Turn 6 will almost always have Silver Surfer included, plus another 3-Cost (or two with Sera on board). While Silver Surfer is a big buff to all of your lanes, it is usually correct to focus on two lanes for the end of the game – especially if you kept a Shadow King or other such card that is able to flip one in your favor on its own.
Potential Additions:
Nova and Killmonger have become flexible in the deck after being considered staples ever since the archetype was created. In order to include a second tech card alongside Rogue, one can remove both cards to include it (Shadow King, Cosmo…) plus a second 2-Cost card. Kraven is doing nice things to annoy Move, but Goose is still a decent card in the deck. Armor can counter Destroy. Nebula is sometimes included instead of a 2-Cost.
InSheNaut
Rank Justification:
Since dropping Moon Girl, InSheNaut has been posting very solid results, and it appears to be able to adapt its game plan to various opponents.
Points wise, the deck seems to be able to rival most opponents – especially as it tends to reveal its points after them. Indeed, against Move Legion, Shuri Sauron, and Good Cards Stature, you’ll be able to guess their potential by Turn 4 and can make an educated guess regarding your Snaps and Retreats. InSheNaut disguises its potential much better, and it could snap because of its points potential, or because Leech is ready to ruin the opponent’s plan on Turn 5.
This is likely the most demanding archetype to play in Tier 1 (if not in general), but InSheNaut might be the sleeper of the current elite group of decks.
How to Play:
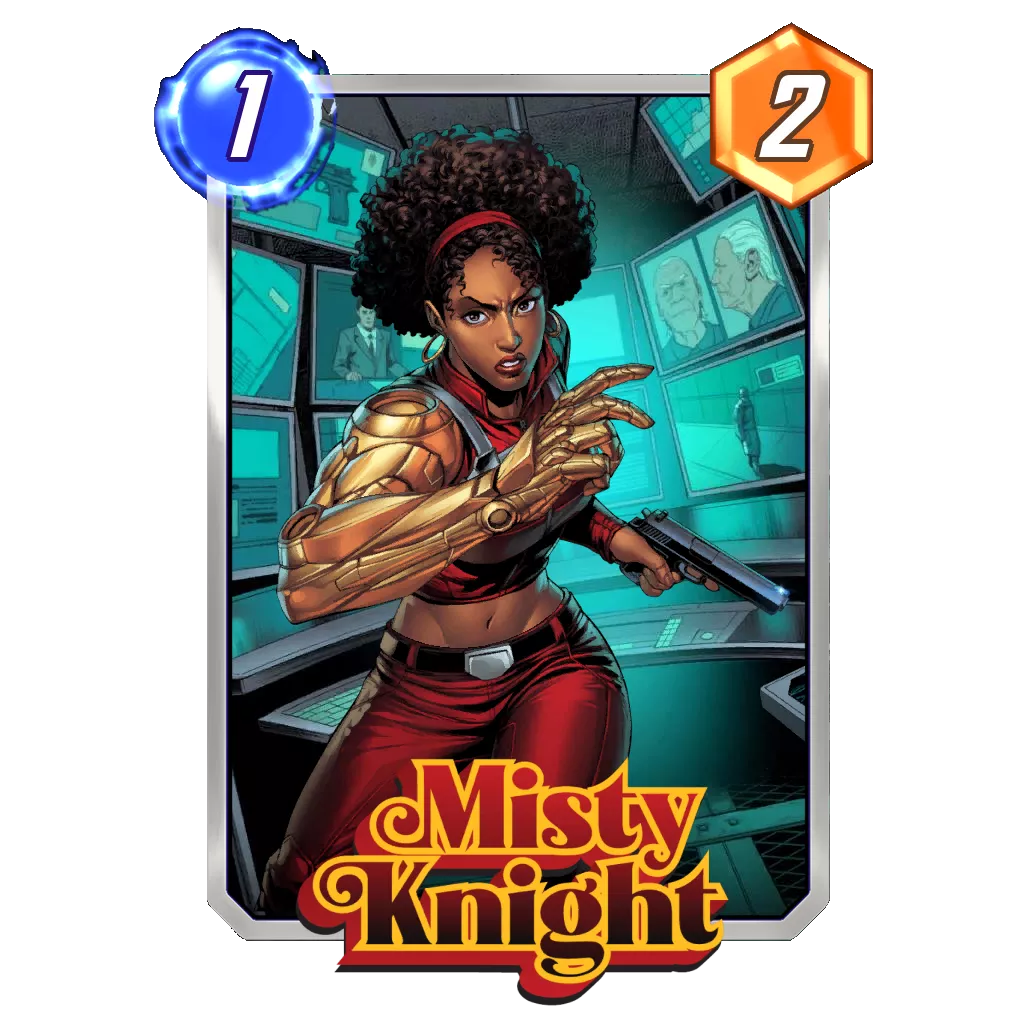
In this new and improved build around She-Hulk and The Infinaut, the goal is to make the game about points – a battle you are more than suited to win. Ideally, the deck wants to play Magik on Turn 3, Leech on Turn 5, and profit from passing Turn 6 with Sunspot and Misty Knight before dropping two high power cards on Turn 7. However, there are many more play patterns in the deck to achieve victory:
- With Armor, Cosmo, and Leech, the deck has quite a formidable disruptive ability against many different decks, in addition to the ability to protect it’s own important cards.
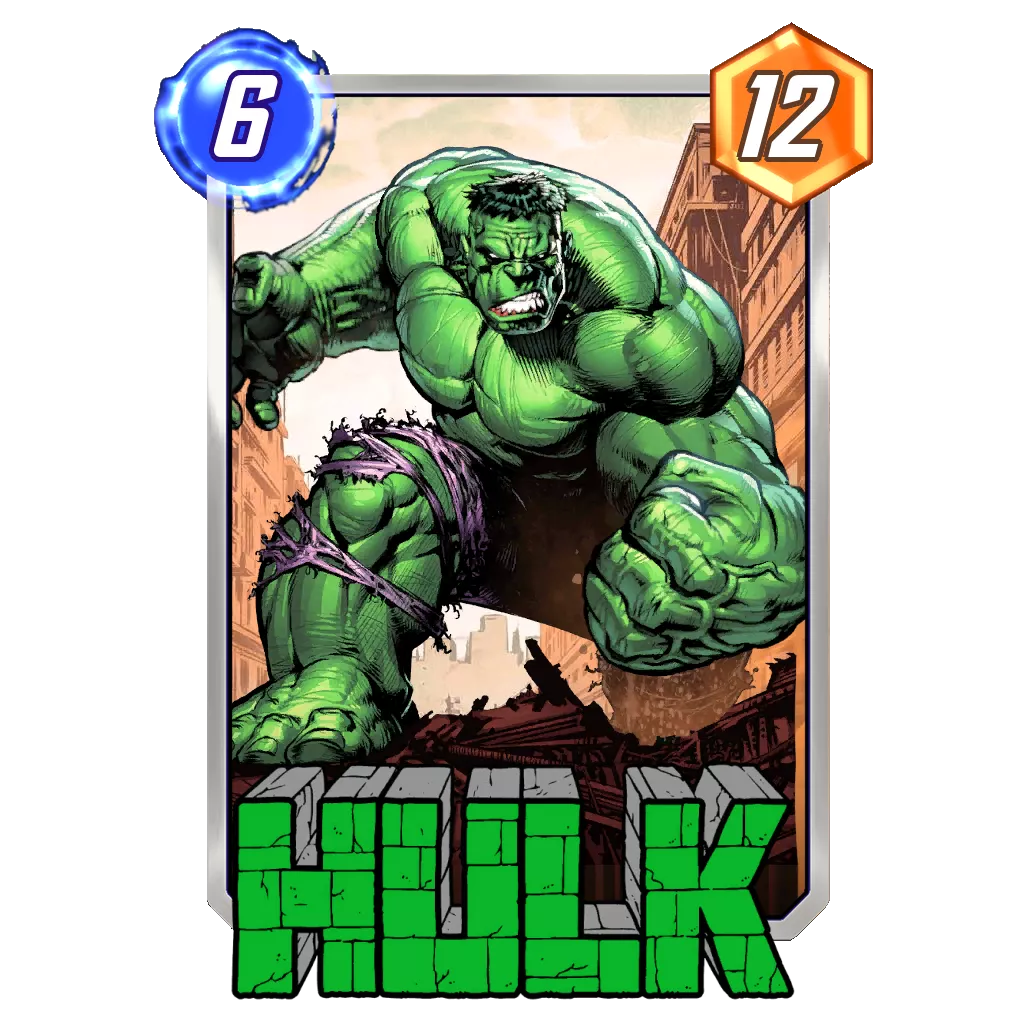
- If Shocker hits The Infinaut, it unlocks a pattern where you pass on Turn 4, play The Infinaut on Turn 5, and then play Evolved Hulk on Turn 6. When reducing either of your 6-Cost cards, you can pass on Turn 5 and play the reduced one plus She-Hulk.
- Without Magik, you can try passing Turn 3 or 4 to play She-Hulk early and follow with a big Evolved Hulk on Turn 6. With Limbo and no Leech, you could also pass on Turn 5 to do the same The Infinaut into Evolved Hulk kind of pattern.
- With a hot start through the 1-Costs giving you a nice lead, you might not want to create Limbo and give your opponent more time to mount a potential comeback.
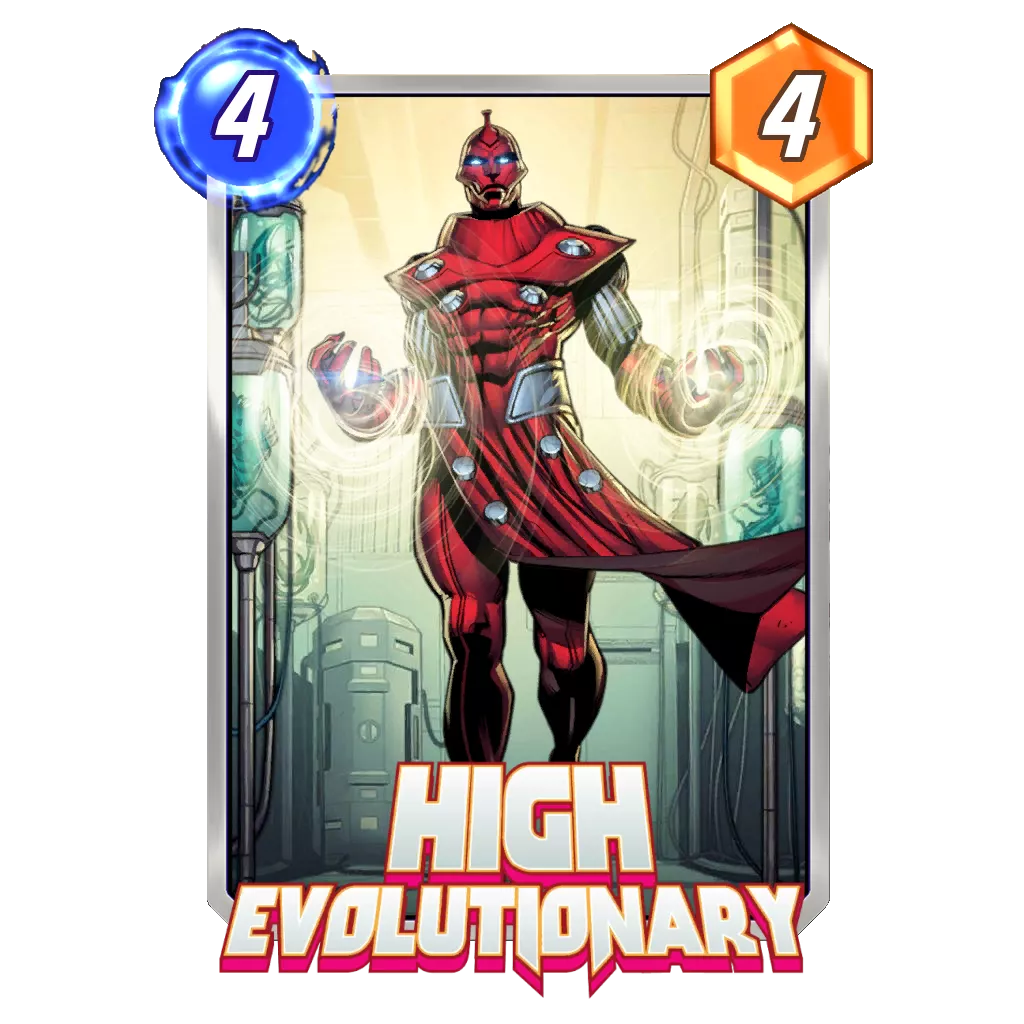
Through these various scenarios, you can see that this build of InSheNaut is actually trying to get away from the very rigid patterns Moon Girl was pushing for that made the deck too predictable as of late. Right now, you should consider this deck a High Evolutionary tempo build, except it can play around with its energy to change which turns it develops points and which it adopts a more passive stance.
Potential Additions:
Cosmo was played instead of Cyclops until this week.
Good Cards Stature
Rank Justification:
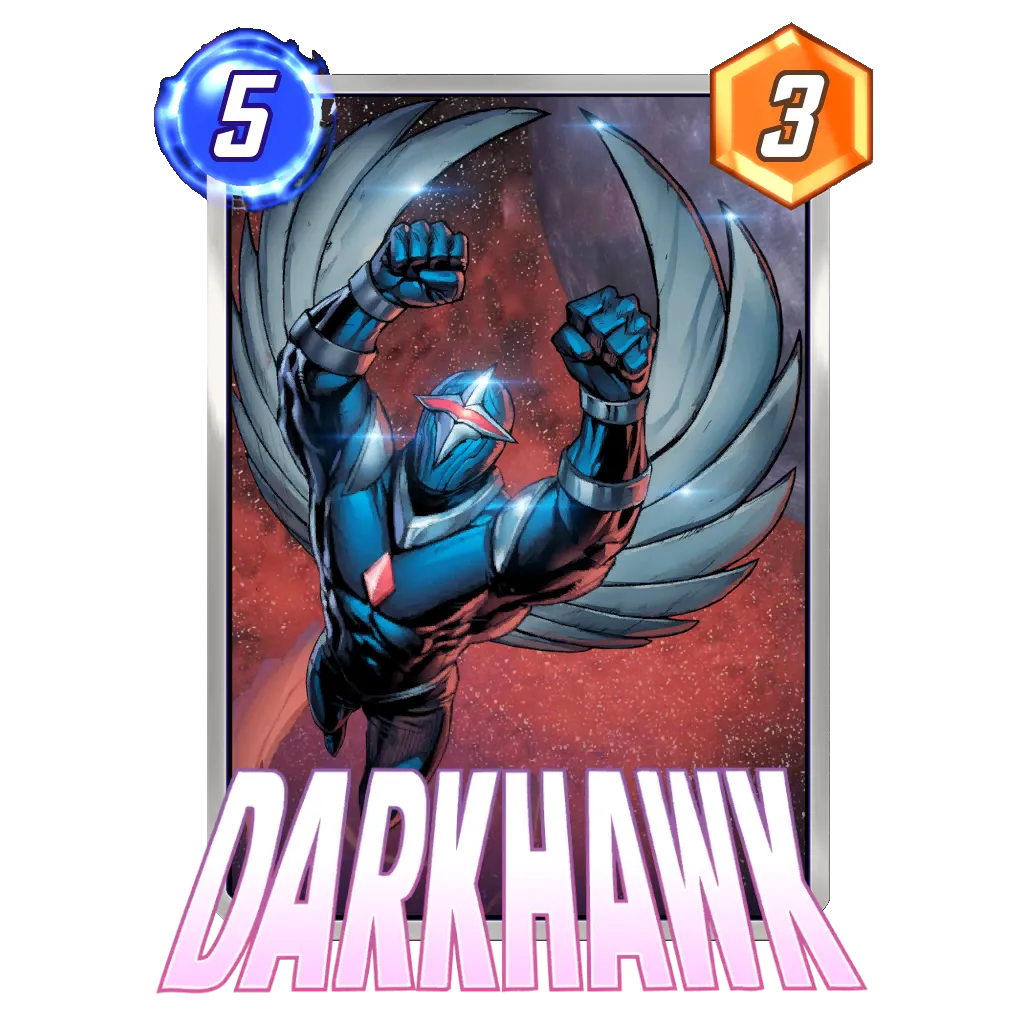
The fallen king with Move Legion slowly becoming the default Good Cards archetype, Zabu and Darkhawk still have one trick up their sleeve: more room for counter cards.
It might not be the right way to go about it, as decks relying on flexible points seem to do better when looking at the decks higher on the Tier List, but Good Cards has three flexible slots in its list. For now, Spider-Ham, Shang-Chi, and Enchantress are taking them. But Cosmo, Killmonger, Armor, and many other cards could very well be played in their spots, which opens more flexibility to counter specific opponents if needed.
As it stands, it seems like finding points is more important, which is why Silver Surfer moved so high up the list after Forge‘s buff. It’s also why Move Legion is keeping the top spot. Still, if one deck starts dominating the fray, Good Cards Stature might be the deck with the easiest time adapting to it.
Also, don’t sleep on Silver Samurai joining the game soon. The card synergizes with both Zabu and Stature, so this archetype might make a rebound.
How to Play:
Good Cards is a very tempo oriented build looking to use its energy while staying flexible on where it can invest in the future. Ideally, one would be looking to stay flexible for a large part of the game before committing to lanes in the last two turns. Overall, this archetype relies a lot on how its built, which will impact your game plan a lot.
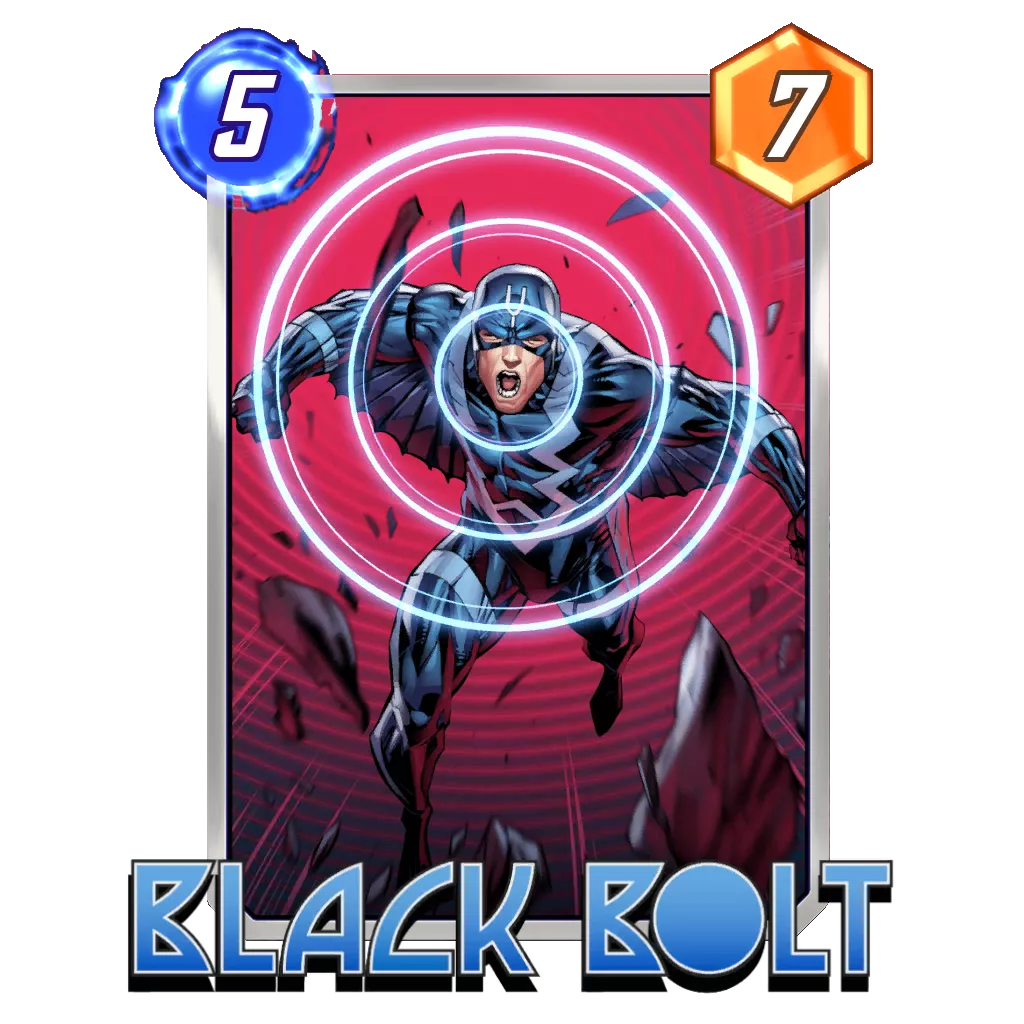
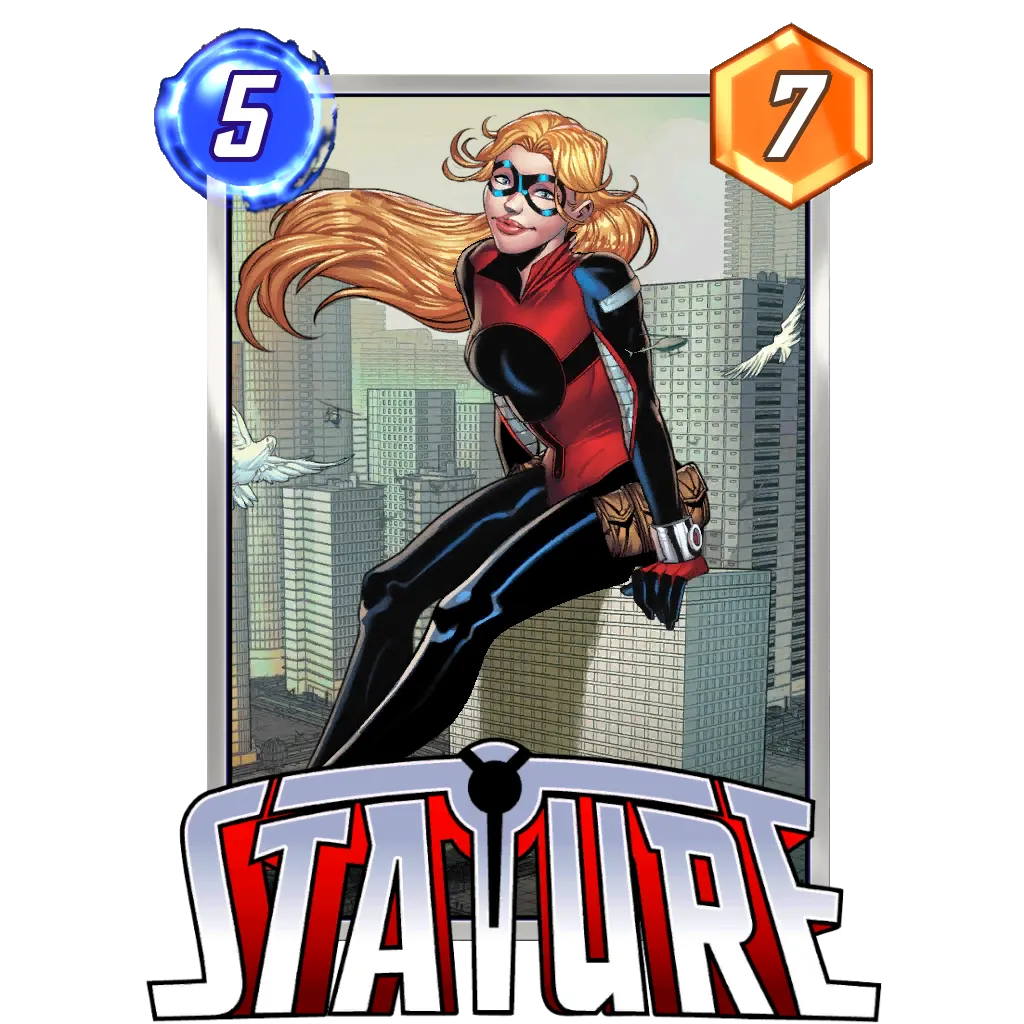
With so many options, it is difficult to outline a specific play pattern outside Black Bolt on Turn 5 with Stature in hand. Ideally, you want to set up Turn 6 to be a 4-Cost plus Jeff the Baby Land Shark or Stature, or two 4-Cost cards. The rest of your game plan should be based on which package of cards you draw and your opponent. Try to assess early on which cards are fundamental to play and which turns make the most sense to play them; you can then use your other cards to fill the holes in your established pattern.
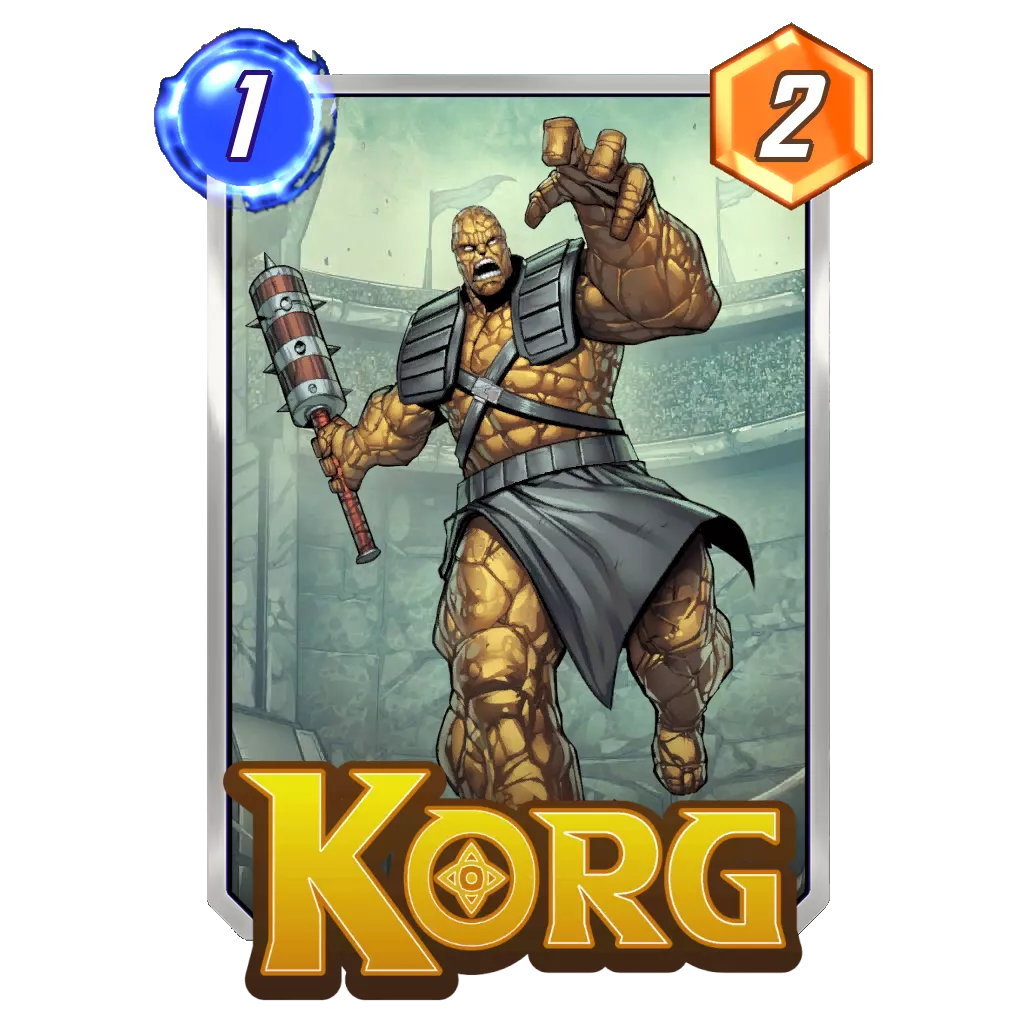
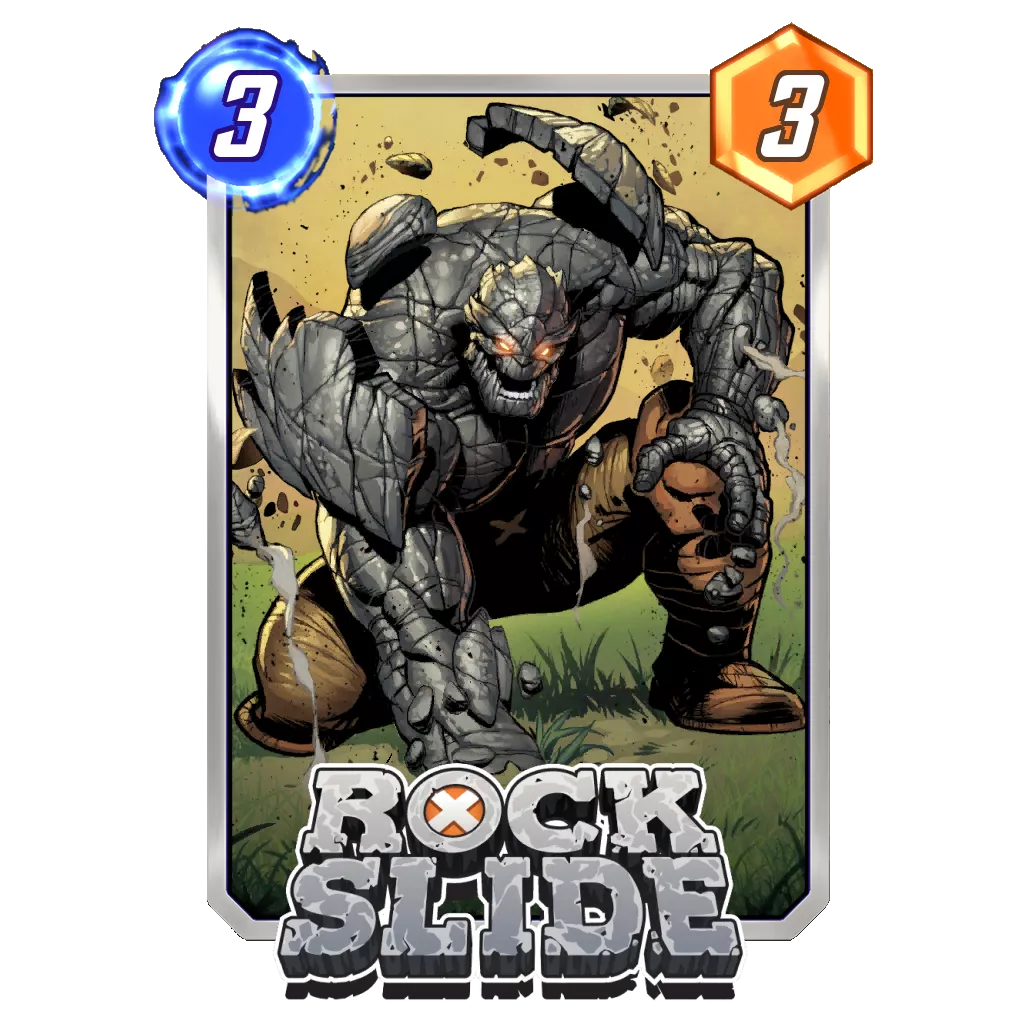
Finally, keep in mind that the deck is able to play proactively with Darkhawk and Stature, but also reactively with Enchantress and Shang-Chi. This can lead to a desire to play every card since they all have their upsides. But remember, Darkhawk also requires Rockslide and Korg to be effective, and Stature needs Black Bolt. As such, don’t forget the commitment that goes with each card. It will help you plan how much energy you can work with, and thus how many other cards can fit into your plan.
Potential Additions:
Pretty much any counter card you could think of can be slotted in the deck, particularly the 2-, 3-, and 4-Cost cards. Otherwise, Stature and Black Bolt are a flexible points package that can become any other top end you fancy. Doctor Doom, Magneto, Wave, America Chavez, Legion… many cards can fit the bill here.
Tier 2
Sera Control
Rank Justification:
Sera Control is among the decks that likes when things are easy to read (or, more specifically, to counter). As such, in a metagame with four or five decks that all look really strong, it can be daunting to figure out which to build against and which to ignore.
That doesn’t mean Sera Control has become a bad deck; the deck could have been in its own tier right in the middle of Tier 1 and Tier 2. Indeed, if all the decks in Tier 1 this week posted above a 0.5 Cube Average, the other decks in Tier 2 were closer to 0.3 or 0.2. With an average of 0.4, Sera Control looks to be much better than the rest of the decks in this report, but just a notch below the ones I’ve covered so far.
How to Play:
This archetype relies on giving up priority going into the last turn, so it can punish the opponent with reactive cards like Shang-Chi and Killmonger. Ever since Hit Monkey joined the deck, it also unlocked a proactive pattern on Turn 6 with the monkey assassin able to challenge a lane with points rather than looking to counter what the opponent did.
Sera is at the core of this strategy, as she allows reducing the cost of cards in your hand, strengthening your Turn 6 potential and making it worth to purposefully give the lead to your opponent. Note that losing priority doesn’t mean losing the game – you can be in the lead on a location and close on the other two. Since Sera only has four power, your opponent will typically have a stronger Turn 5 than you do and take back priority. This way, you don’t need to have an incredible Turn 6 or perfectly guess your opponent’s plays to win every game. Most of this deck’s strength relies on its ability to be able to stay as close as possible while not having priority, so your reactive cards are at their best.
While the basic ideology of Sera Control remains the same from one build to another, this is one of the most flexible archetypes in Marvel Snap. As such, some builds will look to focus on reacting to the opponent, while others might have more of a proactive development in mind by answering one lane and developing points on another. Make sure to understand the goal of your build and how your deck aims to win over two lanes by game’s end.
Potential Additions:
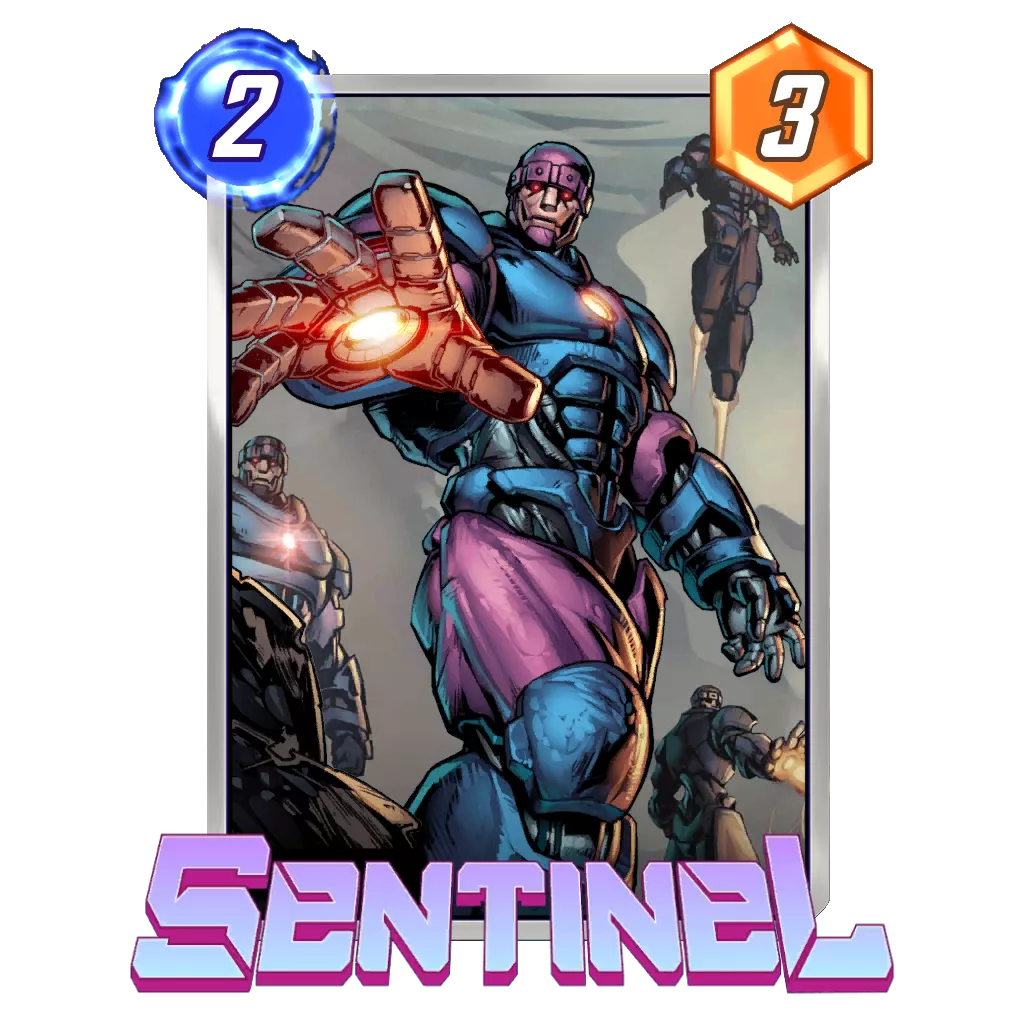
Sentinel remains the flexible card among the included 2-Cost cards. Otherwise, Rogue and Enchantress coexist to fight off Ongoing strategies.
Thanos Death Control
Rank Justification:
When looking at the data for Thanos Control, this build was one of the most popular ones, and it also posted a solid 0.3 Cube Average, which is the best among lists with a decent sample size.
Considering both Thanos Control and Thanos Death have been posting very similar results this season, and Thanos Control was undergoing a bit of a rework, I figured this new take that merges both archetypes made sense to highlight.
Now that we are in the second part of the game’s top ten decks, the performance of each deck will be significantly worse than compared to the Tier 1 archetypes. This doesn’t mean the decks are bad. They just need to find an edge outside their natural strength, such as being unpredictable.
We’ll have to see if this build can remain the best performing one for Thanos heading into the last week of the season. Considering the best build has changed almost every week so far, it isn’t surprising to see new strategies being tested.
How to Play:
Through mixing different synergies, Thanos Death Control aims to create different possibilities that the pilot can chose from depending on the situation. Typically, one lane will be won through disruption, and the other will compete with points.
For the disruption plan, you have the typical Professor X that is supported by the Time Stone, Daredevil, and Jeff the Baby Land Shark. If you manage to get a lane in such way, it is usually useless to consider Galactus any further. It makes more sense to focus on winning a second lane instead.
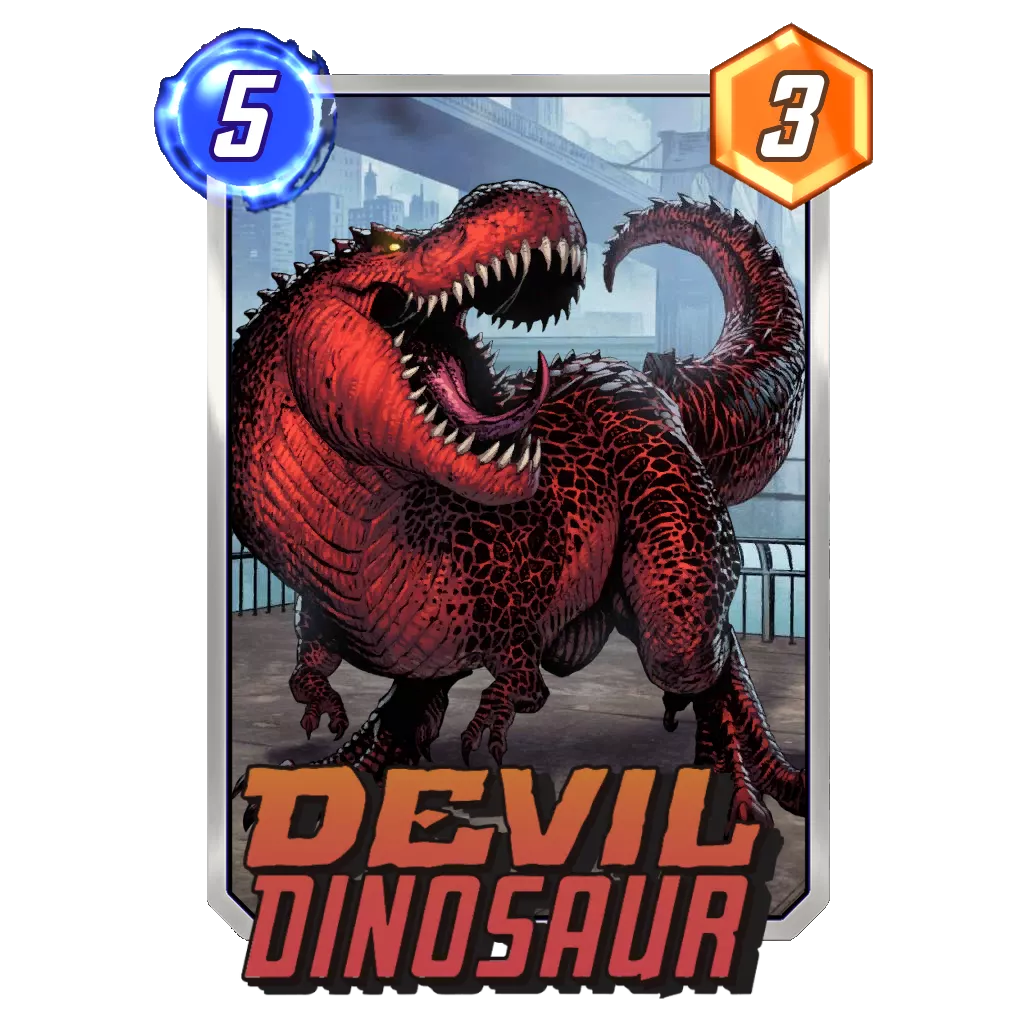
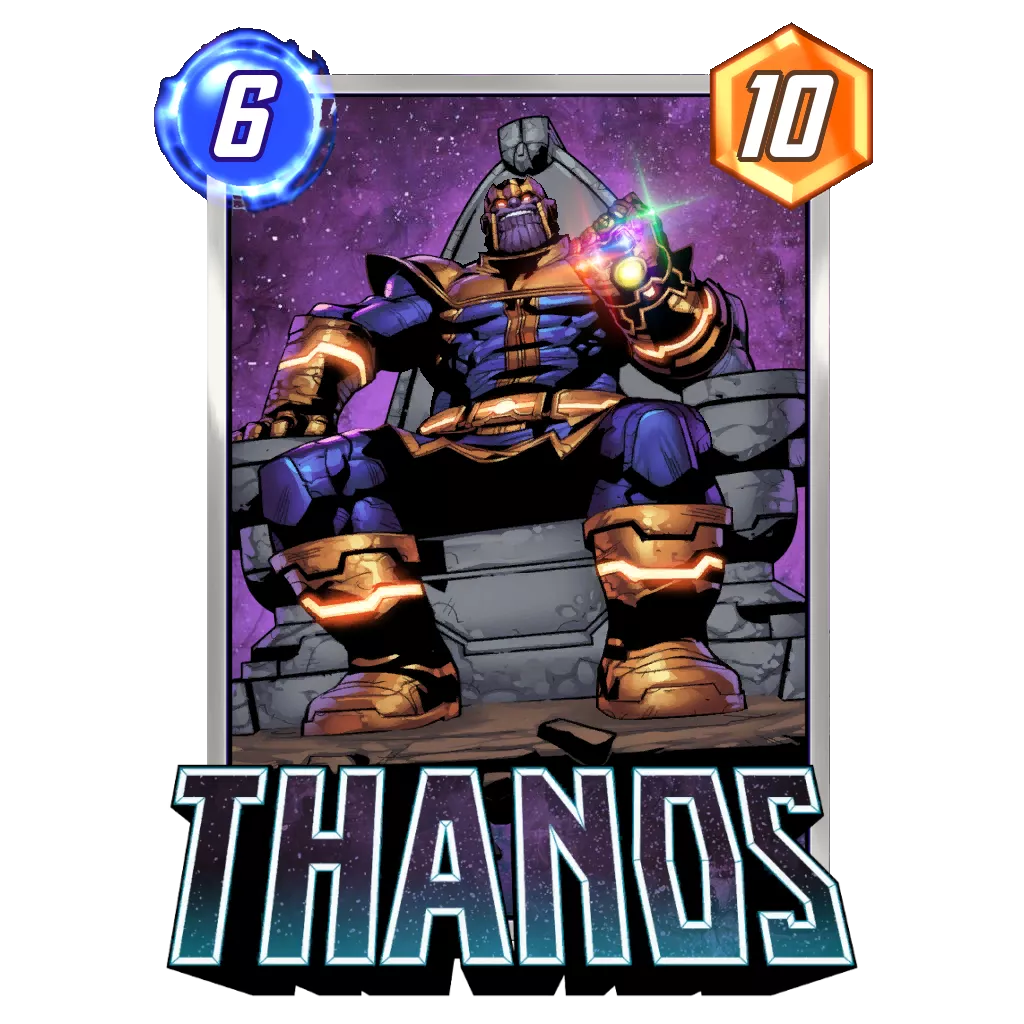
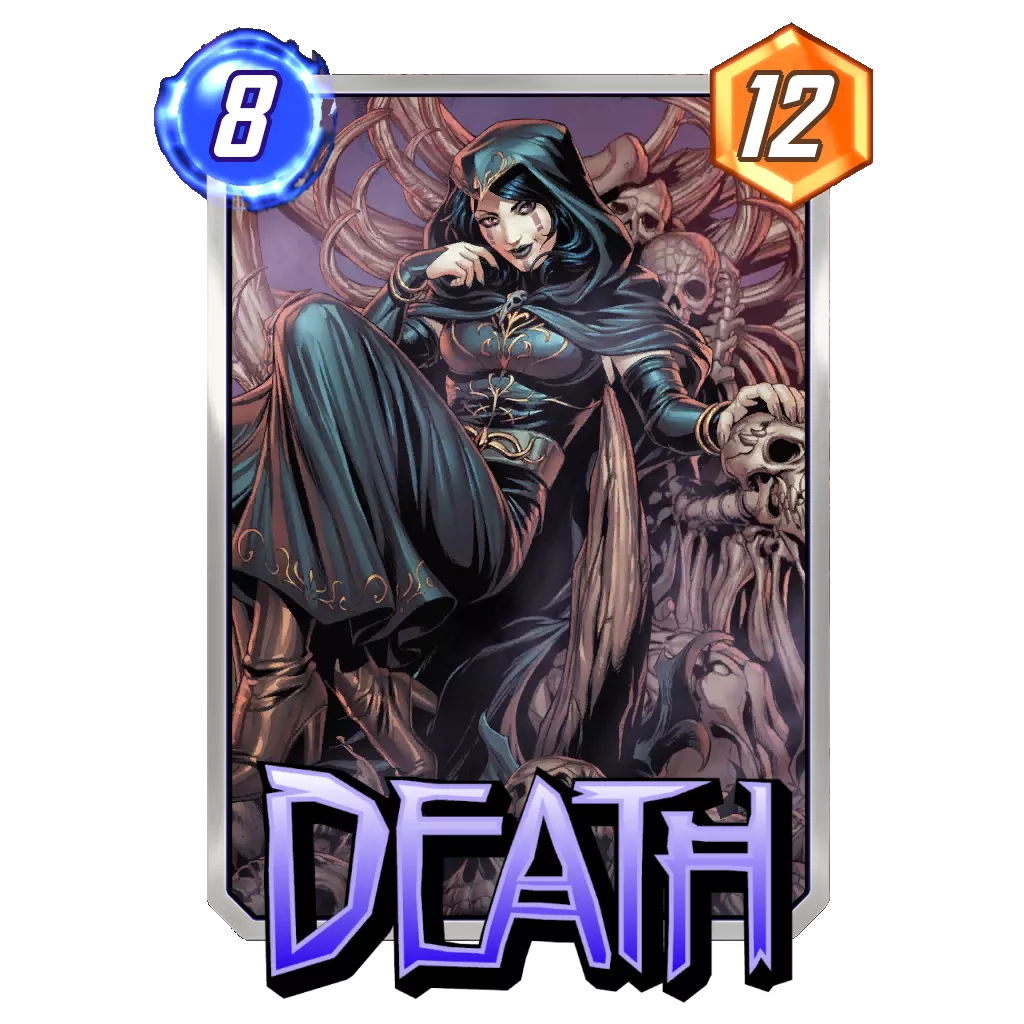
When it comes to points, your big three are Devil Dinosaur, Death, and Thanos. Although Death should be discounted by quite a bit with Killmonger hitting your Stones (and maybe some opposing cards), Knull will rarely get big enough to compete unless you manage to Shang-Chi something or play Galactus.
Note that if you managed to get enough points early on or used the Time Stone to get a 6-Cost down a turn early, you can consider Shang-Chi as a disruptive plan on Turn 6. He can be paired with Jeff the Baby Land Shark or Death for some nice fireworks.
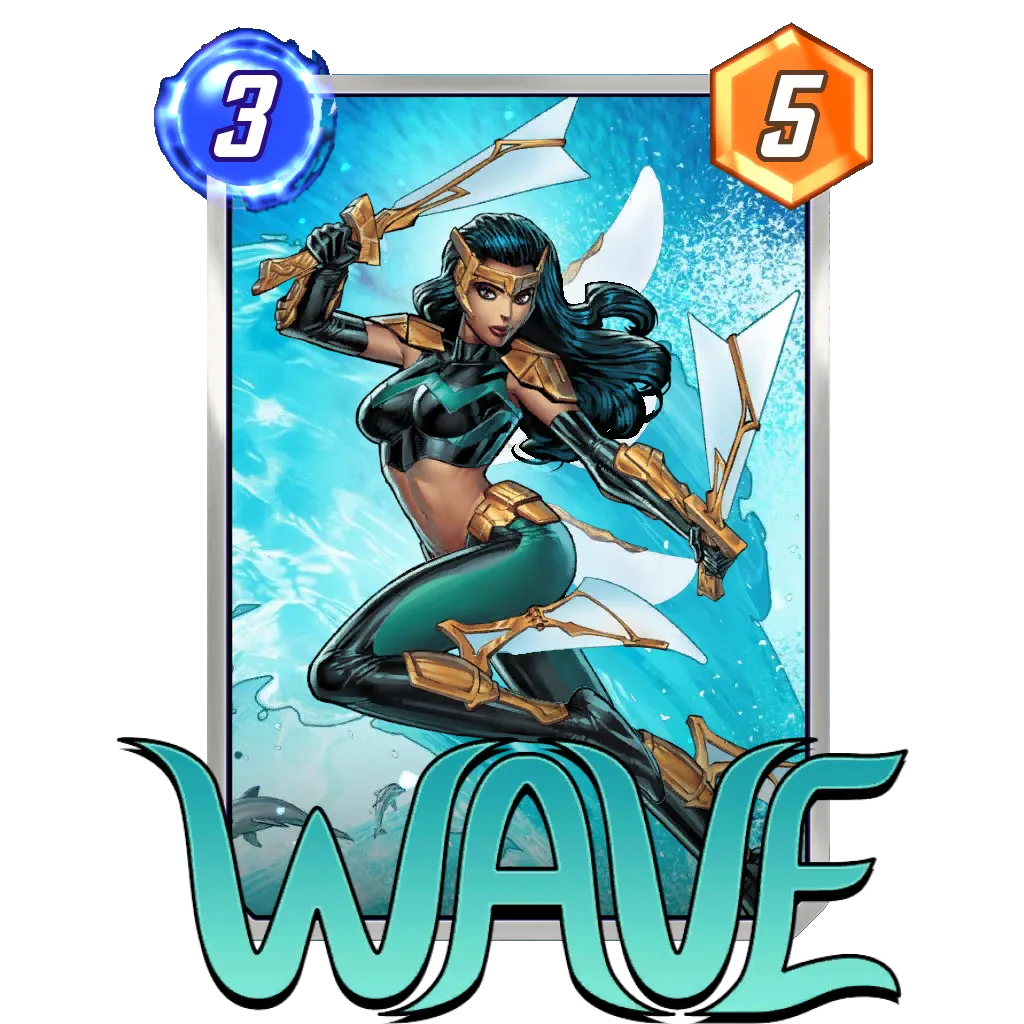
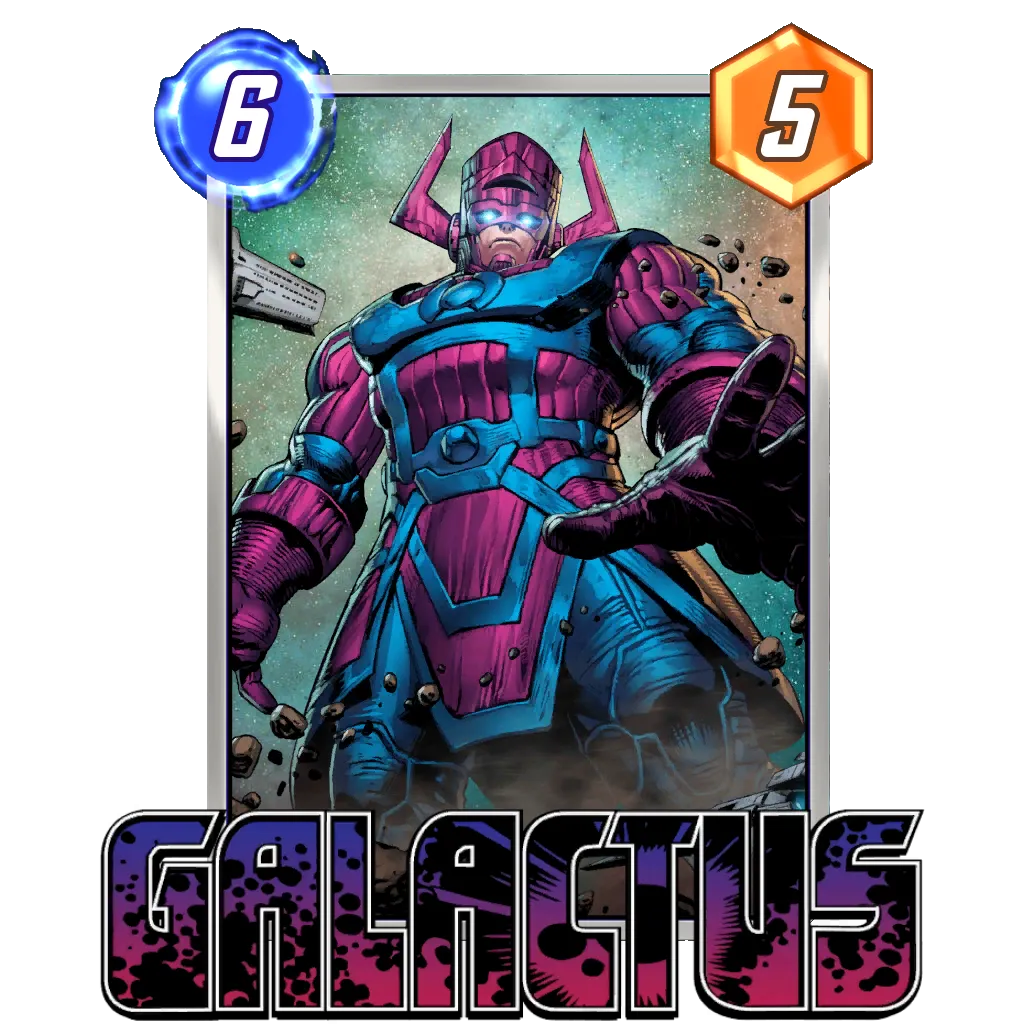
As for Wave, she serves as a disruptive tool against combo oriented decks like Sera Control and InSheNaut. Against those, a Wave plus Death on Turn 5 can be devastating for their strategy. Otherwise, Wave is ramp for Galactus, which should be played easily with priority thanks to the Infinity Stones.
Potential Additions:
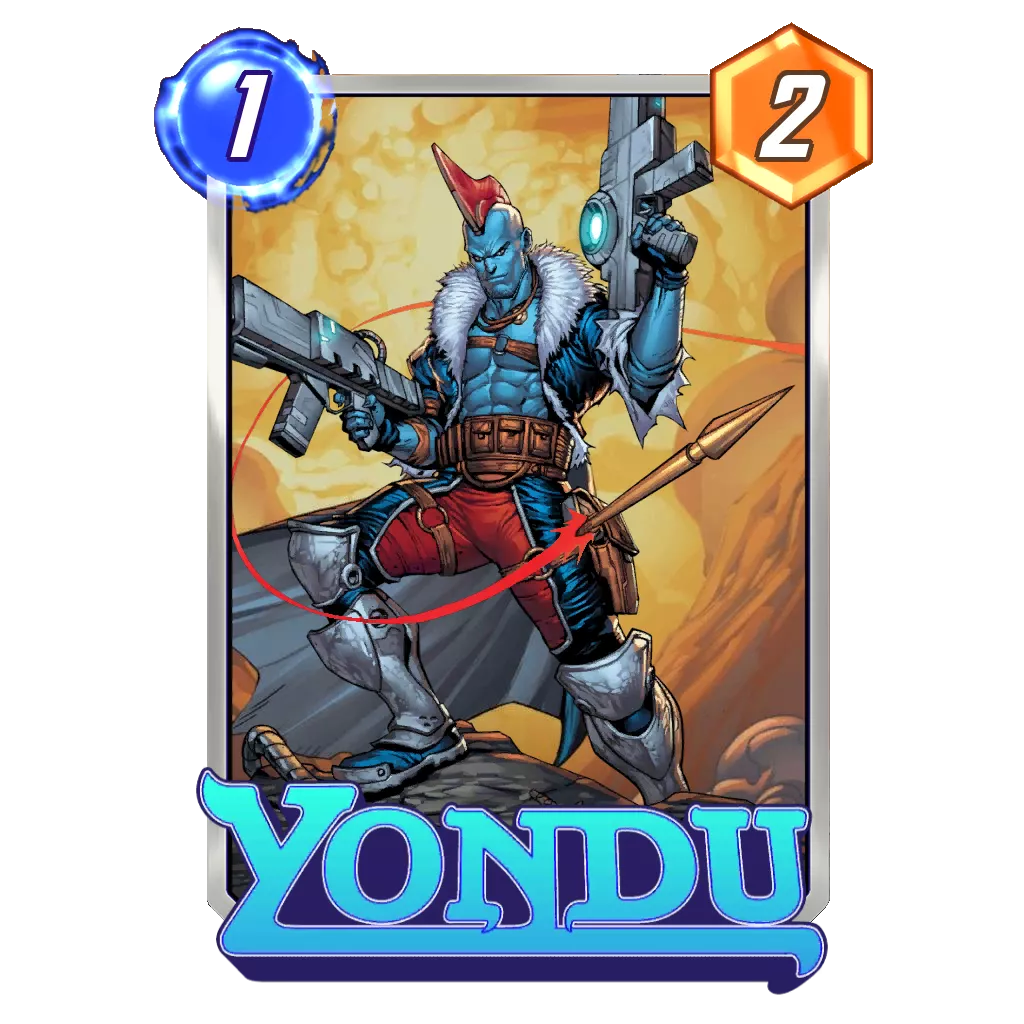
Yondu can easily fit in the build.
The more traditional list of Thanos Control also works well:
As does the classic Thanos Death:
Pure Evolutionary
Rank Justification:
This is looking much more like InSheNaut than it did in the past with Leech and Armor as the chosen tech cards. High Evolutionary relies much more on Abomination for points, as Luke Cage seems to have fallen off in popularity this season.
In all honesty, I would recommend that anyone who enjoys this deck spend some time learning how to play InSheNaut. Both decks share some obvious similarities, but they are posting very different results.
How to Play:
High Evolutionary seems to push a proactive play style and tries to play cards while keeping unspent energy in the process. Ideally, the deck will be able to build a very strong lane in the first few turns on the back of Sunspot and Evolved Misty Knight building your points total early on. Then, the deck can become more disruptive, looking to counter what the opponent is doing, or anticipate a future counter play from them.
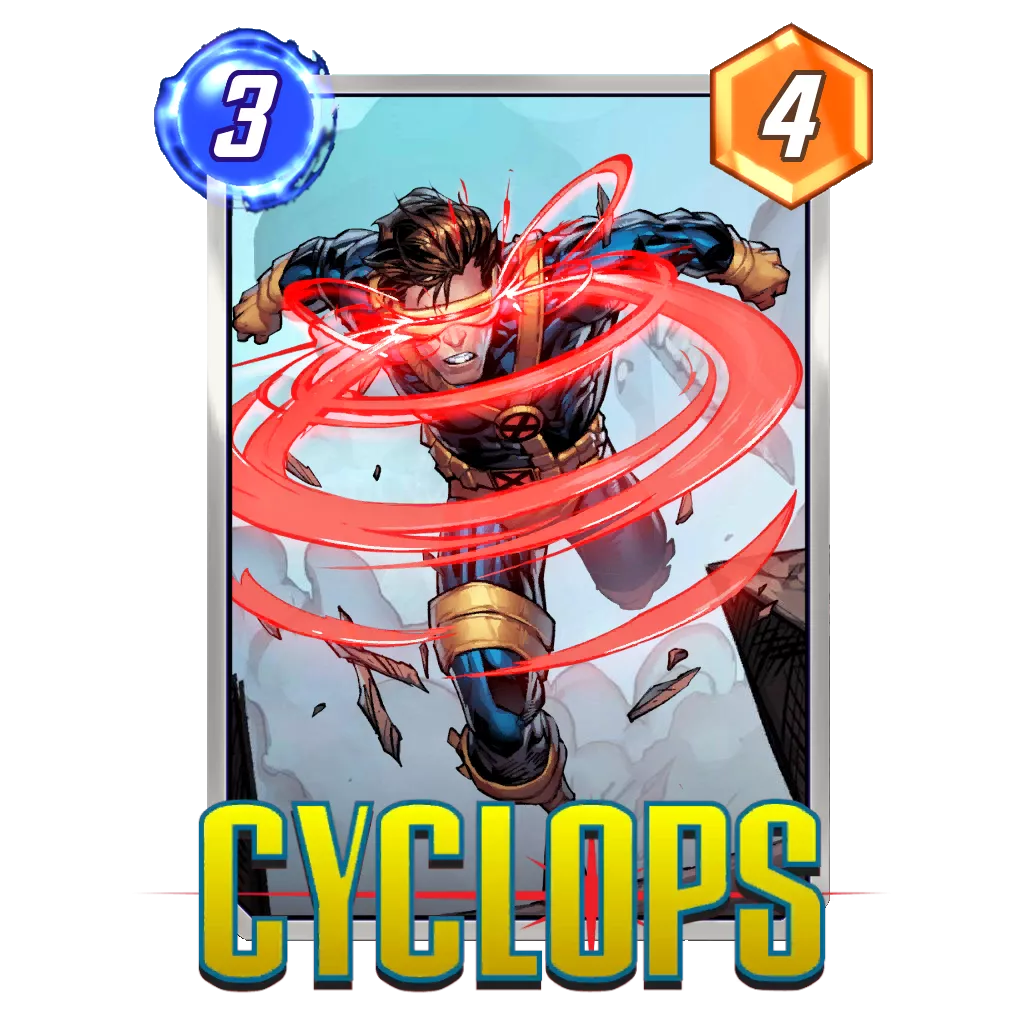
Due to its off-curve play style that typically looks to keep one unspent energy to trigger Evolved Misty Knight, Evolved Cyclops, and Evolved Hulk, the deck can be a bit awkward at first. Keep in mind that each point of unspent energy can be worth up to six total points if all your cards trigger their abilities. Here is a normal play pattern with the deck:
- Pass on Turn 1.
- Sunspot on Turn 2.
- Evolved Misty Knight or a 2-Cost on Turn 3.
- Evolved Cyclops on Turn 4.
The last turns of the game are much more flexible, as Evolved Abomination and She-Hulk can push your play patterns in various directions. These two will impact your timing for Hazmat and the amount of energy you are looking to keep unused.
Although this looks suboptimal for many decks, the various synergies in the deck will make such out of sync play patterns worth it in the end. Note that
Potential Additions:
Hazmat and Luke Cage are a popular duo in the archetype, but they seem to only serve as support for a cheaper Evolved Abomination. Scorpion and Evolved The Thing appear to do a better job at that.
Galactus Destroy
Rank Justification:
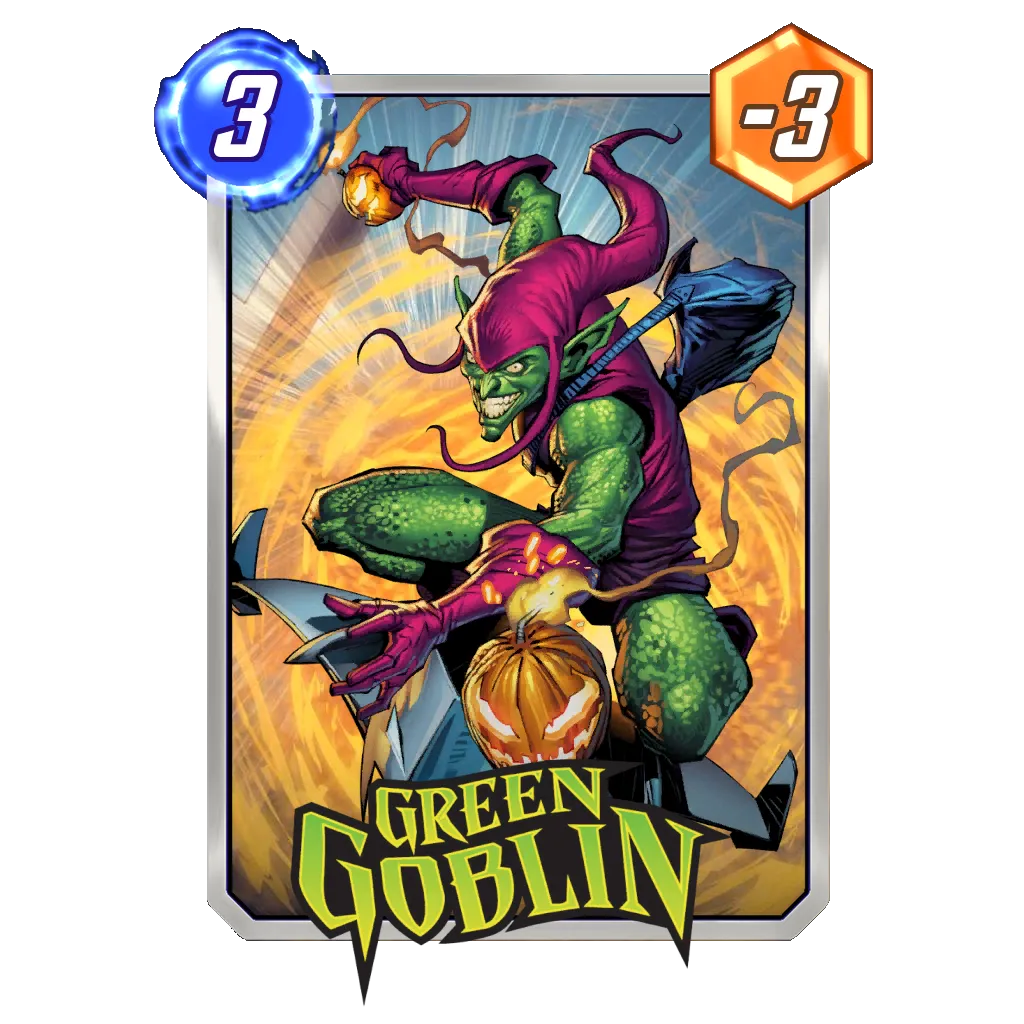
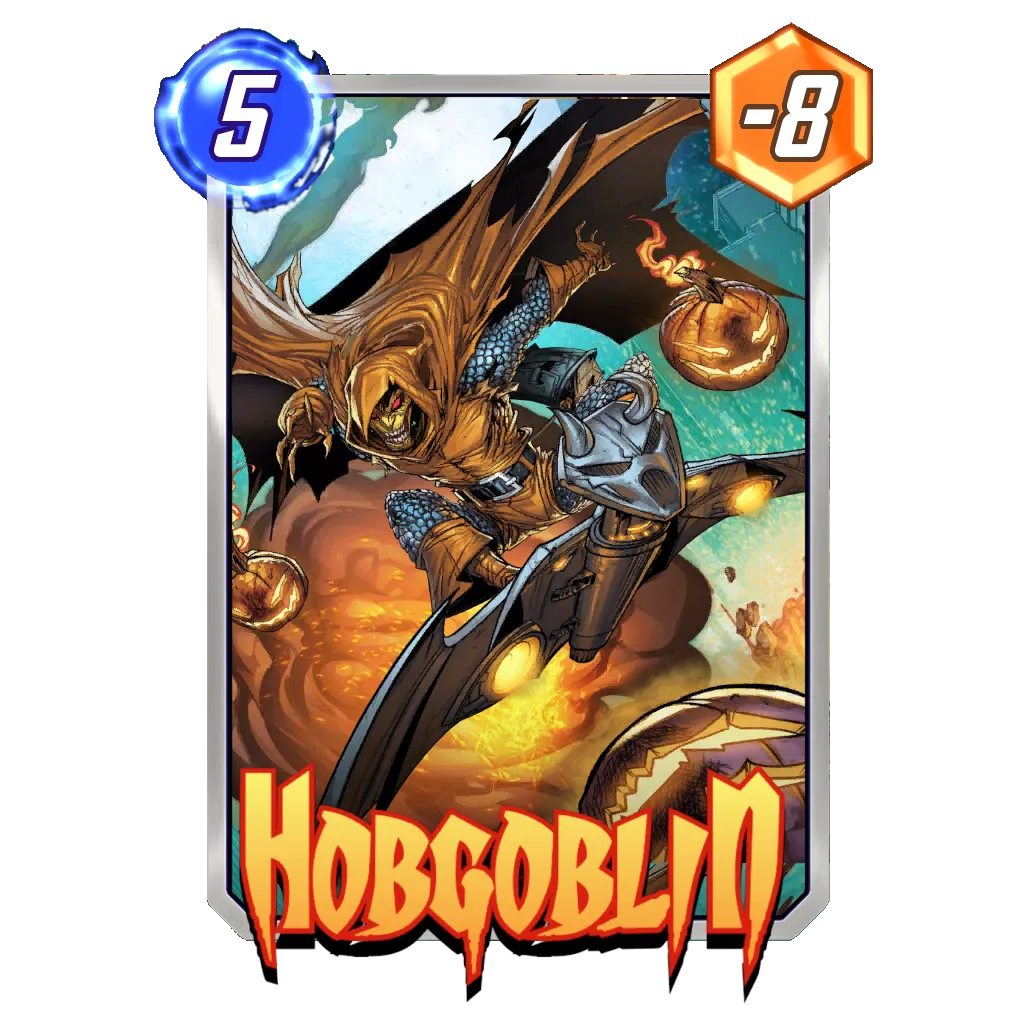
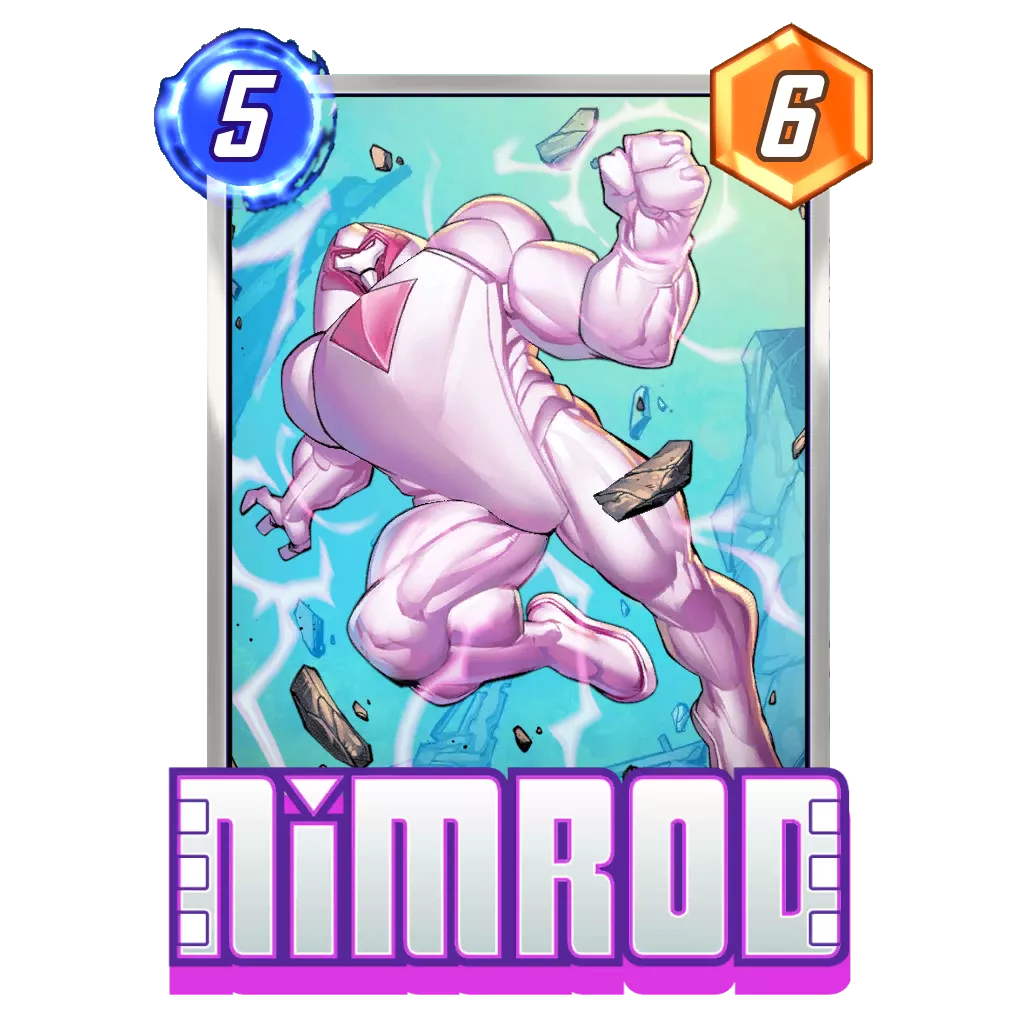
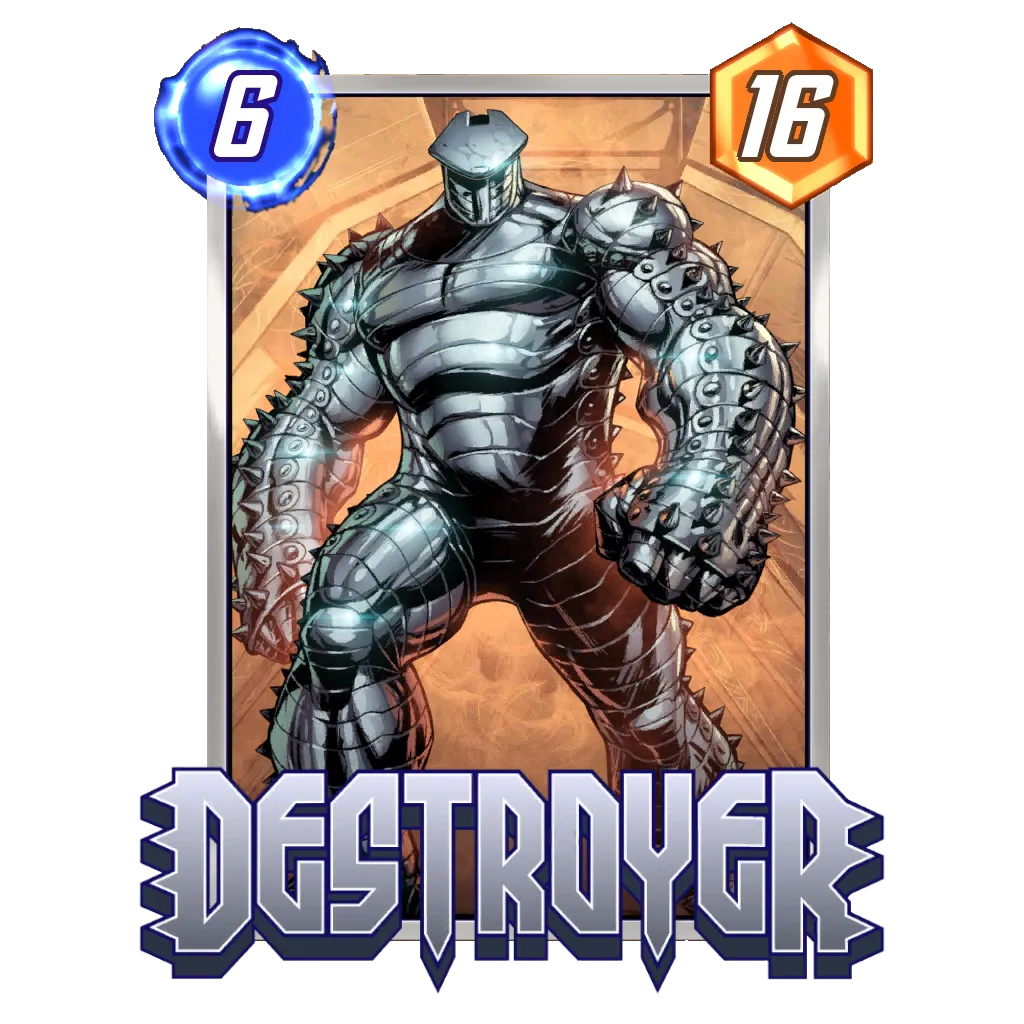
In addition to finding its way into Thanos Death Control, Galactus has joined the Destroyer Nimrod archetype and guided the deck towards more disruption. It feels a little weird to not see Death or Knull here, but this seems to be a “Galactus on Turn 6″ kind of deck.
Otherwise, this archetype has been battling with Thanos Death to be considered the best Destroy archetype. As it stands, Thanos Death‘s flexibility seems to give it the edge; however, Nimrod is doing pretty well in this Shang-Chi populated metagame. It’s the only card that can safely grow with Shuri unless you also run Armor. On top of that, the goblins have piqued my interest. They could be annoying to some of the top decks that try to be very flexible with their space.
Galactus fans are not there yet, but a 0.25 to 0.3 Cube Average could be considered promising at least. Still, some space limiting synergies might be fascinating to explore as a way to annoy several of the Tier 1 decks at once.
It seems important to mention the classic Destroyer build made it as a Silent Performer this week. The sample size is much smaller, but the performance would have landed the deck high on this list.
How to Play:
Built around the idea to abuse the destroy synergy, especially the Shuri plus Nimrod duo, to spread points across all lanes when destroying a 12 power Nimrod. Galactus Destroy also packs a secondary game plan around the Eater of Worlds and both Goblins, in case the opponent would play around our first idea. The trick with this deck is to keep the Galactus possibility open, but not necessarily actively work for it. In the end, both Green Goblin and Hobgoblin are also good inclusion alongside Destroyer, as they won’t be destroyed when we play it on turn six. Similarly to Wolverine or Nimrod, we have a group of four cards which all serve as a set-up to either our of 6-cost cards.
With that in mind, the deck has three different patterns to go for:
- Keep both lines of play open for turn six, only deciding which one is optimal then
- Actively work towards the Galactus plan, looking to keep two lanes empty through stacking our cards on one location only, plus the goblins on the others.
- Actively work towards the Destroyer plan, looking to create two solid lanes when we play it on turn six.
Obviously, the situation will dictate which scenario is the most efficient, both our opponent and the locations impacting that decision a lot. For example, an unplayable location will make Galactus much harder to pull off, the opponent likely developing more points on the other two, and Nimrod, Wolverine being able to win that location for us as well. On the other end, if you see your opponent play Armor early onto your Wolverine or Nova, you can probably safely play both Green and Hobgoblin to set up Galactus, as they should not have any ways to destroy those cards.
Potential Additions:
As the mix of two synergies, you can lean towards the Shuri side of the deck and focus on points, or lean towards the Galactus side of the deck and focus on support.
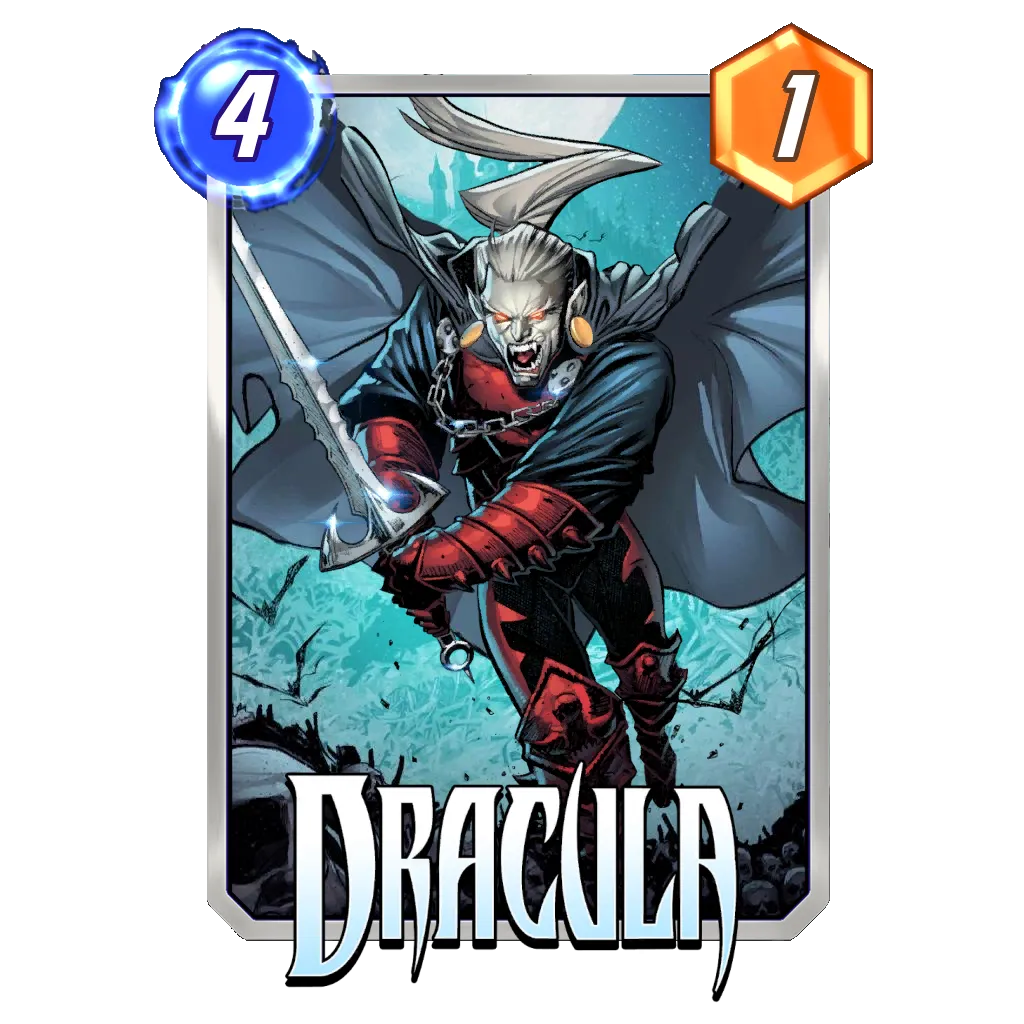
Discard Dracula
Rank Justification:
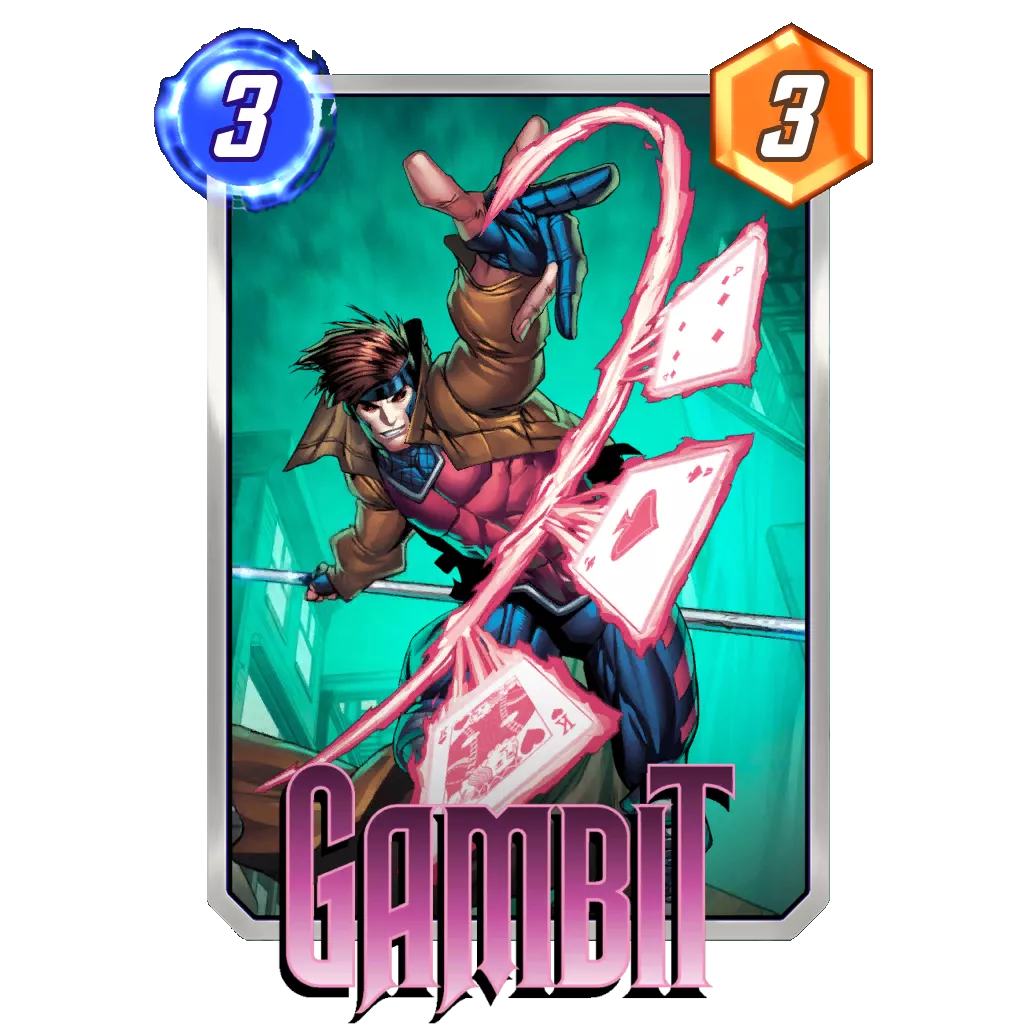
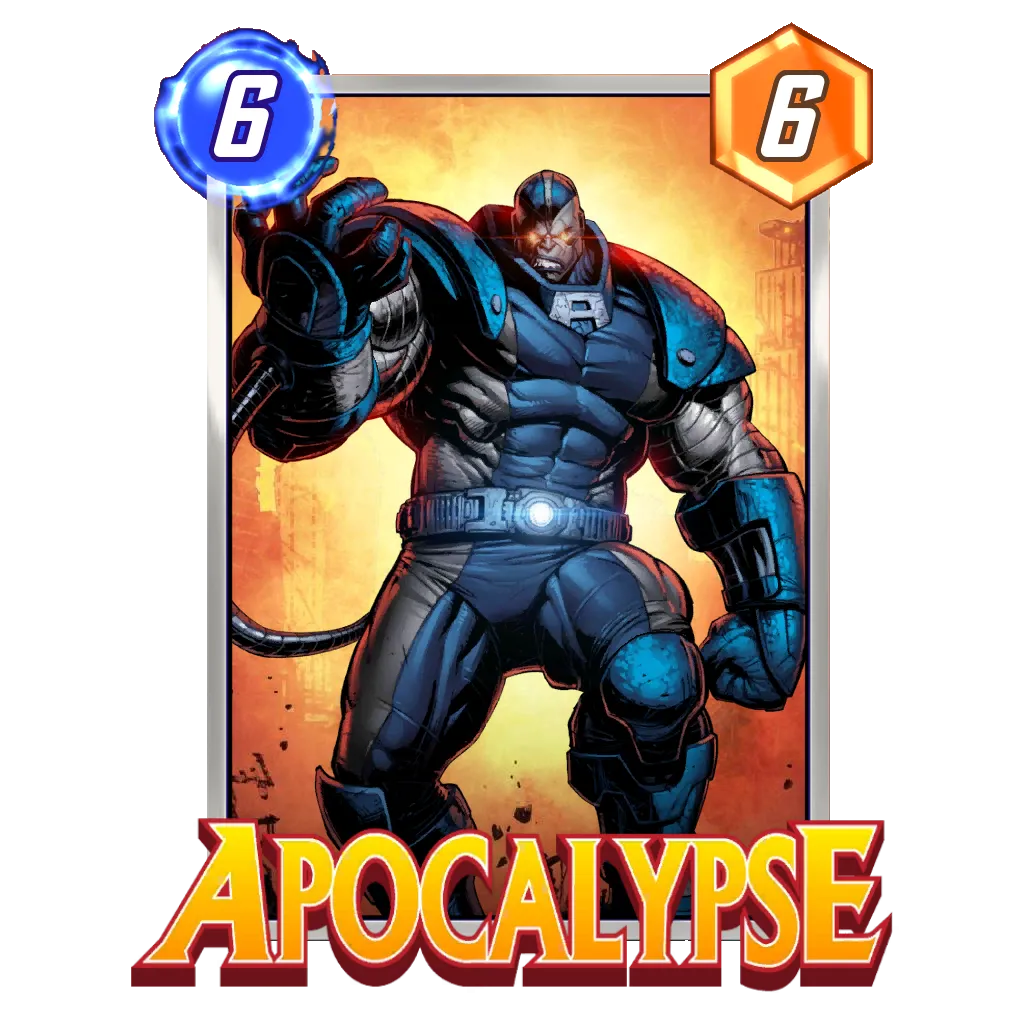
Fighting to remain a Tier 2 deck, Discard Dracula has evolved to include Gambit and Absorbing Man this week, which brings more unusual patterns to the deck. Gambit in particular seems to have gained a lot of attention since the community realized it could use the card to destroy Zabu, Kraven, and other cards that set up the opponent’s strategy. It might not always get you the discard you want when played that early in the game, but it can be a big swing nonetheless. With Good Cards Stature being the only deck with Spider-Ham right now, Apocalypse should have an easier time remaining safe in hand.
With Hela Tribunal in the Silent Performers, this was a solid week for Discard overall. The synergy typically enjoys a metagame based on points rather than a heavily disruptive environment.
How to Play:
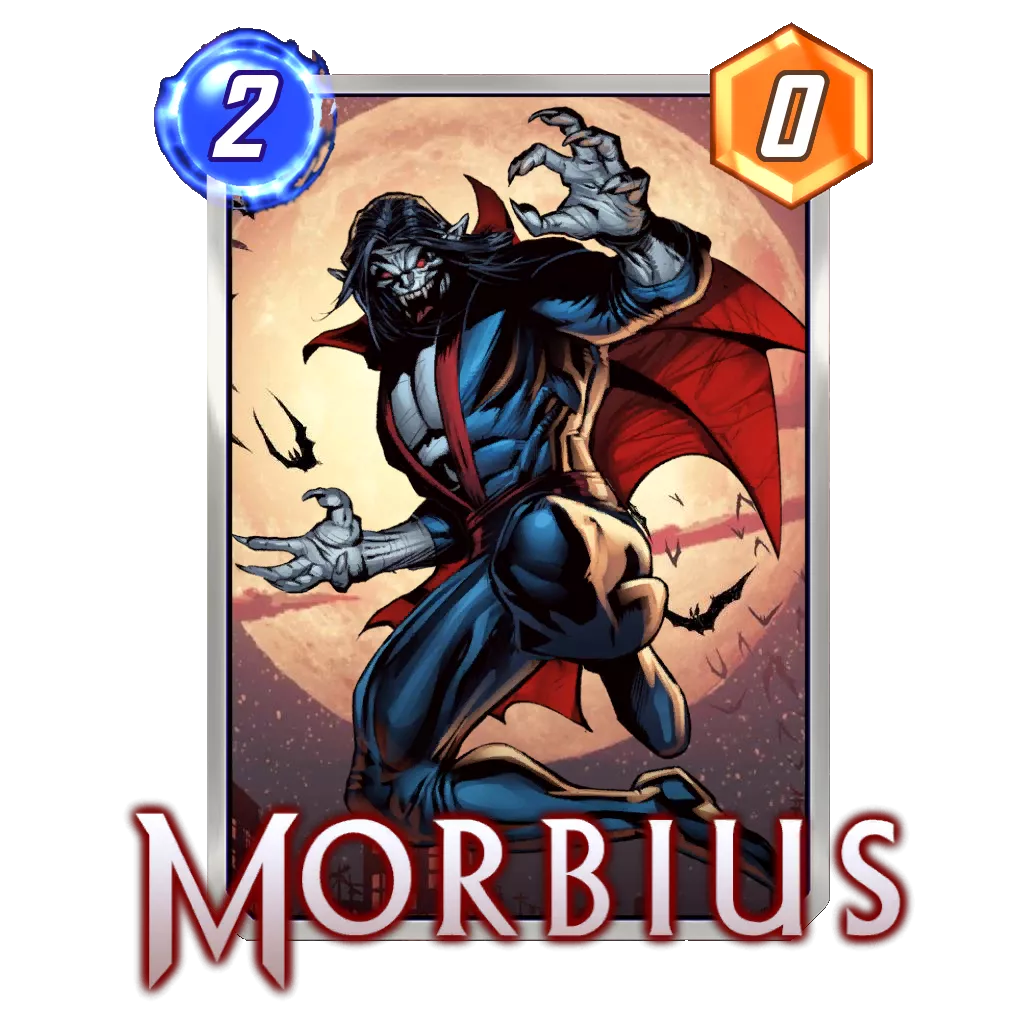
The Discard archetype relies on growing Morbius and Dracula out of proportion through discarding your hand. Most of the time, either of these two cards are able to challenge the lane they are played into on their own. Morbius can fall to Enchantress, which pushes you to support the card much more or not consider that lane a surefire win.
On the other end, Dracula isn’t weak to any card in the metagame – its ability isn’t Ongoing, and it protects itself from Shang-Chi. As such, whenever you have Apocalypse in hand and start discarding it, you can almost guarantee Dracula will be able to take over its location.
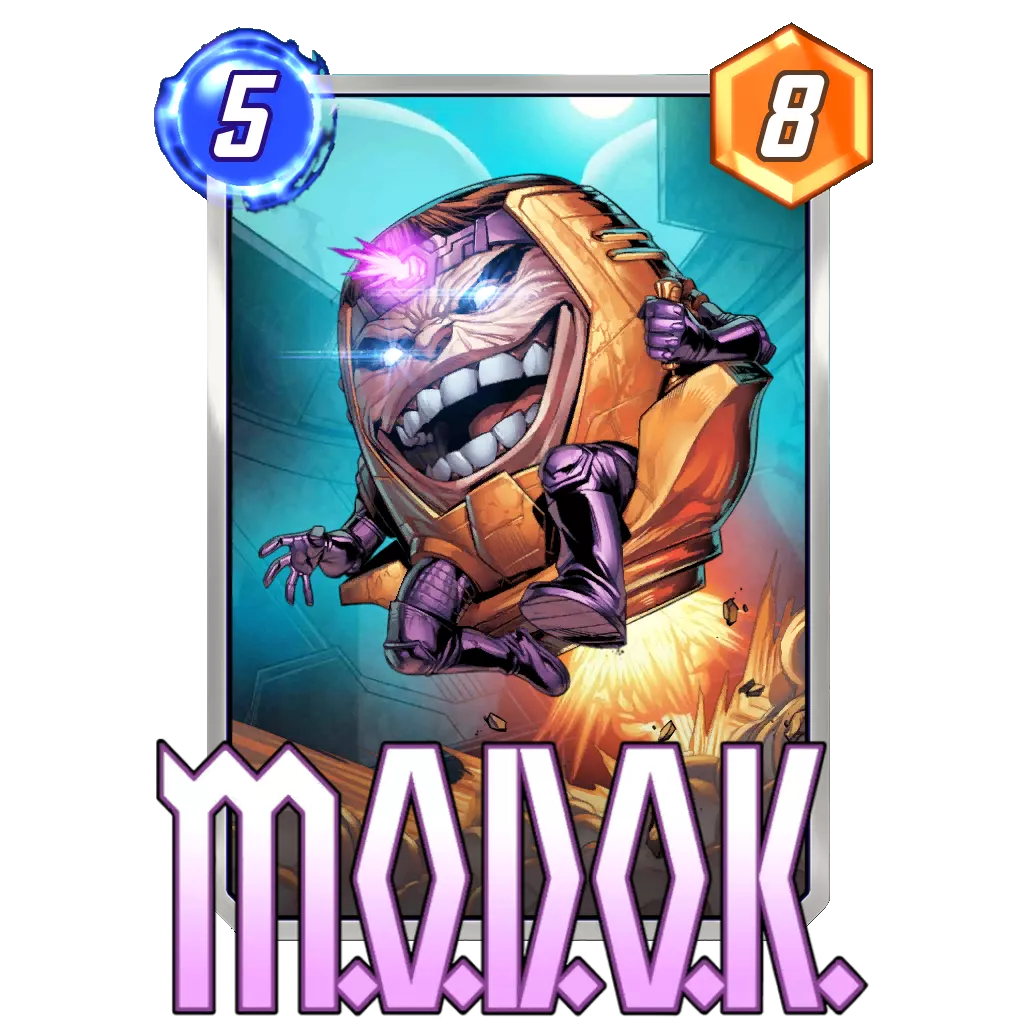
Daken could be considered the third anchor in the deck at eight power. Combined with Hellcow or MODOK, the location can quickly force the opponent to invest several cards to contest it.
Last, you have two turns to discard as much as possible and develop points the old-fashioned way. Most Discard oriented cards have solid power for their cost, so you can build a decent total through playing several of them in the same lane.
Discard’s biggest strength is also its most common weakness: it is pretty simple to understand. The hand manipulation part, as well as maximizing your odds of hitting the right card, are not such easy feats when you pick up the deck. However, the deck’s strongest points contributors are well known at this point. As such, it can often be difficult to get more than a cube out of a Morbius plus Dracula start if you did not Snap early. Similarly, your opponent should know to be careful if you start discarding Apocalypse, while they can feel better if Lady Sif discards MODOK instead.
Because the Discard deck gives the opponent a lot of information through showing the discarded cards, it is important to have an aggressive mindset; otherwise, you will regularly be forced to play by your opponent’s rules.
Potential Additions:
The more traditional build of Discard would have Wolverine and Hellcow instead of Gambit and Absorbing Man. Also, Nebula is a flexible card. It could be replaced by Iceman if you like some more disruption, or something entirely different if you fear Killmonger.
Evolved Lockjaw
Rank Justification:
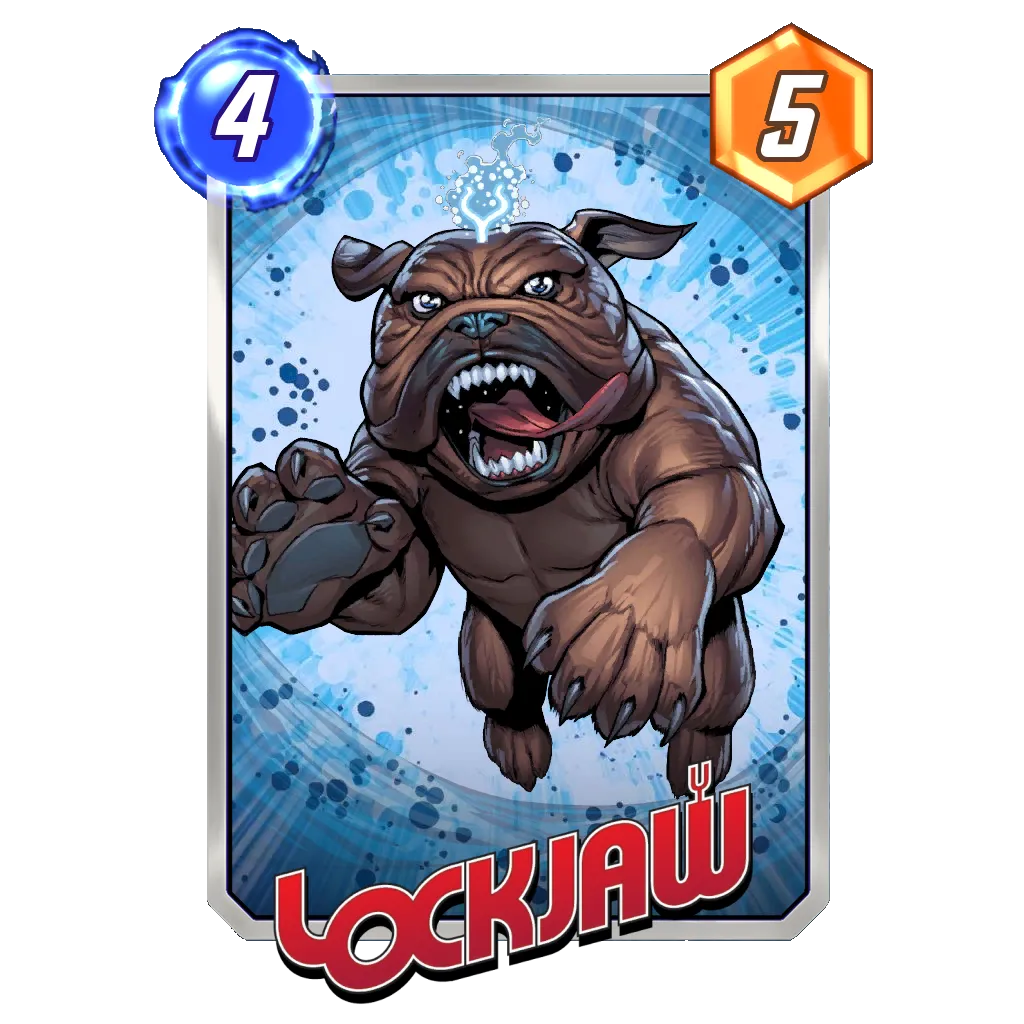
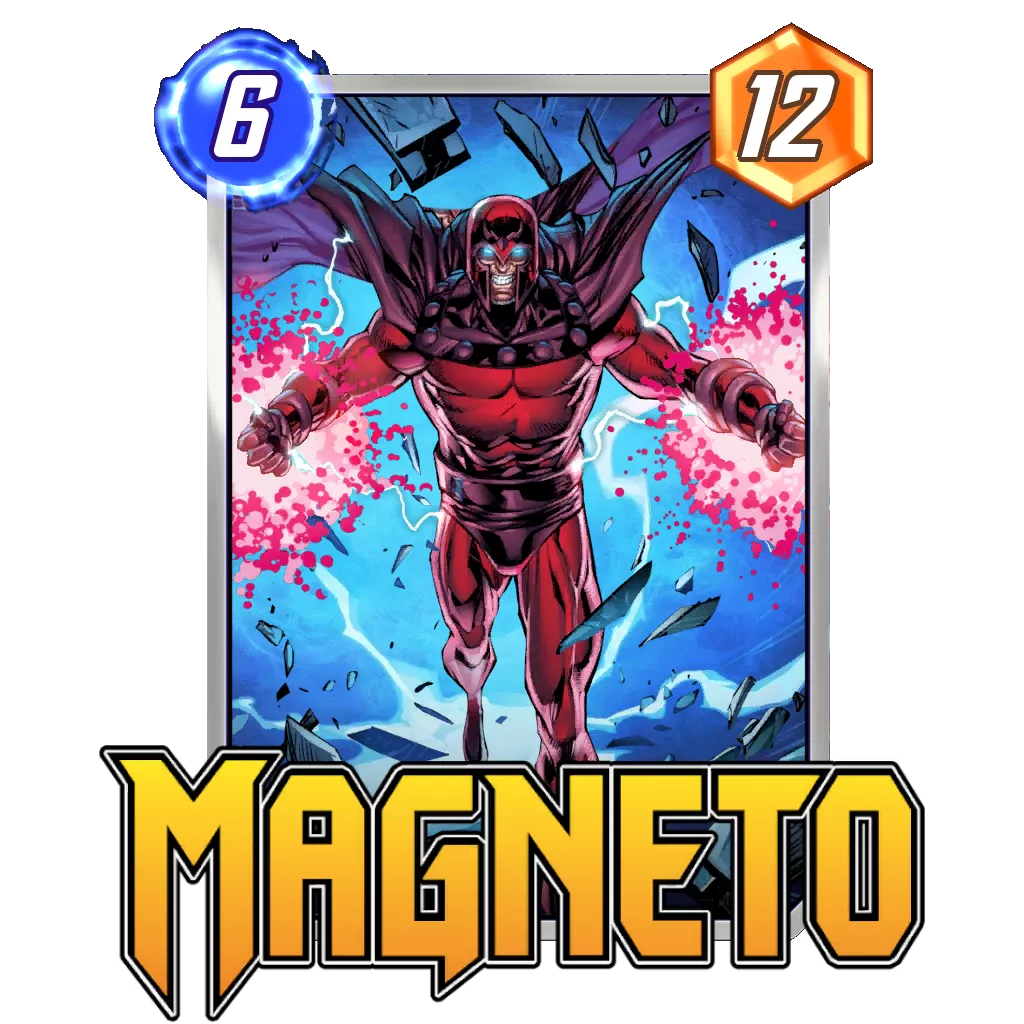
Magneto is a wonderful card currently, as most of the dominant decks rely on 3- and 4-Cost cards to develop their strategies. However, the flexibility of the current elite group, in addition to Shang-Chi appearing in almost every deck, hurts Lockjaw quite a bit. As it stands, most of the Tier 1 decks can hold their points until they see where you play Lockjaw. Then, they can develop their points on a different lane and keep Shang-Chi to challenge Lockjaw‘s lane. Through this flexible use of points, Silver Surfer, Move Legion, and Good Cards Stature can hedge their bets against Lockjaw and maximize the impact of their cards.
Looking at the numbers, the points driven approach had better results overall. It’s probably for the same reason that Shuri Sauron looks so good – it transfers the charge of playing flawlessly to the opponent since this deck is fairly straightforward whenever you draw into Lockjaw.
How to Play:
Based on its signature card, the deck aims to use cheap, weak cards behind Lockjaw in order to summon much stronger ones without paying the required energy. In that sense, Lockjaw’s lane is often very strong, and it is important to keep in mind how to win another one and not get caught up in abusing Lockjaw only.
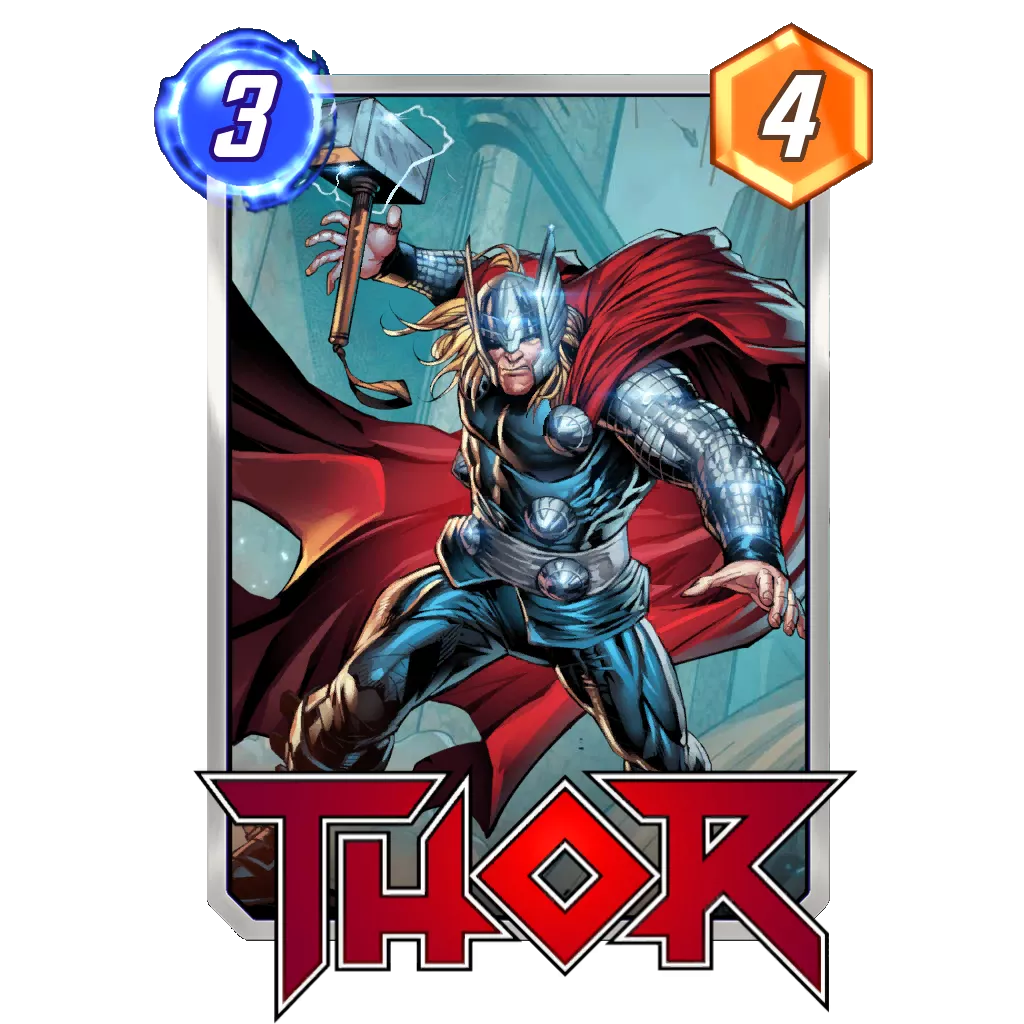
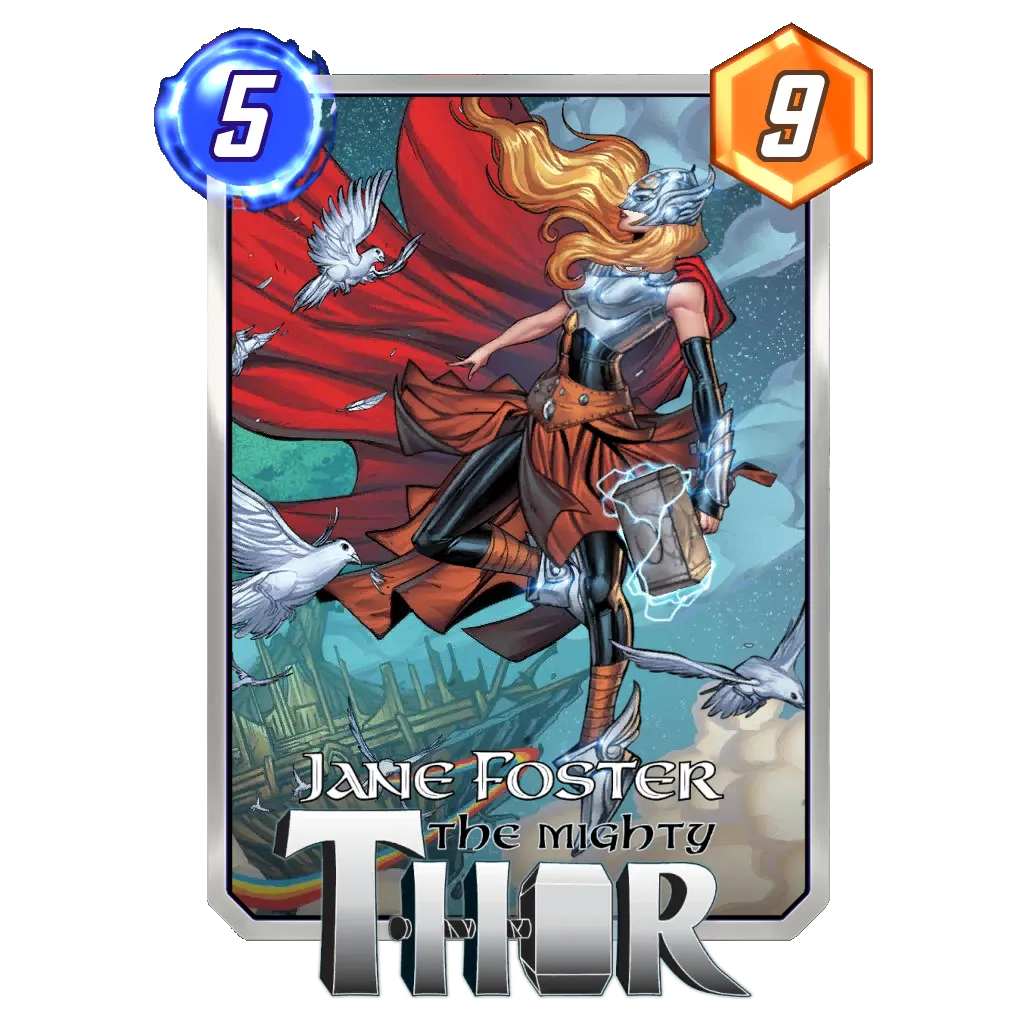
Most of the time, that second lane will be challenged by Thor, a 4- or 5-Cost card you don’t need to play behind Lockjaw, or a big Evolved Hulk at the end of the game. On the other end, Evolved Wasp, Spider-Ham, and Mjölnir are perfect to play behind Lockjaw in order to get huge cards for cheap. As the game progresses, you should be able to track where you are on each lane. For example, if Lockjaw summoned America Chavez plus Magneto by Turn 4, it might not be necessary to keep focusing on that lane. Similarly, if you already have Jane Foster Mighty Thor in hand, you can expect Thor to be a ten power card, which is a solid anchor for a lane.
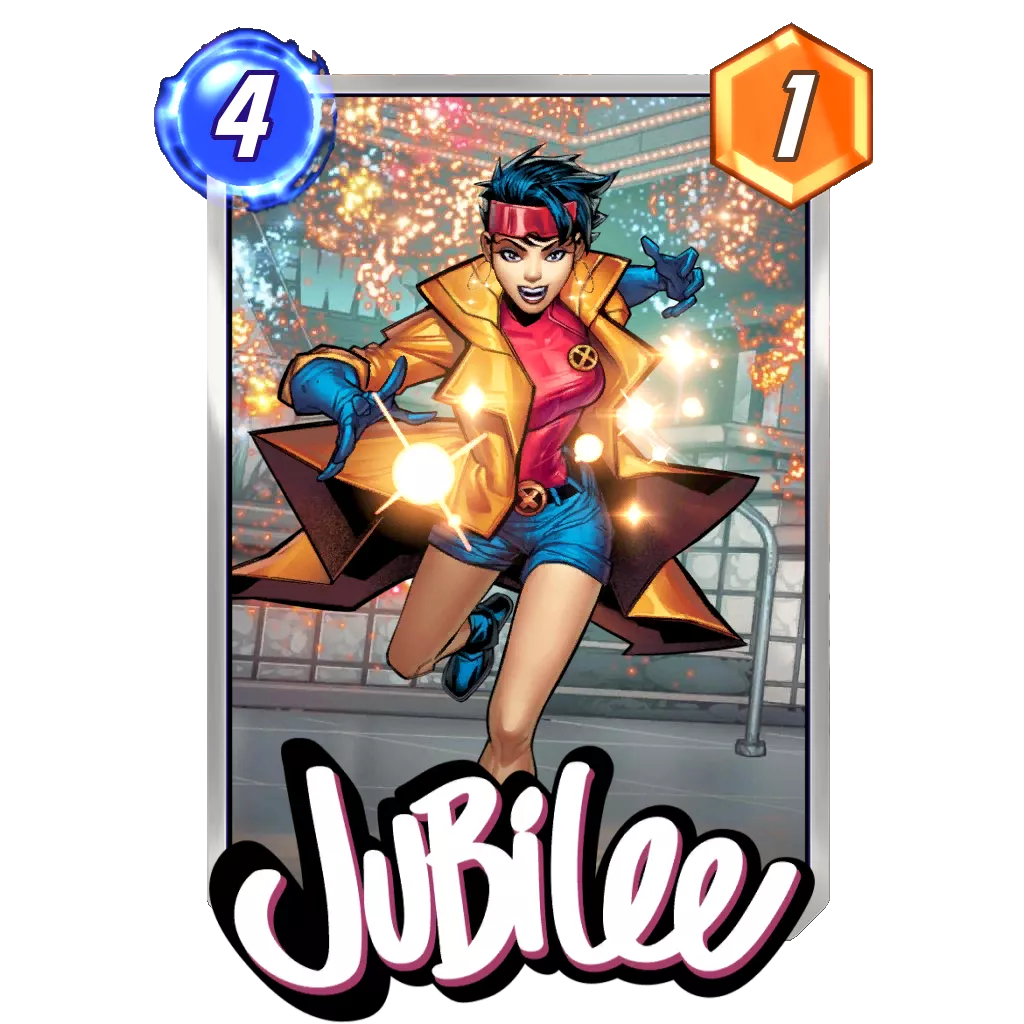
The first two turns of the game can be very quiet for a Lockjaw deck, as you aren’t looking to do much (which feeds Evolved Hulk when in hand). On Turn 3, you will either look to have Lockjaw paired with Wasp, or Thor to shuffle Mjölnir into the deck. Turn 4 will often be Jubilee or the card you didn’t play on Turn 3 (if you had both Lockjaw and Thor available).
It is usually good to assess the situation at the end of Turn 4 to know where the match is headed. Once in the final two turns of the match, the goal is to think about your best outcomes and how you can high roll enough to win the game. If ahead, the goal should be to think about tech cards the opponent can use to turn a lane around, such as Shang-Chi. Otherwise, dropping more big cards to get ahead on all three lanes with priority should be enough to secure the win. If behind, it is important to know the chances of winning Lockjaw‘s lane based on what is left in your deck, while counting how big you can get Thor to challenge the second lane.
Potential Additions:
Vision and Wave are the most commonly used cards to add flexibility or disruption to the deck. Iceman can also be considered over Spider-Ham if you value the card’s cost more than its ability.
Tier 3
Tier 3 for this post-OTA report is quite small because the Tier 1 decks eat up a lot of space in the metagame. Also, gimmick decks are slowly disappearing, or at least have a very low popularity, which places them in the Silent Performers section when they manage to post solid results.
As such, we find three solid synergies that are struggling to perform, as they routinely get annoyed by counter cards (Negative and Destroy) or cannot match the points most other decks are playing with (Thanos Zoo). Simply being in the report means these decks are worth exploring, and both Negative and Destroy got a lot of attention this weekend with their associated missions. Still, it feels like these decks need to leverage their Snaps exceptionally well in order to feel competitive compared to the rest of our list.
Negative Surfer
Thanos Zoo
Deadpool Destroy
Closing Words
As the gap widens between the top of the class and the rest of the metagame, it appears very clear that flexibility and cards able to contribute in a wide array of situations are how you win the most in Marvel Snap.
We still have two new cards to get this season, and I would argue they are probably are the strongest of the bunch. X-23 will give one more push to Destroy, and it seems to be able to contribute to any archetype able to abuse it, to be honest. Deadpool, Nimrod, Thanos Death, and Galactus are all very likely to include the card. Sure, it might bring Armor to a lot of decks, but it could be the first step into shaking the established order.
After that, I hope Silver Samurai can help Discard progress a little more, but I’m sure the card should find its way into Good Cards Stature pretty quickly. When a card comes as support to a top tier archetype, it can immediately change the whole complexity of the metagame. Just look at how impactful Forge has been for Silver Surfer.
I’m eager to see what the second part of the season holds for Marvel Snap and whether the current group of top decks will manage to hold their positions with the new cards.
As usual, find me on the Marvel Snap Zone community Discord, or follow my Twitter page where I share decks and biased opinions about the game.
Good Game Everyone.

⭐ Premium
Enjoy our content? You can Support Marvel Snap Zone and your favorite content creators by subscribing to our Premium community! Get the most of your Marvel Snap experience with the following perks for paid membership:
- No ads: Browse the entire website ad-free, both display and video.
- Exclusive Content: Get instant access to all our Premium articles!
- Meta Reports: Exclusive daily meta reports, such as the Ultimate Card Metrics Report, Top 10 Decks of the Day, Top 30 Cards, and Top Card Pairs tailored for you!
- Team Coaching: Join our free weekly team coaching call sessions on the Discord server. Claim your Premium role and gain access to exclusive channels where you can learn and discuss in real time!
- Premium Dashboard: Get full instant access to the member-only dashboard, the all-in-one page for all your benefits.
- Support: All your contributions get directly reinvested into the website to increase your viewing experience! You get also get a Premium badge and border on your profile.
- Special offer: For a limited time, use coupon code SBYREX4RL1 to get 50% off the Annual plan!


