
Table of Contents
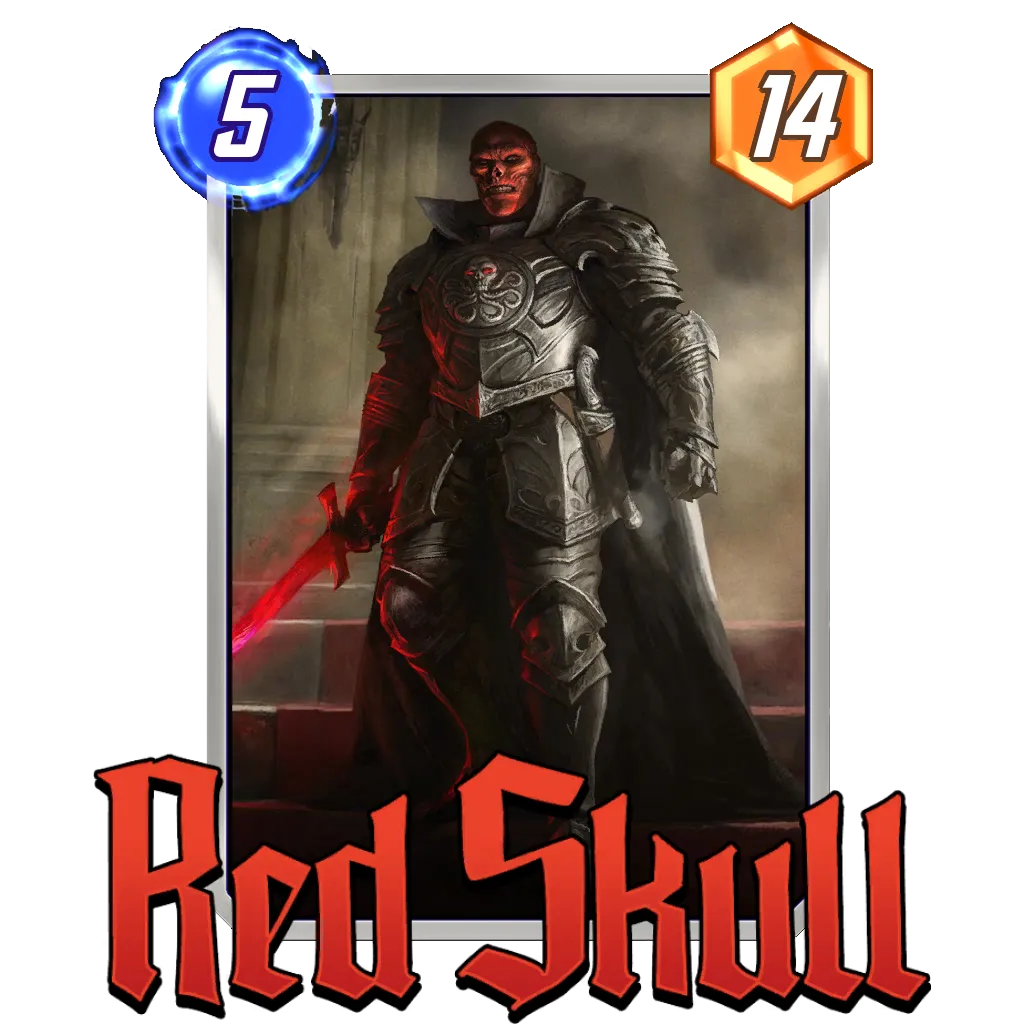
My dear Red Skull, our friends at Second Dinner were very hard on you… Fortunately, they decided to reconsider.
I think there’s no doubt that Shuri was the best deck in the game for a season a few months ago. Few decks have been considered Tier 0, meaning “you can’t play any better than this”, and Shuri definitely carried that title for some time.
The truth is that the archetype presented in the guide today is an iteration with significant differences. Sauron dropped to Series 3 sometime after Shuri dominated the meta, and the nerf to Shuri and Red Skull caused people to be somewhat discouraged from trying the card out.
Now that our esteemed Johann Schmidt (yes, that’s Red Skull‘s name) is back in full force, not considering the possibility of playing Shuri would be a mistake. With all of this in mind, I think there’s never been a better time to throw Sauron into the mix than right now!
Deck Presentation
 Bohe
Bohe


I think one of the best possible tools when looking for detailed information on game statistics is MarvelSnap.gg via the Marvel Snap Tracker.
When I made the decision to embark this article, I started to look for the best possible list of the archetype, and it was thanks to our tracker data that I came across this:

64.44% Win Rate and 0.76 Average Cubes in 90 games is something certainly worth looking into. In fact, after investigating further, I realized that if any version of the deck could be considered the “base version”, it would be this one.
Concept and Strategy
This deck has several ways to put a considerable amount of points in more than one location:
- The classic curve is to play Shuri on Turn 4, Red Skull on Turn 5, and Taskmaster on Turn 6. This will leave you with 30 points on one location and 28 in another one.
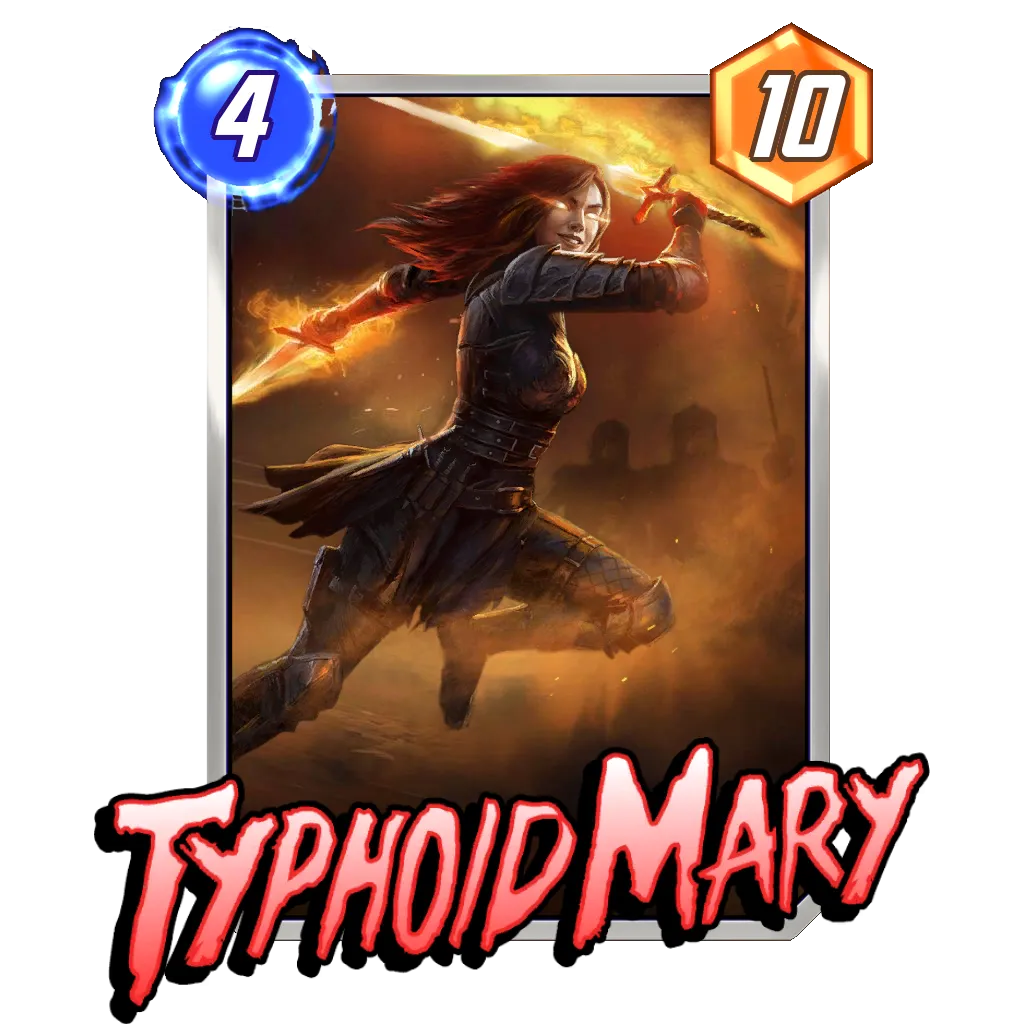
- The same play can be done with Typhoid Mary, making 22 and 20 points respectively.
After these two core plays, the range of options opens up quite a bit. Thanks to Zero and Sauron, we can play every card in our deck without worrying about their drawbacks. Playing Ebony Maw as a [1|7] on any turn of the game always feels like a pretty powerful move.
Do you remember how strong Stature was in combination with Black Bolt? Ebony Maw‘s interaction with Zero and Sauron feels just as potent.
We also have a way to protect our tanks with Armor, ramp to our 4-Cost cards with Zabu, and remove Ongoing effects (either ours or our opponents) with Enchantress. This last one is quite important as it ties the deck together in case we don’t find our Zero or Sauron.
Core Cards
Shuri Core


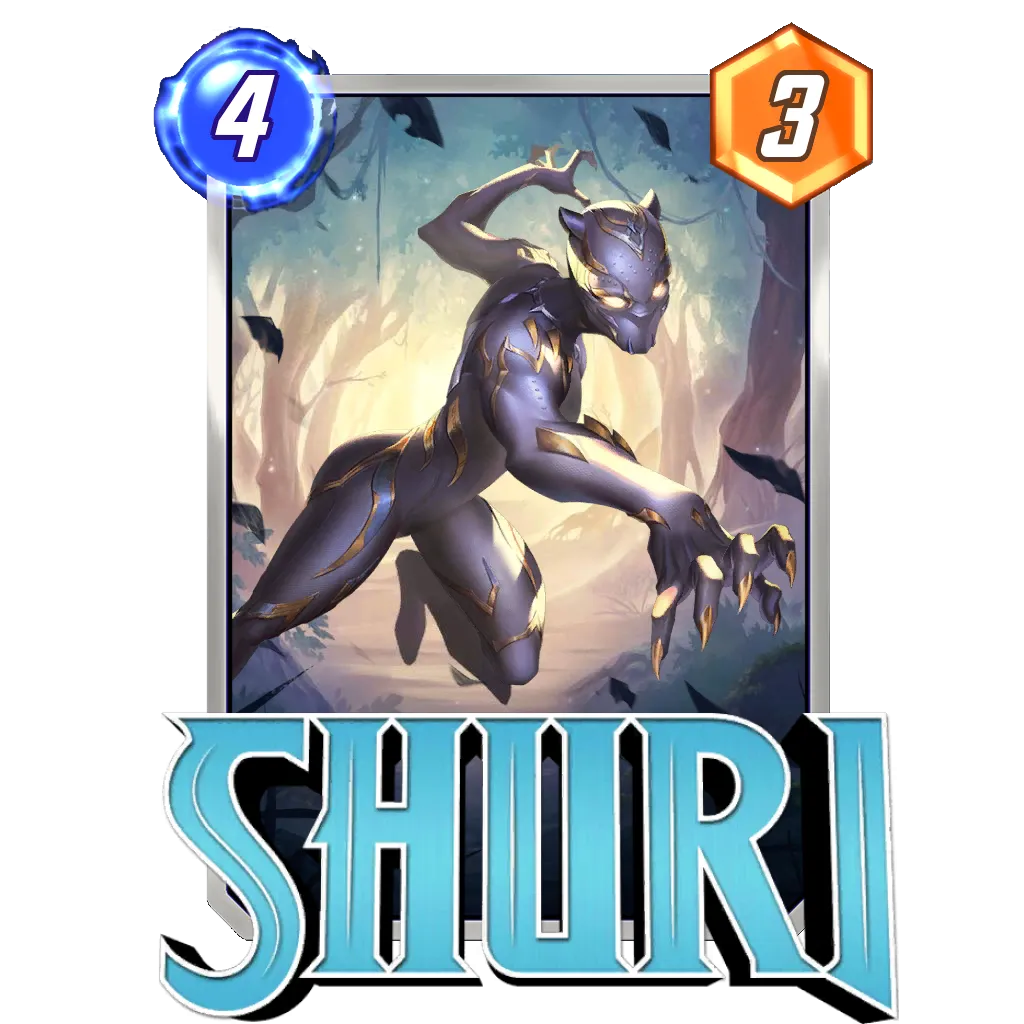


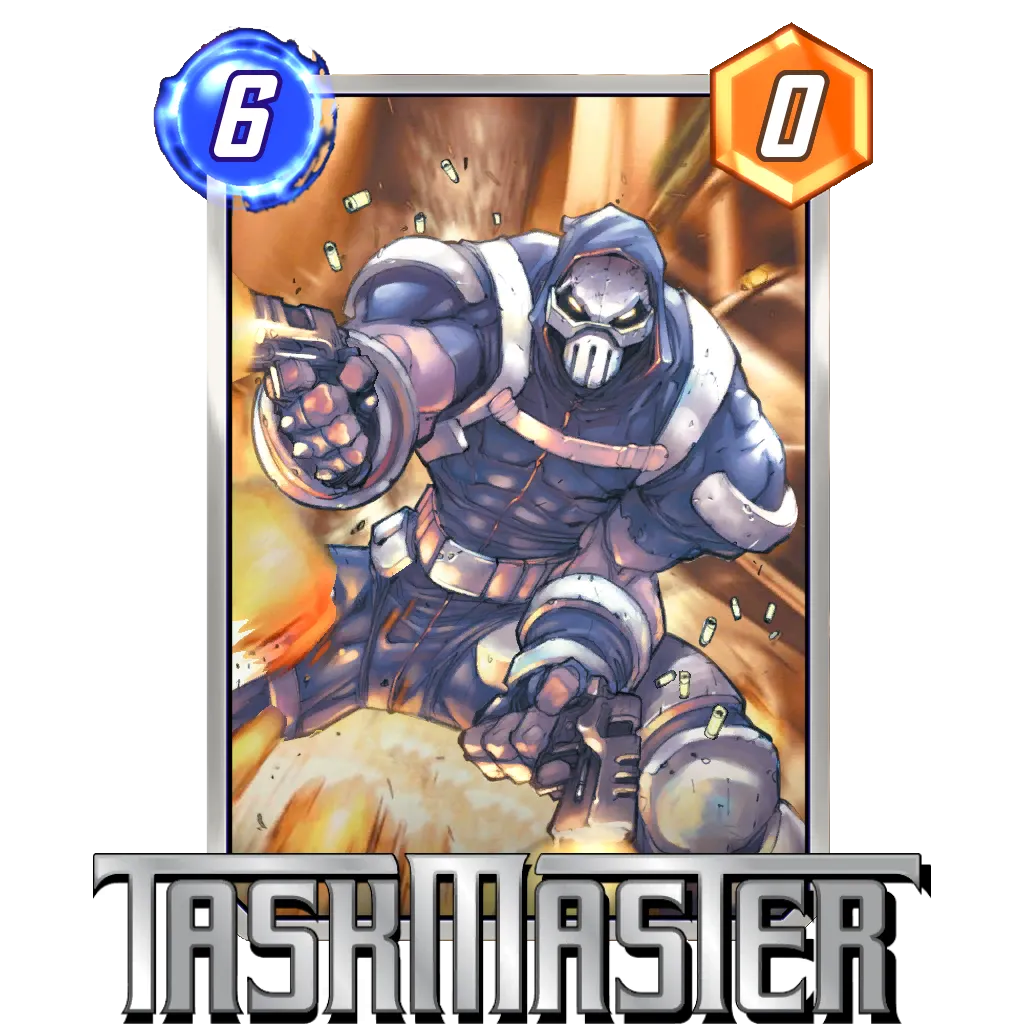


These three cards are the main reason this deck is strong and can compete against the current meta.
If they are played in sequence, they force the opponent to have a response. They’ll either have to interact with one of our huge cards (something not so easy thanks to our protection cards), or make more than 28 points in two locations. Otherwise, they resign themselves to losing.
Something that gives the deck strength is that even if we don’t play these three cards together, they each have great synergy with the rest of the deck. Not playing these three cards in a row doesn’t mean we’ve lost. It is undoubtedly our most powerful line of play, but it’s not the only one that lets us get ahead.
Remove Core


Playing Red Skull without support can be tricky at times. While it’s sometimes capable of winning a location on its own, its drawback often makes matters worse if we don’t double its power with Shuri.
That’s where these three cards come into play. They’re not only for Red Skull, but also for Ebony Maw, Lizard, and Typhoid Mary. Being able to play a [1|7], [2|5], or [4|10] without penalties is something the game theoretically doesn’t want us to do.
This core allows us to remove those negative effects and have strong options throughout the game consistently.
The case of Enchantress is special. It has no interaction with Ebony Maw, but it can shut down the drawbacks of our other negative Ongoing cards. It also gives us options against popular cards in the meta like Evolved Hulk, Darkhawk, Devil Dinosaur, and Knull.
Drawback Core


All these cards have negative effects because their stats are too strong for their energy cost (we also could include Red Skull here, but we already talk about it).
The great advantage of our deck, unlike other archetypes, is that we can enable these cards by disabling them all at the same time. All we have to do is play Sauron on Turn 3 or Turn 4.
In other archetypes, it’s sometimes necessary to include several cards to ensure consistency in making the plan coherent. And while we do the same with Zero and Enchantress as backup, we don’t necessarily need to make card-by-card combinations.
I’ll give you an example. If we have The Hood, Carnage, Viper, and Sentry in the same deck, we need to have drawn all four cards during the game in order to reliably deal with The Hood and The Void. Here, putting Sauron into play on Turn 3 is enough to turn off all of the drawbacks of our cards, which gives us more flexibility when choosing the best play patterns.
Support Core


These three cards make the archetype have consistency and solidity.
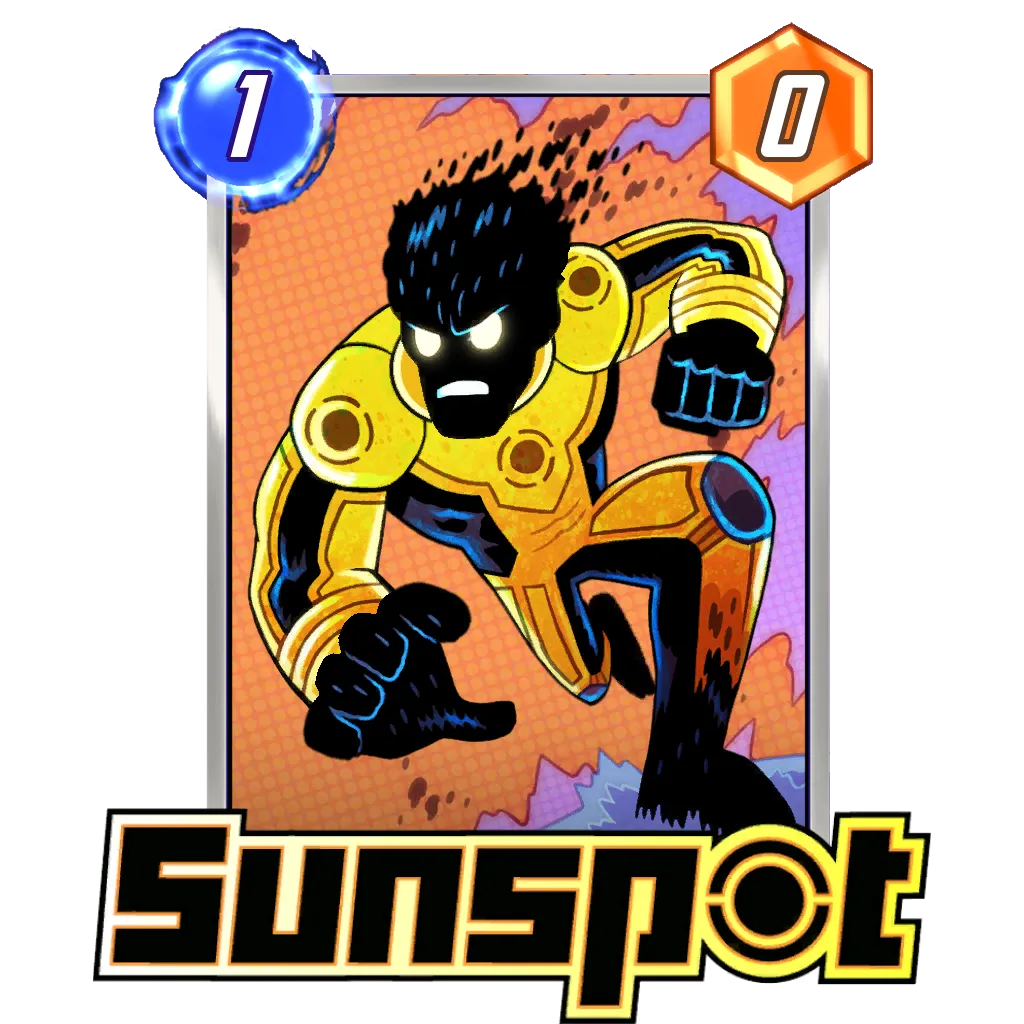
While the options for an additional drop one on top of Zero are diverse, I think Sunspot has certain advantages over the others. Having agency in deciding when to power up Sunspot gives us more control over the game. In the perfect scenario, we tend to use all our energy every turn, but when that does happen our 1-drop is mostly irrelevant. It’s just when we don’t have the perfect curve that I think Sunspot is more useful than other options like Nebula.
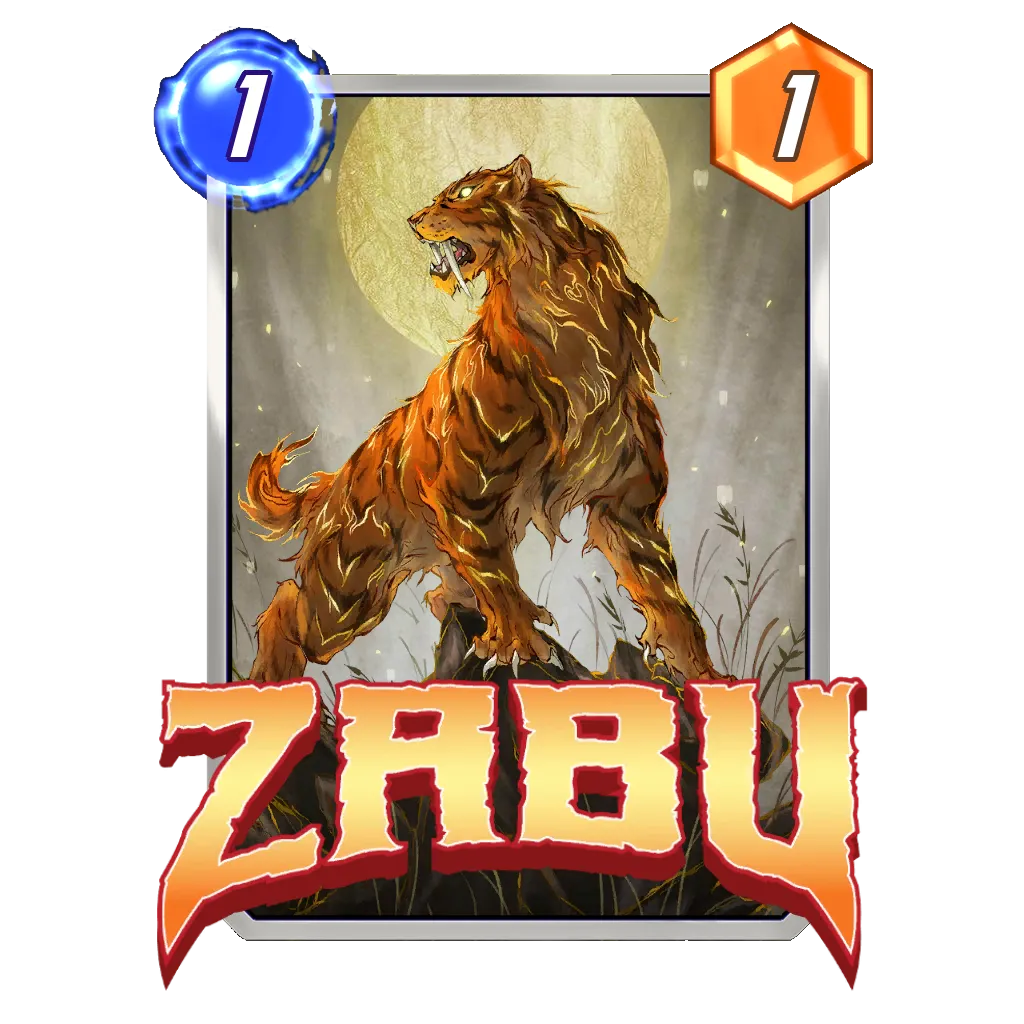
As for Zabu and Armor, running both cards has simple reasons. We have three 4-Cost cards, which is why Zabu allows us to speed up our game and have alternate play patterns earlier on. I think any deck with three or more 4-Cost cards should have Zabu – no matter what.
Running Armor just makes sense; protecting cards that can be destroyed by Shang-Chi is a must. You always have to play knowing that dropping Sauron before Armor will remove its effect, though. It’s not contradictory to play both cards in the same deck, you just have to play carefully and learn to make decisions correctly, even if it requires waiting a turn and playing patiently.
Card Substitutions


The discussion between Sunspot and Nebula is always interesting. I used to think that Nebula was Sunspot on steroids; however, after some time, I think that it’s a matter of taste in the end.
Sunspot lets us choose when to give it power in exchange for giving up energy, and it protects us in games where our curve does not line up. Nebula instead forces our opponents to respond, and it’s they who decide if Nebula grows or not.
Some people are playing Kitty Pryde in this archetype. It’s not bad to have a card that works as an energy sink and lets us do something with our unspent energy. Viewed this way, it could be like a Sunspot that grows by two power per energy instead of one, but it can’t grow more than once per turn.
Curious, yes, and it’s not a bad idea. Still, I think that Sunspot is the best option in general terms. I don’t want to draw Kitty Pryde or Nebula on later turns, and Sunspot is good throughout the game.


Some other cards go very well with Zero.
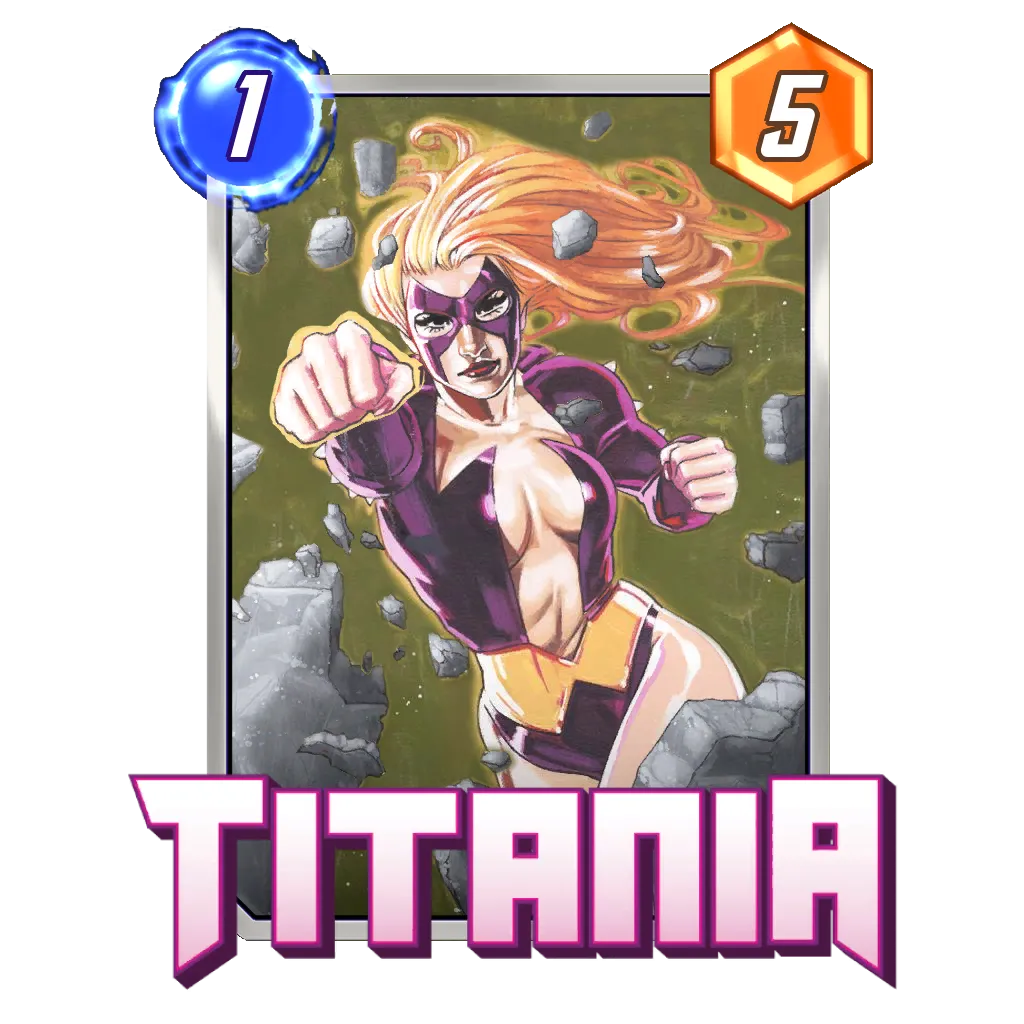
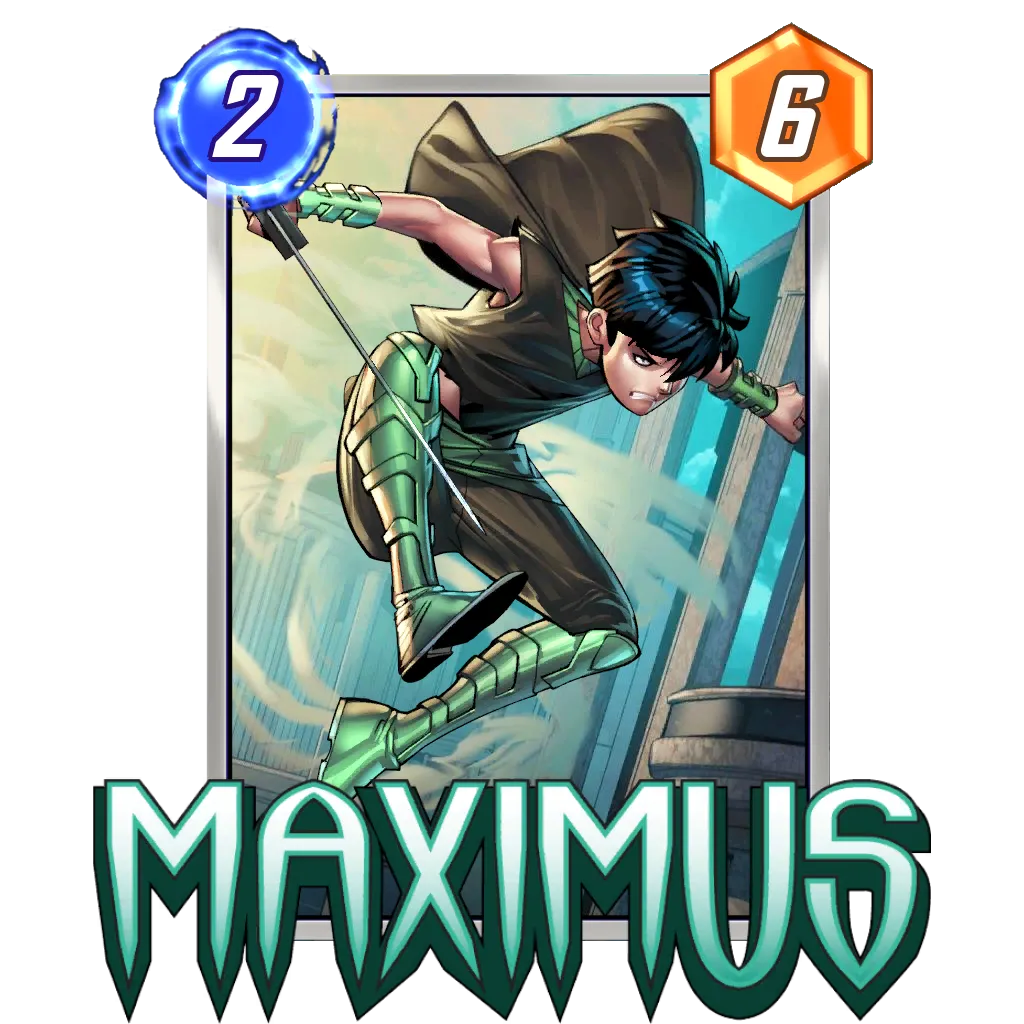
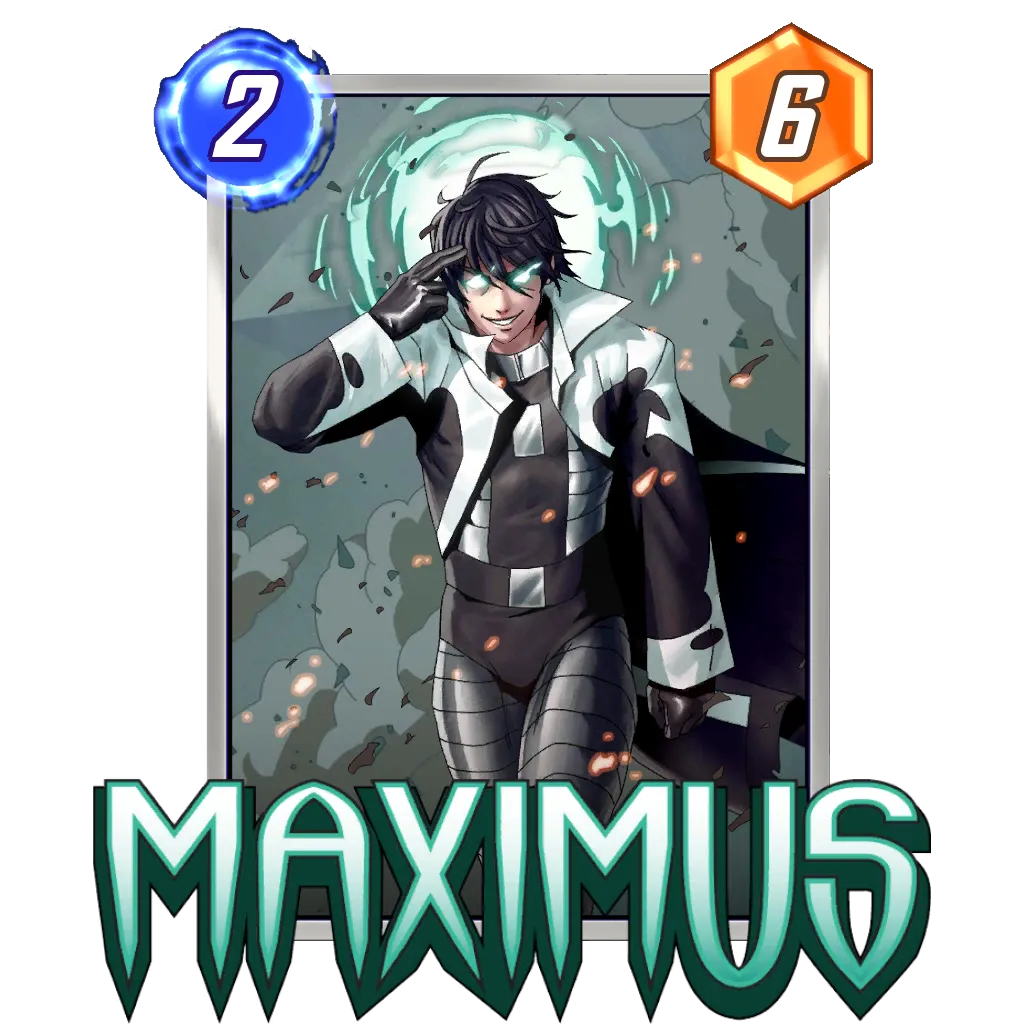
Titania gives us a very nice play of eight points for two energy, and Maximus makes it ten points for four energy. Titania is often seen in this archetype, but it doesn’t hurt to mention Maximus as an option.


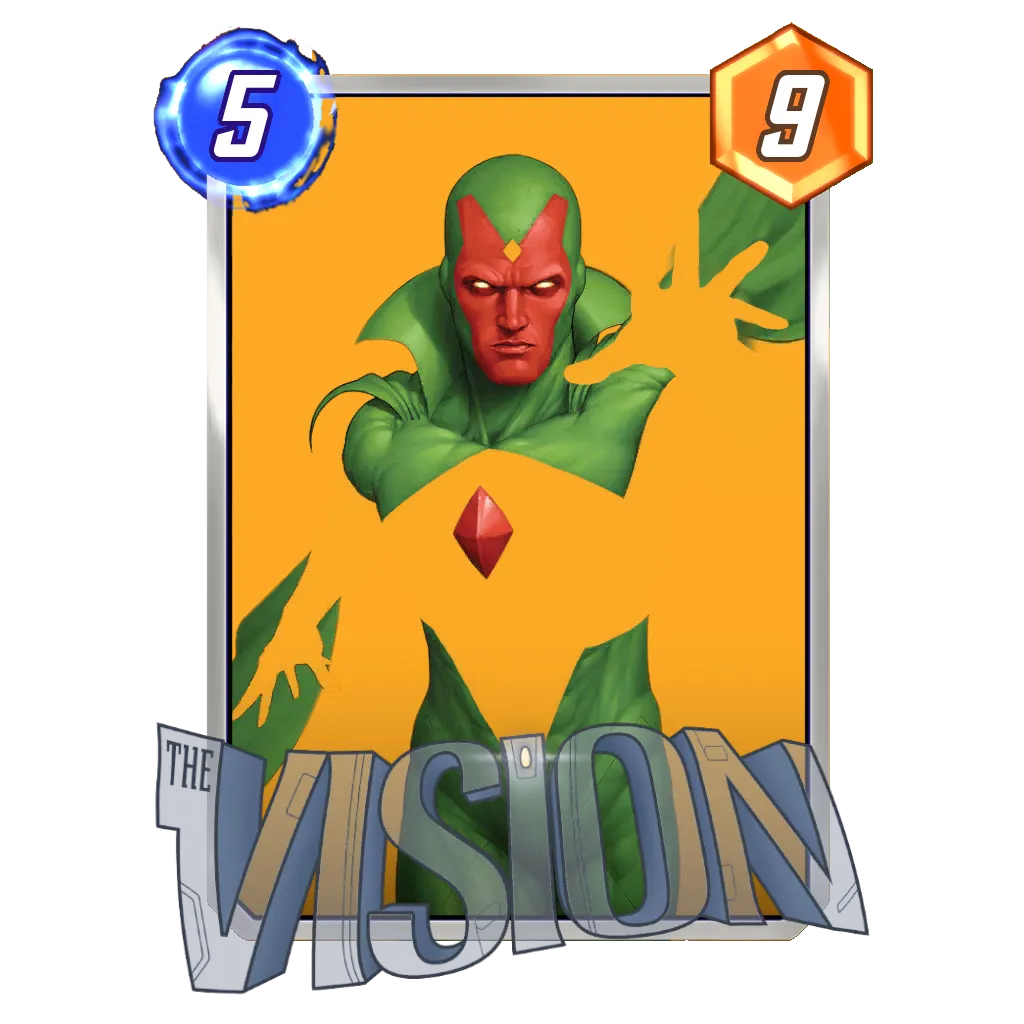


Vision was a staple in Shuri a few months ago. Having 14 points capable of moving at will is something to take into account.
The case of Captain Marvel has its advantages. Although it achieves two points less, it’s not necessary to make the best decision ourselves since the card moves itself to wherever it is necessary at the end of the game. Besides that, you can win locations like Rickety Bridge with ease.


Playing She-Hulk is something that can maximize our Turn 6 potential. I think that our late game is good enough, but playing She-Hulk would not be a mistake.
Shuri on Turn 3 into Typhoid Mary, skip Turn 5, and then Taskmaster + She-Hulk is just one example of how this card can work in this archetype.


After playing this deck, I realized that Enchantress can sometimes be an unnecessary tool. We can indeed use it as a support to turn off the negative effects of some of our cards, but I feel that having Zero and Sauron is usually more than enough.
Against the current meta, Shang-Chi seems more relevant than Enchantress to me. It costs the same, so we can still play it for a reduced cost thanks to Zabu, and, although playing Armor can make us uncomfortable, winning the Armor location is not difficult thanks to Shuri. This, in turn, leaves us the option of playing Shang-Chi on another location to guarantee our win.
Other Ways to Build the Archetype
After mentioning the cards that can be as substitutes in the archetype, it becomes clear that there are a few other iterations of this deck that can certainly be functional. There have even been versions with the newly buffed Invisible Woman, which allows us to hide Taskmaster and take advantage of its effect even if we haven’t drawn Red Skull in time.


Snap and Retreat
Knowing when to Snap with this deck is not that hard. Our strongest plays are very clear, even during the early game. Learning to recognize strong hands and Snapping early is what takes a little more practice.
- We can Snap on Turn 2 if we already have Sunspot in play and Zero or Sauron + Ebony Maw or Lizard or Typhoid Mary in hand.
- Snap on Turn 2 if you have Zabu + Shuri or Typhoid Mary + a good follow-up for Turn 4.
- Snap on Turn 2 or Turn 3 if you can play Armor into Sauron.
- Snapping on Turn 3 before playing Sauron is usually correct if you have at least two cards that benefit from its ability in your hand.
- Snapping on Turn 4 is usually correct if you have Shuri + Red Skull in hand.
- You can Snap on Turn 5 before playing a card if you already played Shuri, but only if you have either Typhoid Mary or Red Skull in your hand and Taskmaster for the follow up on Turn 6.
The clearest time to Retreat is when we don’t have Armor active and we suspect that an opponent’s Shang-Chi will put us in trouble. Outside of this situation, it’s enough to recognize whether or not we meet the aforementioned conditions at the moment we have to make a decision. If our opponent Snaps at us, we most likely have to retreat if we don’t fulfill any of the conditions listed above. Otherwise, Snapping back is the most appropriate thing to do.
Locations
Good Locations
- Armor can surprise our opponents in the Altar of Death or Death's Domain.
- Having priority on Asgard after Turn 4 is not hard for us.
- Atlantis, The Space Throne: Locations that want only one card sitting there are easy to win with Red Skull or Taskmaster.
- Baxter Building, Monster Metropolis: Locations that reward us for winning on them are good for the Shuri combo.
- Deep Space and Isle of Silence are good for us because they shut off the drawbacks of our cards.
- Sewer System, Necrosha, and Negative Zone are favorable. We can fight for them by playing one big card, and if our opponent wants to contest them with more than one card they’re going to be in trouble.
- Shuri's Lab: It would be curious if a location named after one of our cards wasn’t good for us. Armor here + any truck = gg.
- The Nexus: Fighting with all our resources in one location is a game we are good at. Playing Armor, Shuri, Red Skull, and Taskmaster in this location is very hard to beat.
Bad Locations
- Playing a game with Asteroid M tends to be uncomfortable.
- The same is true for The Big House (although Zabu let us maneuver around it a bit).
- Sanctum Sanctorum and other inaccessible locations are hard for us – unless we are playing Vision or Captain Marvel.
Matchups
Bounce
One of the big reasons why Shuri Sauron has started to gain ground is not only Red Skull reversion, but also how well it plays against many of the decks in the current meta.
Bounce typically doesn’t play Shang-Chi, which is a big plus for us. Spider-Ham, beyond getting in the way, usually does us a favor. The only favorable target for Ham would be Taskmaster.
Bounce can make a lot of points and move them at will during the late game. Beating Red Skull and Taskmaster, even without having played Shuri, can be difficult for them if Spider-Ham or Iceman don’t hold back a key card of ours.
Another big advantage is that after we play Sauron, we can match their “high points for low energy” plays thanks to Ebony Maw and Lizard.
Evolved Lockjaw
If a deck can compete with Evolved Lockjaw when it comes to the idea of putting raw points on the table by playing huge trucks, it’s certainly ours.
The big factor here is that this deck doesn’t play anything during the first two turns of the game. This is going to put the rhythm of the game in our favor.
This means that they typically have to play Lockjaw or Thor in a location where we’re already competing. If they ignore it entirely until the late game, that allows us to spot their play pattern quite early.
Similar to Bounce, they don’t normally play Shang-Chi, which lets our cards run wild. Finally, having Enchantress for Evolved Hulk can sometimes be a game-breaker.
The card that worries me the most is Magneto, but we’re usually fine if our win condition revolves around Red Skull and not Typhoid Mary (although, even if Typhoid Mary is our win-con, playing it after Shuri for 20 power is usually enough to make Magneto irrelevant).
Sera Control
Of all the Tier 1 decks, Sera Control is the match where we have to play the most careful. I’m not saying that is a bad match up, but they do play Shang-Chi and Killmonger – two cards that hurt our strategy.
We have answers for them. We have to do our best to keep Armor‘s ability available by only playing Sauron after Armor comes into play. If this is not possible, the game is not lost, but you have to play around Shang-Chi 100% of the time.
Besides this, winning locations against Bishop, Angela, and
If we play Zabu followed by Typhoid Mary, and then later on we play Red Skull + Taskmaster, they won’t have enough Shang-Chi for our many strong cards. Always keep that in mind.
Sera Surfer
This deck has powerful tools against us, but we can play around them if we always keep them in mind.
We can play around Goose if we rush to play Zabu, which will allow our 4-Cost cards to enter the location where the kitten is (which is usually enough to win there).
Storm is also annoying because it doesn’t allow us to play on a location later in the game. Still, when it comes to fighting for the Flooding location against a deck that doesn’t play Evolved Cyclops and can’t put additional power there later (except for Silver Surfer), it’s not impossible to win if we’ve already played Sunspot, Sauron, or Shuri. Just watch out for Juggernaut.
Like Sera Control, they play Killmonger, so watch out for the right timing to play Ebony Maw and Sunspot. Protecting them with Armor is not unreasonable, but always keep in mind that Polaris can move Armor or your 1-Cost cards.
Fortunately, they have cards that are mostly useless against us. Rogue is a card that will probably end up stuck in their hand against us.
Turn by Turn Breakdown
- Turn 1: The best play here is Sunspot. I’ll play Zero on Turn 1 only if I have Lizard in my hand and a good Turn 3 follow up. If not, saving Zero is preferred most of the time.
- Turn 2: This is probably the turn where we have the most options available. Zero + Ebony Maw, Zabu if we have Shuri or Typhoid Mary, Armor before Sauron, or even just Lizard are good choices.
- Turn 3: Depending on our choices during Turn 2, we have to aim for the best follow up possible. Sauron is our preferred play, but Zero into Lizard or Shuri / Typhoid Mary after a Turn 2 Zabu are also very good.
- Turn 4: Even if Shuri is our best play here (if we didn’t already play it thanks to Zabu), Sauron on Turn 3 can enable Typhoid Mary here without a problem. If we still have Zero in hand, playing it for a Turn 5 Red Skull is good enough.
- Turn 5: Curving Red Skull after Shuri is our best play here, but saving Zero earlier enables us good plays like Zero + Typhoid Mary, or even Ebony Maw + Typhoid Mary if we already played Sauron.
- Turn 6: Playing Taskmaster to copy a buffed Red Skull is our finishing move. However, have in mind other plays like Zero + Red Skull, Enchantress + Typhoid Mary (if we have Zabu), or even saving cards like Ebony Maw for this turn (giving power to Sunspot in the process).
Closing Words
I open this month with my Shuri Sauron guide with the hope that it has been to your liking and will help you with the new season on the horizon.
This is undoubtedly a powerful archetype that is gradually returning to the meta, and its current pairing against the Tier 1 decks is quite favorable.
I think, little by little, the deck will position itself again as a solid option for competitive play. Lots of people are having good results with it, myself included. I’ve played it in Conquest and on Ladder, and it’s just as powerful in either game mode. Reaching Infinite or getting an Infinite ticket with this archetype is something you can do without a problem!
Let me know your opinions in the comments, in the Marvel Snap Zone Community Discord, or on my social networks, and I’ll see you soon in a new article!
As always, don’t forget to smile; it certainly makes a difference.


More Content