Table of Contents
In Marvel Snap, you collect and unlock cards by increasing your Collection Level, which is done by upgrading your cards with the boosters you win from games. Each card is assigned to a “Pool” or Series of cards, which begin and end at a specific collection level. These vary in size, which you can see in the table below:
| Series | Collection Level # | Card # | Decks | Tier List |
|---|---|---|---|---|
| Pool One | Collection Level 18 - 214 | 46 cards | Decks | Tier List |
| Pool Two | Collection Level 222 - 474 | 25 cards | Decks | Tier List |
| Pool Three | Collection Level 486+ | 104 cards | Decks (Beginner) Decks (Advanced) | Tier List |
| Series Four | Collection Level 486+ - Rare | 24 cards | Decks | Tier List |
| Series Five | Collection Level 486+ - Ultra Rare | 30 cards | Decks | Tier List |
| Unreleased | Release and Series Drop Schedule | 34 cards |
Here is our tier list and rankings on all the cards from Series (Pool) 2, to help players build better decks based on their collection and compare the power levels of individual cards inside each pool. Please keep in mind, we’re not trying to compare cards in each pool to one another, as they serve very different purposes.
Pool 2 Card Tier List
Although there are only 25 cards in it, Series 2 is considered the most impactful upgrade to your collection and power level of your decks. Indeed, with such few cards, you should quickly find some of the most powerful ones, and take your lists to a whole new level. Because of this, I would rate Series 2 the best one out of the current existing 5, and a D Tier card from this pool of cards isn’t as bad as a D ranked card in Pool 1 for example.
Every single card in Series 2 is playable, some are stronger, obviously, even Rhino, Sabretooth, The Collector, and Nakia have their merits in some strategies.
Let’s review all of these 25 cards, from the most impactful ones to the ones we can set aside for now.
| Tier | Cards |
|---|---|
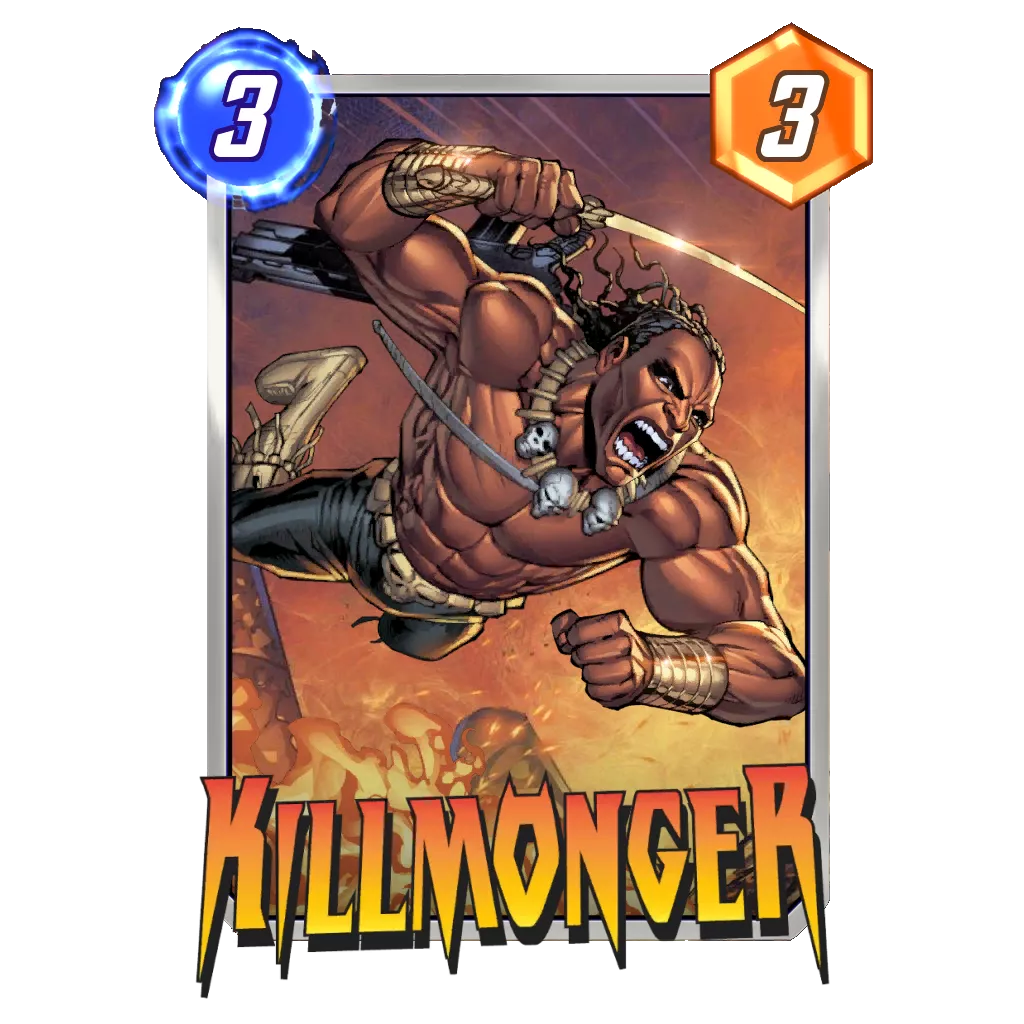
| S Tier | • Killmonger |
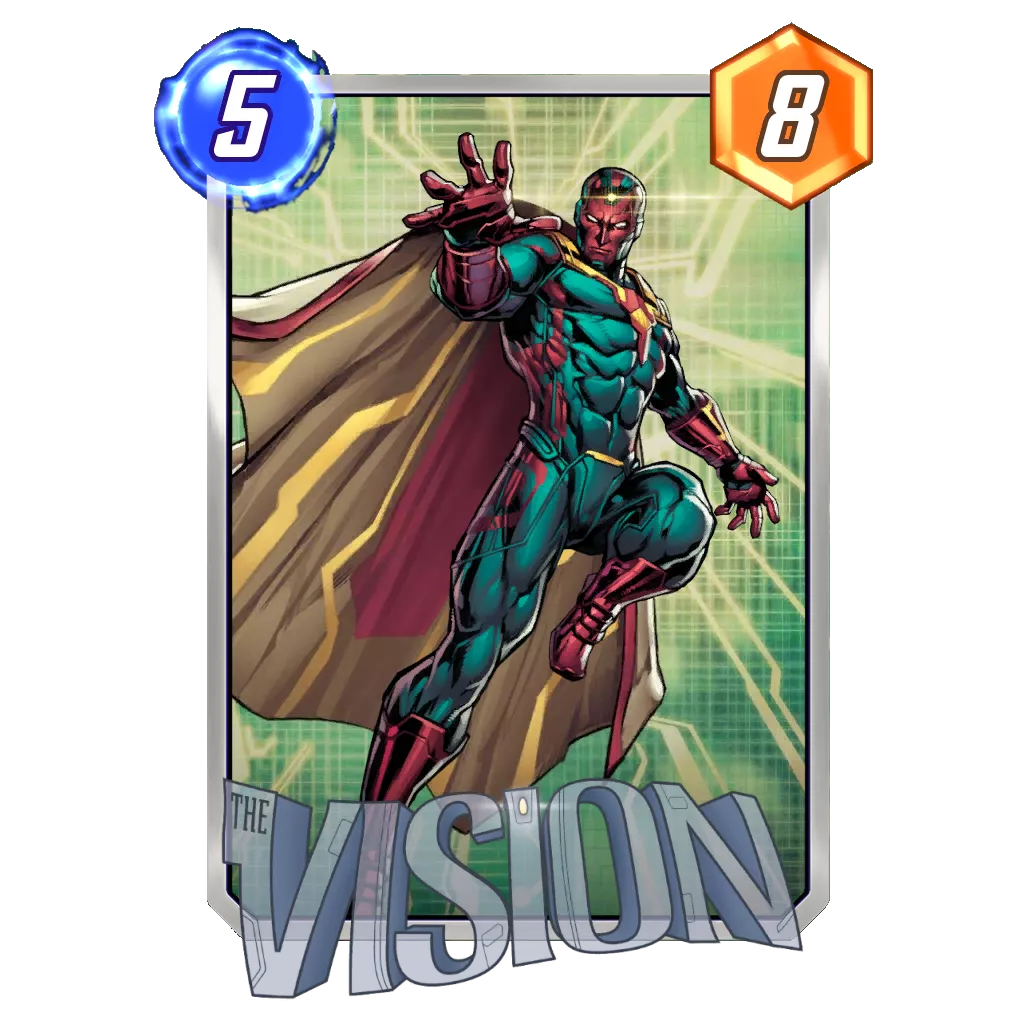
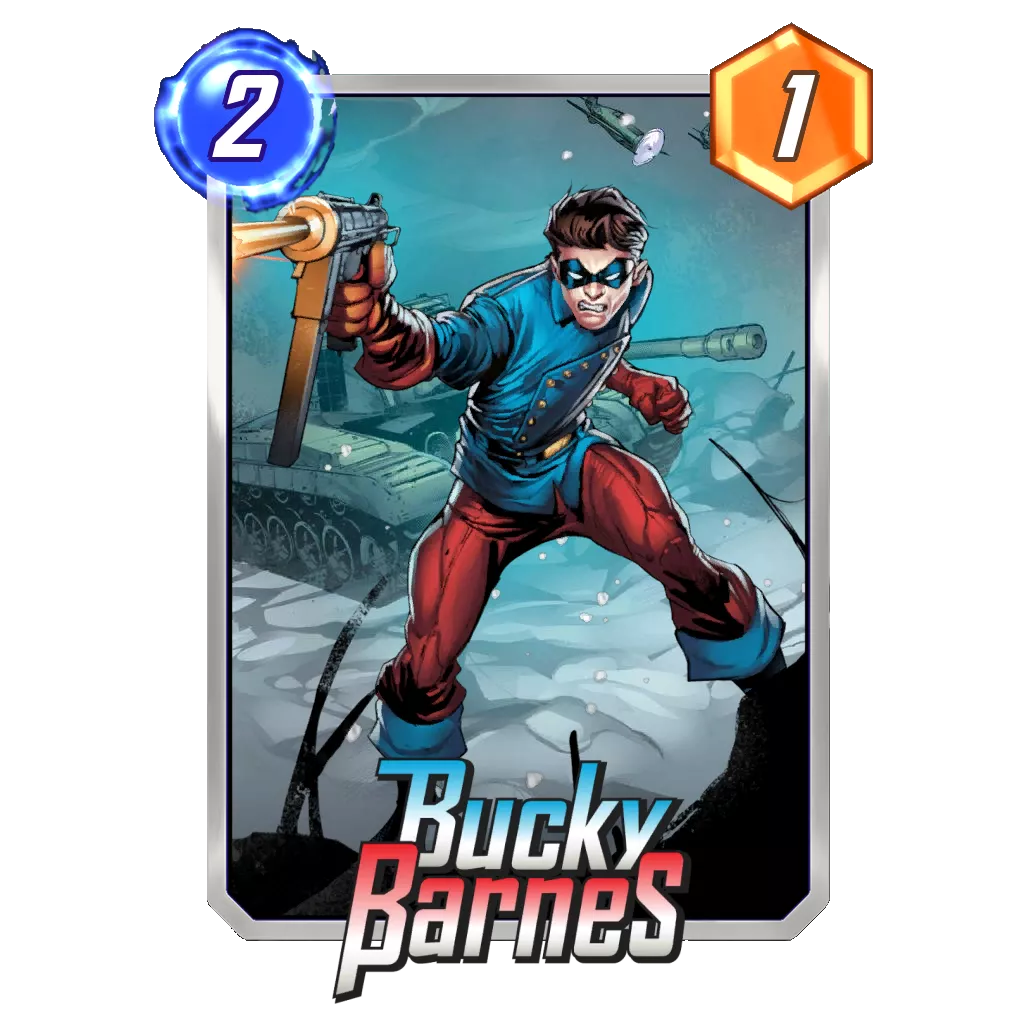
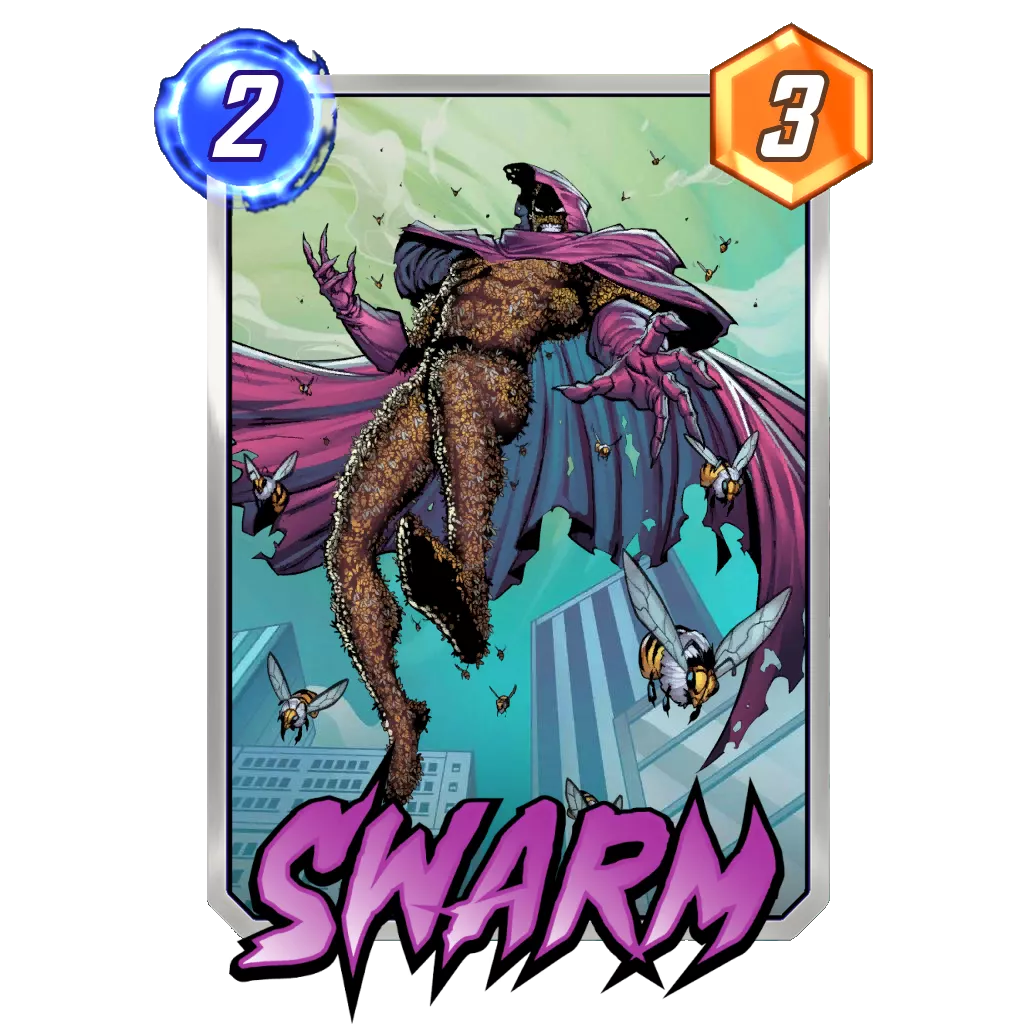
| A Tier | • Bucky Barnes • Iceman • Morbius • Shang-Chi • Swarm • Vision |
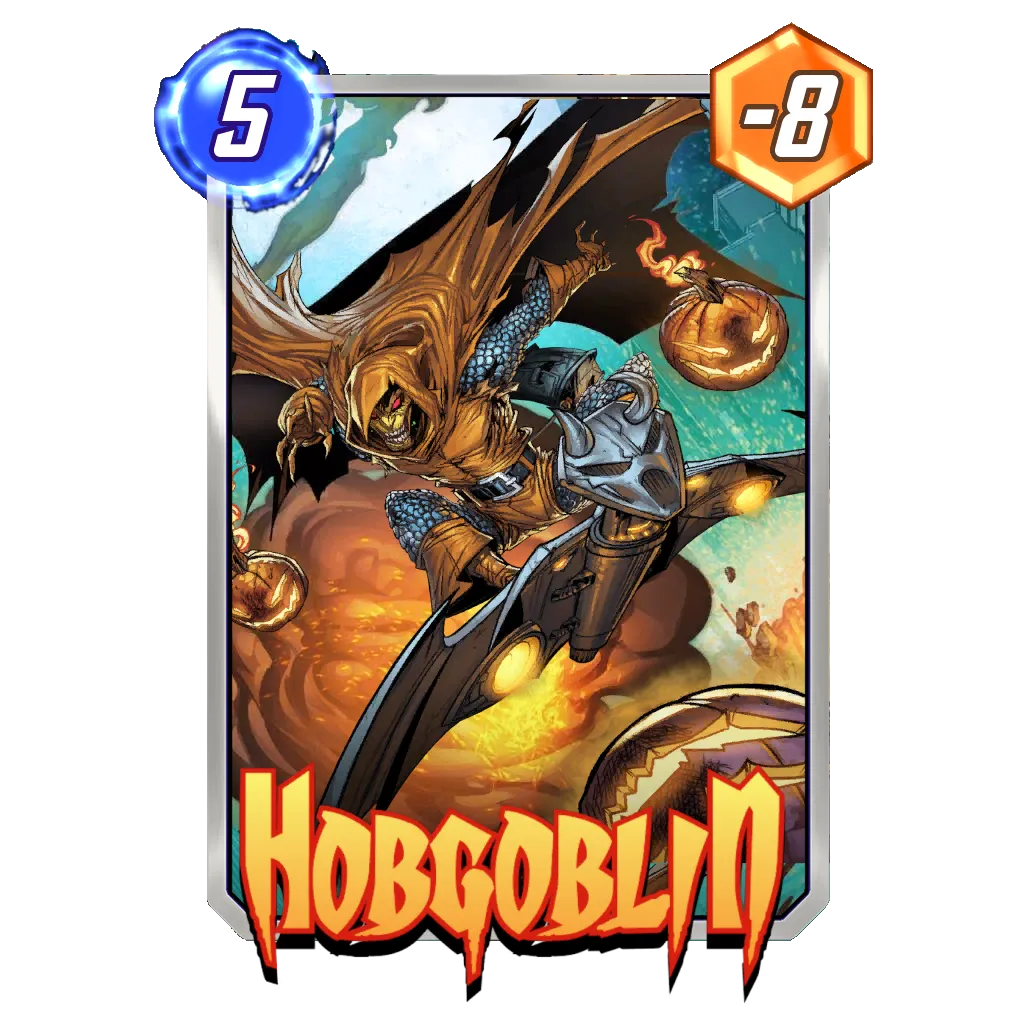
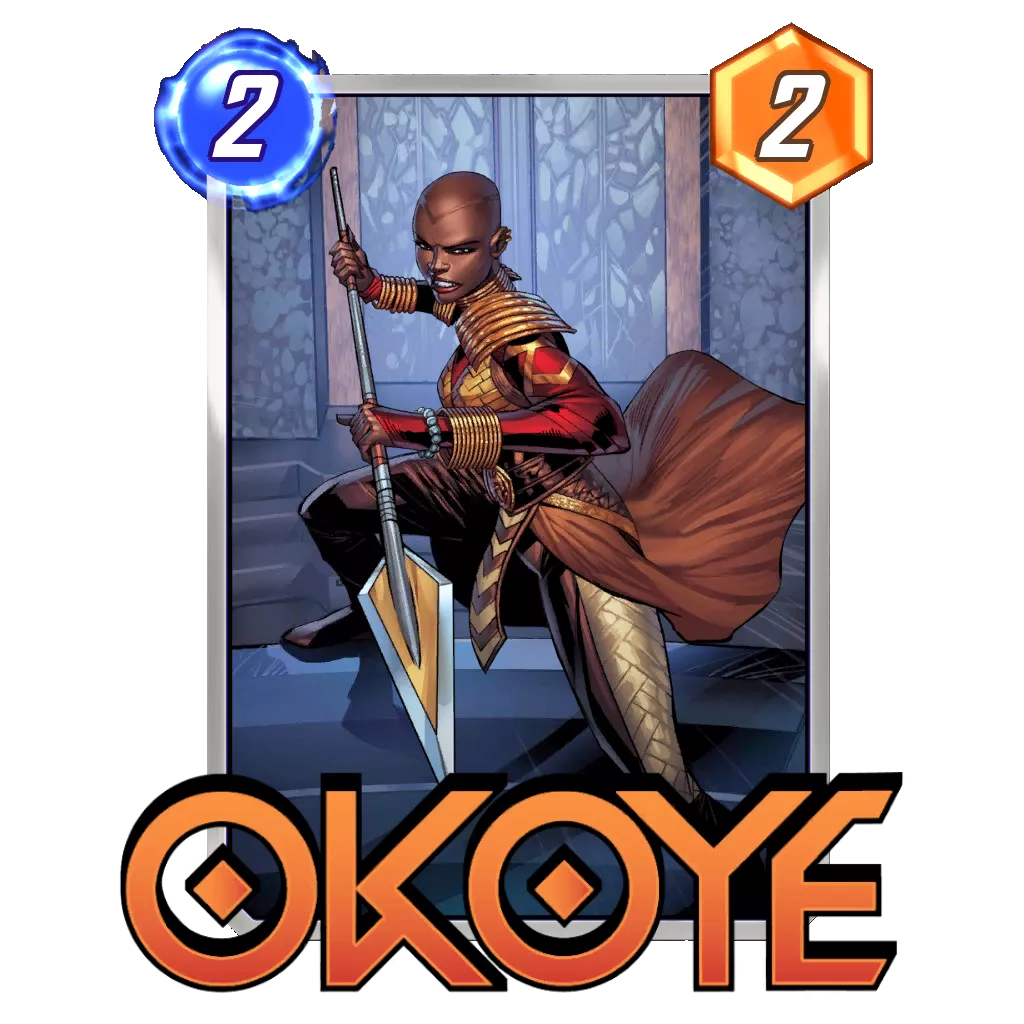
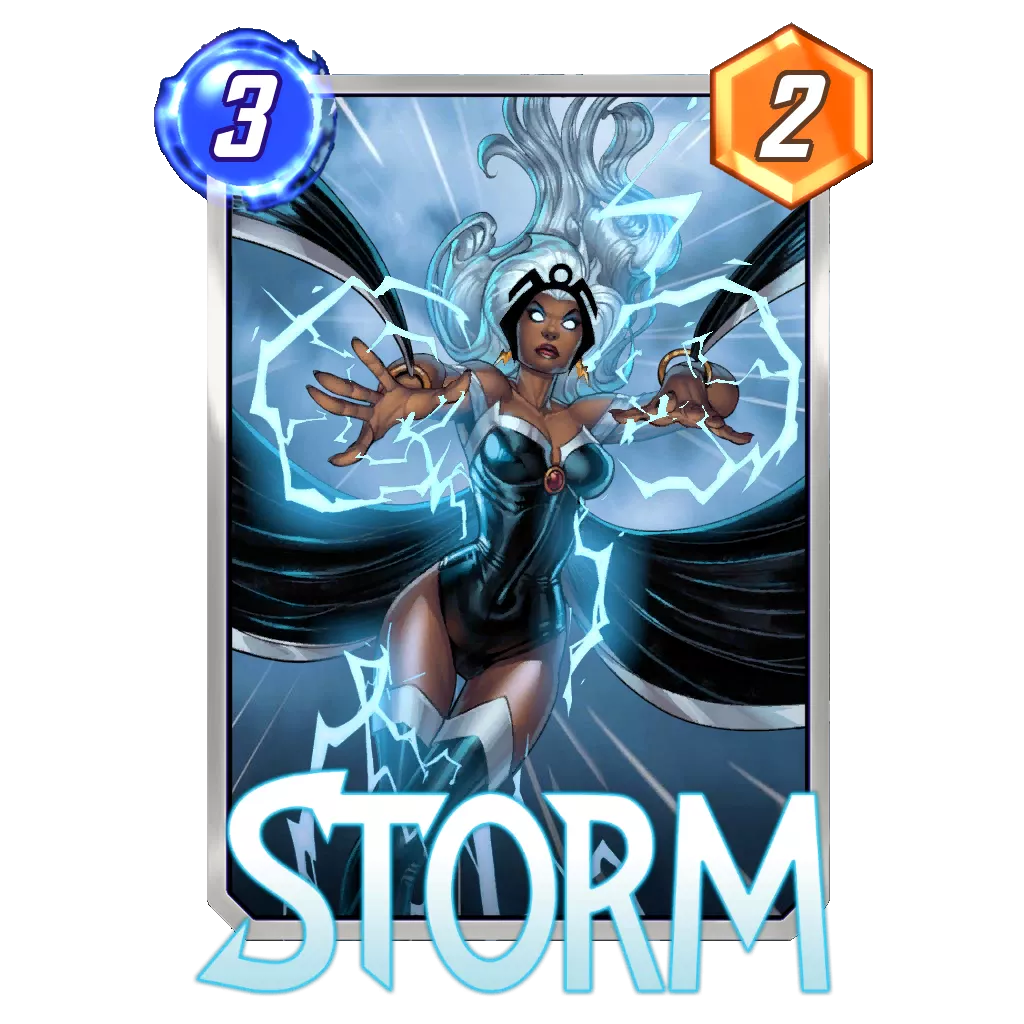
| B Tier | • Cloak • Ebony Maw • Hobgoblin • The Infinaut • Jubilee • Okoye • Sandman • Scorpion • Storm • Sunspot • Vulture |
| C Tier | • Agent 13 • The Collector • Leech • Nakia • Warpath |
| D Tier | • Rhino • Sabretooth |
S Tier
These cards are metagame defining, in the sense they are impacting what decks are or aren’t popular, and can push some other cards to be more, or less popular than they should be based on their power.
Killmonger: The king of the destroy synergy alongside Carnage. Killmonger started as the Kazoo killer and ended up being one of the go-to counter cards in Marvel Snap as time passed. During Series 2 in particular, Killmonger is Ka-Zar worst nightmare. Easily the most impactful card during your Series 2 experience, Killmonger will always be part of your Marvel Snap journey, one way or another.
In Pool 2, there aren’t many targets for Shang-Chi, however, the card will be worth of an S Tier placement later in your journey.
A Tier
The A Tier is where I put the solid cards, which will routinely win you a game or force the opponent into a reaction. You should expect to see these cards plenty, as powerhouses in their respective archetypes, or standalone great inclusions.



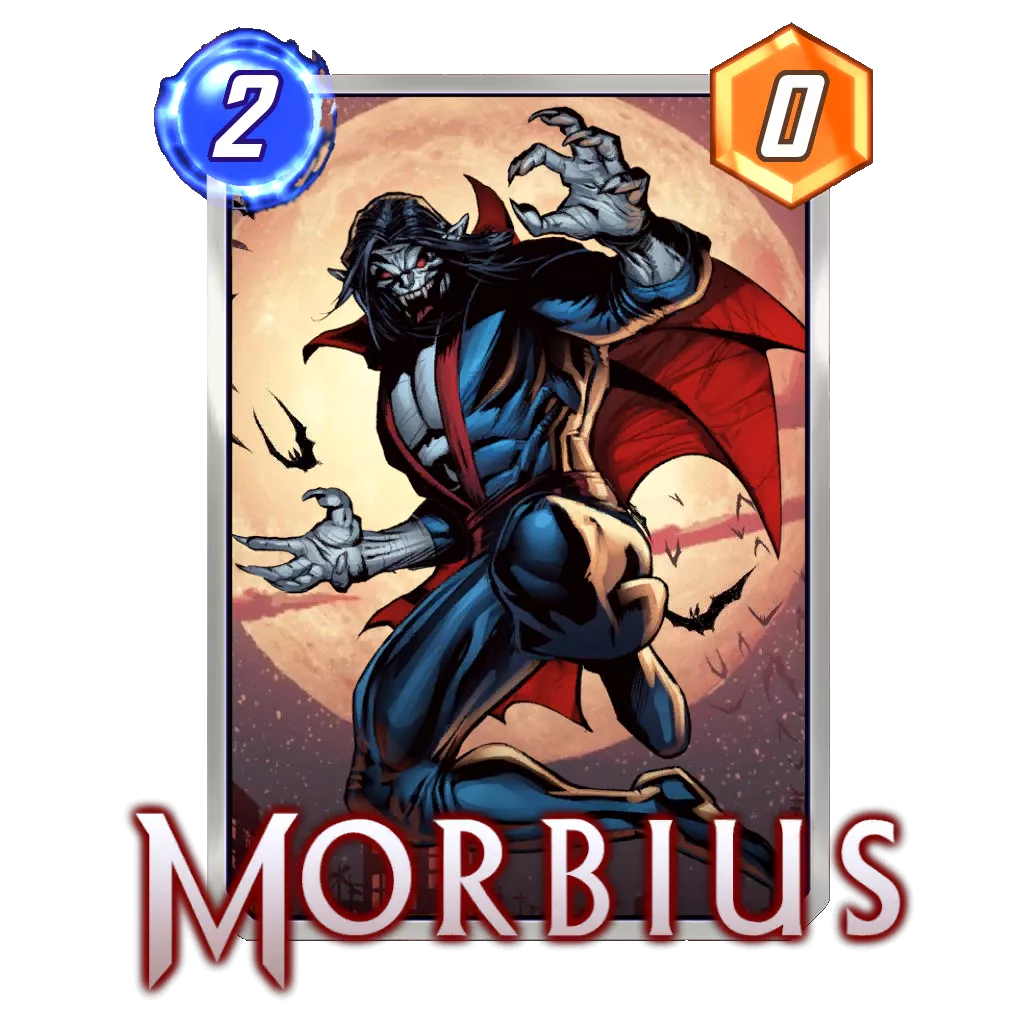









Vision: The ability to reposition 8 power is quite impactful in Marvel Snap, as you can manipulate priority or reach unplayable locations thanks to it. At this point in your adventure, you might not see the many upsides of Vision yet, but it will be a great standalone 5-cost down the line, trust me.
Bucky Barnes: The card doesn’t make much sense outside of the destroy synergy, but it is a great one in the right deck. Also, the large amount of locations that will destroy your cards gives Bucky Barnes some extra value.
Swarm: Another staple in the discard synergy, Swarm mostly sees play in Kazoo decks when in Series 2 before going back to the Discard archetype later on. Notably, Swarm allows for some explosiveness in the later turns, as it can help support various locations at the same time.
B Tier
The B Tier is where I place good but not game defining cards. Those cards can do great things, and usually serve their archetype well, but aren’t at the core of the strategy either.





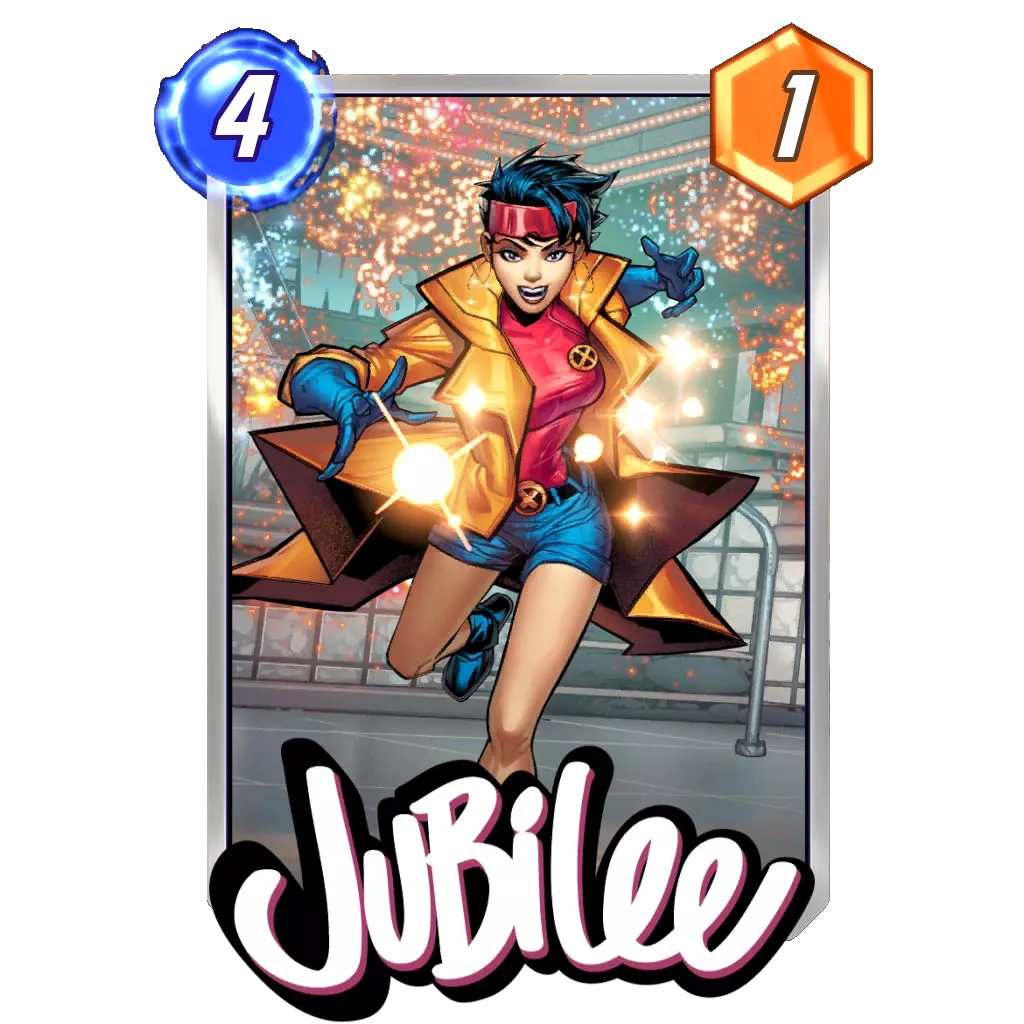





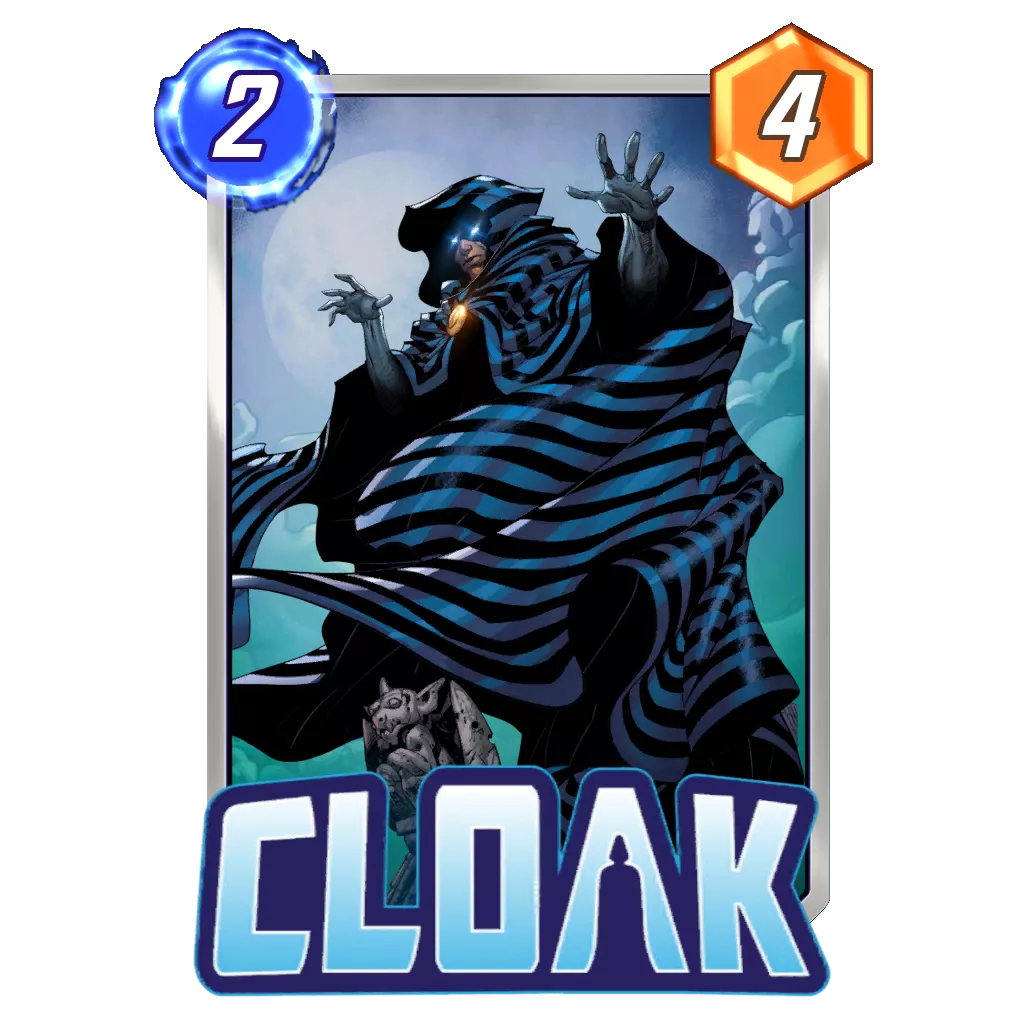


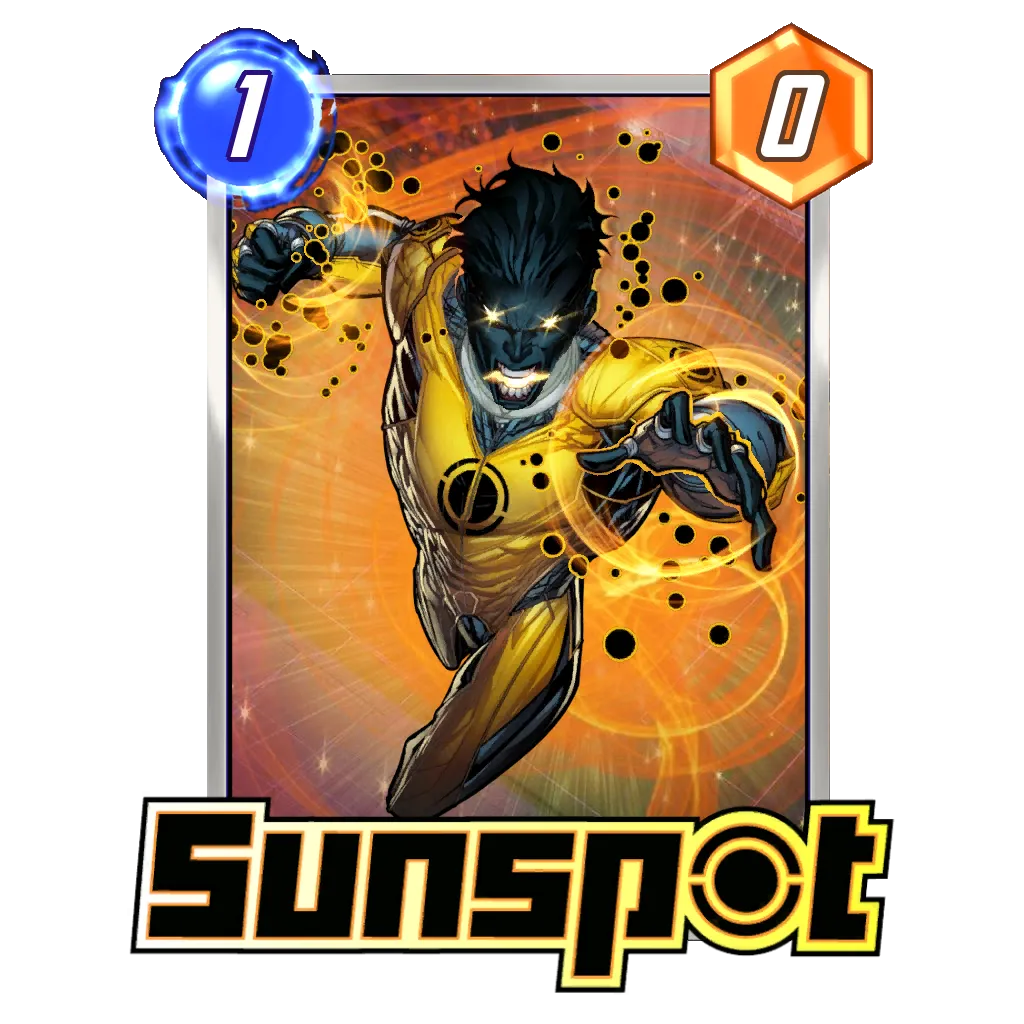


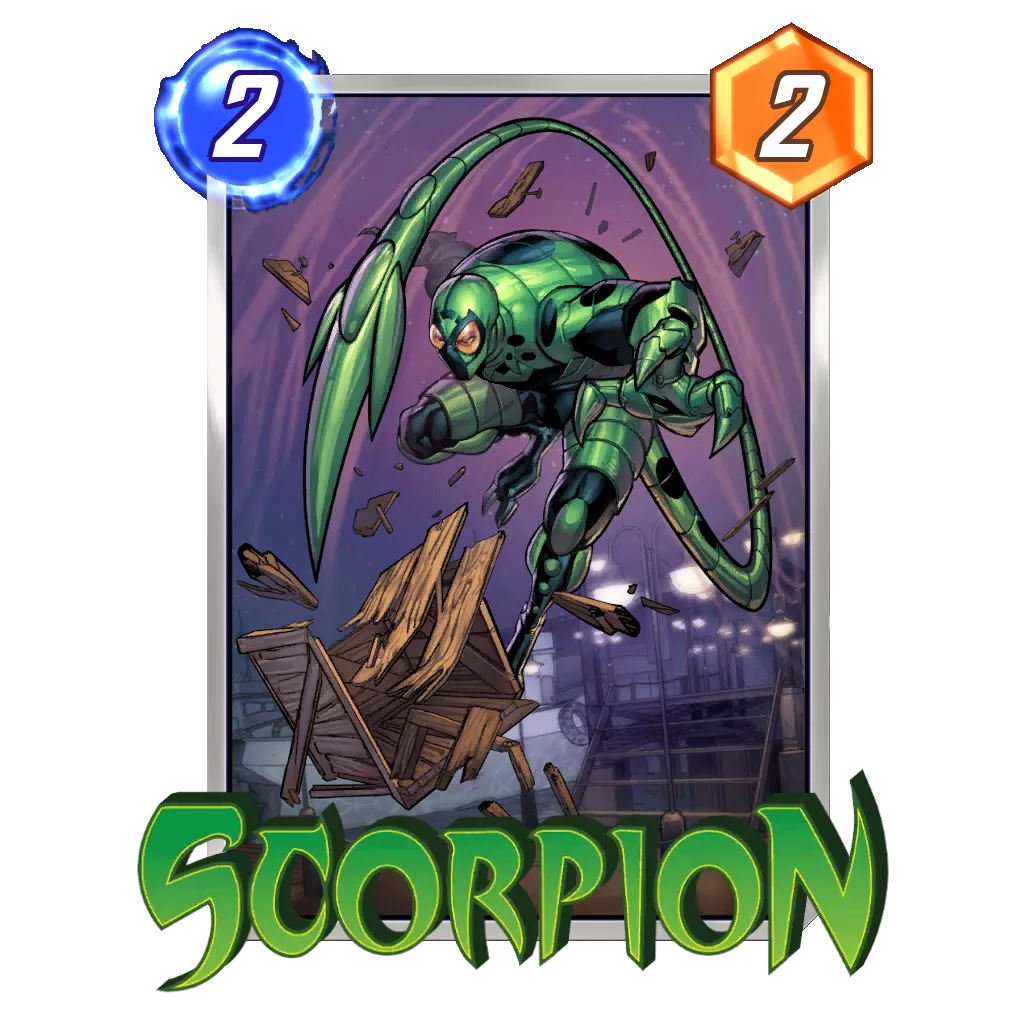


Ebony Maw: Seven points on a 1-Cost isn’t something to overlook, especially if you can find a way to support the card while not playing behind it. It might look a bit weak at first, but as you unlock more cards, you will consider Ebony Maw in your deck more often than you imagine.
Hobgoblin: One of the best disruptive cards at some point, Hobgoblin has lost a lot of its power as the game became more fast-paced. It currently is a good inclusion in disrupt decks, but isn’t an all around card any more.
Sandman: The anti-combo card is a sleeper in Marvel Snap. It barely sees any play, until it comes and shuts down entire archetypes on its own. It is unlikely you will need the card early in your Series 3 experience, but you will definitely have some chances to abuse Sandman later on.
Storm: A great card alongside Jessica Jones or Jubilee when still in Series 2, Storm is a card that finds several new allies later in your collection track. She still is great in archetypes able to play on locked locations in the later turns.
Jubilee: In the right deck, Jubilee is a superstar, as she can summon a big 6-Cost card ahead of time, and discourage the opponent to invest on that lane in the process. Outside those greedy decks, Jubilee tends to be a little too random, and not a big enough payoff to make the cut.
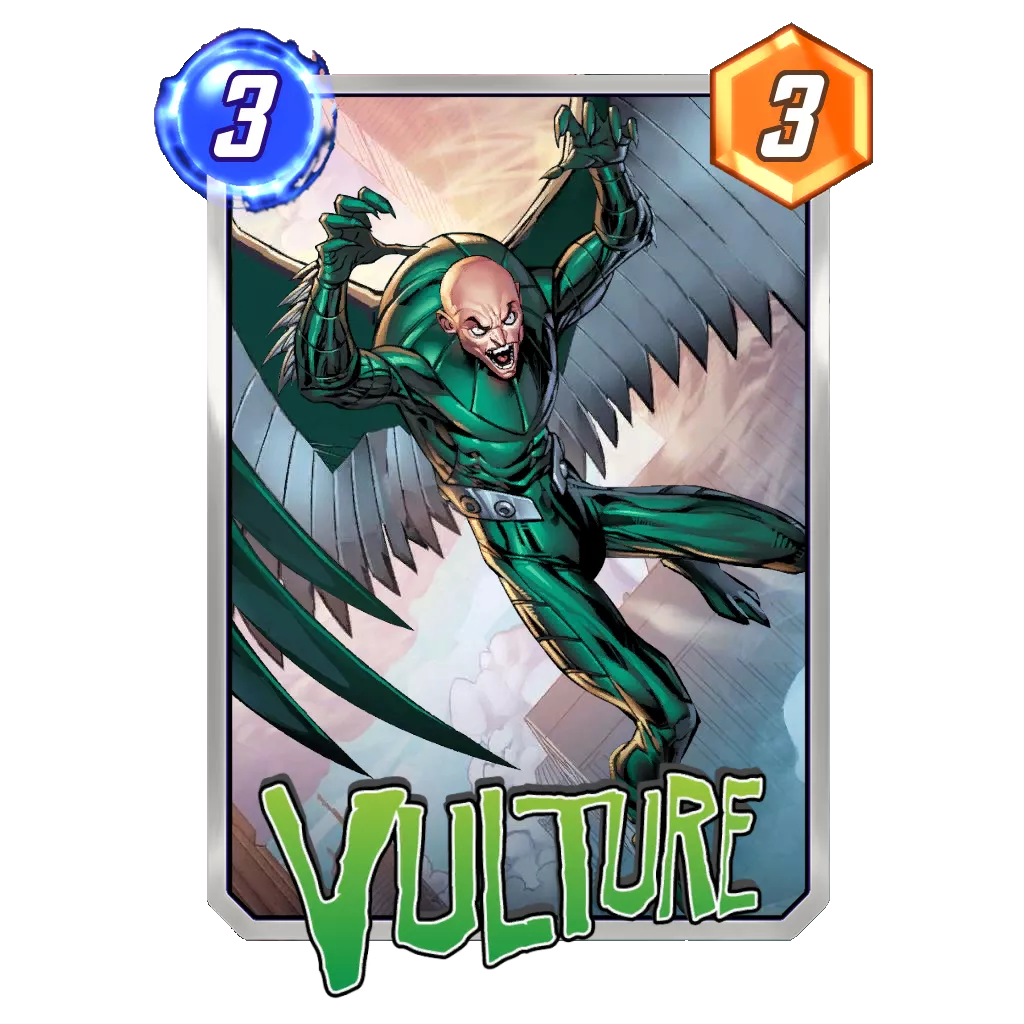
Vulture: The star of the Move archetype is unfortunately completely useless in other decks that would not pack a complete package to move Vulture around. If you enjoy the deck, though, you should fall in love with Vulture quickly, as Move is one of the top Series 2 decks in the game.
Cloak: While many limit Cloak to the Move archetype, the card has some nice utility outside that specific deck as well. The big limitation for Cloak is the competition existing in the 2-Cost cards currently, with Armor, Scorpion, or Lizard stealing most of the spotlight.
Sunspot: Sunspot rewards you for missing a turn, or gives you the possibility to pass a turn and still get something out of it. Unfortunately, until you get more incentives to pass turns, Sunspot is more of a security blanket than anything else, although you can pair it with The Infinaut in Series 2.
Ever since it became a 0 power card, Sunspot has been limited to decks looking to purposefully pass at least a full turn. Then, until your collect She-Hulk later in Series 3, you only have The Infinaut to pair with Sunspot, which tends to not be enough in comparison to other synergies you can explore.
C Tier
In the C Tier, we’ll find cards that can’t really shine on their own, but are dependent on having a good deck to use them in. Most of the time, these cards will be included when other, more powerful cards sharing a synergy are already defining a deck.



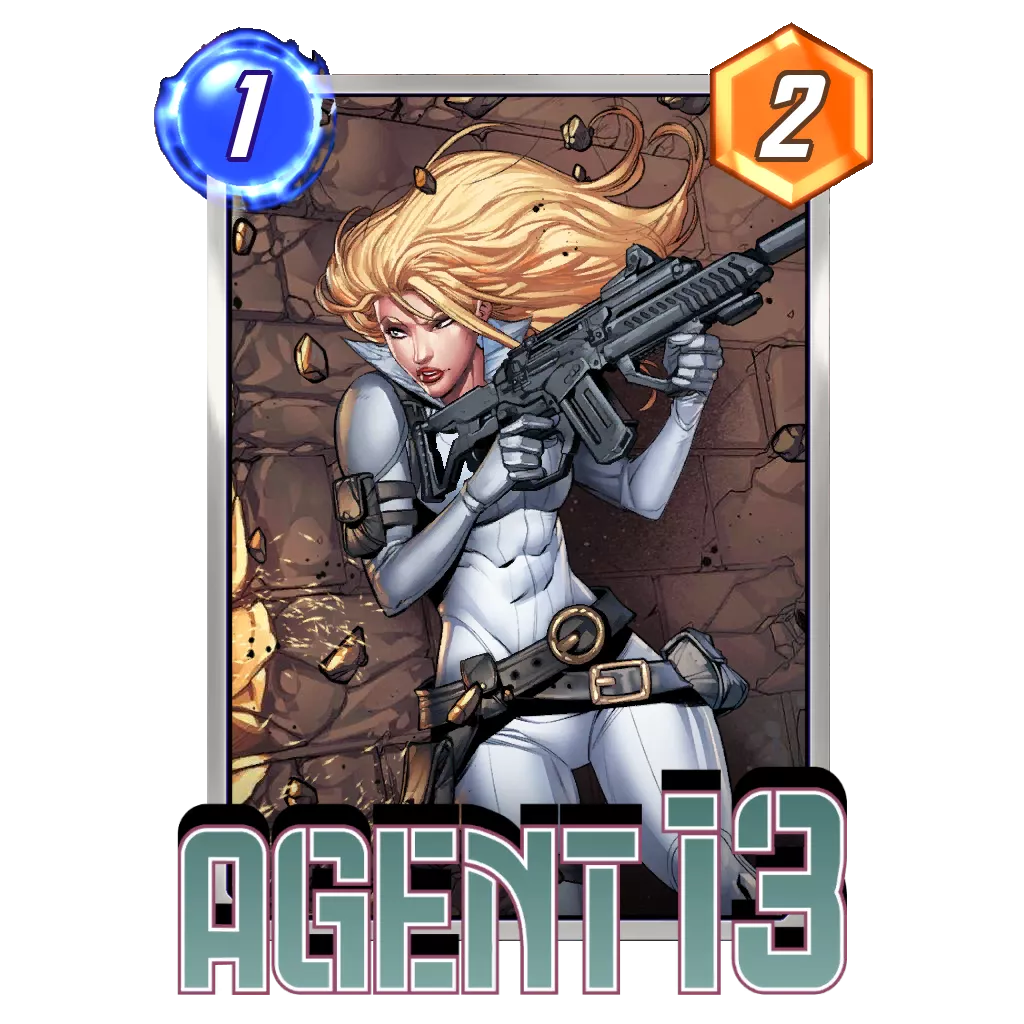
Agent 13: A solid 1-Cost alongside Devil Dinosaur, Agent 13 unfortunately tends to not make the cut in any other archetype in Marvel Snap, as she is too niche compared to a Nightcrawler or Iceman.
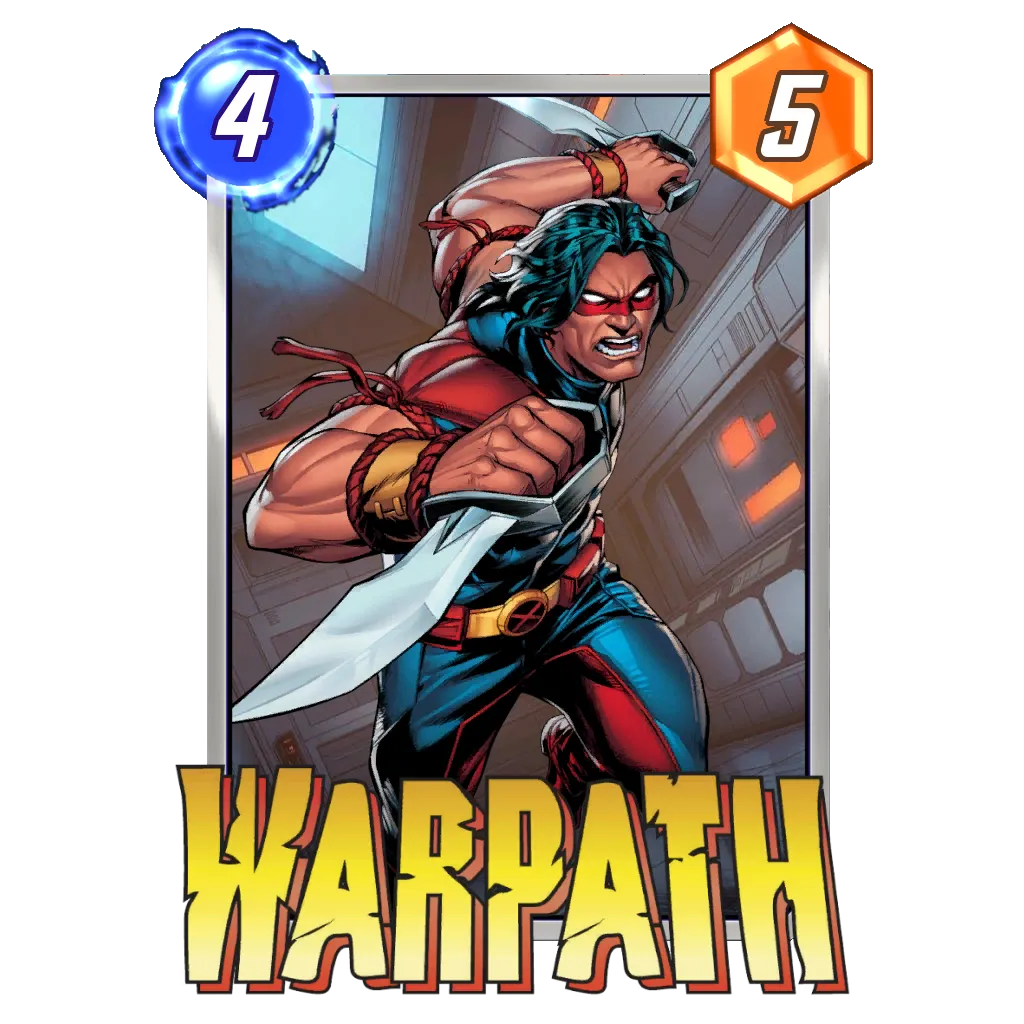
Warpath: Namor got a buff which made it an eleven power, when Warpath only culminates at 10, which already makes the other 4-cost stronger. Then, the game simply isn’t pushing for you to leave a location empty in general, and many locations will punish you for playing Warpath in your deck.
The Collector: Loki will make this card one of the best 2-cost in the game down the road, but so far, The Collector is only a consideration in a Devil Dinosaur shell, and it isn’t the star of the deck there. Then, apart from slamming it on turn two, and growing it to a nice amount, you will usually find little use for the card in other scenarios. Compared to a Bucky Barnes, which is a guaranteed 6 power whenever you destroy it, The Collector adds a timing constraint to the card, which immediately makes it worse while in Series 2.
Leech: Since being reworked, Leech lost a lot of upsides, as it now only counters the On Reveal synergy. Then, except in decks able to cheat a lot of energy, which would only lose to certain abilities, Leech barely sees any play.
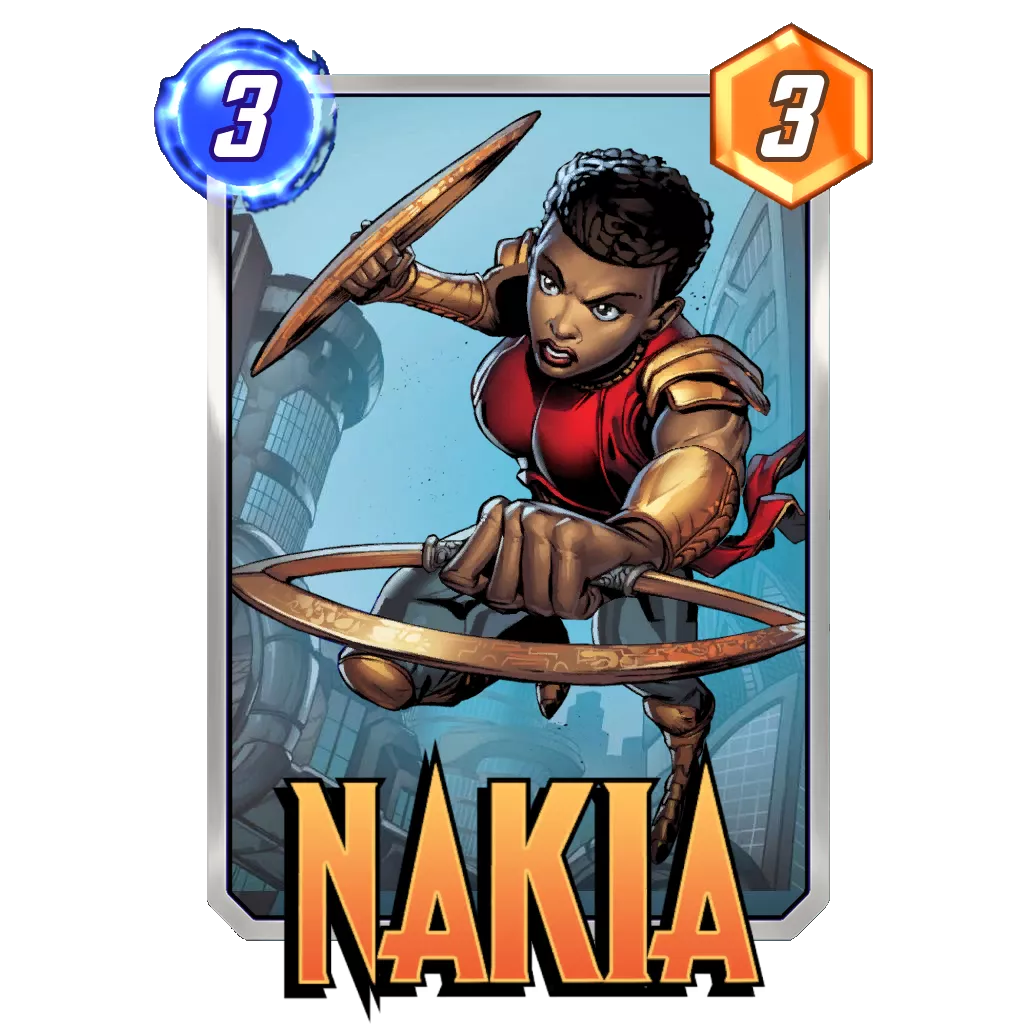
Nakia: Turn three is usually too late to buff your hand, and you have much better synergies to explore in order to develop some power. Okoye for example, seems to be a better way to buff your cards, as apart from Swarm specifically, you barely have any worthy target in your collection at this point. You could reconsider Nakia once you unlock Silver Surfer.
D Tier
D Tier cards are the currently unused cards, either because they are too weak, or because their ability isn’t making enough of an impact to see play. As you can see, we have very few of those, a testimony of the quality you will find in Series 2.
Rhino: A worse Scarlet Witch, plain and simple. The community has been demanding a buff for this card for the whole year at this point, and it can’t come soon enough. Once it will be a [3/5] or so, we’ll discuss the card.
Sabretooth: The card tends to come in too late and not have enough time to be destroyed multiple times during the last turns of the game. With that in mind, Sabretooth is often not included, even in destroy decks. There are synergies with cards like Venom, Death or Knull, a shame you possess none of these cards at this point of your Marvel Snap journey.
Closing Words
Pool Two is typically seen as the “power punch” of cards in Marvel Snap: A small, targeted pool you can walk through quickly that offers mainstay power cards, tools to play against Pool Three, and cards that will synergize with cards you’ll find in Pool Three later yourself.
If you have any questions regarding this tier list, feel free to comment down below, or come join the fun over at the Marvel Snap Zone Discord for more things Snap!
See you around the multiverse!

⭐ Premium
Enjoy our content? You can Support Marvel Snap Zone and your favorite content creators by subscribing to our Premium community! Get the most of your Marvel Snap experience with the following perks for paid membership:
- No ads: Browse the entire website ad-free, both display and video.
- Exclusive Content: Get instant access to all our Premium articles!
- Meta Reports: Exclusive daily meta reports, such as the Ultimate Card Metrics Report, Top 10 Decks of the Day, Top 30 Cards, and Top Card Pairs tailored for you!
- Team Coaching: Join our free weekly team coaching call sessions on the Discord server. Claim your Premium role and gain access to exclusive channels where you can learn and discuss in real time!
- Premium Dashboard: Get full instant access to the member-only dashboard, the all-in-one page for all your benefits.
- Support: All your contributions get directly reinvested into the website to increase your viewing experience! You get also get a Premium badge and border on your profile.
- Special offer: For a limited time, use coupon code SBYREX4RL1 to get 50% off the Annual plan!


