Table of Contents
Marvel Snap’s Series 2 cards (from Collection Level 222 to 474) is a bit different from Series 1 or 3 as it is by far the smallest one in terms of size, with only 25 cards available to grab. Series 2 is often seen as the “quality over quantity” pool, a well deserved reputation in our opinion, as many cards in Series 2 will allow players to increase the power of existing deck archetypes, and create new ones.
| Series | Collection Level # | Card # | Decks | Tier List |
|---|---|---|---|---|
| Pool One | Collection Level 18 - 214 | 46 cards | Decks | Tier List |
| Pool Two | Collection Level 222 - 474 | 25 cards | Decks | Tier List |
| Pool Three | Collection Level 486+ | 104 cards | Decks (Beginner) Decks (Advanced) | Tier List |
| Series Four | Collection Level 486+ - Rare | 24 cards | Decks | Tier List |
| Series Five | Collection Level 486+ - Ultra Rare | 30 cards | Decks | Tier List |
| Unreleased | Release and Series Drop Schedule | 34 cards |
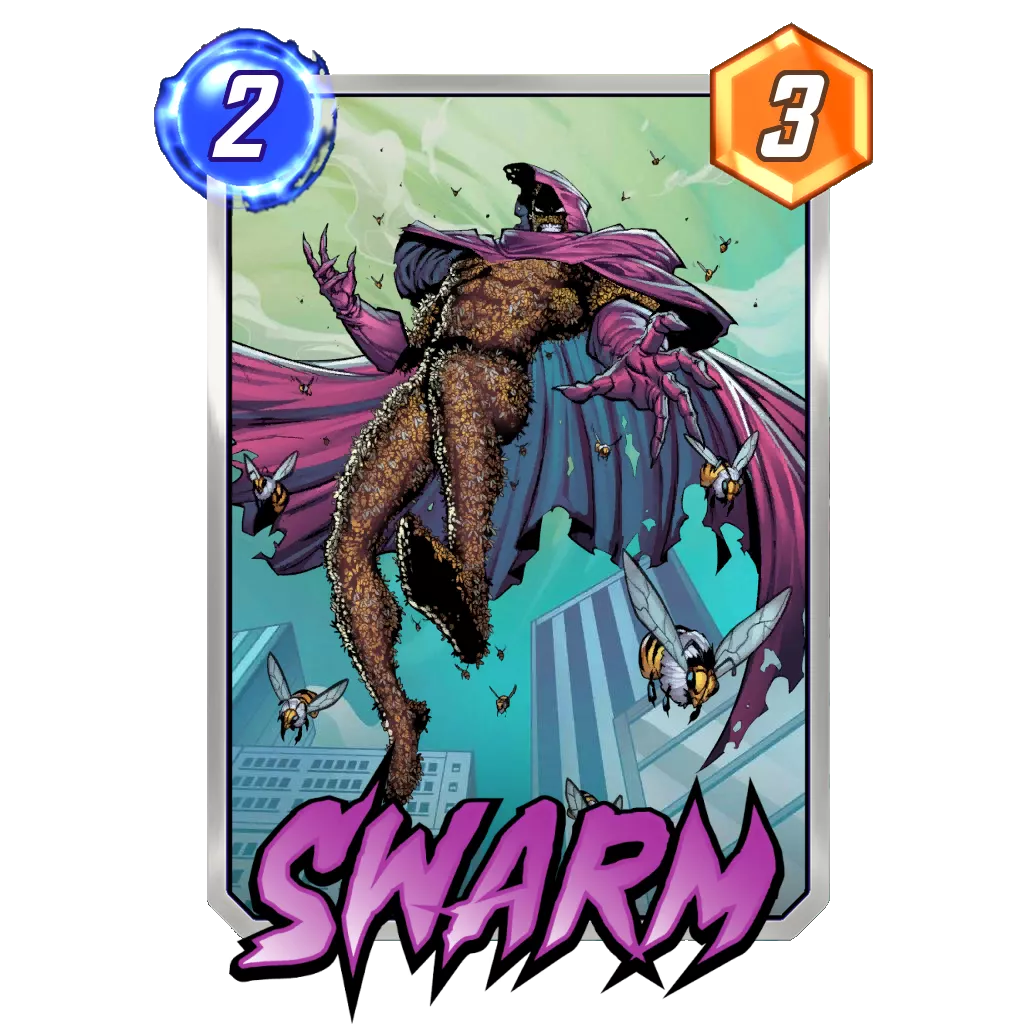
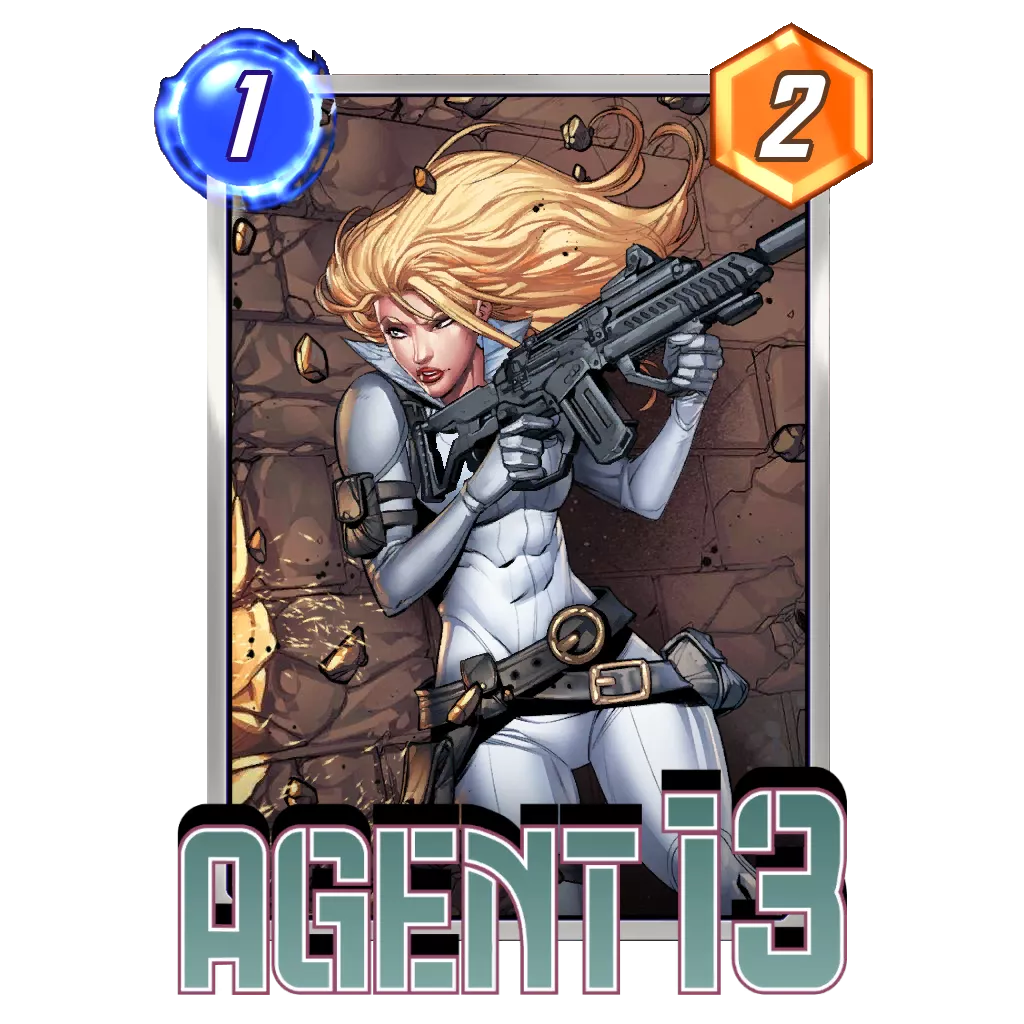
In a way, your arrival in Series 2 is your first step towards competing in Marvel Snap, as you will be able to build highly synergistic decks or start being able to go for more precise counter-strategies. Several long awaited haymakers exist in Series 2, such as the likes of Swarm in a Discard deck, Bucky Barnes in a Destroy build or Agent 13 in the Devil Dinosaur archetype. It seems that regardless of your favourite decks and archetypes, there is likely an auto-include for you here.
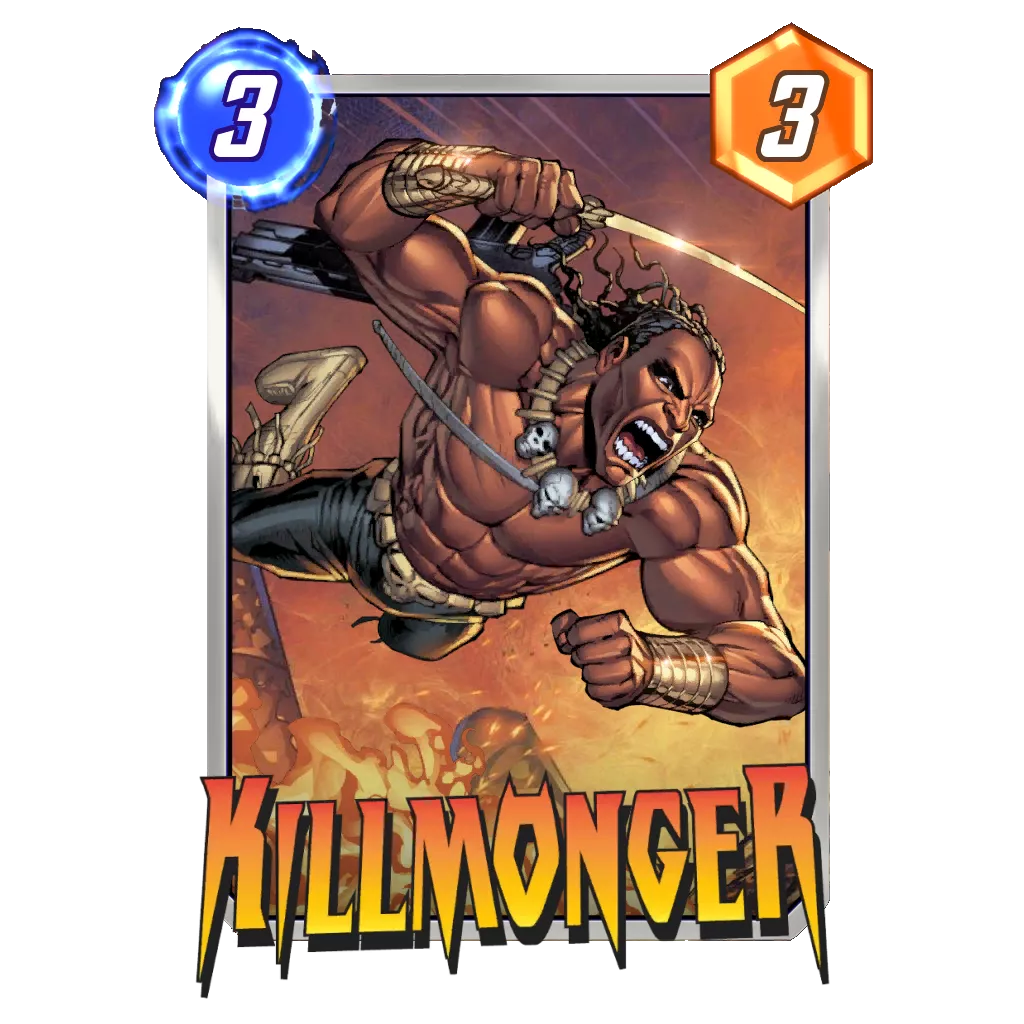
However, the true value of Series 2 in my opinion is the new archetypes it enables for players – with Sandman, Killmonger, Shang-Chi or Hobgoblin, you will collect some solid disruption or reactive cards, allowing you to shift from the proactive strategies you were kind of forced to play until now. The land of control or defensive decks should open with Series 2, and offer many more play pattern than the ones available with just Series 1, and is just a taste of the complexity that can await going forward.
In this article, I’d like to highlight different decks you can build while not playing any Series 3 cards. You probably spotted some of these decks in our Tier List, in the Budget Tier, as I believe those are competitive decks, although limited because of your collection level. These builds definitely have the potential to get to the Infinite rank while pushing various play styles.
Another great thing about Series 2 is that it also unlocks some flexibility about your deck. Once you found a signature card for your deck, it becomes much easier to experiment around the archetype compared to when limited to Series 1. As such, don’t take the 12 cards in each of these lists as something set in stone, rather look at the cards at the core of the archetype and those who play the role of the supporting cast. Most of the time, the second category can be adapted to play the deck a bit differently or include a tech card.
With just 25 cards, one should get through Series 2 quite quickly, and finding your most wanted card should be fast enough if you complete your Daily Missions. As such, even if you don’t have all the cards for a deck featured here, don’t sweat it, you might be able to craft it by the end of the week (or if you choose to skip it with the Pro Bundle).
For more Pool 2 decks by our community, check out our deck database!
Kazoo
Up until now, you probably have been playing, or facing, Kazoo a lot, and it is only logical. The deck is arguably the best archetype available in Series 1 while offering proactive, easy to visualize gameplay, making it the perfect beginners deck. As you can see here, it is a deck filled with cheap 1-Cost cards to flood the board, buffed by the other half of the deck (named after Ka-Zar and Zoo).
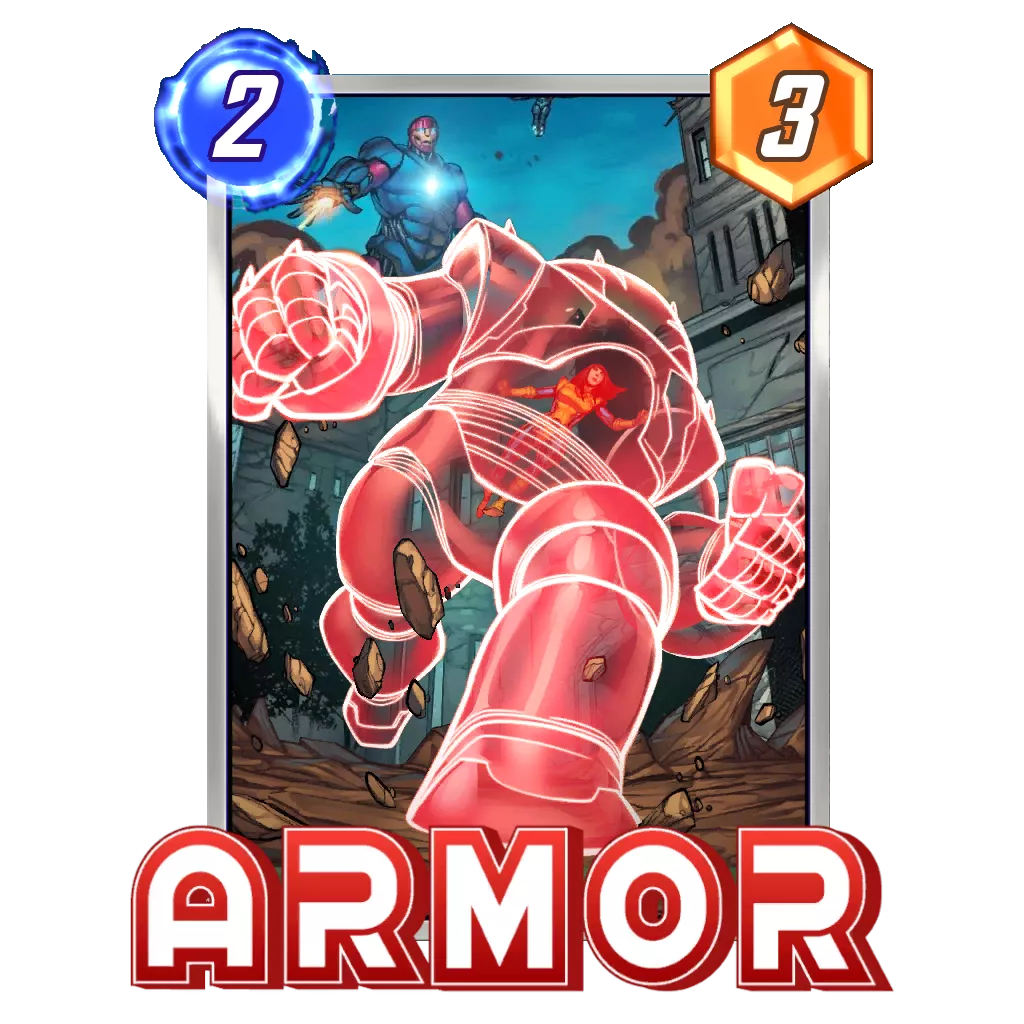
When entering the second pool of cards, the Kazoo archetype doesn’t gain so much in terms of new cards. Iceman, mostly, will bolster your arsenal of 1-cost cards, adding one of the best disruptive tool in Marvel Snap. Armor also becomes an important part of the Kazoo deck, protecting your 1-costs from Killmonger, now the biggest threat to your synergy.
The biggest difference for Ka-Zar and company is the opponent now unlocking Killmonger, the archetype’s nemesis. With a weapon of mass 1-cost destruction now a popular inclusion in the metagame, Armor and Cosmo will be much more important to your success. Indeed, being able to protect your 1-cost cards will often be the difference maker against reactive decks.
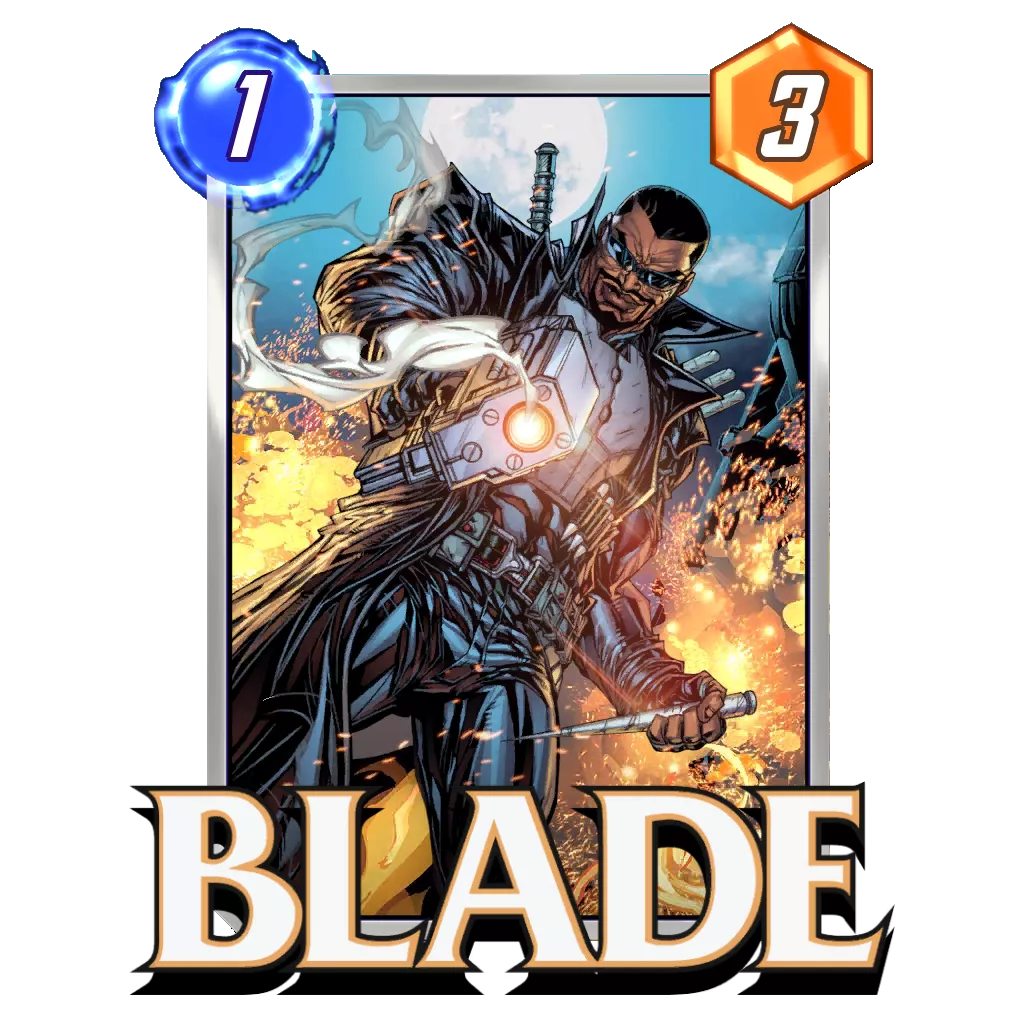
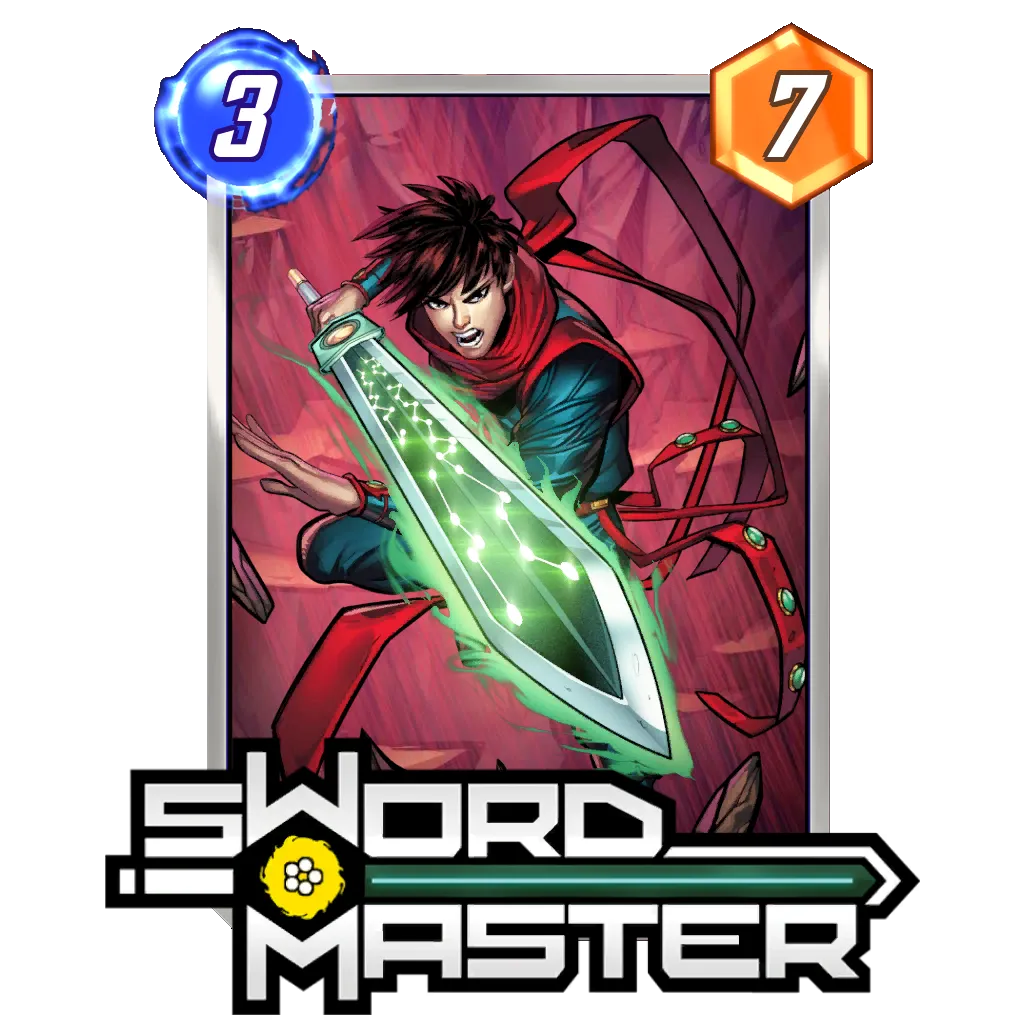
You can decide to play a more combo-oriented play pattern, keeping your 1-cost cards to dump them all on turn six. Yet, if you managed to create a safe environment with Armor early on, you can then focus on playing your bigger cards, maximizing your energies much more efficiently. However, with Strong Guy in the deck, potentially representing a [3/9], we want to keep in mind our hand should have one card at the most by the end of the match. It isn’t necessarily difficult to do considering the flurry of cheap cards we play, plus Blade helping in that regard, but remains an important side quest to keep in mind. If you are struggling with that condition, consider adding Sword Master into the mix.
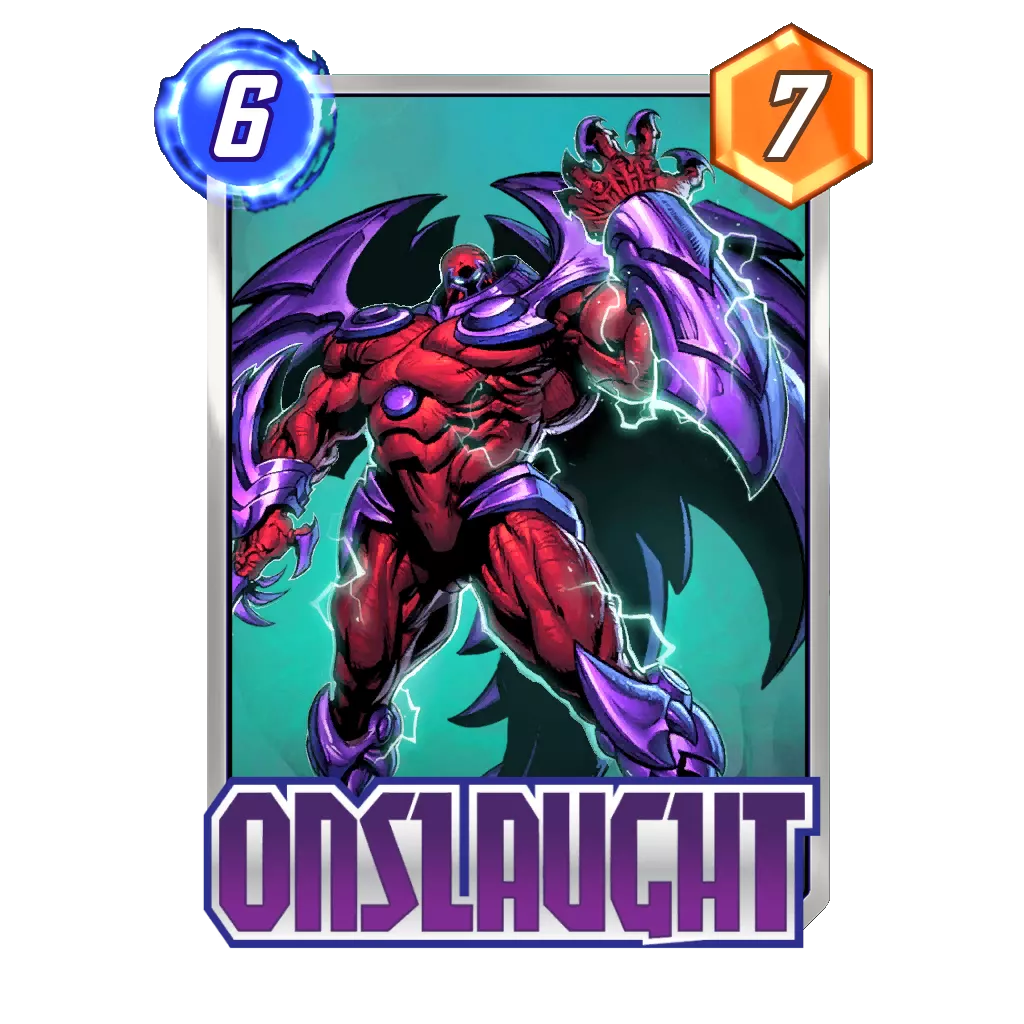
Kazoo is a very flexible archetype, which you can build many ways. Feel free to experiment around it and find your own comfort. For example, some players like Onslaught atop the curve, or Okoye as a 2-cost to buff your deck.
Here’s another way to build the deck, more centered around the Ongoing strategy, and with just as many upsides at the other one:
Discard
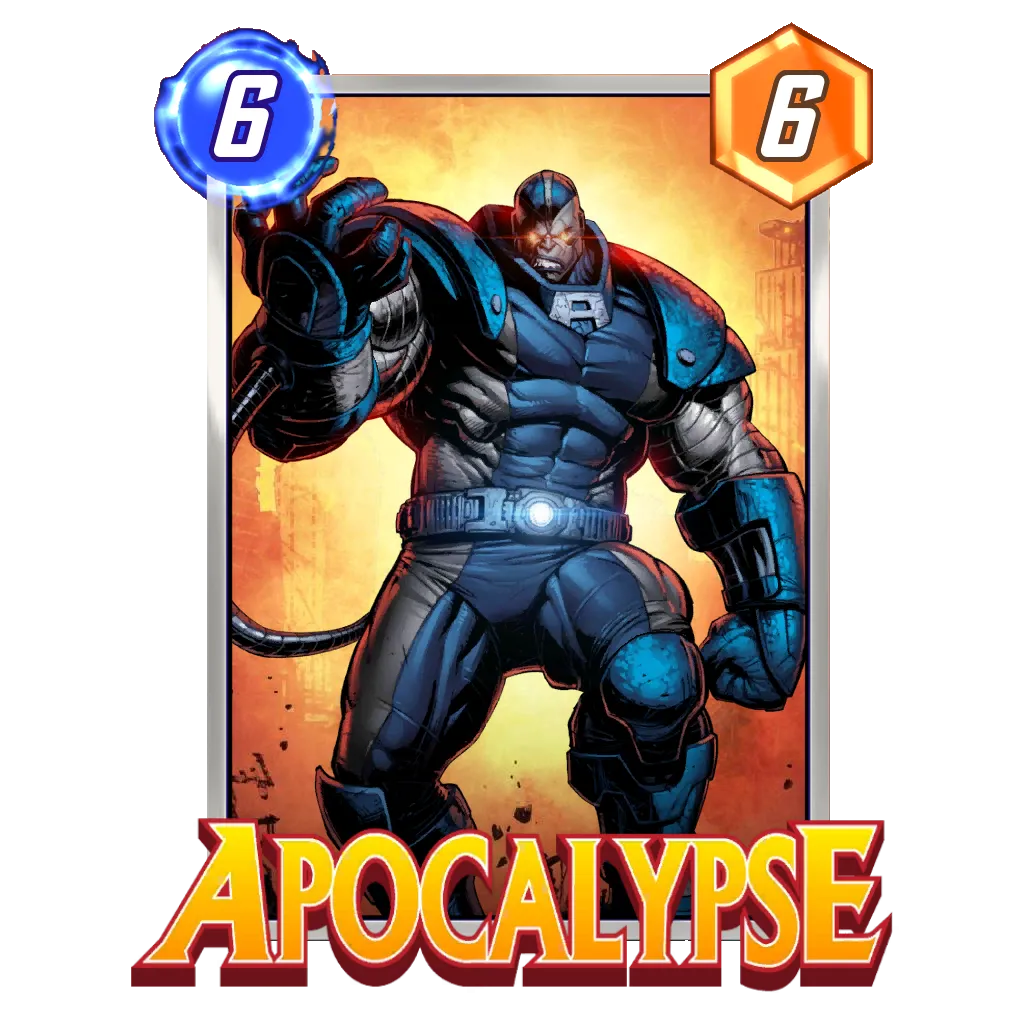
At this point in your collection, Discard is far from a polished product, as it will look like a midrange deck by the time you are done with Series 3. Until then, the deck will look like a sort of Kazoo, but will build its explosive patterns through Swarm while building a big body to play on turn six with Apocalypse.
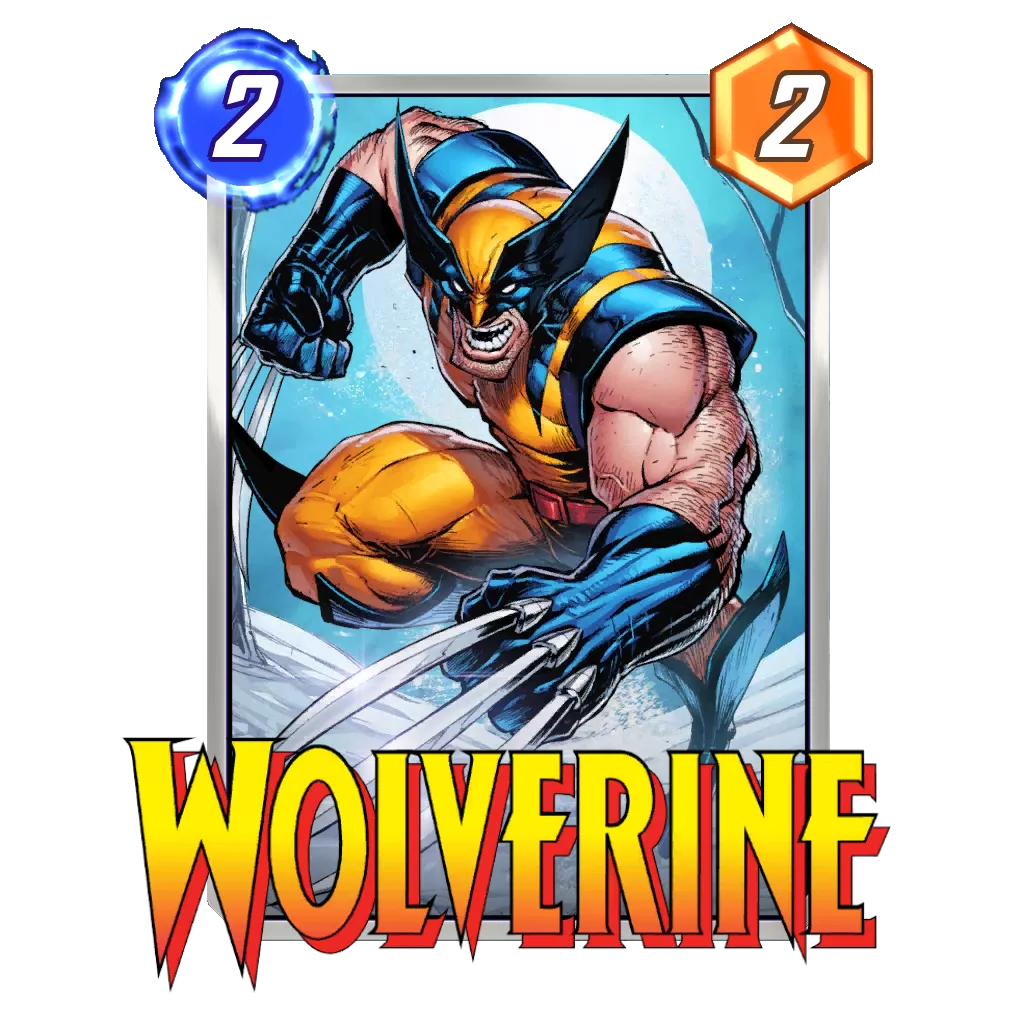
Compared to Kazoo, Discard is a little less flexible, as you need to play cards in order to manage your hand to discard Swarm, Apocalypse or Wolverine. However, you are almost guaranteed to have a nine power Strong Guy with this deck, while two to four 0-cost Swarms is a huge power spike as well.
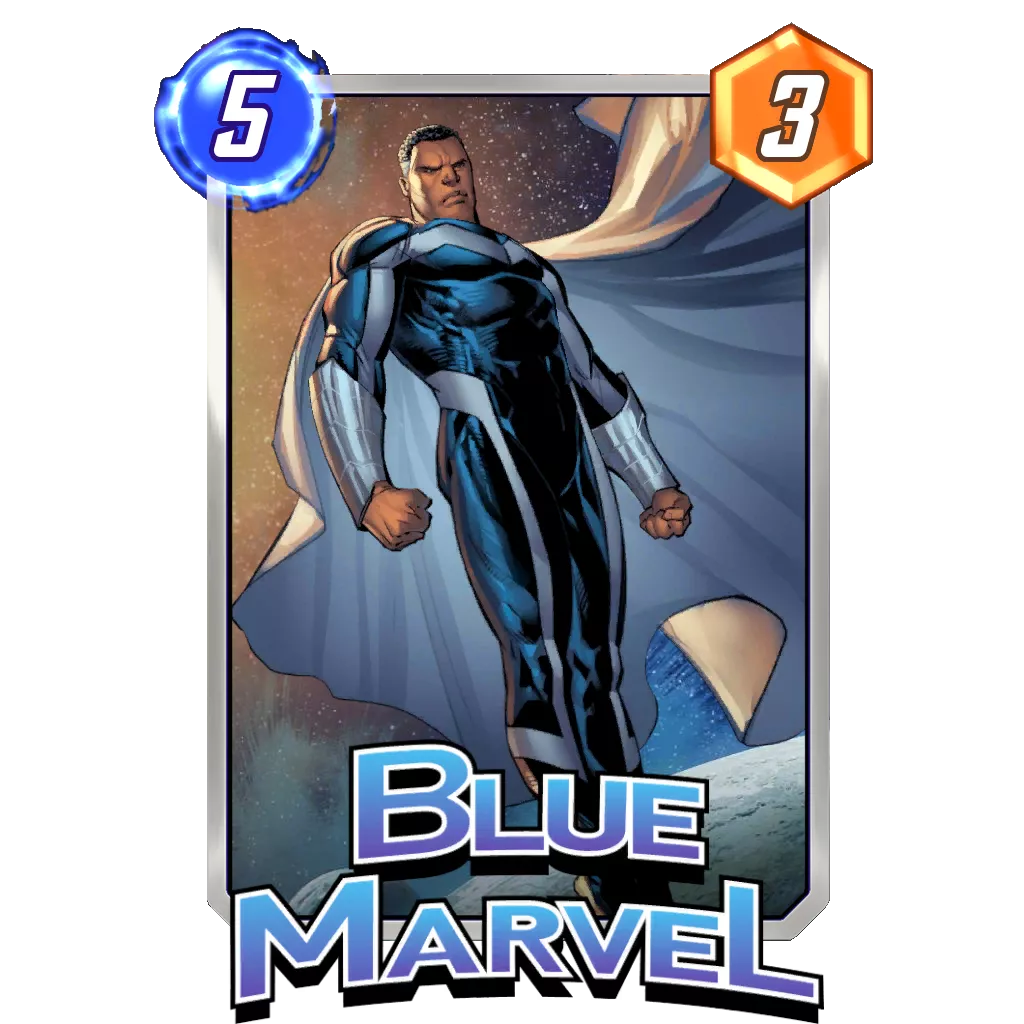
Some players like to play Okoye, Nakia or even Blue Marvel in hope to buff Swarm, but it often leads to a gimmicky deck, which would run better just through proactive play.
Once again, Armor is necessary in order to protect your 1-cost cards from Killmonger, although I could see Angela have a ton of upsides as well, just for its sheer amount of points. Consider you have Swarm, and you aren’t trying to attack all three locations, but rather support Strong Guy and Apocalypse on two, risking your 1-costs isn’t as bad of a bet compared to a Kazoo deck.
Devil Dinosaur Destroy
Similarly to Kazoo, the Devil Dinosaur shell was something already dominant during your Series 1 experience, except that one can follow you for a very long time. With Pool 2, Devil Dinosaur sees a lot of new friends join along the journey. The Collector, mostly, is a card that typically is associated with the deck once we unlock it. The duo of Sunspot and The Infinaut is another direction one can explore in such decks, focusing more on overall points than synergistic play patterns.
So why is the destroy package considered optimal at this point of your Marvel Snap journey?
First, Kazoo should still be a popular opponent, and Killmonger is their biggest counter, largely edging the matchup in our favor. Sure, Armor can be a bit of a party pooper, but we don’t have to commit our destroys early in the game, and keep them for the later turns in order to play around it.
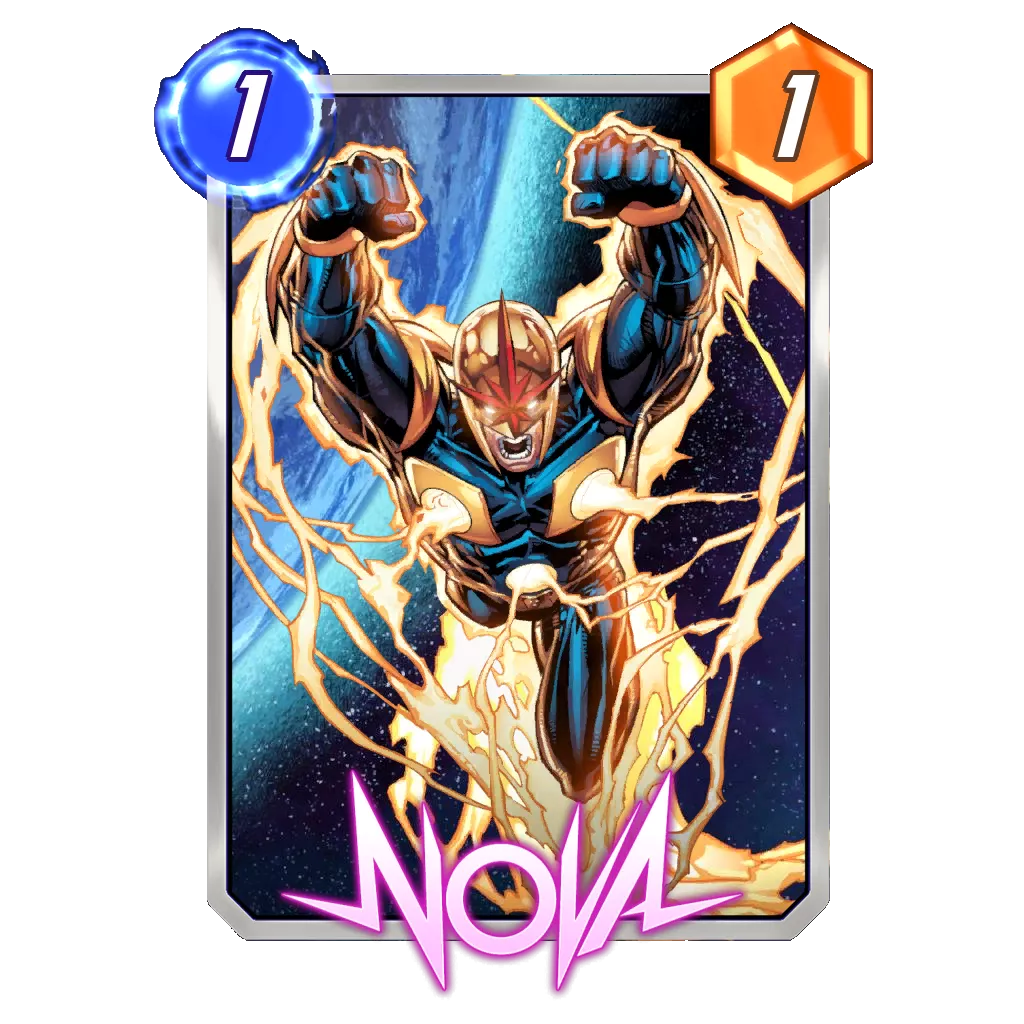
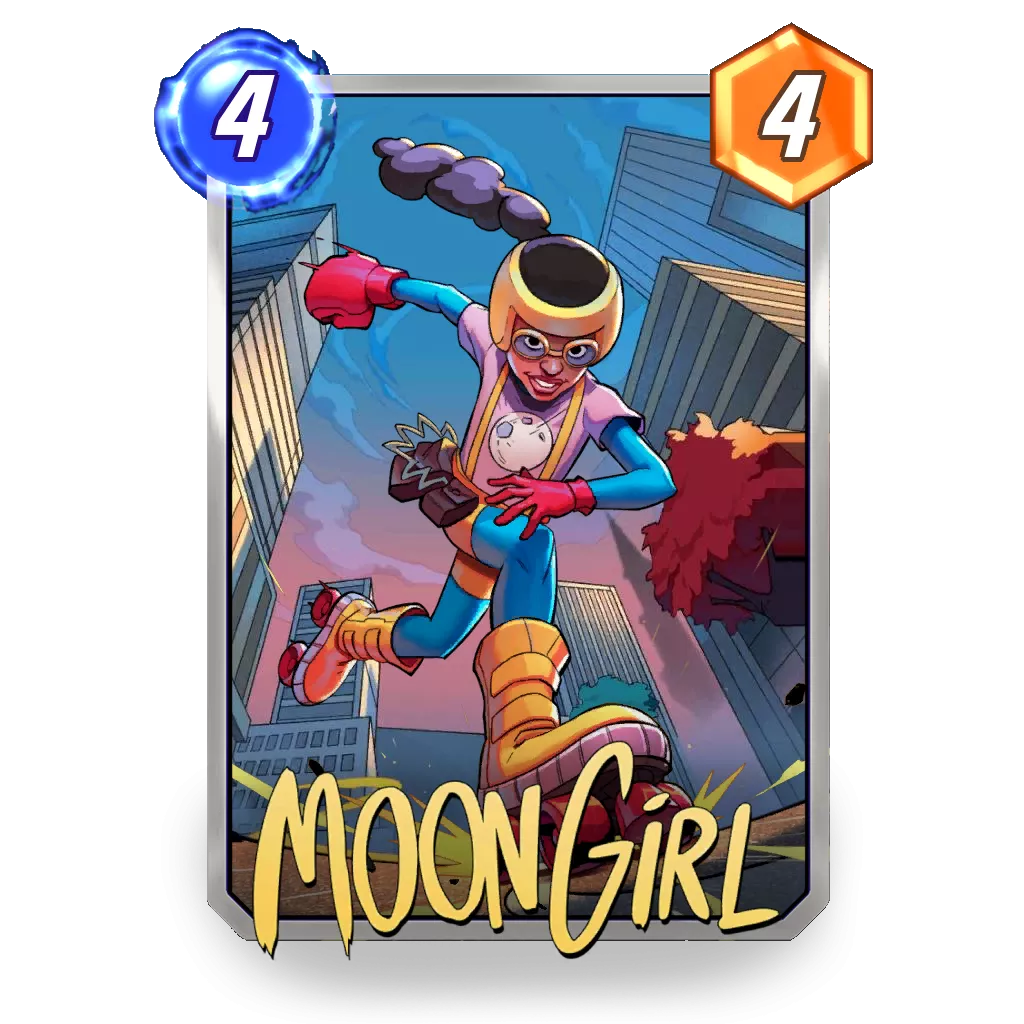
Then, the destroy synergy is a solid one in order to generate points in one lane with Bucky Barnes or Carnage. This complements Devil Dinosaur really well, the card being a mono-lane push as well. In that regard, Moon Girl is a good bridge amongst both synergies, as copying Nova or Bucky Barnes can be a good source of points in the final turns with our destroy effects.
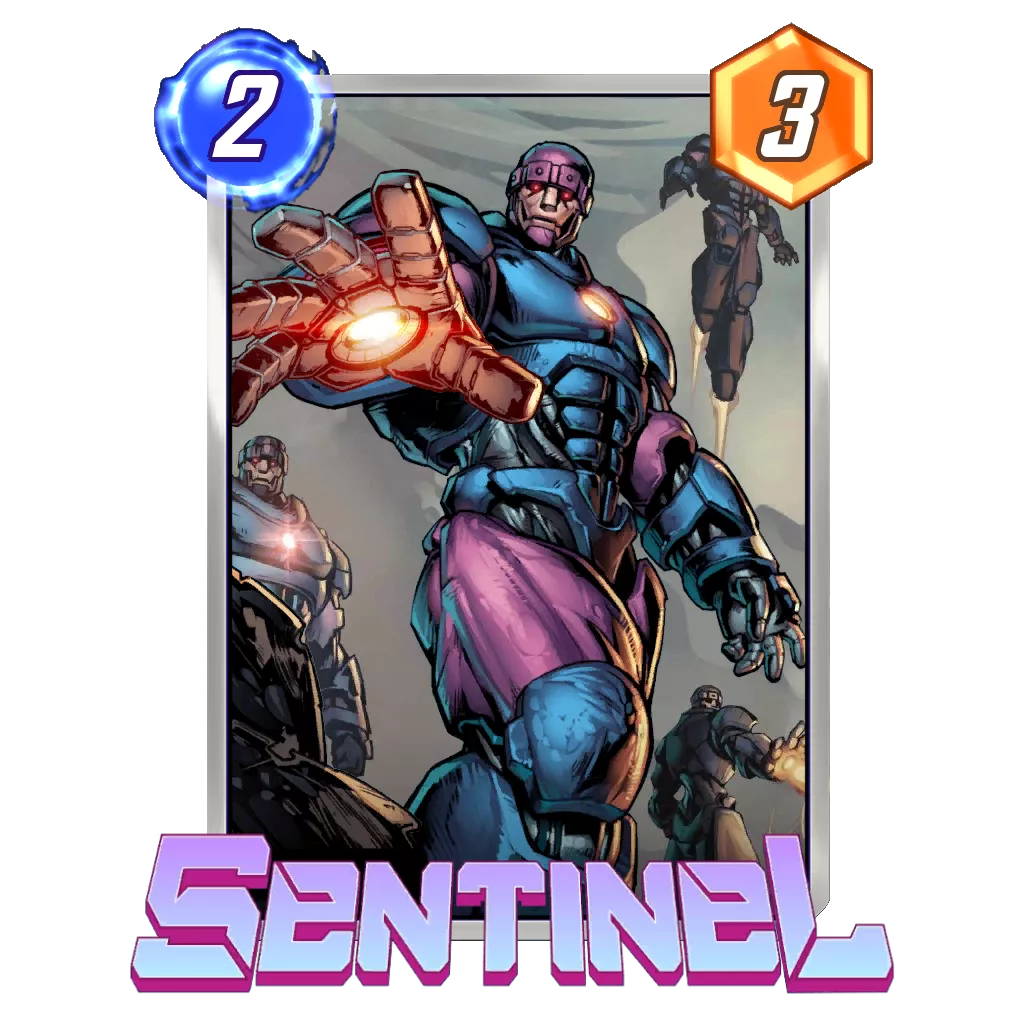
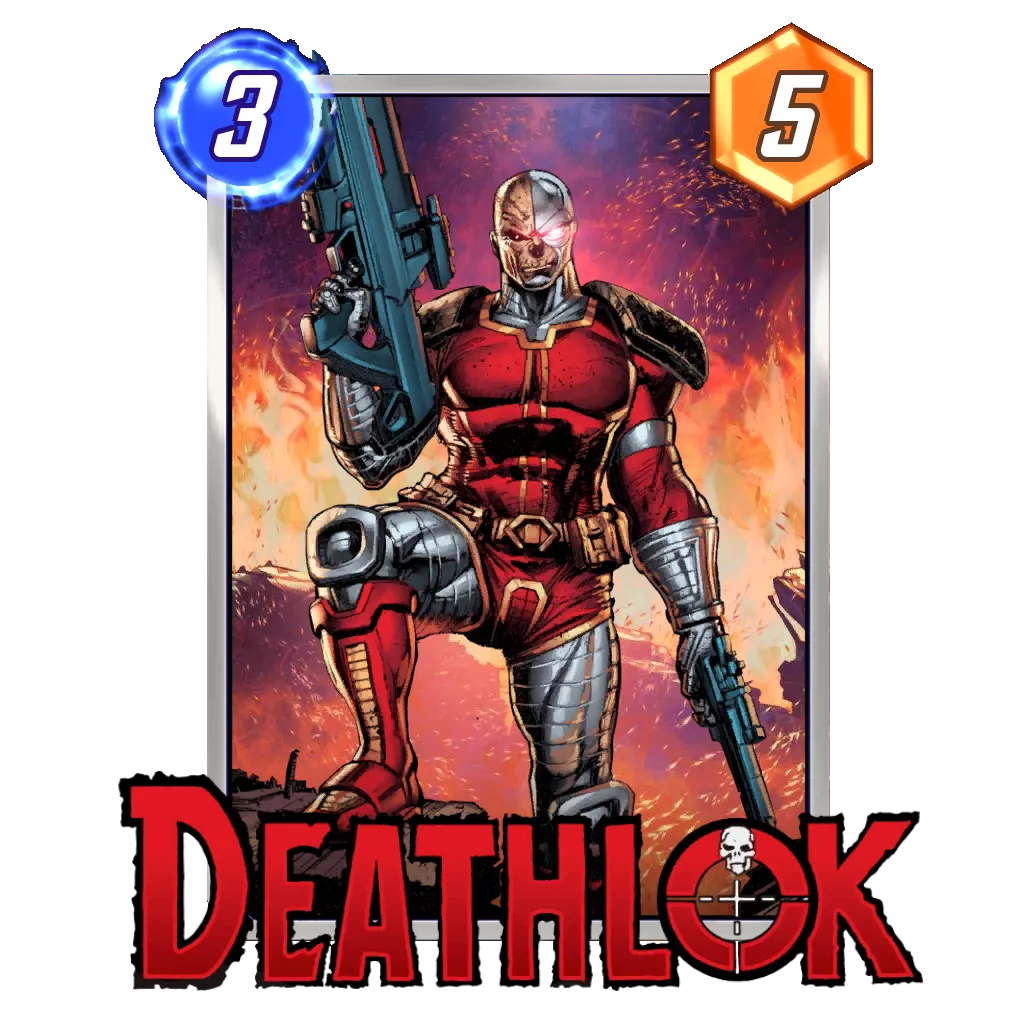
Lastly, mixing two synergies that seemingly don’t go together should be a nice misdirection for the opponent. Indeed, not many people expect Killmonger on turn six from someone playing Sentinel, The Collector and Devil Dinosaur in the first five turns. Similarly, showing a Bucky Barnes into Deathlok start is a good way to surprise the opponent with a turn six Devil Dinosaur to take over a lane.
Shang-Chi or Enchantress could also join this kind of flexible builds, if you fancy a counter card in your deck. Odin as well, could be a consideration.
Move
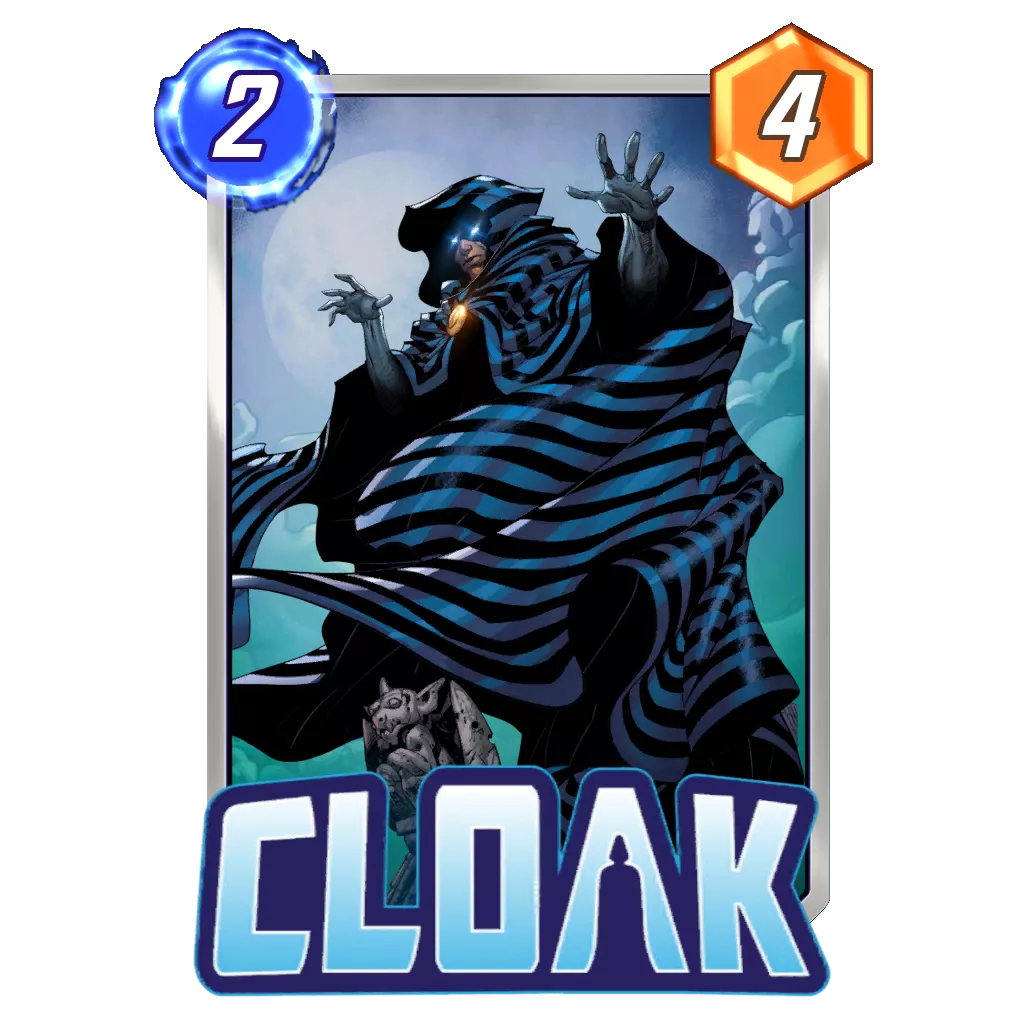
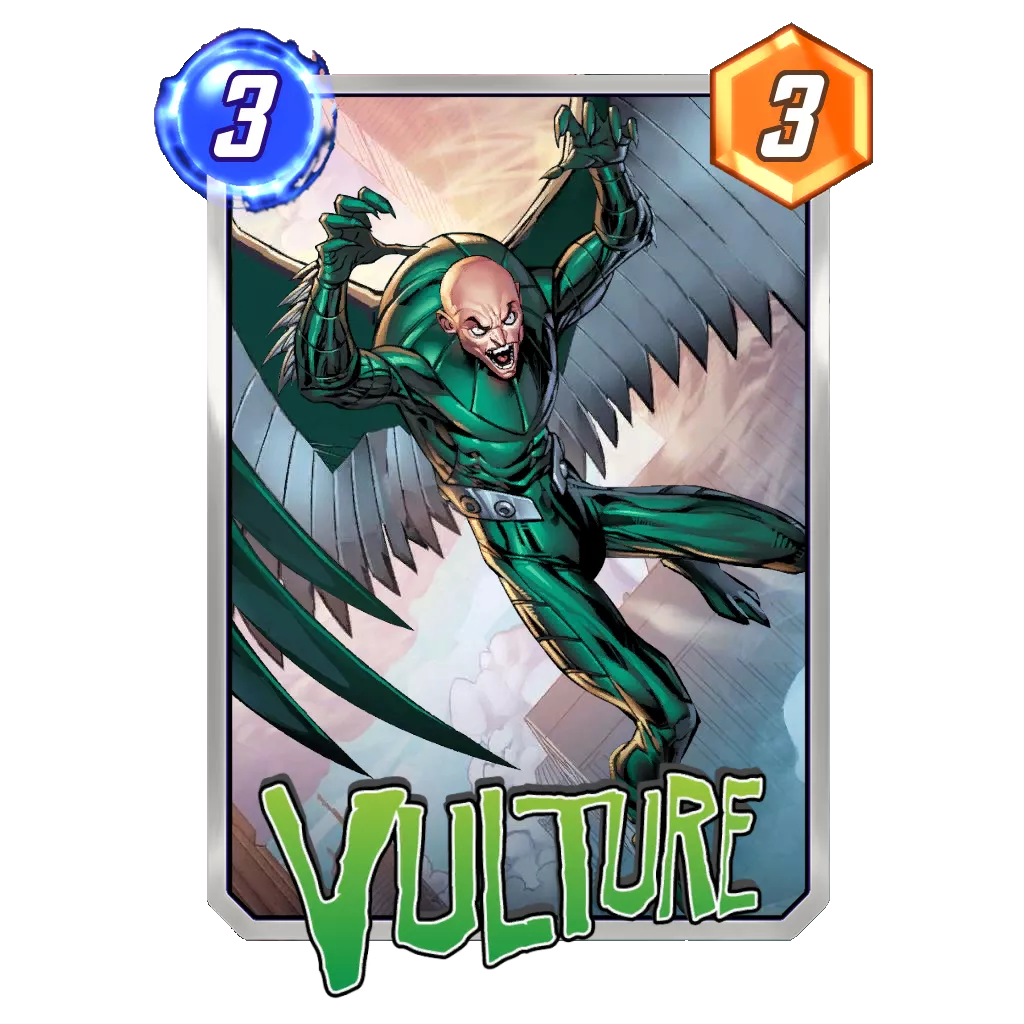
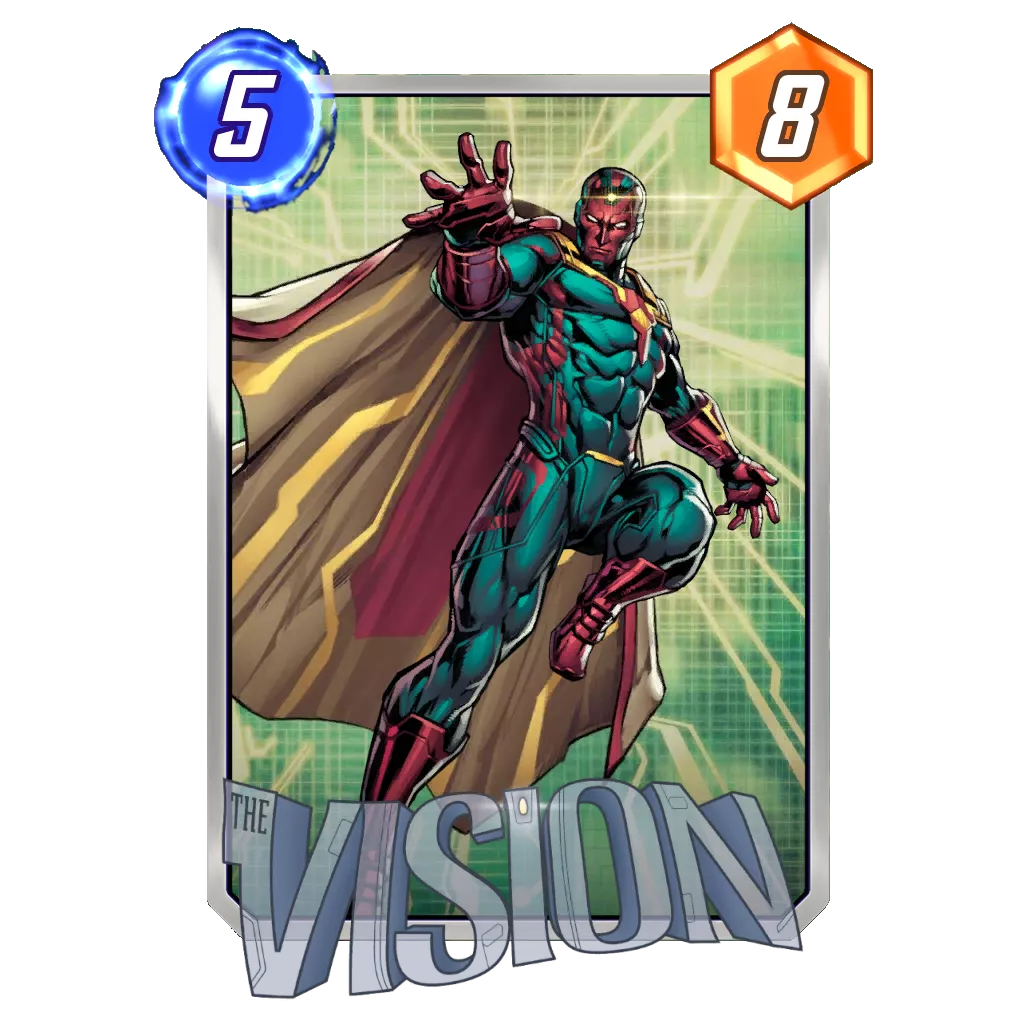
With Vision, Cloak and Vulture added to the mix, Move is now able to develop much more power than it could so far.
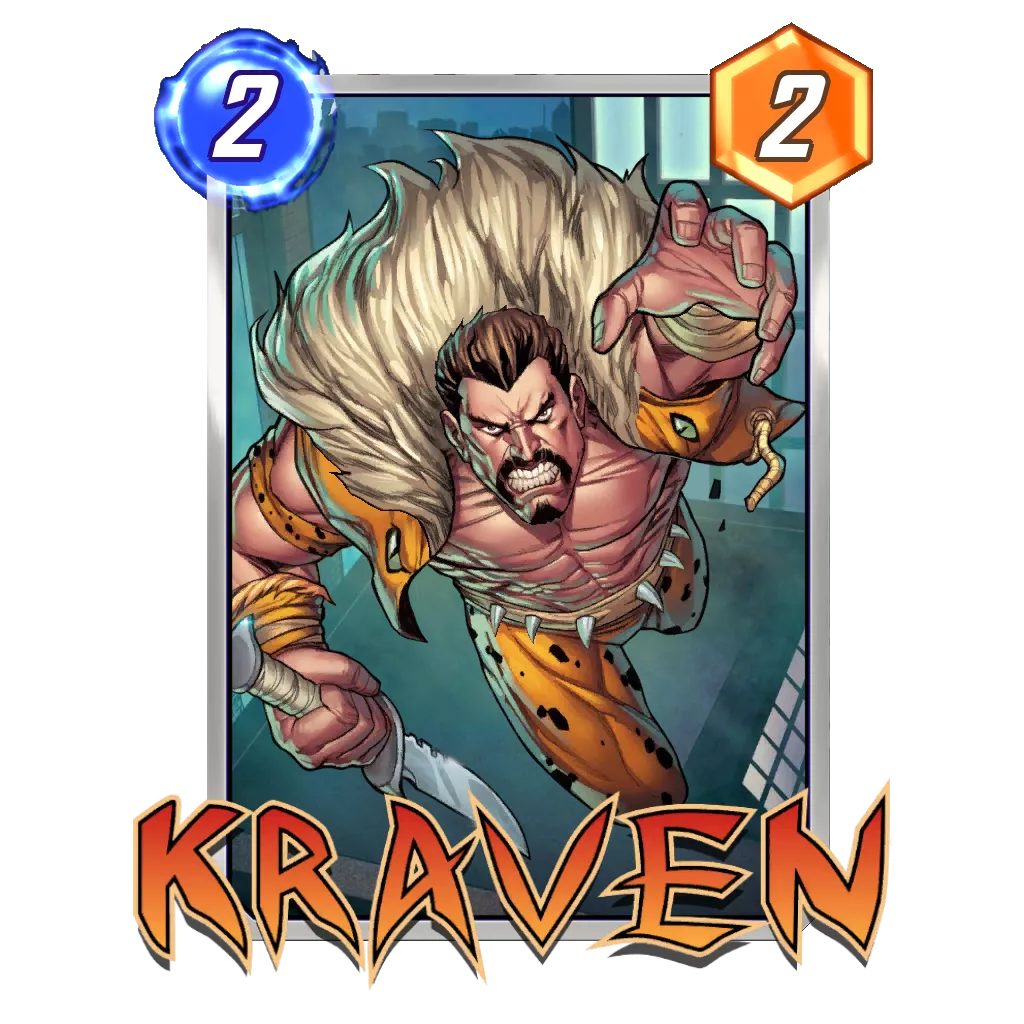
The core concept is to move our cards to buff Kraven, while multiplying a big Multiple Man, or buffing Vulture so it can contest a lane on its own. This particular addition, alongside Vision, alleviates a lot of the pressure surrounding the need to find Multiple Man.
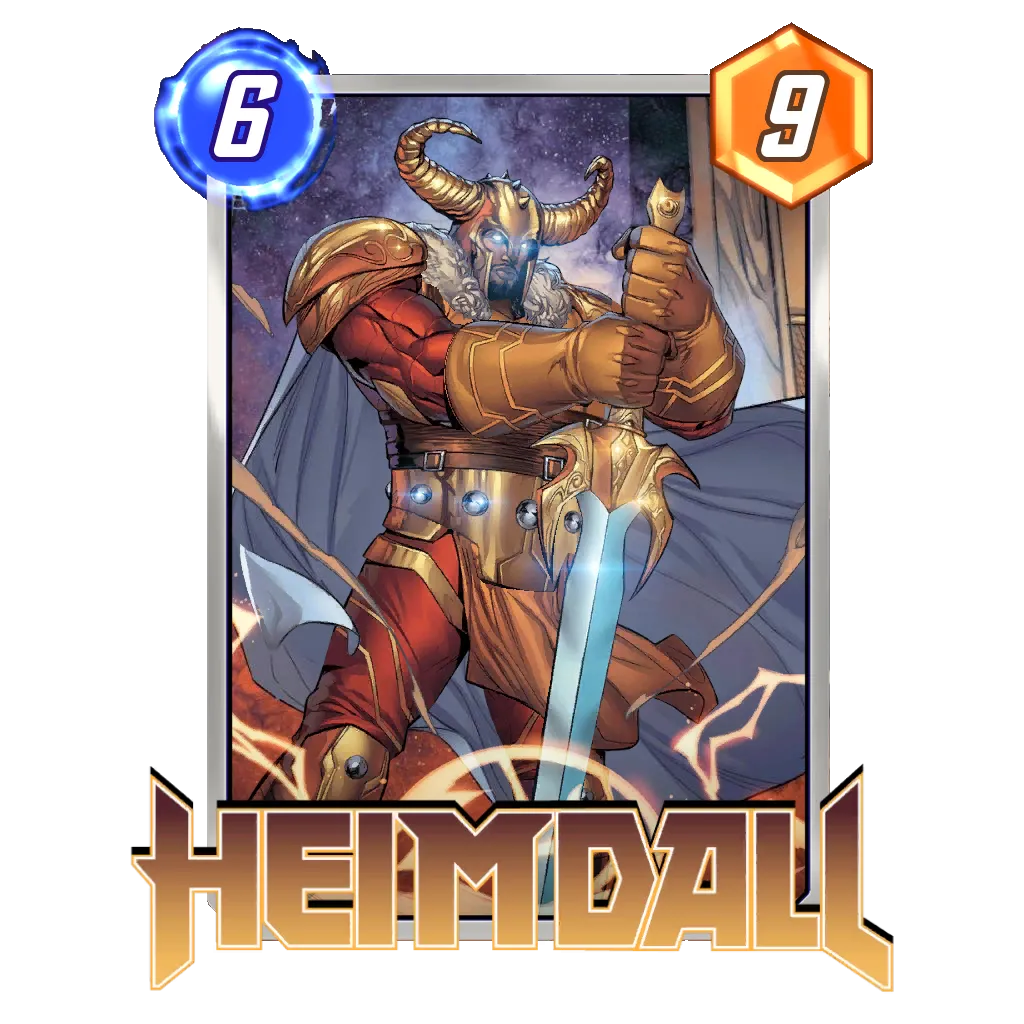
Now, if you can grow Vulture to a 15 or 21 power card, you can simply play Vision plus Heimdall on another lane for another solid chunk of points. Then, depending on which of your important card you draw early, craft a gameplan around that card, as it could push your deck in a certain direction.
Be careful about where you place your cards and try to think ahead to figure out where your cards will be on game’s end. It will be a lot of trial and error early on, but think about your opponent also needing to figure out what will happen when you move your cards if they want to play optimally against you.
Closing Words
As one enters Series 2, it really feels like Marvel Snap takes on a new dimension. Decks (both yours and your opponents) are getting more refined, and strategies tend to focus much more around combos of cards we can assemble in our deck. This can be a step to take in a player’s development, as the game will go from an on-curve (playing every card when Energy is available) kind of play style to more planned development and explosive power turns.
Personally, this was the more enjoyable part of my journey in Marvel Snap; unlocking Series 2 really felt like I was playing a more complex, diverse kind of game. I was seeing more decks in front of me and had more cards that were worth building around, which was making the game much more interesting as a result. It also got me super excited to open a lot of these cards myself!
I hope this piece can help some of you take the next step in your Marvel Snap adventure. If you needed any help or want to ask questions, feel free to find us on our community Discord, or on my Twitter for direct contact.
Good Game Everyone.

⭐ Premium
Enjoy our content? You can Support Marvel Snap Zone and your favorite content creators by subscribing to our Premium community! Get the most of your Marvel Snap experience with the following perks for paid membership:
- No ads: Browse the entire website ad-free, both display and video.
- Exclusive Content: Get instant access to all our Premium articles!
- Meta Reports: Exclusive daily meta reports, such as the Ultimate Card Metrics Report, Top 10 Decks of the Day, Top 30 Cards, and Top Card Pairs tailored for you!
- Team Coaching: Join our free weekly team coaching call sessions on the Discord server. Claim your Premium role and gain access to exclusive channels where you can learn and discuss in real time!
- Premium Dashboard: Get full instant access to the member-only dashboard, the all-in-one page for all your benefits.
- Support: All your contributions get directly reinvested into the website to increase your viewing experience! You get also get a Premium badge and border on your profile.
- Special offer: For a limited time, use coupon code SBYREX4RL1 to get 50% off the Annual plan!


