
Table of Contents
Our latest Tier List has many archetypes move up and down in the ranks every week. Occasionally, some new contenders get enough numbers to be part of the list.
Without a doubt, the latest OTA balance patch has twisted the metagame. A pretty favorable change, if you ask me.
We see fewer people playing the same archetype over and over again as many players have been trying out new decks, revisiting old strategies, and generally innovating.
An archetype that has been the result of this is the one that I present today. Hela Tribunal was born from the buff The Living Tribunal received (going from a [6/6] to a [6/9]) combined with the freedom to explore new ideas.
As den mentioned in our last Tier List, the archetype still does not have enough numbers to be considered for Tier 1. However, the list we will be working with today is one of the best performers over the last few days (according to our data from Marvel Snap Zone Tracker).
With an average of 0.8 Cubes per game, it seems to me that this archetype is a similar case to Iron Patriot. The variety of lists means that, for the moment, the archetype is not consolidated. But if these incredible results continue, we could be left with a new contender fighting for a place at the top of the metagame.
 Bohe
Bohe


Concept and Strategy
The advantage of this iteration of Hela is the integration of cards that make the core idea of the archetype much more flexible.
- We can discard our entire hand with
MODOK and bring back to the board all of them with Hela. This is accomplished by playing both cards behind Invisible Woman.
- Playing Electro on Turn 3 enables a curve where we can play Iron Man followed by Onslaught and finish with The Living Tribunal.
- With Magik, we can create an additional turn, and then it works similarly to Electro. An extra draw also means more chances to find Hela, and the energy is needed to assemble the combo with The Living Tribunal.
Core Cards
Tribunal Core


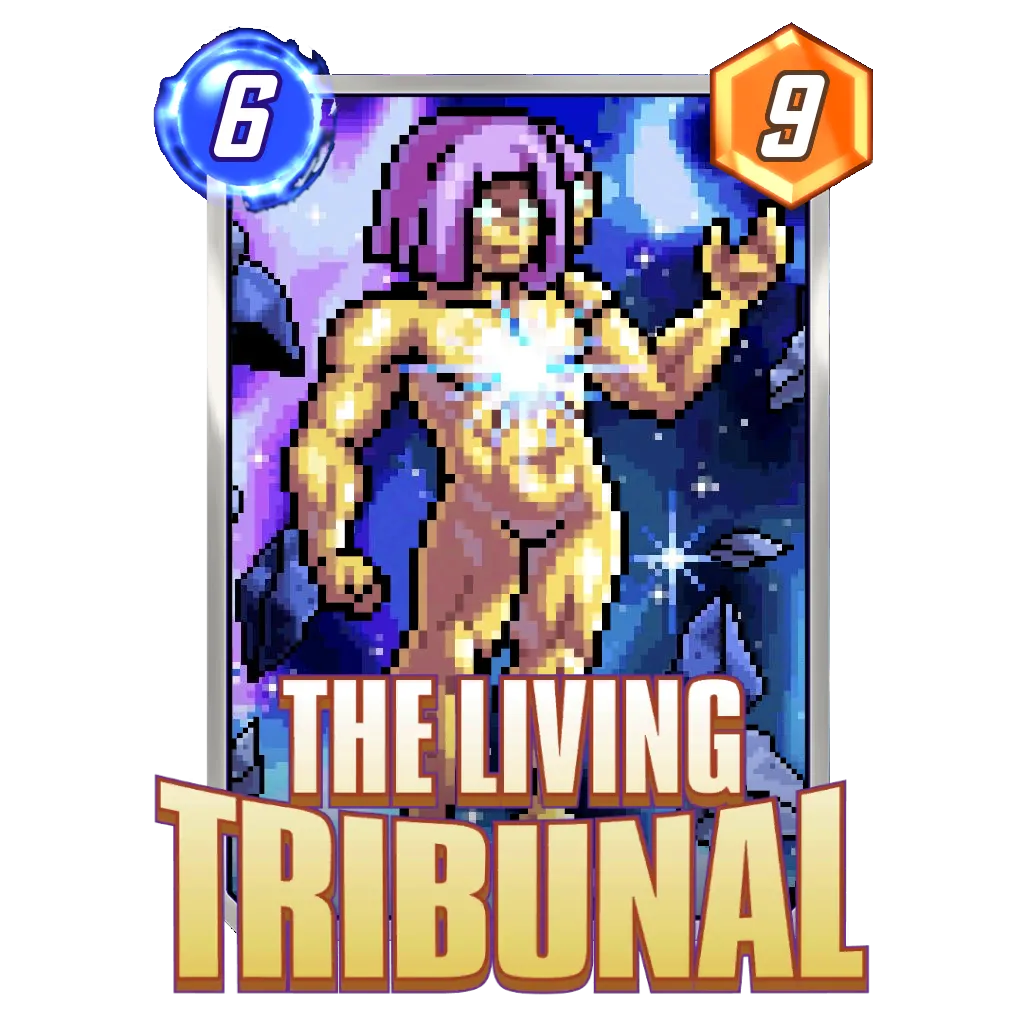


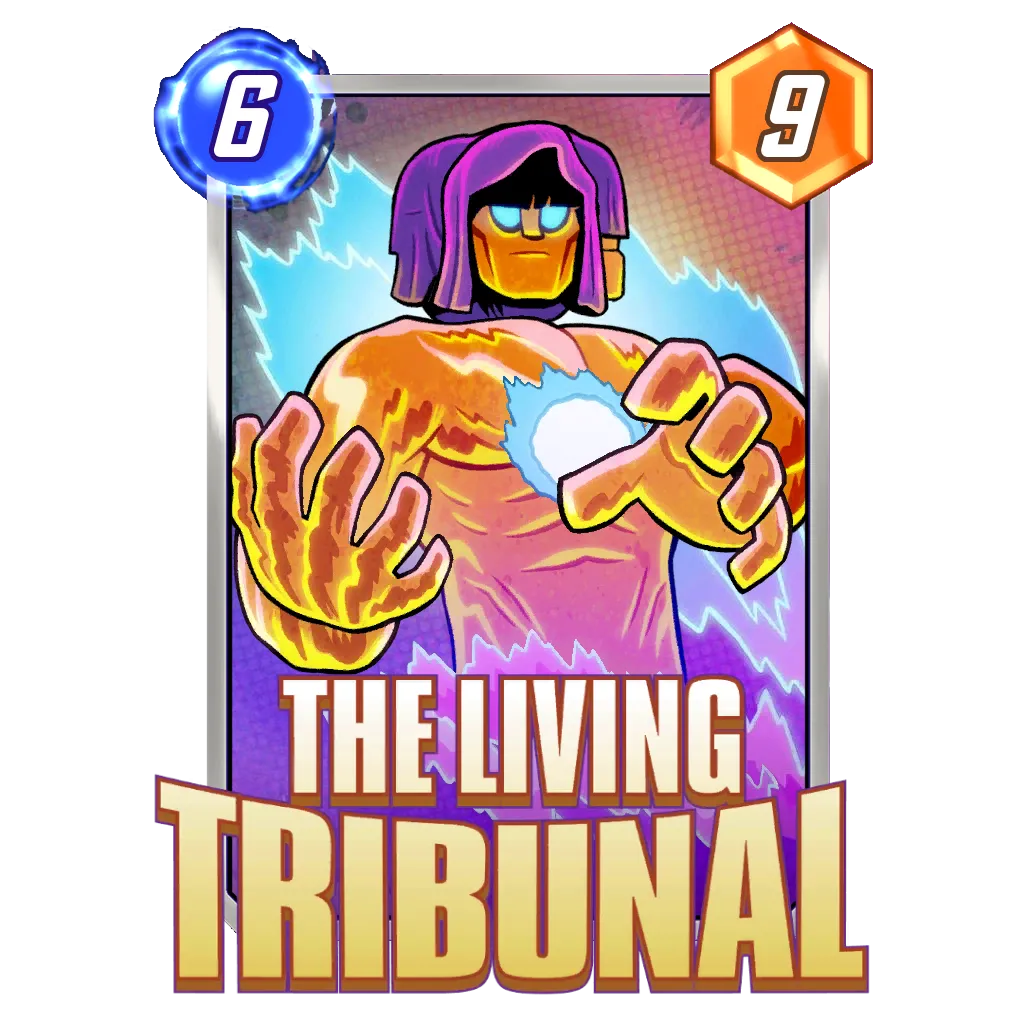


Any iteration of a deck looking to build a combo around The Living Tribunal will need to have these three cards.
Managing to play all three cards in the same location translates into 64 points. When The Living Tribunal divides these points into three lanes, we will end with 21 power in each of them. This is usually enough in the vast majority of cases to win two of the three locations.
It’s quite a powerful combo. If we factor in our ability to maximize the combo thanks to the rest of the cards in our list, things become very difficult for our opponents.
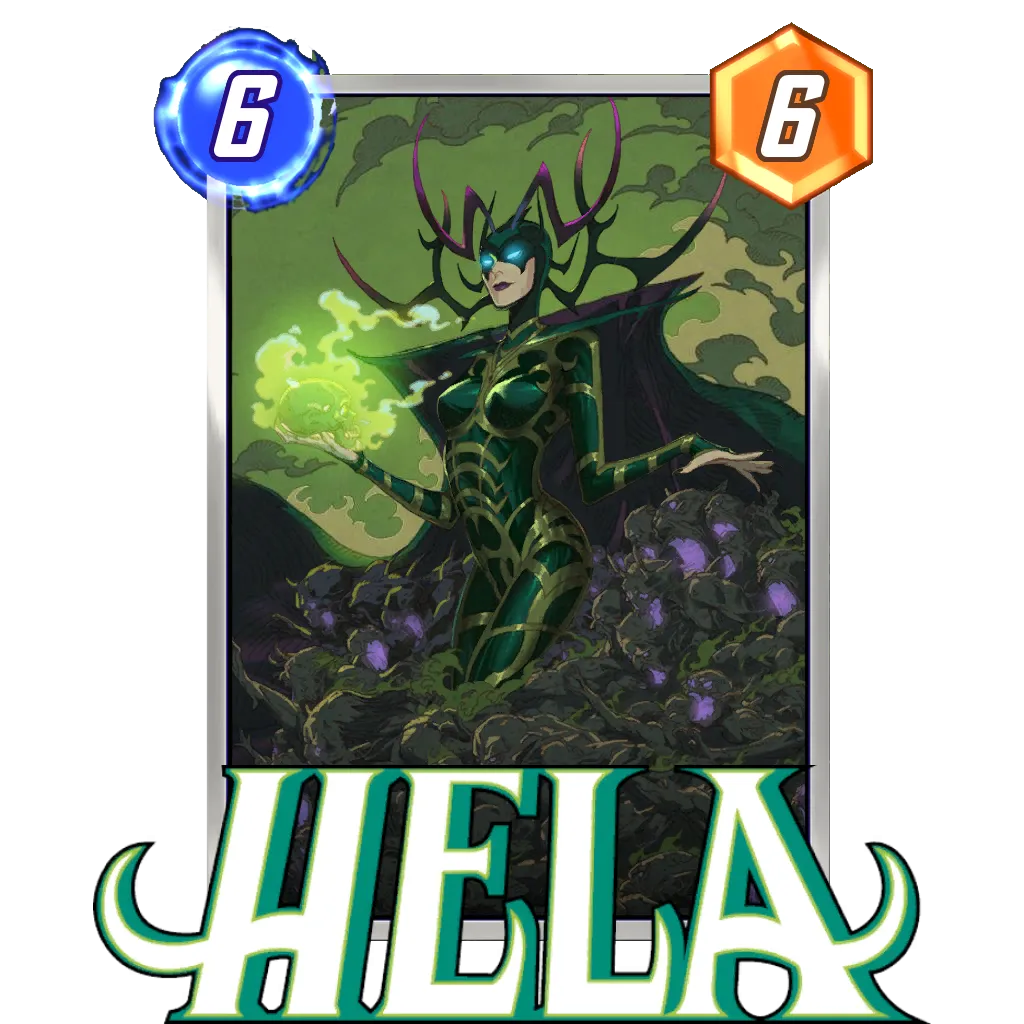
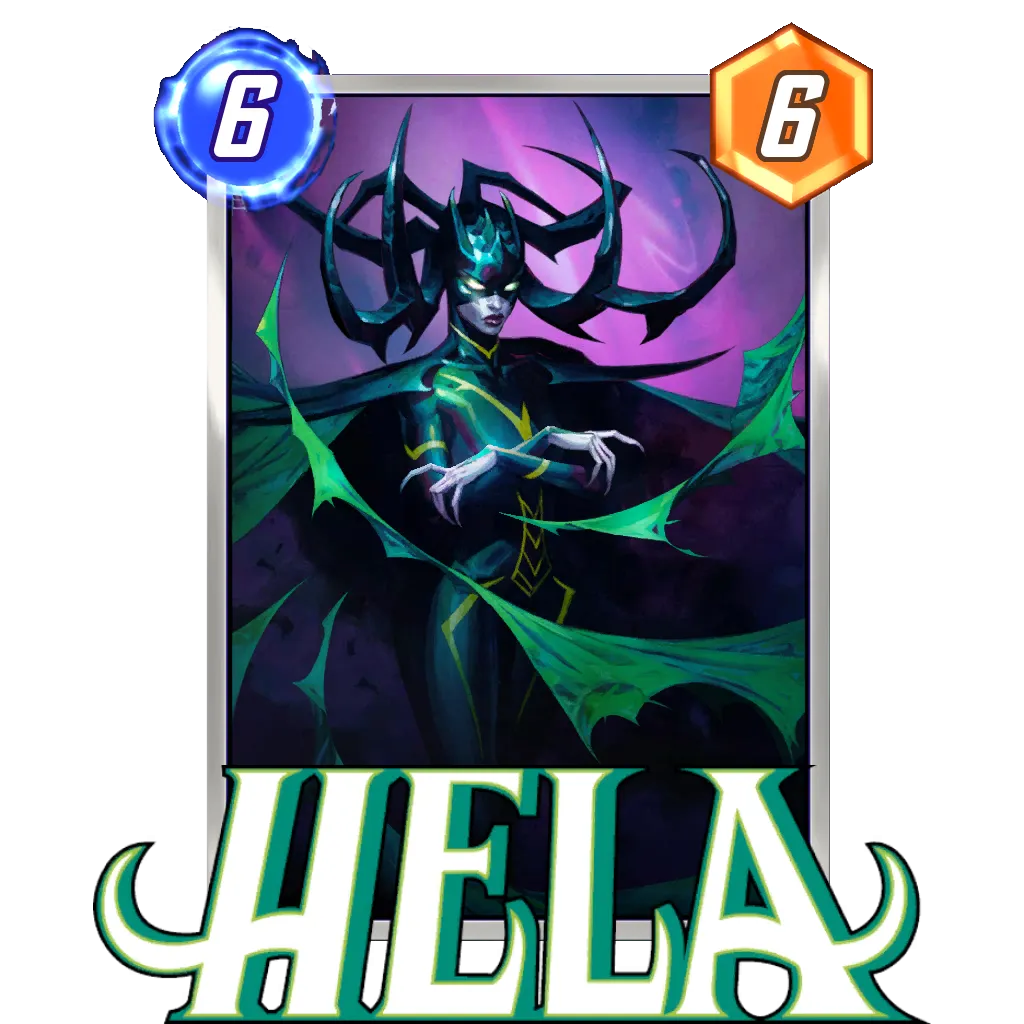
Hela Core


This is the second combo of the deck. Since the release of
Being able to discard our entire hand and bring all our cards back on the last turn is very powerful. It’s certainly not an easy thing to pull off without help, but, thanks to Invisible Woman, the combo became solid and consistent.
It’s necessary to play the three cards in the same location starting with Invisible Woman. This allows us to play
Enablers Core


These two cards work as enablers for both game plans.
Electro allows us to play The Living Tribunal combo on curve, something very valuable when Hela‘s plan cannot be carried out.
In the same way, Magik give us an extra turn, which translates into an extra turn to draw Hela or build The Living Tribunal combo — even though two of the cards cost six energy.
Wild Cards Core


When we play a deck where we want to maximize the chances of finding key cards, Jubilee and Iron Lad work perfectly.
In both cases, these cards allow us to find the rest of our important cards or have their effects in play even if we haven’t drawn them yet, which increases the consistency and redundancy of both of our game plans.
Trucks Core


Both of our play lines reward having high-powered cards on the field. Giganto and The Infinaut are two of the cards with the highest amount of power in the game, so it’s only natural that they’re included here.
Whether we play the Hela combo or The Living Tribunal combo, being able to put these two cards on the field during the last turn will usually give us enough power to contest any location.
Card Substitutions


Although it may seem hard to believe, some versions of this archetype are playing Crystal.
It usually takes the place of Jubilee. The additional draw is usually quite favorable as it allows us to find any missing pieces of our combos.


When we play a deck with two or more trucks, it’s normal to see the cards in these slots change as the meta dictates.
We can choose Magneto or Death to occupy the slots of Giganto or The Infinaut. Raw power is usually the first path, but adapting to your environment is always going to be valuable.
Magneto can be a great Turn 6 play on its own, as well as throwing many decks off balance — particularly the newly popular Silver Surfer and Mister Negative decks.
Death can be used to protect our other 6-Cost cards from Spider-Ham, even though it’s less popular nowadays.


Playing


Our game plan is flexible enough to think about other cards with Ongoing effects that maximize our play patterns.
Blue Marvel works well because, thanks to Hela‘s ability, we tend to have many cards on our side of the field. This means that Blue Marvel is going to give us a lot of points in all locations at the same time, and then The Living Tribunal distributes those points evenly among all the lanes.
Omega Red has been seen in some iterations that are more focused on The Living Tribunal. While the curve gets a little tricky, having Omega Red + Iron Man + Onslaught + The Living Tribunal all in one location basically wins you the game.
Other Ways to Build the Archetype
Bohe

OrdinaryHarry’s version has some pretty interesting quirks. In addition to the inclusion of Morbius and Blue Marvel, I think adding America Chavez could be a wise move.
The numbers are clear. An additional 2% chance to draw each of our cards with America Chavez in our list is very relevant when we have one or more combos that we are trying to hit.
Bohe

In this list, we play Crystal instead of Jubilee. This gives us an extra draw to search for our combo pieces without risking Jubilee getting an unlucky pull.
Magneto instead of Giganto gives us a powerful Turn 6 play without limiting us to playing on the left lane. All this is added to the fact that, in the current meta, Magneto does serious work against Silver Surfer.
Bohe

My friend KaptKerr’s version makes us realize that another option to facilitate the combos in our deck is Wave.
Just like Electro or Magik, Wave allows us to play any of our 6-Cost cards on Turn 4. This can speed up The Living Tribunal‘s combo and at the same time speed up
Snap and Retreat
As a combo deck, recognizing the opportune moments to Snap is not that hard. We just need to identify if we have the right pieces in hand and/or if we will have a chance to realize either of our two game plans.
- To Snap on Turn 2, we need the perfect hand: Invisible Woman +
MODOK + Hela.
- We can Snap on Turn 3 if we get the sequence of cards mentioned above with our draw this turn. We can also go for it if we have Electro / Magik + at least two out of three between Iron Man, Onslaught, and The Living Tribunal.
- Snapping on Turn 4 is usually the most tricky. If your draws enabled any of the aforementioned lines, you can do it with confidence. If not, it will depend on the card that is on top of your deck for Jubilee or Iron Lad. For this, you have to be able to identify the remaining cards in your deck and know for sure that most of them will be beneficial for either of these two cases.
- Snap during Turn 5 if you have
MODOK and Hela in hand and Invisible Woman in play. You can also Snap if you already have Iron Man in play thanks to Electro, and you plan on playing Onslaught and The Living Tribunal on Turn 5 and Turn 6, respectively.
- Even though I’m not a fan of Snapping on Turn 6, it is possible in this particular case thanks to the fact that we are playing Magik. Make sure to do it before playing Hela or Onslaught (playing The Living Tribunal first tends to confuse your opponent). Another good plan could be to play the final piece of any of your combos on Turn 7 and Snap during that turn, committing the opponent to playing an additional turn.
The pieces needed to enable our combos are clear. Have the discipline to Retreat if you don’t have them in hand when your opponent Snaps. Consider counter Snapping if you meet any of the above requirements during the corresponding turns.
Locations
Good Locations
- Altar of Death, Asgard, Death's Domain, Quantum Realm, Quantum Tunnel, Kamar-Taj: Jubilee is very good with these locations.
- Onslaught's Citadel: Amazing for our combo with The Living Tribunal.
- Shuri's Lab: Similar to Onslaught's Citadel, it makes the numbers for The Living Tribunal combo bigger.
- Dark Dimension: Enables
MODOK + Hela combo without having Invisible Woman. - Project Pegasus: We have many 6-Cost cards. Playing any of them on Turn 2 or 3 is usually a game-changer.
- The Superflow, Titan, Elysium: Even though these locations are beneficial for both players, our deck can get a lot more value from them than almost any other archetype.
- Kyln, Sanctum Sanctorum: This kind of restrictive location is not a problem for us thanks to Hela.
Bad locations
Having Magik in our deck makes a lot of these easier since any of these bad locations can be changed to Limbo.
- Asteroid M: Tends to be uncomfortable.
- Dream Dimension: The most normal thing would be to Retreat without hesitation. You can play the game if you have Invisible Woman + Electro into
MODOK and Hela. - Isle of Silence: Bad for all our Ongoing effects.
- The Raft, The Sacred Timeline: Hard to fight for this kind of location.
- Morag: We usually only play one card each turn.
- The Big House: Nine of our cards can’t be played here.
- TVA: We don’t have a good early game.
Matchups
Thing have changed a lot this week. Two decks that weren’t in Tier 1 a week ago now occupy the top positions, so they are the ones I will focus on.
Thanos Control
 den
den


Thanos Control is an archetype that sometimes lacks raw power, which our deck sometimes has in excess. Its high position in the meta is justified by the fact that it has a number of disruptive tools that can stop many strategies without complications.
A lot of their cards don’t concern us too much, especially because we have the ability to protect our combos with Invisible Woman. Still, Professor X is a problem because it prevents Hela from putting cards into play at its location.
Contrary to this, The Living Tribunal can win closed locations even if we don’t have cards there. Professor X can be sped up with Psylocke or the Time Stone. When this archetype manages to get one lane under control, it’s hard for their opponents to do anything to win the other two. To our advantage, our two combos play to win all the locations at the same time, so we can put points in all the lanes as I said before.
The most important thing is to play around Professor X and try to assemble our combos in locations that we think our opponent won’t seal off. They don’t usually play Daredevil, so always have that in mind, too.
Evolved Lockdown
den


This archetype works very similarly to Thanos Control. One of the reasons it has gained popularity is how good it is against Destroy,
Either way, as I mentioned before, our big advantage here is the flexibility of our deck. While Professor X can be quite annoying, it’s best to stick with The Living Tribunal‘s combo whenever possible. This will allow us to win the lane where Professor X is without much trouble.
We have the strength to compete against Evolved Hulk, a way to divide our power to play against Doctor Doom, and the ability to get around Storm‘s Flooded lane without much issue. Just like against Thanos Control, always play with Professor X in mind and watch out for a Turn 5 Snap if they see your play with Daredevil. Playing this way will allow you to play optimally and know when to stay in the game and when to Retreat.
Turn by Turn Breakdown
- Turn 1: No moves possible on this turn.
- Turn 2: Play Invisible Woman if available. Try to do this in a location where you are sure that its effect while conceal your play pattern (either
MODOK + Hela or The Living Tribunal combo).
- Turn 3: In the case of having Electro and Magik available at the same time, the decision lies in knowing that Electro is better for assembling The Living Tribunal combo and Magik is better for Hela‘s play line (although both are still good at each other’s jobs).
- Turn 4: If we played Electro, playing Iron Man is usually the correct decision. If we don’t have Electro, we can go for Jubilee or Iron Lad. In the case of having both, the decision must be made carefully. Think about what Jubilee can pull and whether it is likely to be relevant or uncomfortable. Iron Lad, on the other hand, will not remove any cards from our deck. If any vital cards from the play line you’re following are still in the deck, Iron Lad will be a better choice. If you’re clear on a play line, it would be preferable to go for more power with Jubilee.
- Turn 5: If you’ve played Invisible Woman and have
MODOK available, this is the time to playMODOK in the same lane. Now, if we went with the combo for The Living Tribunal and we played either Electro or Magik, it’s up to us to play Onslaught, The Living Tribunal, or Iron Man depending on what we still need and whether we have extra energy or not.
- Turn 6: Play Hela if you have her in hand and
MODOK has already discarded your hand or it’s behind Invisible Woman. Don’t forget that, if the latter is true, Hela must be played in the same location, too. If we are playing for our other combo, you must complete the combo by playing whatever card(s) is still necessary.
- Turn 7: In the case of playing Magik, we will have an additional turn. We can save our combo and go all in during this turn instead of doing it on Turn 6 if we don’t want our opponent to Retreat. If we play our combos during Turn 6, an extra turn can let us extend any of our game plans and develop the board to the best of our abilities.
Closing Words
Without a doubt, the changes in the last OTAs have been quite positive for the meta. Seeing new decks everywhere has refreshed the meta and kept the game in a healthier state.
This archetype has generated statistics that support the conclusion that it is a promising deck. It’s only a matter of time to know if it will solidify itself as a serious contender. Either way, it has certainly been fun working with it, and I hope this guide helps you get the most out of it.
Let me know what you think about the deck and this guide in the Marvel Snap Community Discord, on my Twitter, and in the comments section of this article.
See you soon, dear readers, and don’t forget to smile; it certainly makes a difference.


More Content