
Table of Contents
Many have wondered what the best way to enter the competitive world of any game they like.
It’s common when I’m streaming on Twitch for people to ask me, “Hey, Bohe, what deck do you recommend? My collection level is low.” or “I’m only a few weeks into the game and I’m still learning the basics.”
When those questions come up, I think the best possible answer is to suggest some iteration of a Destroy deck. The archetype is generally simple to play, and it allows you to have advantages during the early game that make opponents retreat quickly.
This makes it a highly recommended deck for this type of player. However, this does not mean that it’s not a deck with the ability for an experienced player to decide to play and get a lot out of it.
 den
den


The fact that this deck can maintain such solid statistics with more than 3,765 games distributed among all the players using the Marvel Snap Zone Tracker is undoubtedly something that speaks to its consistency.
Many might think that the version of this archetype with Deadpool would be the best. However, the reality is different.
Although the iterations with Deadpool are more popular, this Tempo version reaches enough statistics to be considered a Tier deck, while the Deadpool version (which is certainly powerful) has slightly lower statistics.
Concept and Strategy
The difference with this Tempo version is that we have tools that allow us to be flexible when certain games do not favor us or we need other means to win a location.
Our biggest power generators will be Venom, and Death.
Venom is a very important card to understand in depth. Destroying our cards with him while conserving points maximizing our destruction effects is key. It’s also crucial to remember that he is a space liberator.
Death is a truck that allow us to fight for a location without much effort. As for the rest of our cards, Bucky Barnes, Wolverine, and Carnage are incredibly cost-effective in terms of their power-to-cost ratio.
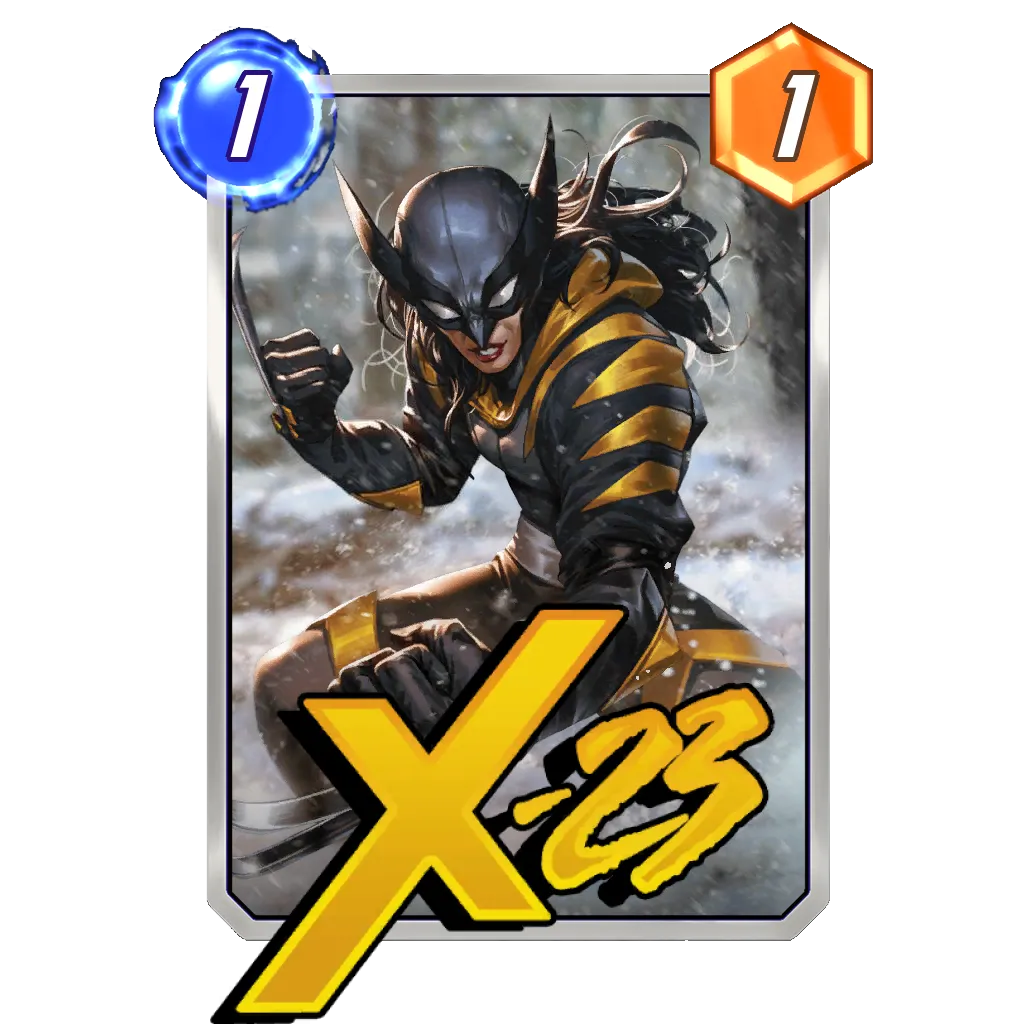
Professor X began to see play in this archetype when X-23 began to be used in a similar way to other economic ramping methods. Accelerating 5-cost cards is undoubtedly a play that turns 180° on many games. That is why Vision is also part of this list.
Having an additional 5 energy option is very useful when we haven’t drawn Professor X. Vision is certainly capable of winning many games on his own.
Thanks to the changes in the Game Tempo that this list is capable of giving, closing the game with Alioth often becomes a very simple procedure.
All of this results in an archetype that we could call aggressive. We want to get into the game fast, gain priority so that our On Reveal effects don’t suffer from reactive plays from the opponent, execute our game plan, and win the game as quickly as possible. In this case, we do that by making our opponents retreat as soon as possible, but if they don’t we can make them pay for it by winning four or eight cubes thanks to our late-game tempo swigs.
Destroy Core


It may seem simple at first, but it takes practice with the deck to know which of these tools is best for each particular situation.
Carnage and Venom share their mechanics in some ways. The key difference, which is important depending on the state of the field, is that Carnage cares about the number of cards in the location, while Venom cares only about the total power in the lane.
Both do something very important, which is to allow us to free up space in our lanes when necessary without losing points in the process. This can mean destroying some bad pull of X-Mansion, Rocks, Squirrels, goblins, and any other cards that may be in our way. This gives us an advantage against archetypes that are not able to free up these spaces.
Killmonger has a special role in this archetype. Learning to play him properly takes time. He is extremely useful for dealing with the opponent’s very annoying cards like Nebula, or Sunspot. However, his main job in a conventional game will be to destroy The Hood, freeing up space and regaining power + ramp us with X-23 to be able to play Professor X. The combination of these factors means that playing Killmonger with the right timing can be capable of deciding a game on its own.
Deathlok is a card that has moments where it’s more effective than Carnage or Venom, and other moments where we’re going to want to play the Symbiotes. As I said, it’s a matter of practice. The important thing to note is that the similarity of these cards makes our deck very redundant, which gives strength to our game plan.
Fodder Core


Each of the cards in this core feeds our strategy differently, but together they make this archetype work like a perfectly oiled machine.
We need enough targets to destroy so Death can be efficient. The Hood also helps us with tempo, since it allows us to give up priority if necessary, and recover it by destroying it and/or playing the Demon.
X-23 is a fundamental piece for this iteration of the archetype. Aim to get 1 extra energy for turn 4. This will allow you to close a lane with Professor X or put Vision into play.
Bucky Barnes and Wolverine are much easier to understand. They simply provide a relevant amount of points when destroyed. For its part, Wolverine allows us to take advantage of it by destroying it several times in addition to being able to enter complicated locations.
Tempo Core


Each of these cards benefits from playing the game around destroying our cards.
Professor X and Vision are the main beneficiaries of us destroying X-23 on turn 3.
Without a doubt, playing either of these two cards allows us to change the tempo of the game in a way that will make it difficult for the opponent to keep up with us for the late game.
Alioth can also go down on turn 5 thanks to X-23, however, in many cases, closing a location on turn 4 with Professor X and playing Alioth on turn 6 in the location where we have the most power will be enough to win many games.
Death can easily cost less than four energy, making her very strong for the late-game and so we can accompany the tempo we have gained with enough points.
Card Substitutions


Without a doubt, the versions of Deadpool are very popular and also quite effective.
Being able to destroy Deadpool multiple times allows you to have a card that is often even superior to Death in power.
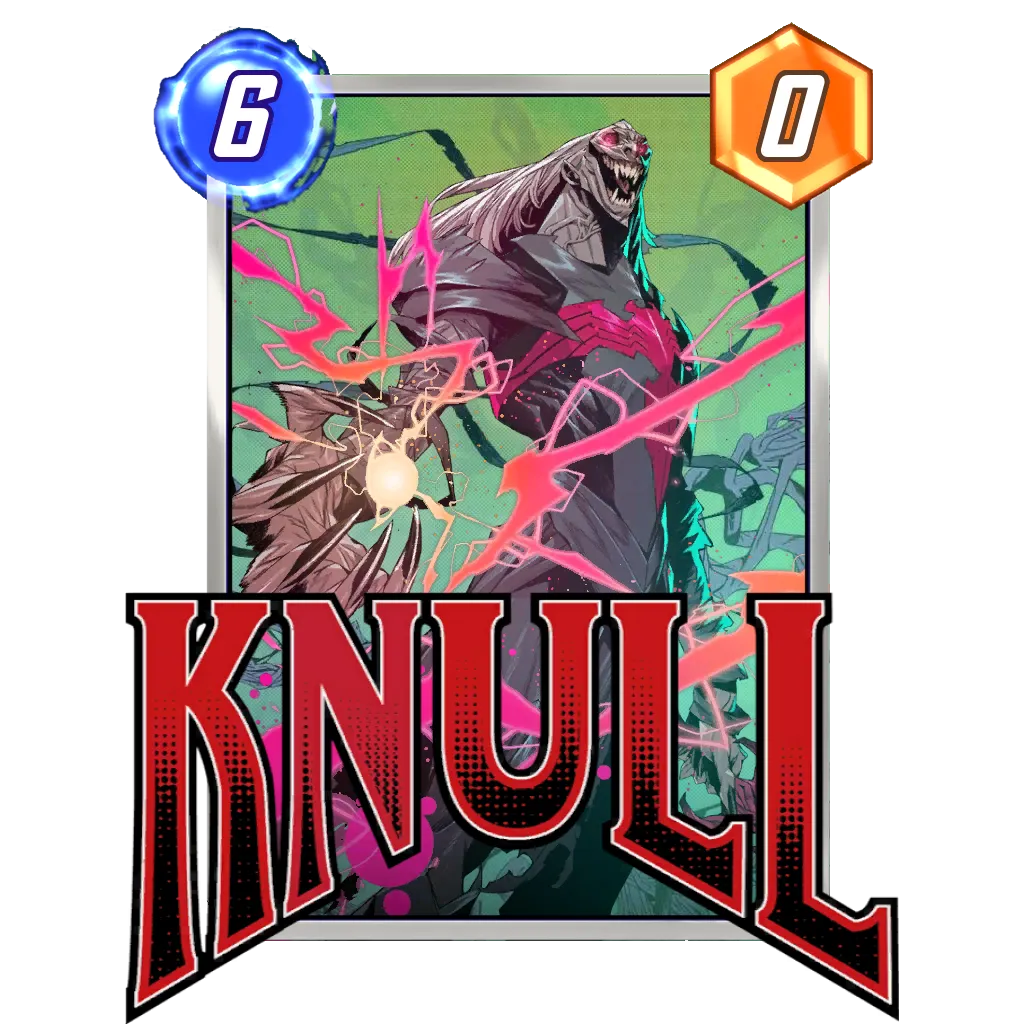
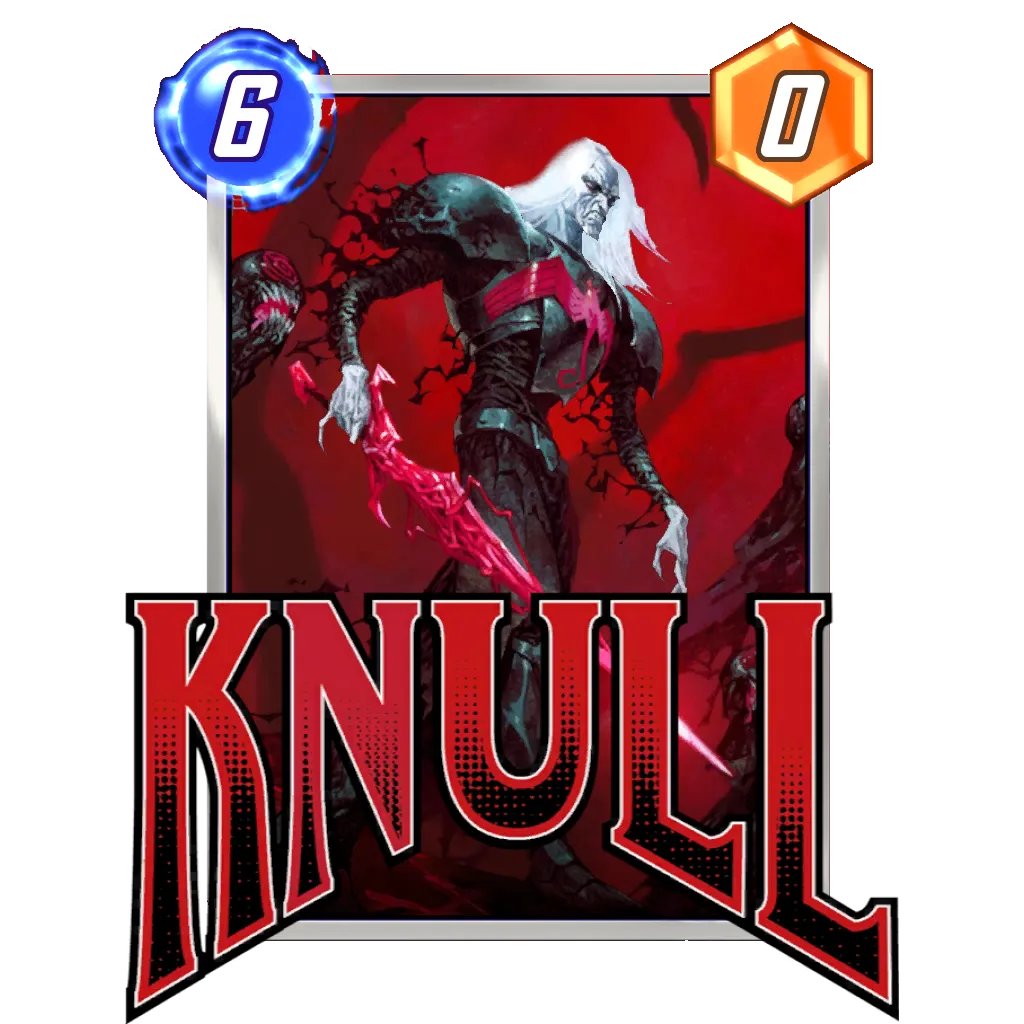
Combining this with Taskmaster and Knull is undoubtedly very powerful. Arnim Zola combines very well with Venom when he has a lot of power. Likewise, thanks to X-23 playing Knull on turn 5 and Arnim Zola on turn 6 becomes a possible play.


Shang-Chi is undoubtedly a staple card in this game. Making room to play him in our list is not complicated if we would like to have more than one reactive card.


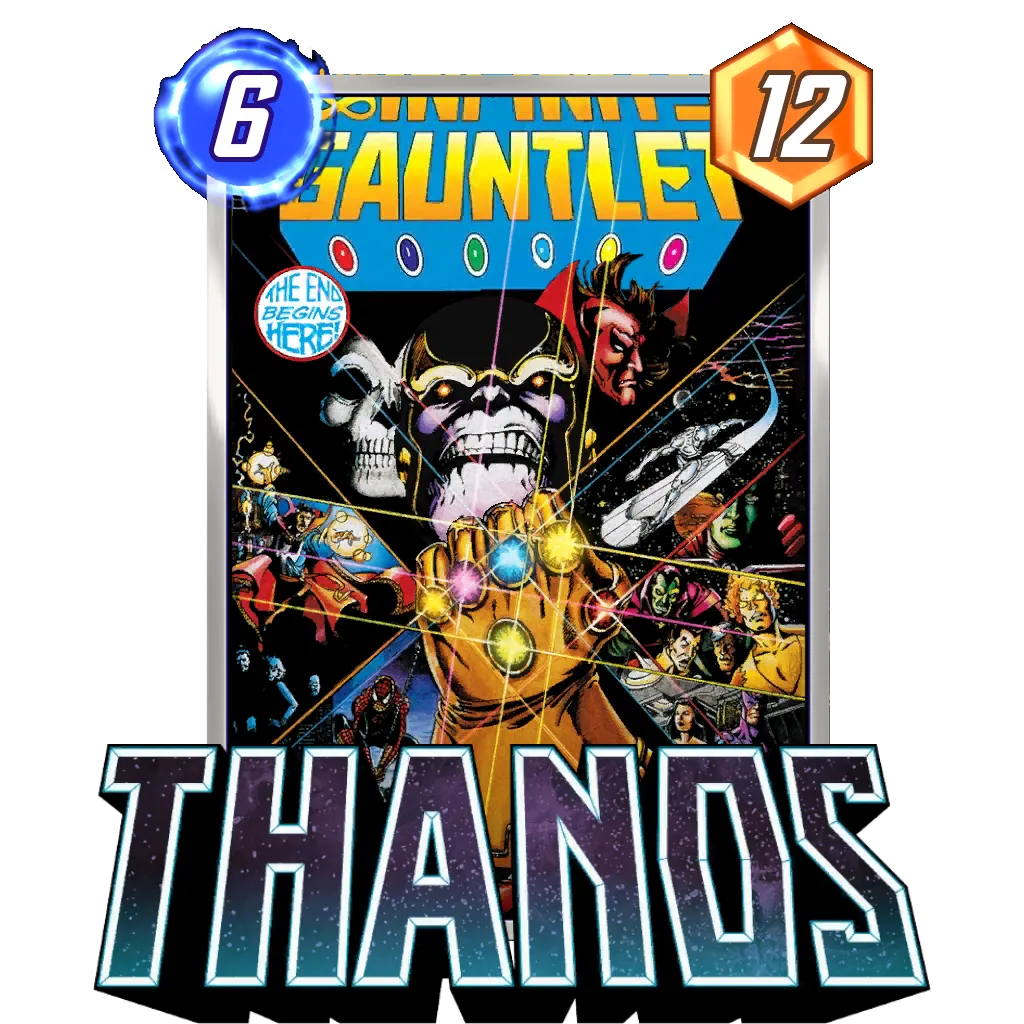


This archetype has some interesting variations that we will briefly address below. One of them is known as Thanos Death. I recommend it if you want to give a twist to the deck and play something slightly different.


Similarly, Destroyer and Nimrod bring to life an iteration of the archetype known as Destroy Ramp. Thanks to Electro, Wave, and Magik, it’s possible to generate board states that are very difficult to defeat.


If the deck already plays The Hood, adding Sentry and Annihilus can be a great idea. Especially since we have multiple ways to deal with the Void in case we don’t draw Annihilus.


This card is a Swiss Army knife. In the right decks, multiple spells can be beneficial at all times. Destruction is one of them.
Other Ways to Build the Archetype
den


In this case, the deck focuses on destroying Deadpool as many times as possible. That includes increasing his power with Hulkbuster, which will consequently make Knull also gain more power when we are already destroying a previously buffed Deadpool.


The big advantage of Thanos Destroy is that, with the Infinity Stones in the deck, we have a huge amount of additional targets for Killmonger. This results in Death being virtually free in the vast majority of games.
If we add to this the utility of each of the Infinity Stones, it makes this way of playing the archetype something very efficient that will always have cards to spend its energy on.
With a 56.18% WR in more than 900 games, this classic iteration of destruction remains powerful and a deck to respect despite the passage of time.


Of all the iterations of the deck, this is the one that can change the play style the most.
We can do the familiar ping pong Nimrod, play Knull or Destroyer on Turn 4, or use the Arnim Zola + Knull combo (to name a few interactions). Without a doubt, these and the many other lines of play that this iteration of the deck can generate are very powerful. Also, thanks to the high ceiling on these plays, a build like this comes in handy if you expect to play a lot against Magik.
If you want a more combo-oriented version of the archetype, this is your best bet.
Snap and Retreat
Early Game
- Snapping on Turn 1 is something that not all decks can afford. Even with a perfect hand, in this particular case, I consider that the benefit of doing so would be little compared to waiting for one more turn and having more information. This doesn’t mean we can’t stay in a game where the opponent Snaps on Turn 1. It’s often a favorable scenario for us.
- During the early game, we are playing most like an aggro deck. By Turn 2 we will already have enough information to know if we can put enough pressure on the opponent. Think about Snapping on Turn 2 if you have one target to destroy and a way of destroying it in the next turns + Death in hand and or X-23 + Professor X / Vision. It’s also a good time for a Snap if you have played any of your 1-drops and you can play Bucky Barnes + Venom or Deathlok on Turn 3 with Death in hand.
- You can Snap on Turn 3 if you’ve drawn Venom or Deathlok and you have Bucky Barnes and Death in hand. You can also go for it if you can max out the destruction chain with X-23 by playing him in a lane where you have one to two other good targets to destroy + Carnage, Venom, or Deathlok ready for Turn 4.
Mid-Late Game
- If you have destroyed two or three cards when Turn 4 starts, Snapping before playing any cards is usually an indicator that Death is in your hand. This will make our opponents think twice about staying in the game. Snapping on this turn is only a good idea if we’re winning a lane and our plays this turn are going to put us ahead for the late game. This is usually a combination of ramping Professor X or Vision + having a lane with Winter Soldier and any other card + having Wolverine with at least four power, and having Death in our hand.
- Like the previous turn, a Snap is a clear indicator of Death. I mentioned the importance of having this card and/or X-23 + Professor X / Vision in hand for the first few turns when Snapping because we want the opponent to commit to the game early. This is because we know that we have the tools to beat them if they decide to stay in the game. If you Snap on Turn 5 with Death, Professor X, Vision, or Alioth, be careful; your opponent may have ways to deal with either of these cards.
Because of the aforementioned reasons, it’s much better to be the one who responds to an opponent’s Snap with a counter Snap during the late game. Try to offer a Snap during the early game, or be the one who responds to the opponent’s Snaps during the late game.
Locations
Good Locations
- Altar of Death, Danger Room, Death's Domain, Vormir: These locations can trigger our pay-off cards for free.
- Asgard, Kyln, TVA: Locations that reward early plays make Bucky Barnes shine.
- Atlantis, The Space Throne: It’s easy to win these locations with Death.
- Bar Sinister: Carnage and Venom can do a lot of shenanigans here.
- Central Park: Killmonger will have a lot of Squirrels to kill, making Death almost free.
- Cloning Vats: Venom is a beast here!
- Collapsed Mine: When this location was released, many decks played Death because eight destroyed Rocks = 1-Cost Death.
- Elysium: In the same way decks with a lot of expensive cards can abuse this location, having many cheap cards enables very strong plays for us. Ramping into Professor X or Vision one turn earlier is also fantastic.
- Hell's Kitchen: This location is going to give us a card most of the time.
- Rickety Bridge: Save Bucky Barnes for Turn 6 when this location appears. Only Captain Marvel can win against Winter Soldier here.
Bad Locations
- Asteroid M: Tends to be uncomfortable, forcing us to play here in the first three or four turns.
- Crimson Cosmos: It blocks our cheap destruction core of cards.
- Mojoworld, The Raft, The Sacred Timeline, White Hot Room: We are not going to have four cards in a lane during most of our games.
Versus Good Cards Stature
den


It’s because we play unconventional cards for a destruction deck that dealing with these types of decks is less complicated.
Nebula and Echo are not a problem thanks to the fact that we play Killmonger. Thanks to Vision we can enter Flood and Storm will be ineffective. Because of this, I recommend playing Vision over Professor. This is also because as they are a deck that specializes in putting power in closed locations, Ms. Marvel and Jeff the Baby Land Shark could make us lose those types of lanes.
Having late-game priority is tremendously important. This will help us win the Alioth vs Alioth battles. However, he plays thinking that Doctor Doom could be his option, which would complicate our Alioth and we could think of another play for those specific cases.
Versus Loki by Night
 Bohe
Bohe


Dealing with this deck is not easy at all (no matter what archetype we are playing).
Our best tool will be to ramp Professor X and play him in a lane not anchored by the Collector. If we achieve that goal, the rest starts to become a lot easier, so think of this as a main game plan.
In the same way, Killmonger can eliminate a good number of points if we save it for the end of the game. That is why you should seek to destroy X-23 to make Professor X play + some other card if possible.
Be very careful as Loki has resolved his ability. Copying a Death or Alioth can be very dangerous. That is why you should seek to have priority whenever possible (and thanks to the fact that this deck raises its cards with Falcon and Beast it will not be difficult). With this in mind, our Alioth can be of great advantage even if the opponent still has reduced cost Alioth + another card.
Turn-by-Turn breakdown
Early Game
- Turn 1: If you have The Hood he should be your primary choice. If you are playing Conquest and you are facing a deck with Cosmo, it might be better to go with X-23 to gain priority. Unless you have Carnage and you can destroy The Hood on Turn 2 + play the Demon on Turn 3.
- Turn 2: Bucky Barnes is your best play. If you haven’t drawn him and you have Carnage, look to destroy either The Hood or X-23. Wolverine covers the turn if necessary.
- Turn 3: You have many options here. Your primary goal is to destroy X-23. This would give you extra Energy for the next turn allowing you the chance to play our 5-energy cards. Destroying Bucky Barnes with Carnage, Venom, or Deathlok is also a good option that will maintain our Death plan. (save Venom for later turns if possible).
Mid-Late Game
- Turns 4 and 5: It’s in these turns where this iteration of tempo-focused destruction differentiates itself from more conventional versions. The ideal would be to be able to play Professor and secure a Lane. As we have already seen, in certain matchups against other decks that can put points in closed locations, Vision becomes a priority.
If you haven’t ramped up, continuing with the plan of maxing out Wolverine and reducing Death’s cost will be your goal. That will be when you play Professor or Vision naturally on turn 5. Plays that in any case are still quite powerful. - Turn 6: It would be easy to tell you that just playing Death is enough. If things have gone according to plan, in addition to playing Alioth to compete for a lane, you can have similar flexibility to the strongest archetypes in the meta. Keep in mind that the main plan that results most often in a victory is to play Alioth + Death or Demon + Death + another card.
Closing Words
Cosmo and Armor are indeed complicated cards for this archetype. However, to think that every deck in the meta has an answer for Destroy is far from the truth.
I mention these two cards because I understand that playing an archetype like this (one that has cards that can hard counter you) can cause you to get discouraged.
“Bohe, why would I play a Destroy deck if Cosmo / Armor exist?” The answer, dear readers, is at the beginning of this article. Even with Cosmo, Armor, and any other card that could exist to stop this strategy, this list sustains a 53.55% WR and .35 AVG Cubes over 3,700 games, something that not many archetypes can say, making this archetype a Tier deck.
Furthermore, thanks to the flexibility that the Tempo version gives us with Professor, Vision, and Alioth, we can turn the games in our favor regardless of many factors that could stop more conventional versions of this archetype or cause problems.
Let me know your thoughts on the Marvel Snap Community Discord, my Twitter, and my Stream. I also love to read your comments at the bottom of each article! Even though I sometimes cannot answer all of them, I’m always happy to read them and take your opinions into account for my future work.
Don’t forget that the Premium subscription to Marvel Snap Zone gives you access to exclusive features on the web as well as additional services. Also, I have started providing personal coaching services for Marvel Snap. If you want to contact me, you can look for me on Discord as bohettv, on my Twitter, or via email at [email protected]
Thanks for reading, and as I always say, don’t forget to smile; I assure you that it makes a difference.


More Content