
Today’s Marvel Snap Featured Location is Hotel Inferno: After you play a card here this turn, destroy the top card of your opponent’s deck. This is a new Location for Marvel Snap’s October 2023 season, Bloodstone. For the next 24 hours, it will now have a 50% chance of showing up in games. Let’s find out what the best strategies, cards, and decks for the new meta!

Strategy and General Tips
Hotel Inferno is arriving and this location will likely drive a lot of players away for the next few days. Destroying cards from the top of the deck is usually not as strong as it feels. Yondu effectively is just removing one card which can sometimes feel great but often is inconsequential.
The card can be treated as if it was just not going to get drawn anyway and it is also just as likely to help your opponent get to one of the cards at the bottom of the deck they needed. On the location though, this could range from one activation to four. When we reach the heights of three cards destroyed from the location we start reaching the levels of disruption which will change the game and is likely to feel really bad.
One thing to note though, the location that flips impacts how much it changes the game. Turn 1 flip can usually result in only one activation for example. If you want to use the location you have to have three 1 drops to maximize the impact and then a way to make the cards win the location.


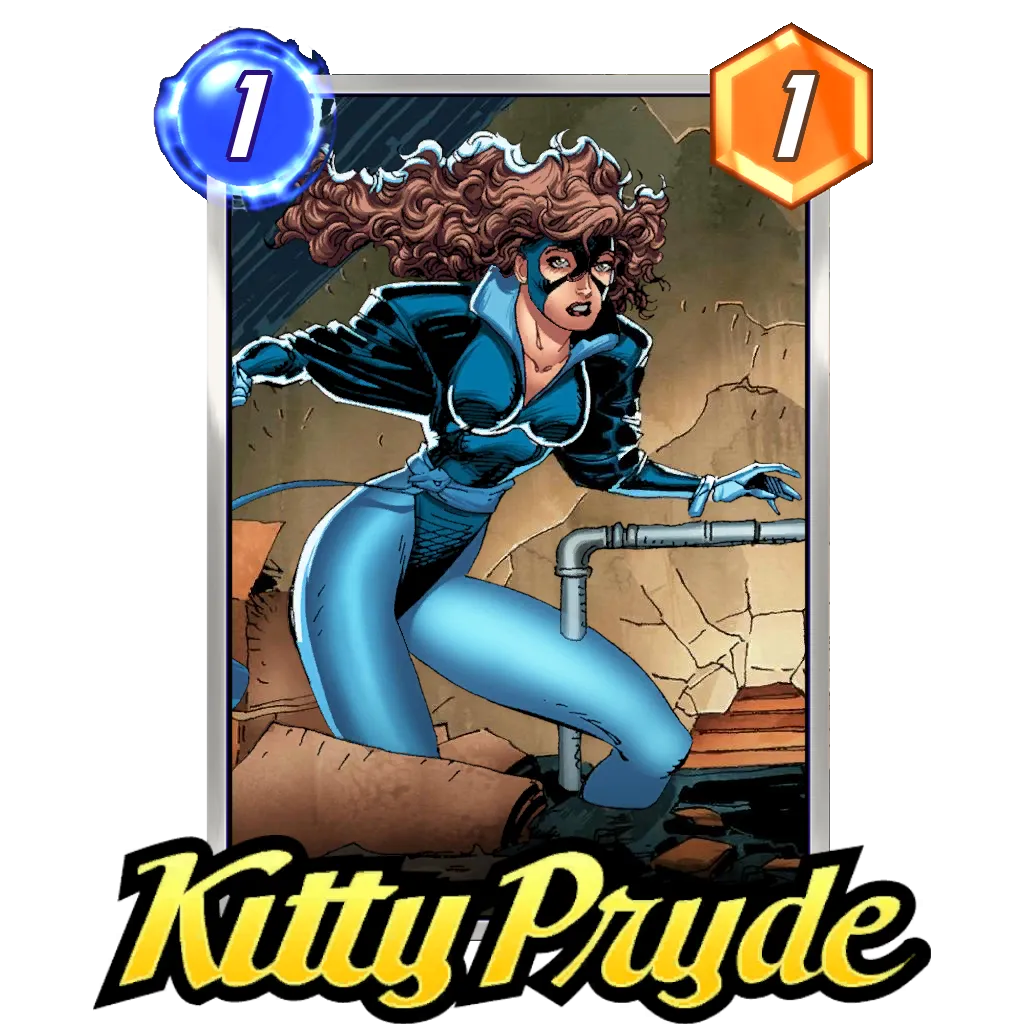


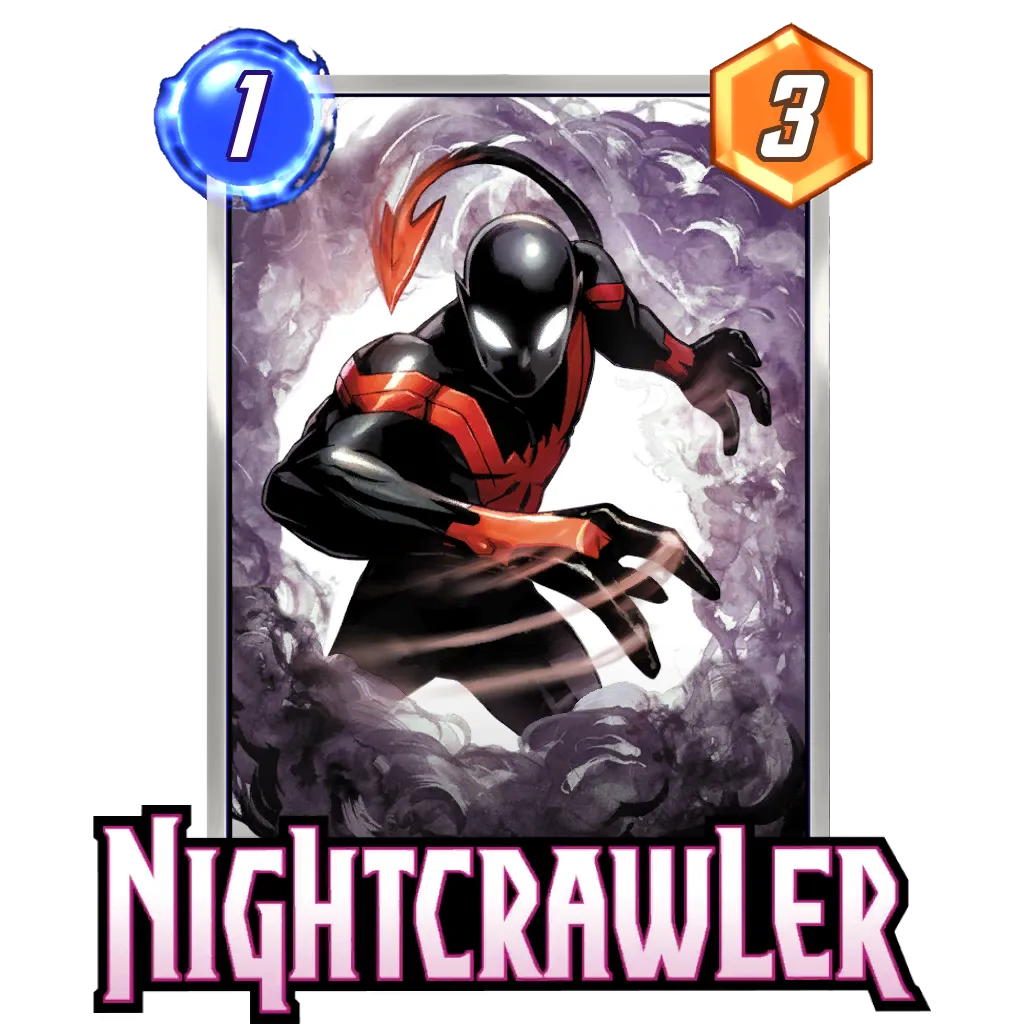
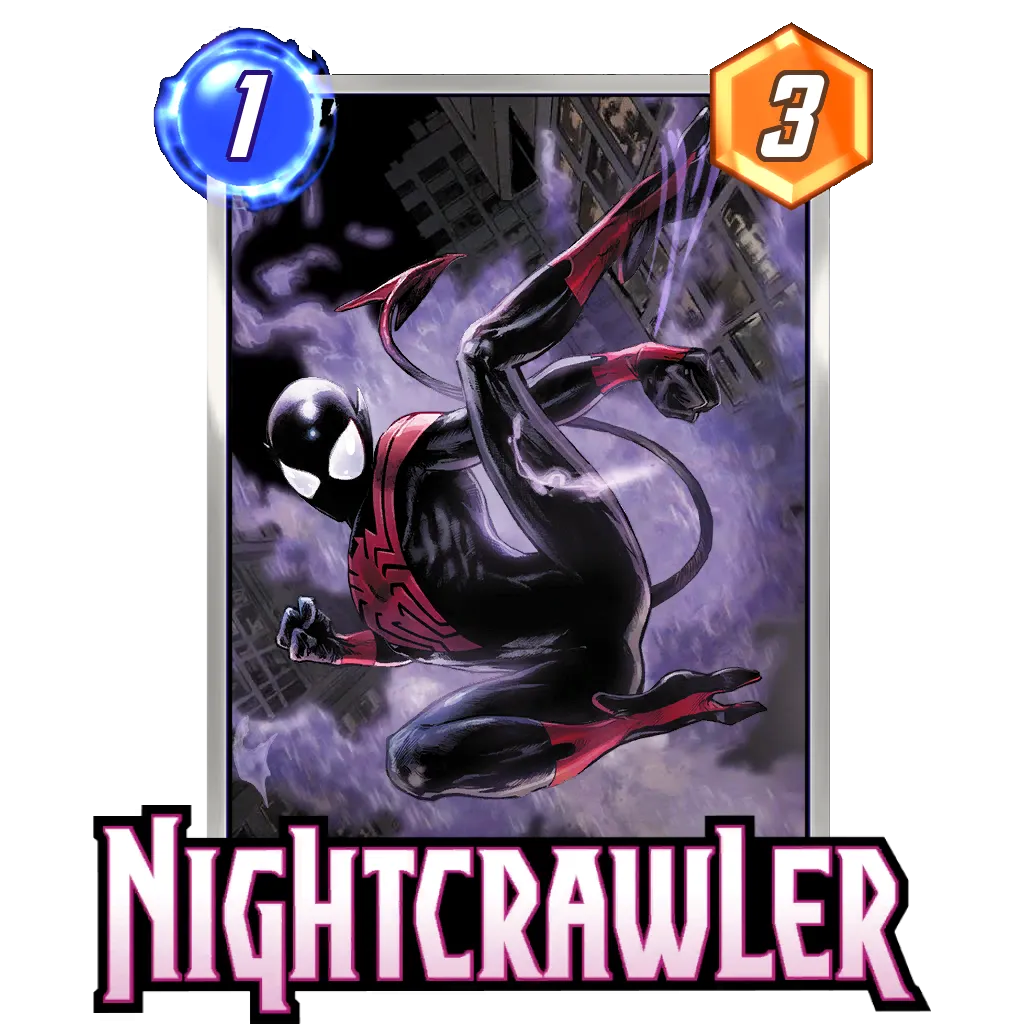


The first synergy is using the location with decks based around Kitty Pryde or other cards like Nightcrawler which let you drop lots on the location and add power later. These cards are low cost and then allow you to destroy a significant amount of your opponents deck. This synergy alone will make any decks based around specific draws really hard to consistently play during the location.
Although this only the level 1 strategy for the location, these cards are in some of the most powerful decks currently and require no changes too be successful. So how do we fight against this?


Destroy is the next direction to consider. The plays can be made in a similar way and allow for multiple destroys and adding power again later. We have the added benefit of reducing the cost on Death and Knull early on and efficient ways to spread power. This means you don’t need to draw all your cards to win the two lanes required and your opponent’s efforts with the location may only be helping you.


Adding more cards to your deck can help avoid the downside of being hit with the effect. The added benefit of Thanos decks is the Infinity Stones can also activate the location for you. The Stones will hopefully help avoid the location hitting your key cards and may even benefit you as you drop cards from your deck and hit key cards instead.
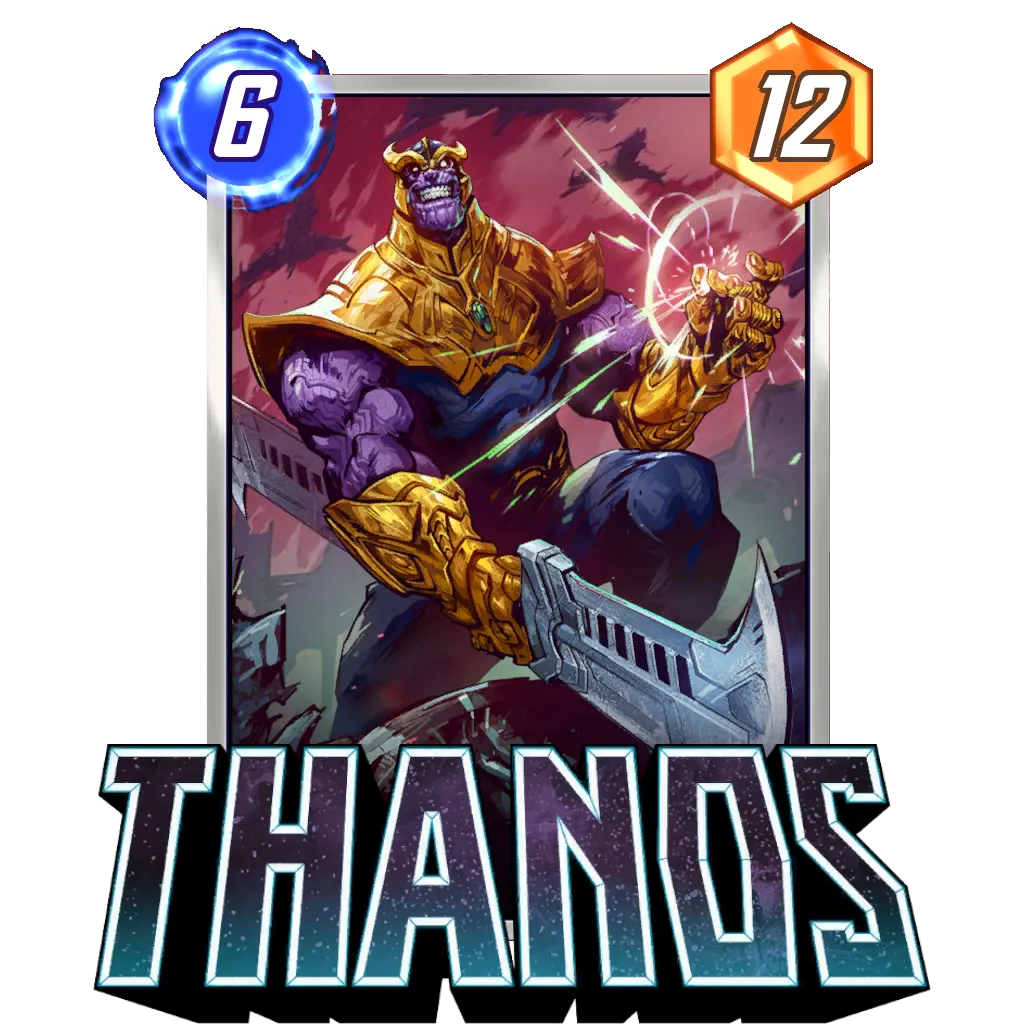
Thanos
 SafetyBlade


The popular versions of Thanos can stand alone as a way to go during the location without making major changes. One version which gains ground due to the location is Thanos Destroy.
This version gets to benefit from the location whilst buffing the key cards like Death and Knull. Lady Deathstrike helps hit some key targets on the opposing side also but can be replaced.
SafetyBlade

For the owners of the new card Nico Minoru, here is something a little different incorporating her and X-23 into the shell to try and gain extra Energy and have more activations on the location also.
Loki
SafetyBlade


Loki is a clear frontrunner in the meta game, so is move with VIsion, well this location may finally finish it by bringing move and Loki together. This deck does everything powerful about both decks and can explode onto the location and maximize your benefit whilst being able to move around afterwards. Loki then lets you swap out whets left for cheaper versions of your opponents deck to finish the game.
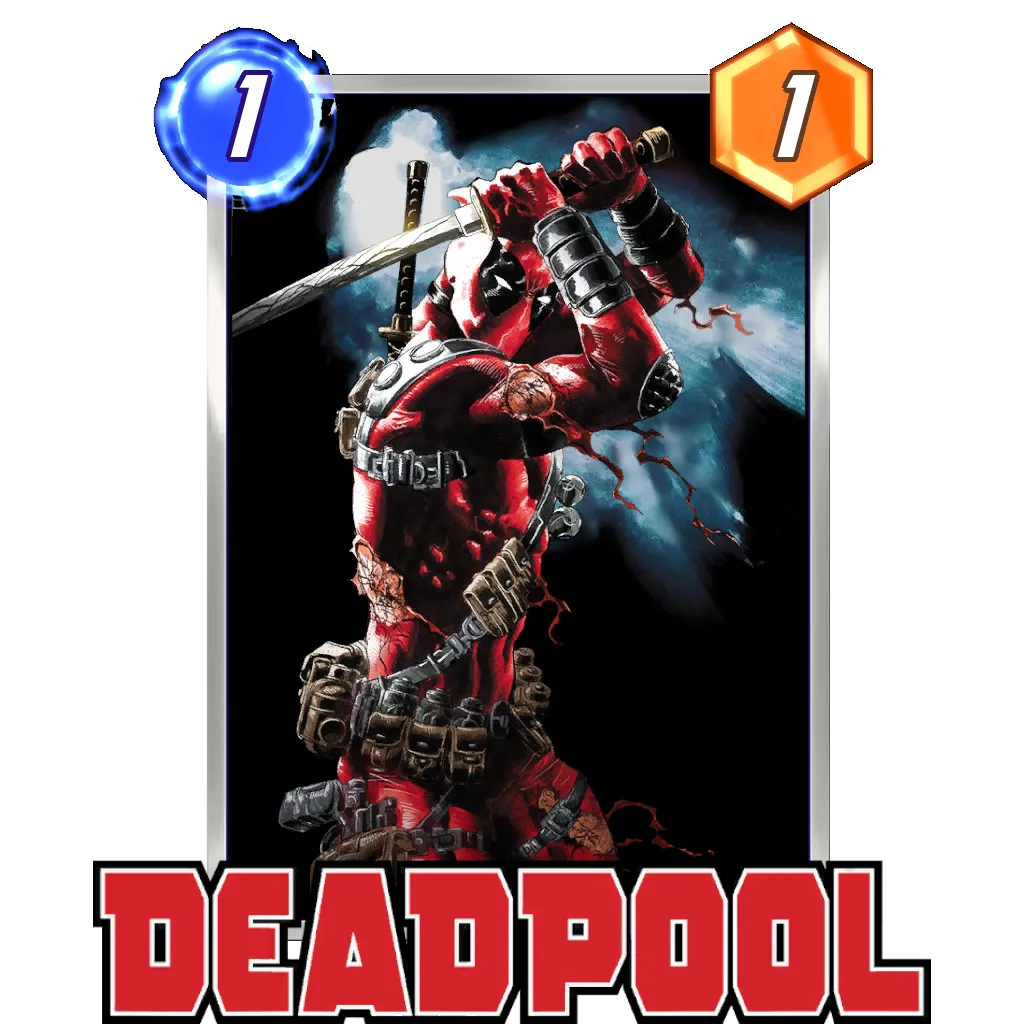
Deadpool

Deadpool destroy has ways to get 2 to 3 activations whilst setting and supporting strong cards in your deck like Knull.. As we may end up all in on one or two locations, Arnim Zola helps to spread the power across to other lanes.
The concern is buffing opposing decks during mirror matches and if destroy does take over during the location, it may be better to try Taskmaster here to spread power instead and not buff opposing Knull.
Series 2 and below (pre- CL 474)
SafetyBlade


Cheating slightly this week, but as all players who log in during the next month can get this one, I feel like it is worth including here for all the new Human Torch owners. This allows you to hit 2 to 3 cards onto the location and move away later attacking other lanes easily.
Don’t be too greedy with the Human Torch is you at all suspect Killmonger. The deck also has lots of cross synergies, allowing you to find ways to win if you are hit by the effect too hard yourself.
Wrap Up
What is your strategy? Let us know in the comments below, or our Discord community! Remember to share your decks using our deck builder or browse our deck database!
Good luck, have fun, and stay safe!


More Content