Table of Contents
The Hot Location for the next 24 hours is The Raft: First to fill this breaks out a 6-Cost card. It costs 0.This is a Hot Location for Marvel Snap’s October 2023 season, Bloodstone, that starts on selected Wednesdays and Sundays at 3 AM GMT. For 24 hours, it has a 50% chance of showing up in games. Players who strategically build around the location or counter the decks that do so can have an advantage over their opponents! Let’s find out what the best strategies, cards, and decks are for the new meta!

Strategy and General Tips
The Raft is an excellent location to win since it gives you a 6-Cost card you can combo for free. The range of 6-drops is large, but the majority are great for no cost and can easily be the difference between winning and losing on the free power alone. The effect of this location is generally worth chasing if it flips in an ordinary game, so adjusting our decks to take advantage of this one is advisable.



Move and Destroy are the first choices here. They have ways to fill the location early and then make room for winning later on. This then gives you the extra stats from the 6-drop for later, which can sometimes synergize with these decks by being Heimdall or Knull (both of which can have anti-synergy with other decks).
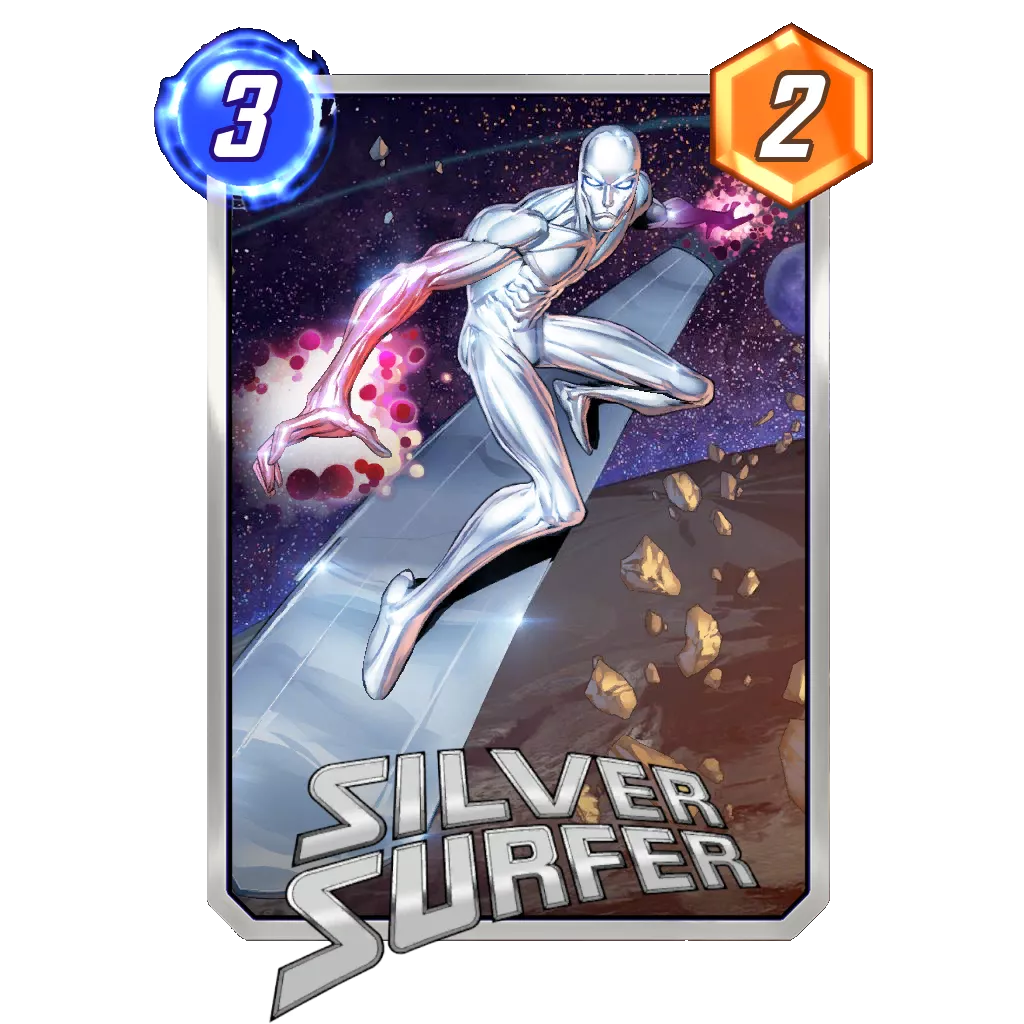
The second direction is filling the lane cheaply and then buffing the cards later with Silver Surfer or Patriot. The extra stats here just help you win the location.


This location is one we can turn off with Storm or Scarlet Witch. Storm, however, can be a bad choice as you are rarely going to be ahead when the location flips. When playing Lockdown (or just countering the location), it can be better to remove the other locations to limit what the opponent can do with the extra resources. Spider-Man and Professor X can be uniquely improved during these locations as they can sometimes incentivize over commitment.





All locations that incentivize filling early synergize with Destroy. We can fill the location and at the same time create room to add to the location later on. This allows you to commit harder than other decks can and take advantage of the location effect with minimal downside for yourself.



Mobius has unique power here because, if we do lose the location, we can use him to deny the reduction for our opponent. It is a soft counter, though, as they still get a card that could be a game changer; however, they will have to spend six energy on it. If you do get a window to drop your free 6-drop, you should drop it as soon as possible in the current environment.
Brood
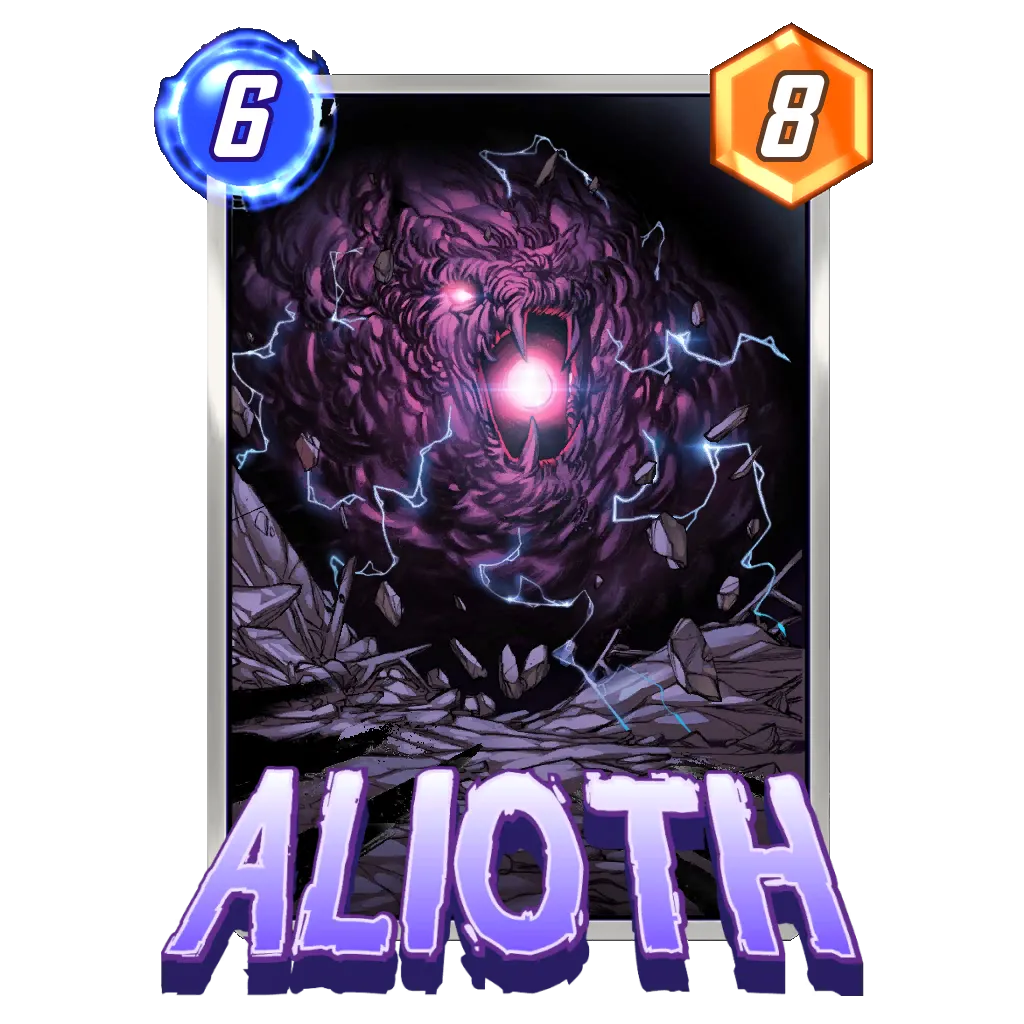
Brood almost fully fills the location on Turn 3, allowing for quick access to the card from The Raft. Brood‘s power can then easily be added to later using Patriot and Silver Surfer, and Luke Cage helps protect the power. This deck can also seize priority easily and ensure that Alioth secures the game on Turn 6.
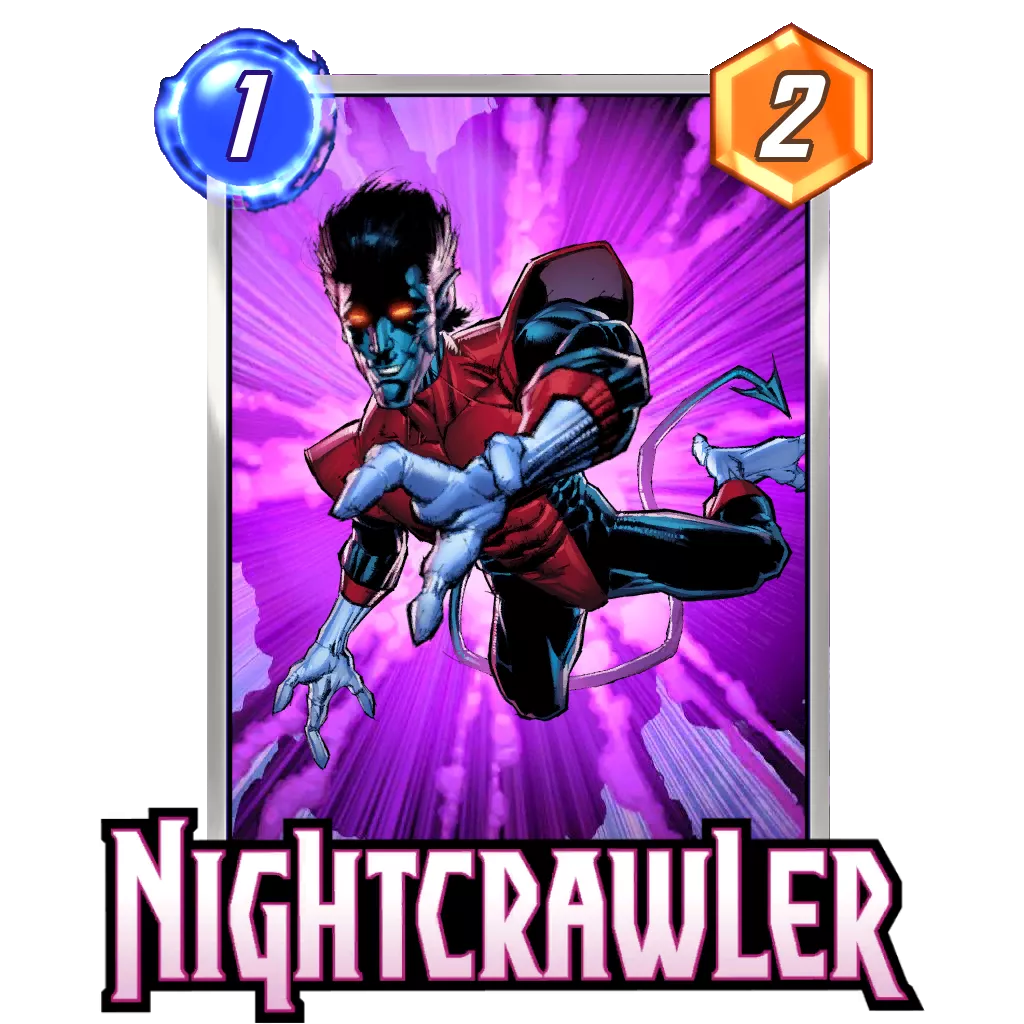
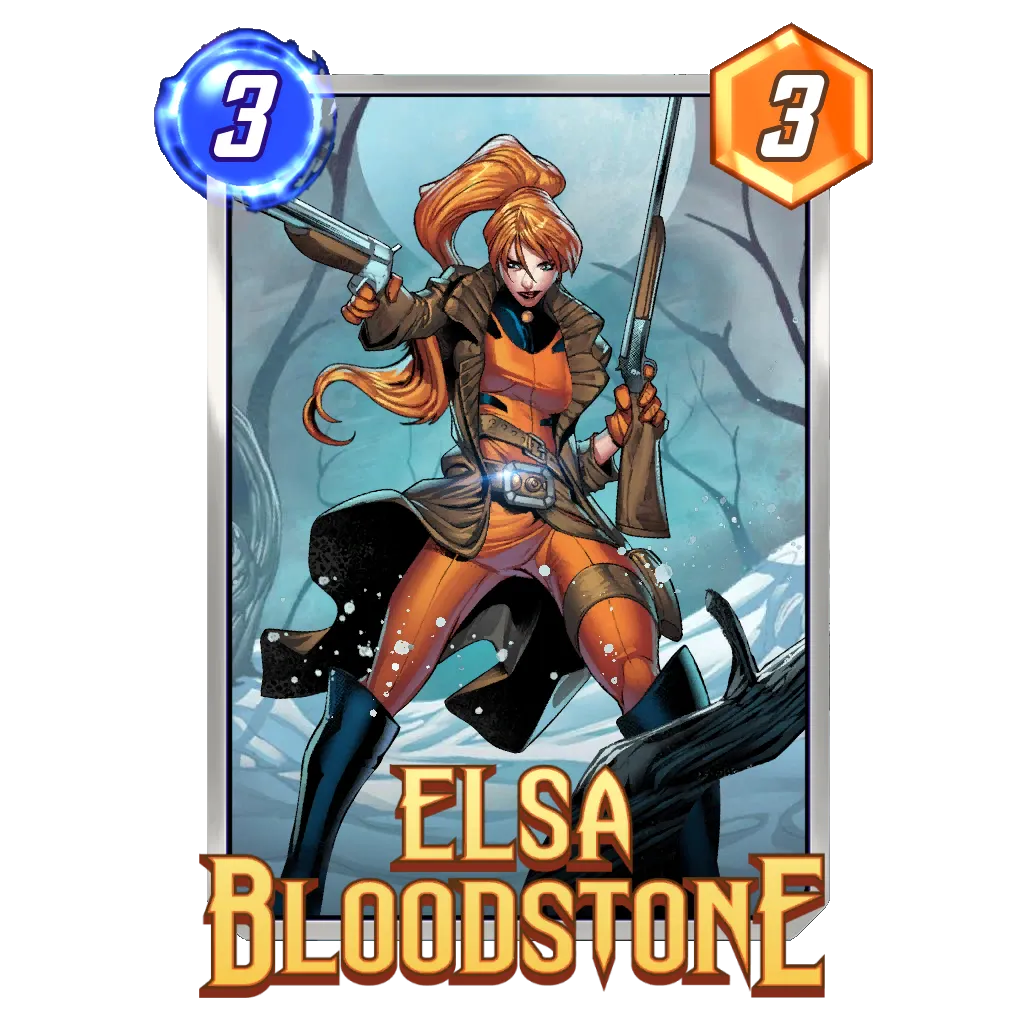
Attempts to include Elsa Bloodstone are also starting to gain momentum for the location, so the second version drops the popular Vision for Nightcrawler to try and seize the location easier before moving out and using the location for another Elsa Bloodstone buff.
Destroy
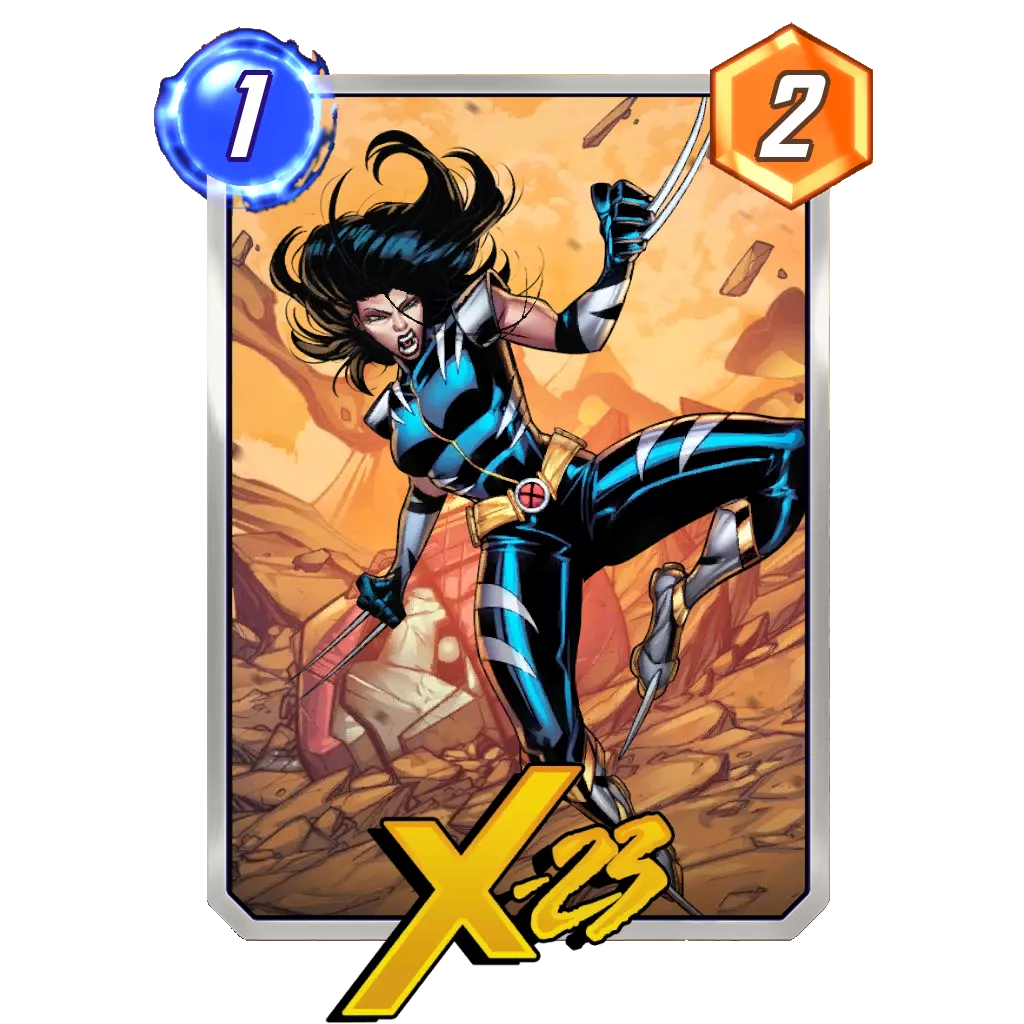
Destroy has been getting many adjustments over the past month, and it remains the best way to play into this location. You fill the location and destroy several cards all at once. You can then add to the location later or just add your 6-drop to a location later on to win. We can add some of the new cards like X-23 to the mix if we have it to have extra energy for our re-filled hand.
Elsa Bloodstone
The best Elsa deck for this location keeps it simple with plenty of cards to fill the lane early that can move away for more buffs and to refill the location. This allows us to get the card and use it quickly, thus hopefully dodging the impact of an opposing Mobius M. Mobius and getting the extra 6-drop card down.
Series 2 and below (pre-CL 474)
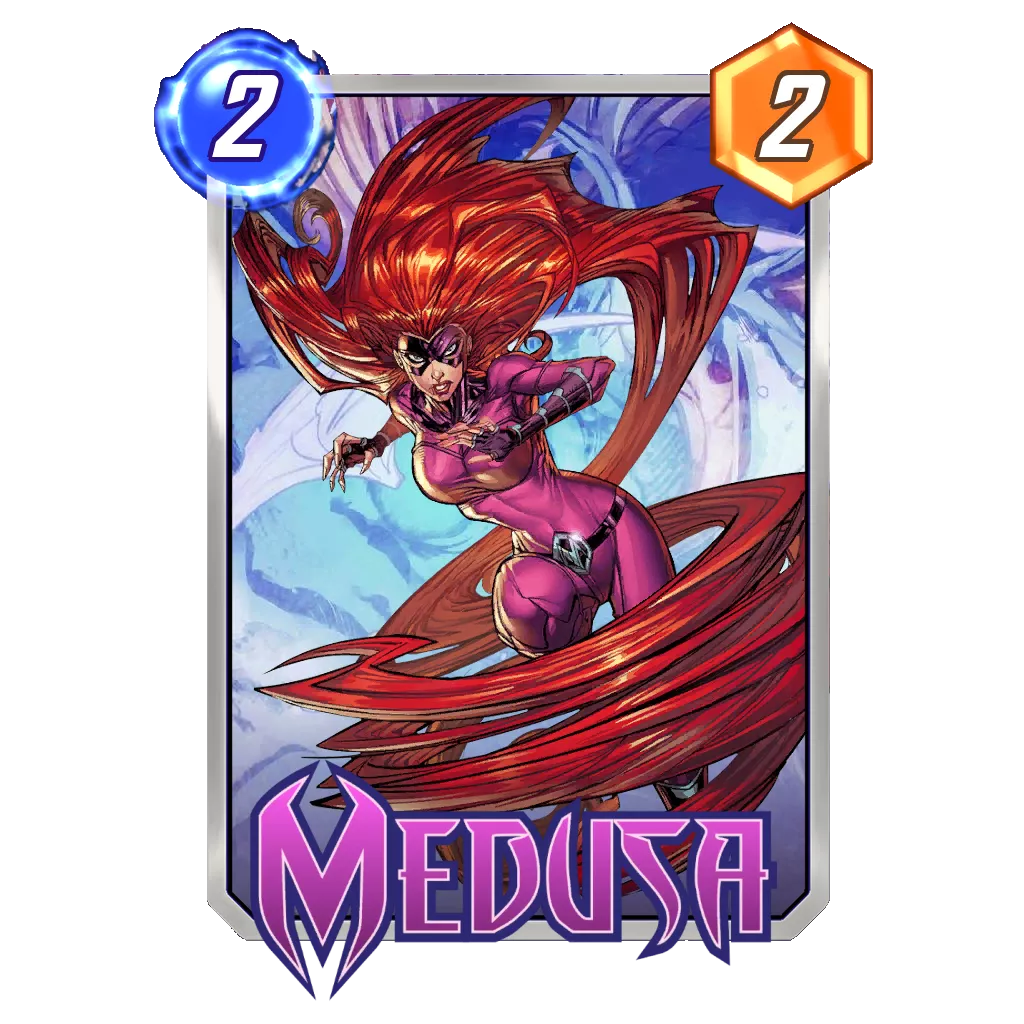
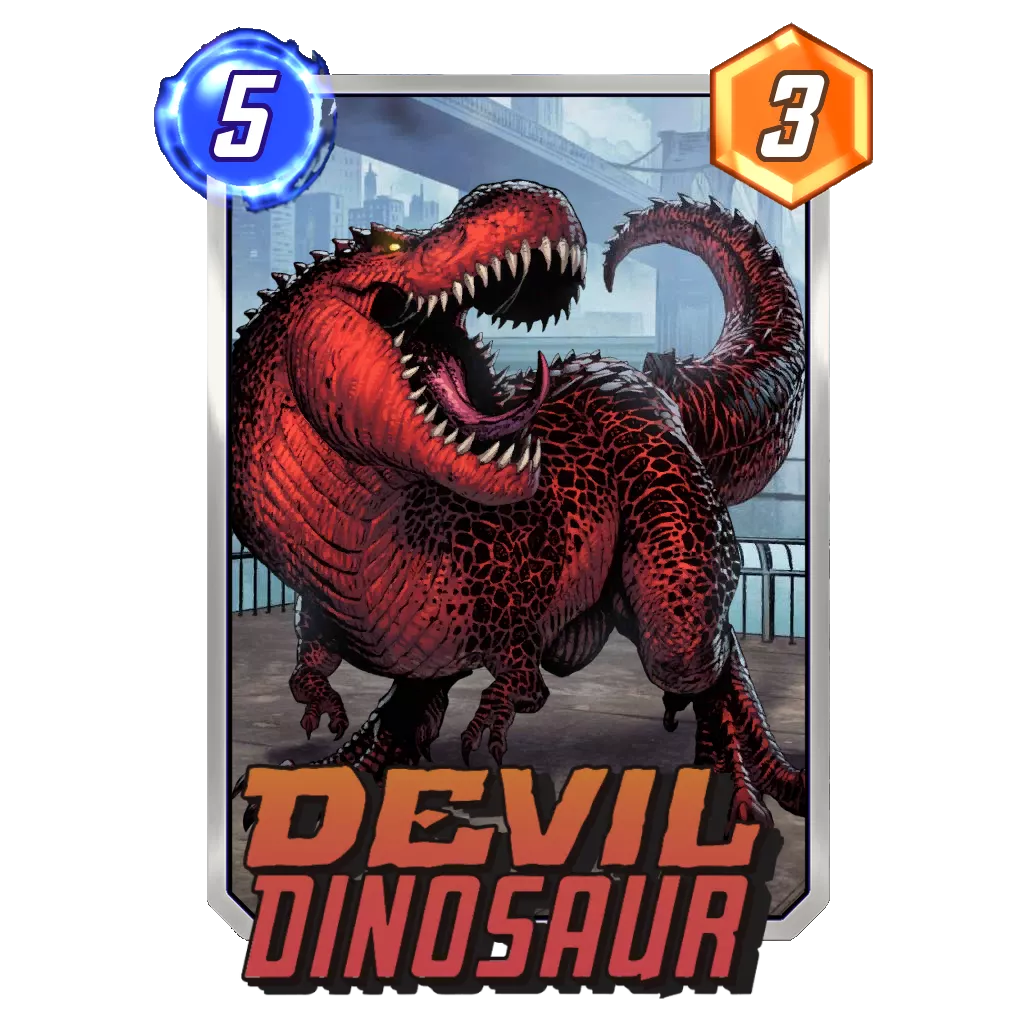
For lower collections levels, we have fewer ways to fill and then add later, so we go back to the trusty Devil Dinosaur and Carnage packages. Medusa enters the deck as an easier way to get five power for two energy. Fill The Raft and use Carnage, then win another lane using Devil Dinosaur or the free card.
What is your strategy? Let us know in the comments below, or our Discord community! Remember to share your decks using our deck builder or browse our deck database!
Good luck, have fun, and stay safe!

⭐ Premium
Enjoy our content? You can Support Marvel Snap Zone and your favorite content creators by subscribing to our Premium community! Get the most of your Marvel Snap experience with the following perks for paid membership:
- No ads: Browse the entire website ad-free, both display and video.
- Exclusive Content: Get instant access to all our Premium articles!
- Meta Reports: Exclusive daily meta reports, such as the Ultimate Card Metrics Report, Top 10 Decks of the Day, Top 30 Cards, and Top Card Pairs tailored for you!
- Team Coaching: Join our free weekly team coaching call sessions on the Discord server. Claim your Premium role and gain access to exclusive channels where you can learn and discuss in real time!
- Premium Dashboard: Get full instant access to the member-only dashboard, the all-in-one page for all your benefits.
- Support: All your contributions get directly reinvested into the website to increase your viewing experience! You get also get a Premium badge and border on your profile.
- Special offer: For a limited time, use coupon code SBYREX4RL1 to get 50% off the Annual plan!


 SafetyBlade