Table of Contents
Welcome to our Marvel Snap Meta Tier List for the Ranked Ladder mode! Each week, we review the best decks in the ever-changing Marvel Snap meta. Then we bring you the decklists, and we provide an in-depth report about them. This report contains information like how their ranks are justified, how to play the decks, and how to build the deck with alternate cards to accommodate different collections.
Marvel Snap Ranked Meta Overview
With no balance updates and Martyr being as weak as advertised, I didn’t expect this last Tier List for Higher, Further, Faster as we head into Hellfire Gala to be particularly different from what we saw in the previous weeks. As such, you won’t be surprised to see two Ms. Marvel builds (Good Cards Darkhawk and Lockdown) and a pair of Werewolf By Night decks (Bounce, Loki) take the top four spots; these archetypes have been battling for the throne almost all season long.
However, once we get past these four archetypes (which are clearly a notch better than the rest), the other archetypes look like they are slowly catching up. Destroy finally reached the promised land with Deadpool by posting a strong enough performance to be inducted into Tier 1, and Destroy Tempo is getting more popular and appears to be a solid Tier 2 deck.
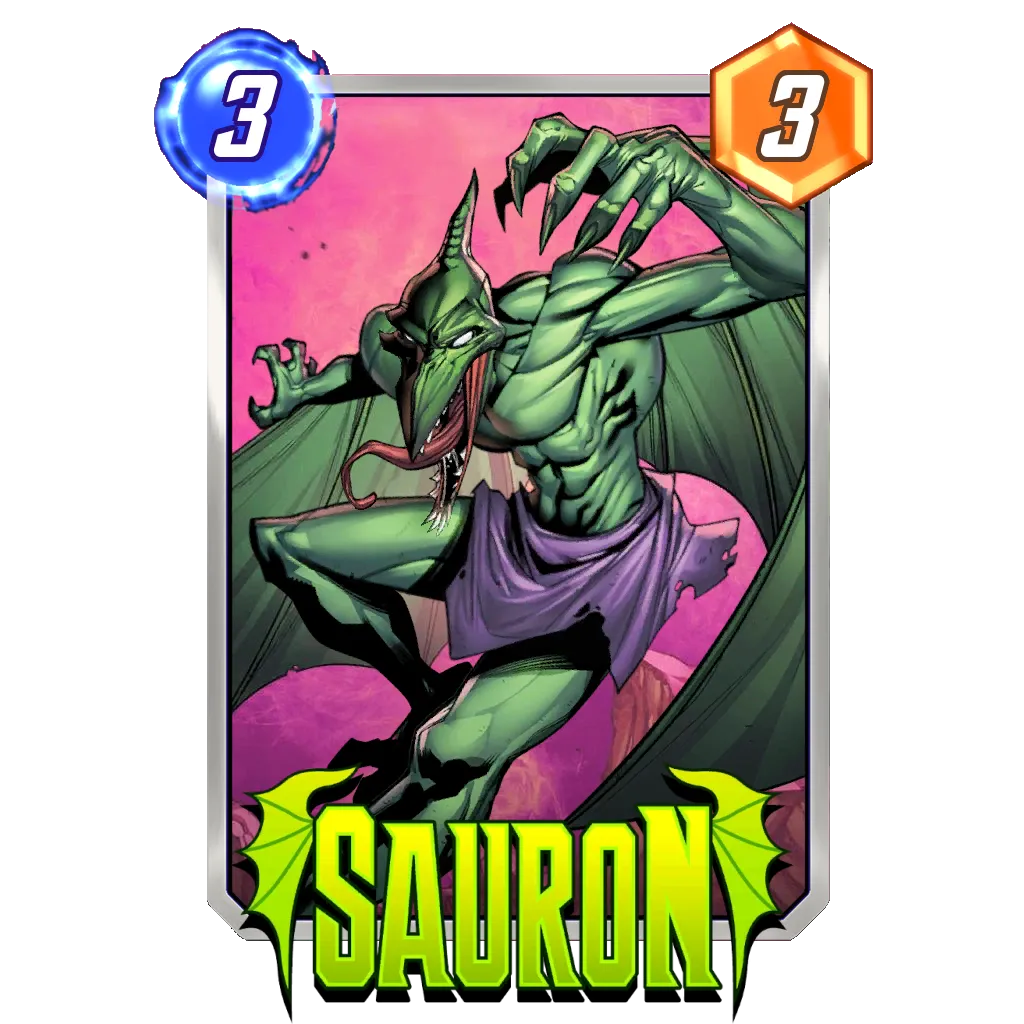
Discard and Move also showed up this week, which makes three of the iconic synergies in Marvel Snap compete to join the flexible archetypes at the top of the competitive mountain. Then, continuing down the rankings, we go back to more flexible archetypes with High Evolutionary, Thanos, and Electro Ramp being featured, all the way down to Shuri Sauron. How that deck fell so far down the list is a bit of a mystery to be honest; Shuri typically competes to be in Tier 1, or falls somewhere in Tier 2 at worst. For this last report of the season, Shuri Sauron appears to be struggling, which makes sense when you consider that most decks on the report this week are proactive strategies (apart from Lockdown). Then, in a meta where a lot of strategies are focused around developing points, either with an element of surprise, or more flexibly than Shuri, this iconic archetype might be in jeopardy for the first time in many months.
Overall, this Tier List represents what the season has been about pretty well: a fight among a few archetypes for the best deck in the game. Honestly, that’s a question that is still difficult to answer at this point. It is clear that the answer is limited to Good Cards Darkhawk, Lockdown, Loki, or Bounce. However, Good Cards is once again featuring a different list, while Bounce just joined the elite group for the first time (over a large sample size). As for Lockdown and Loki, those two decks have been more stable during the season. Still, they’ve never managed to take the first spot two weeks in a row. This could indicate that the rest of the environment was able to adapt to them, or maybe their power level isn’t so far above the rest of the competition that it fluctuates a bit from one week to another.
I find this meta to be fascinating to follow week after week. The various layers all have some form of competition going on, with different synergies battling each other to be the best at what they do. Destroy seems to have bested Discard and Move, but only with one of its decks. Good Cards Darkhawk took the top spot, but Lockdown, Bounce, and Loki are all flexible enough to include Rogue and gain an edge in that particular matchup.
I don’t think there is an absolute answer to what the best thing to do right now is, and that is exactly how I like my Marvel Snap.
Happy Tier List, everyone!
Marvel Snap Ranked Meta Tier List
| Tier | Deck | Guide |
|---|---|---|
| Tier 1 | Good Cards Darkhawk 🔼 | Guide |
| Tier 1 | Lockdown | Guide |
| Tier 1 | Bounce 🔼 | Guide |
| Tier 1 | Loki Werewolf | Guide 🆕 |
| Tier 1 | Deadpool Destroy 🔼 | Guide |
| Tier 2 | Discard Dracula 🔼 | Guide |
| Tier 2 | Move | Guide |
| Tier 2 | Cerebro 5 | Guide |
| Tier 2 | Destroy Tempo 🆕 | Guide 🆕 |
| Tier 3 | InSheNaut 🔽 | Guide |
| Tier 3 | Pure Evolutionary 🆕 | |
| Tier 3 | Thanos Control | Guide |
| Tier 3 | Electro Ramp 🔽 | Guide |
| Tier 3 | Shuri Sauron 🔽 | Guide |
| Budget | Ongoing 🔃 | Guide |
| Budget | Kazoo 🔃 | Guide |
| Budget | Devil Destroy 🔃 | Guide |
| Budget | Move 🔃 | Guide |
| Budget | Devil On Reveal 🔃 | Guide |
Disclaimer and Tier Explanations
In order to be featured here, a deck needs to represent at least 1% of the current environment and have a positive cube average using data from our Marvel Snap Tracker. If a deck showed great performances with a very limited presence in the meta, you can find it in the Silent Performers section. There, I will highlight decks with an excellent Cube Ratio but too little of a sample size to be representative of their real strength.
Decks not good enough to be considered contenders but with a good representation will be ranked in Tier 3 or 4 in our chart, and they won’t have their own dedicated write up here (but they may be transferred to the main Tier List section). See those builds as decks that are good to know about, as you should face them when playing Marvel Snap. However, unless the meta changes or a new variation of the build emerges, these decks are a notch below the dominant ones in Tiers 1 and 2.
Silent Performer: Decks with a very little presence in the meta that still showcase a Cube Average and Win Rate worthy of a Tier 2 deck (or better). Often times, these can be archetypes with some nice game play that have been left unchecked in the current environment, or decks on the rise that found a few good match ups to abuse.
Tier 1: Tier 1 represents decks with all the upsides we would be looking for to rack up Cubes. They have good match ups in the current meta, offer different play patterns during a match, and often have the ability for explosive or surprising turns. These should be decks worth investing into in order to climb for the coming week.
Cube Average > 0.5
Tier 2: Tier 2 are very good decks but with a weakness holding them back – either not being as reliable in its draws as Tier 1 decks, countered by another popular deck, or still being a work in progress as you read this. A good pilot could probably take these and have the same results as with a Tier 1 deck, but their play patterns are more difficult to enact compared to the tier above.
Cube Average > 0.35
Tier 3: This tier is made of decks that have a pervasive issue compared to Tier 1 or Tier 2 decks. Usually, Tier 3 will be a mix of decks on the rise that don’t have much data, old archetypes on the decline, decks that require substantial experience and/or knowledge to pilot properly, powerful decks that aren’t well positioned, or niche decks.
Cube Average > 0.20
Tier 4: Off-meta decks that have fallen off in recent times, or counter picks that rely on specific match ups to stay afloat competitively.
Cube Average > 0.00
Budget: Decks that consist only of cards in Pool 1 and 2 that are still capable of competing with an experienced pilot in a similar Collection Level, Rank, and MMR range. See our matchmaking guide for more details.
Meta stats and analytics directly from our Marvel Snap Tracker can also be found here.
Tier 1
Good Cards Darkhawk
Rank Justification:
With quite a peculiar list this week, Good Cards Darkhawk managed to hit both thresholds of a great Marvel Snap deck with a 62% Win Rate and a crazy 0.7 Cube Average. It seems important to note that these numbers are not representative of the whole archetype, although it would still be a solid Tier 1 deck.
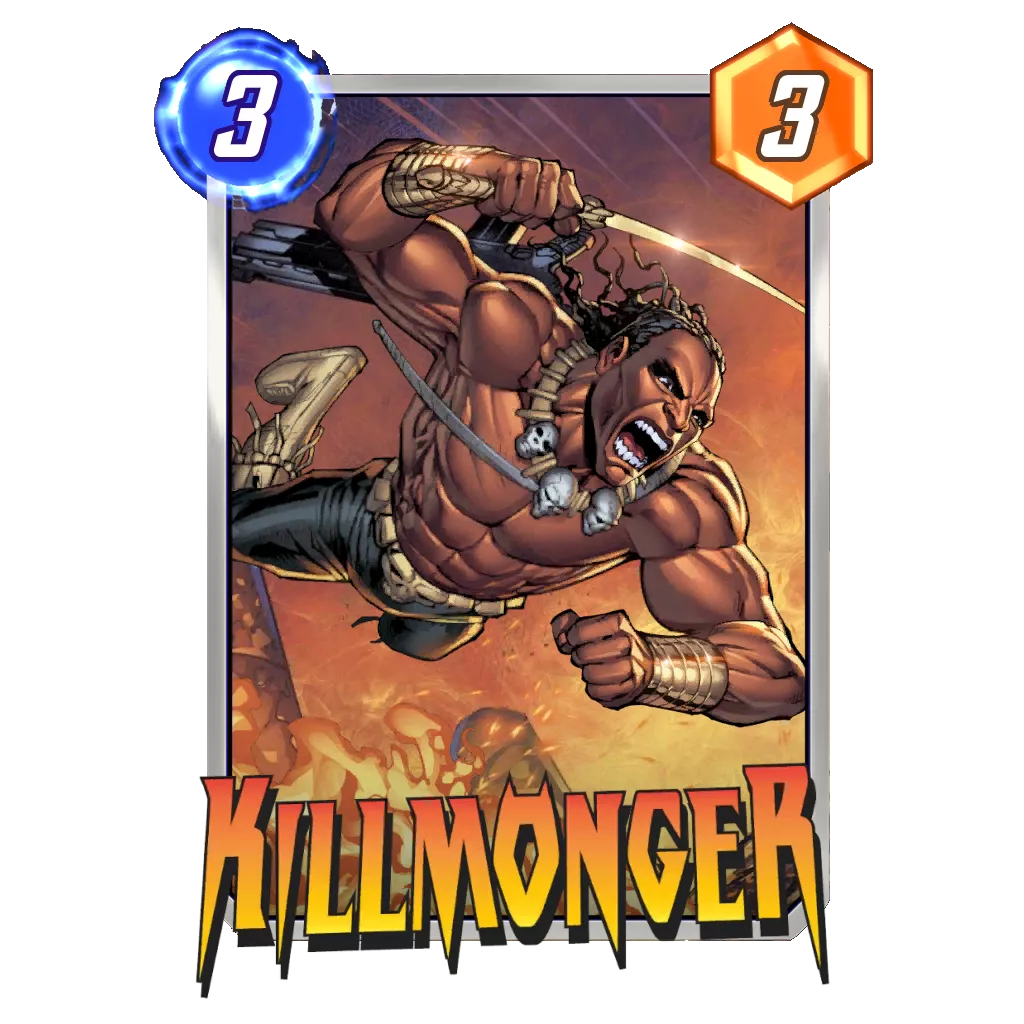
This list tells us a lot about the current meta, particularly how you should build their deck for the Ranked Ladder. Here we can see a huge commitment to making other Ongoing decks feel miserable, alongside a big focus on developing points. Without Black Widow, Alioth, or Killmonger (a few cards that are usually included in the deck), this list seems to be very proactive and able to punish opponents with Rogue and Enchantress. Mystique is a card I have seen come and go in the deck; it has two great targets, but it can also be a dead draw – the worst nightmare of a Good Cards deck.
Overall, I would say this list is mostly aiming at winning big and losing few cubes during most games. The Snap strategy seems pretty obvious: punish any Ongoing deck you face. I doubt this strategy would work if this was Conquest, but in a mode where you play against many more opponents it makes sense to target a popular part of the meta and just feed your Cube Average.
How to Play:
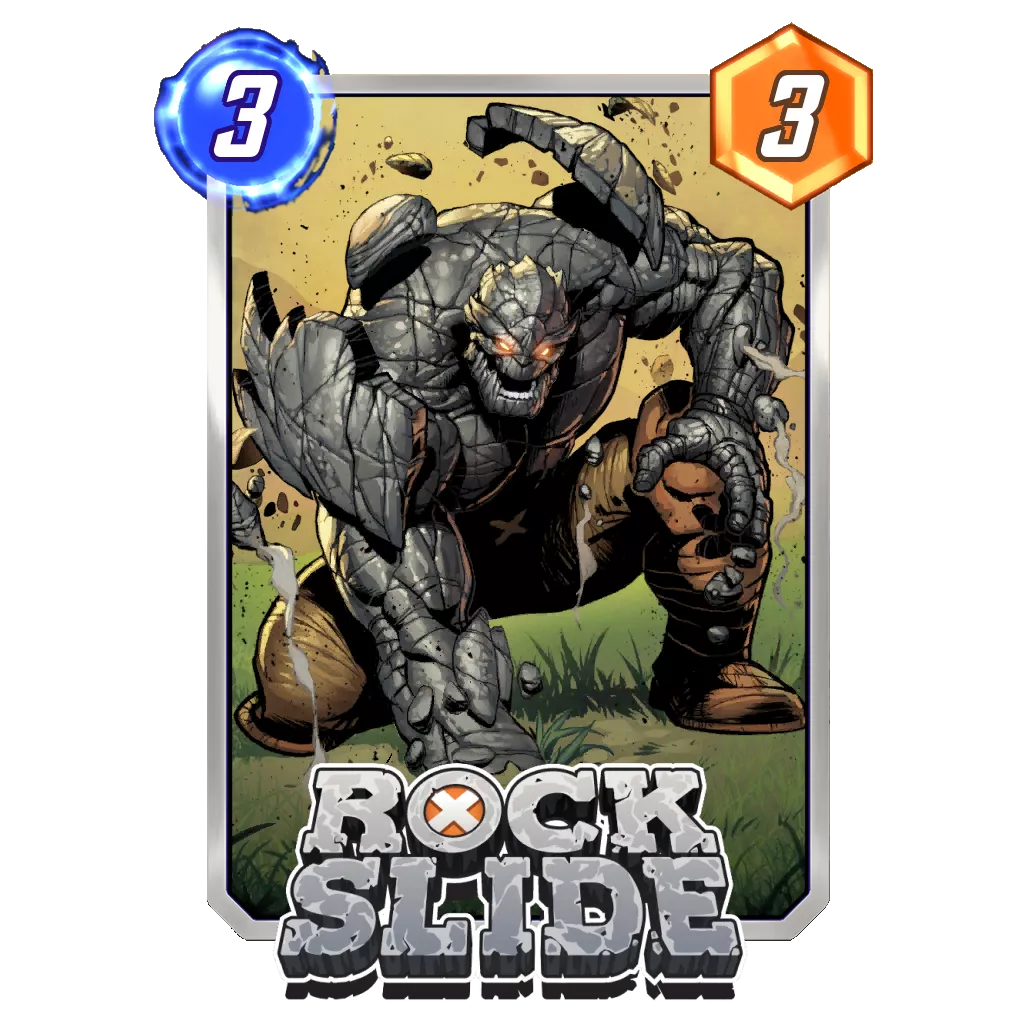
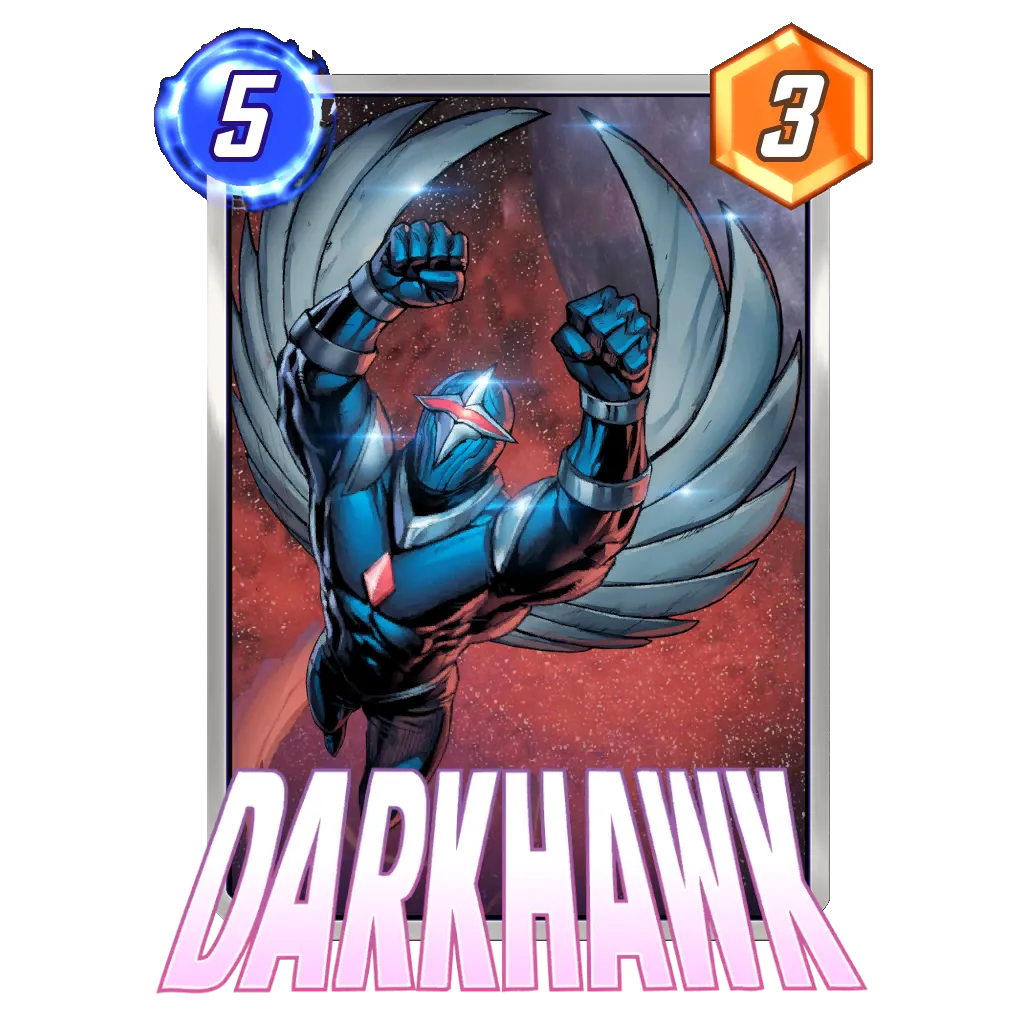
A Good Cards deck will typically look to use its energy very efficiently and rely on the standalone strength of its cards rather than complex synergies. The core is usually based around the Rock synergy since it allows you to disrupt the opponent’s deck while building a big anchor for a lane in Darkhawk. Alongside this base, the deck will usually try to mix strong 4-Cost cards to profit from Zabu and great abilities to copy with Iron Lad.
Typically, this deck will not develop many points early on. It tries to shuffle Rocks in the opponent’s deck and develop Zabu instead. Unless you are looking to land a disruptive card to block something, seizing priority isn’t a key component of the game plan. You would even like to not have priority – especially going into Turn 6 – so you could develop Darkhawk plus Ms. Marvel with Zabu in play. However, if you catch your opponent having a bad turn, or you high roll a good Iron Lad, don’t refrain from focusing on points over guessing how you could disrupt the opponent even more.
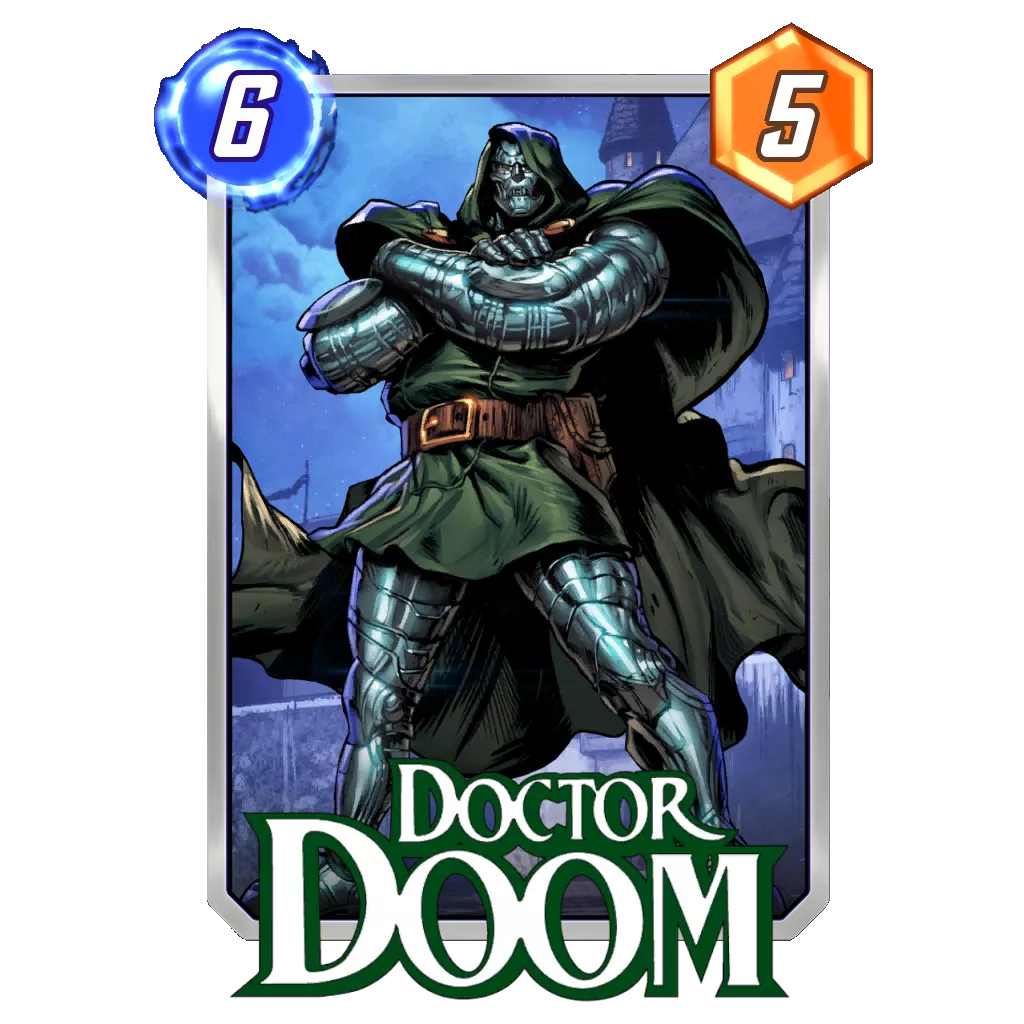
In this iteration of the deck, the goal is to be extremely proactive for the first four or five turns while the last one will be flexible. You can either invest into two lanes with Darkhawk or Ms. Marvel plus Mystique (Zabu is needed for this), target all three locations with Doctor Doom, or counter the opposing game plan if they rely on Ongoing synergies.
Potential Additions:
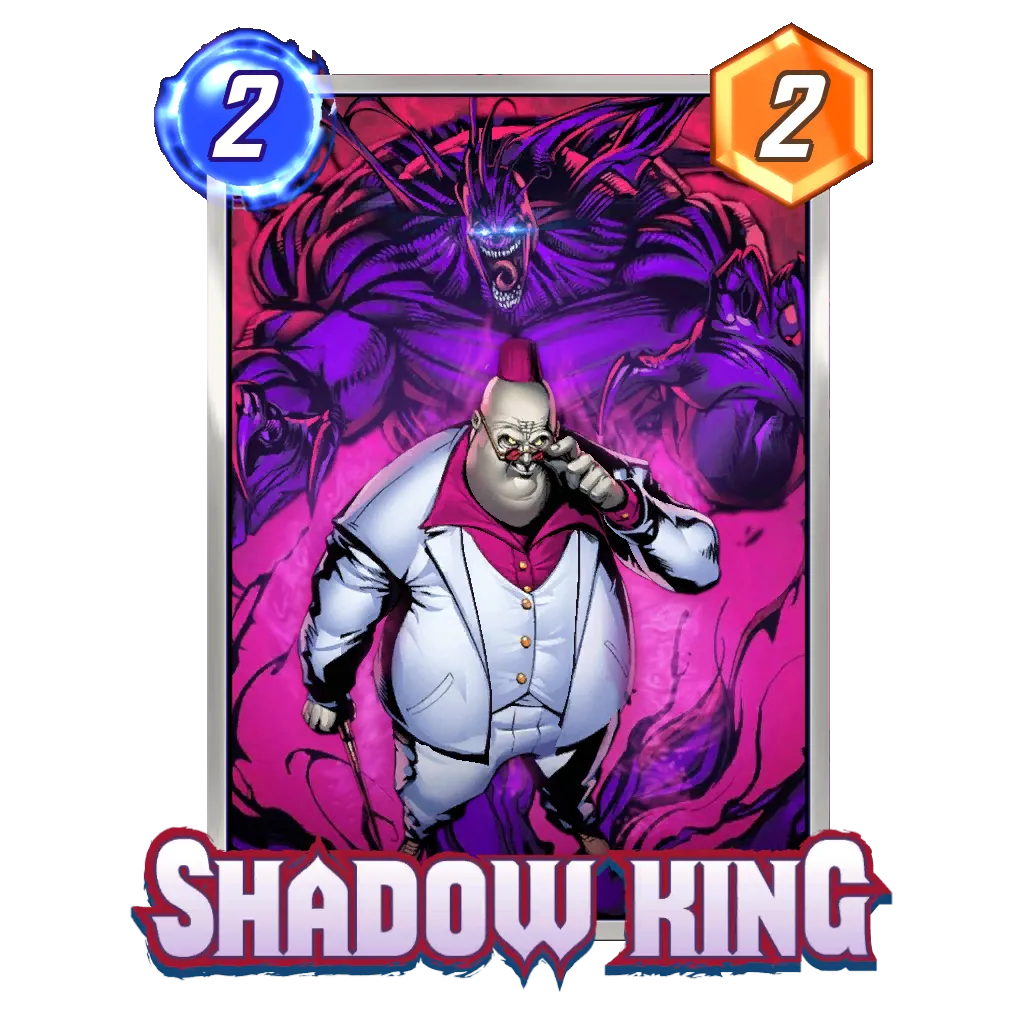
Black Widow, Alioth, Shang-Chi, or Shadow King come to mind as popular inclusions in the archetype. Killmonger or America Chavez also see play in Good Cards decks. Last week, the Annihilus package was used, but it seemed to do worse than the more straight forward lists this week.
Lockdown
Rank Justification:
If it wasn’t for Darkhawk and its anti-Ongoing list posting an absurd performance this week, Lockdown definitely did what was necessary to claim the top spot this week again. With a 0.58 Cube Average and 60% Win Rate, the deck seems to be the front runner for being called the best in the game for the average player in the Infinite rank.
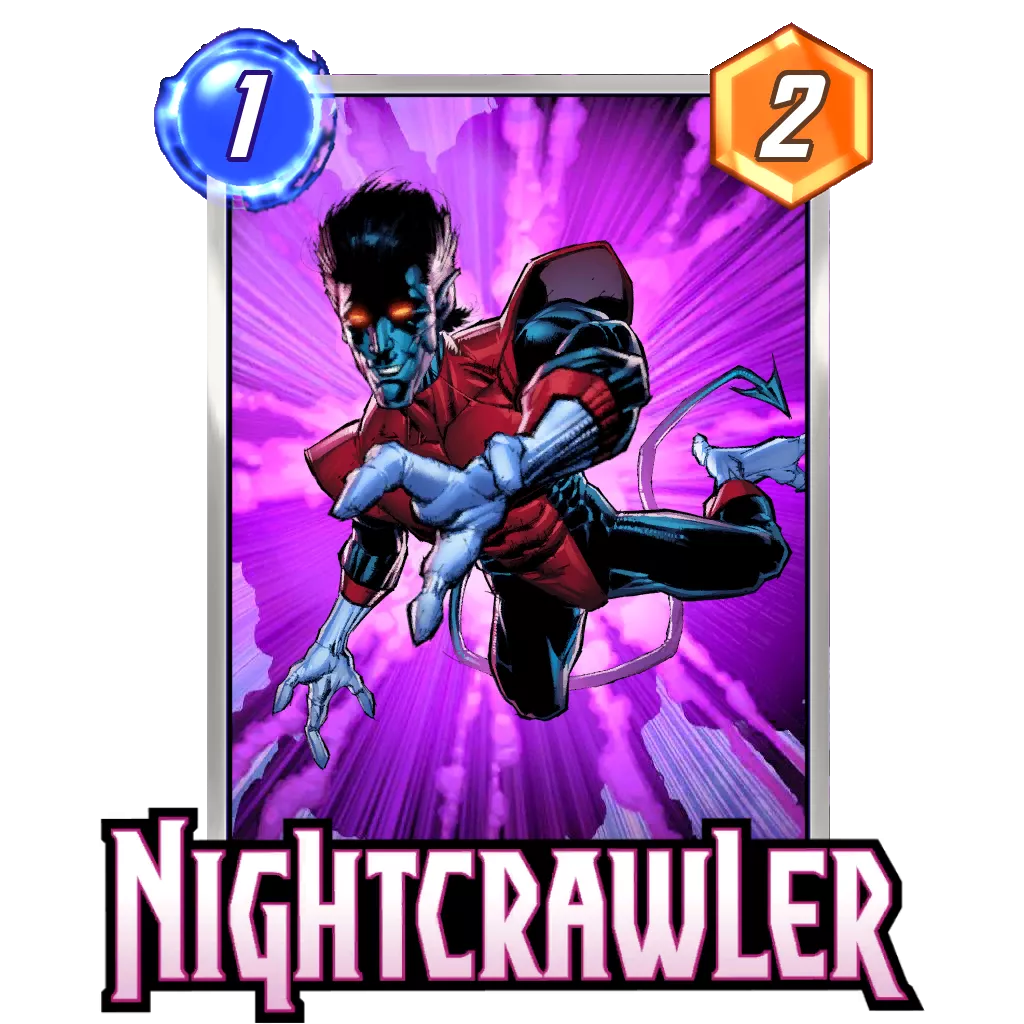
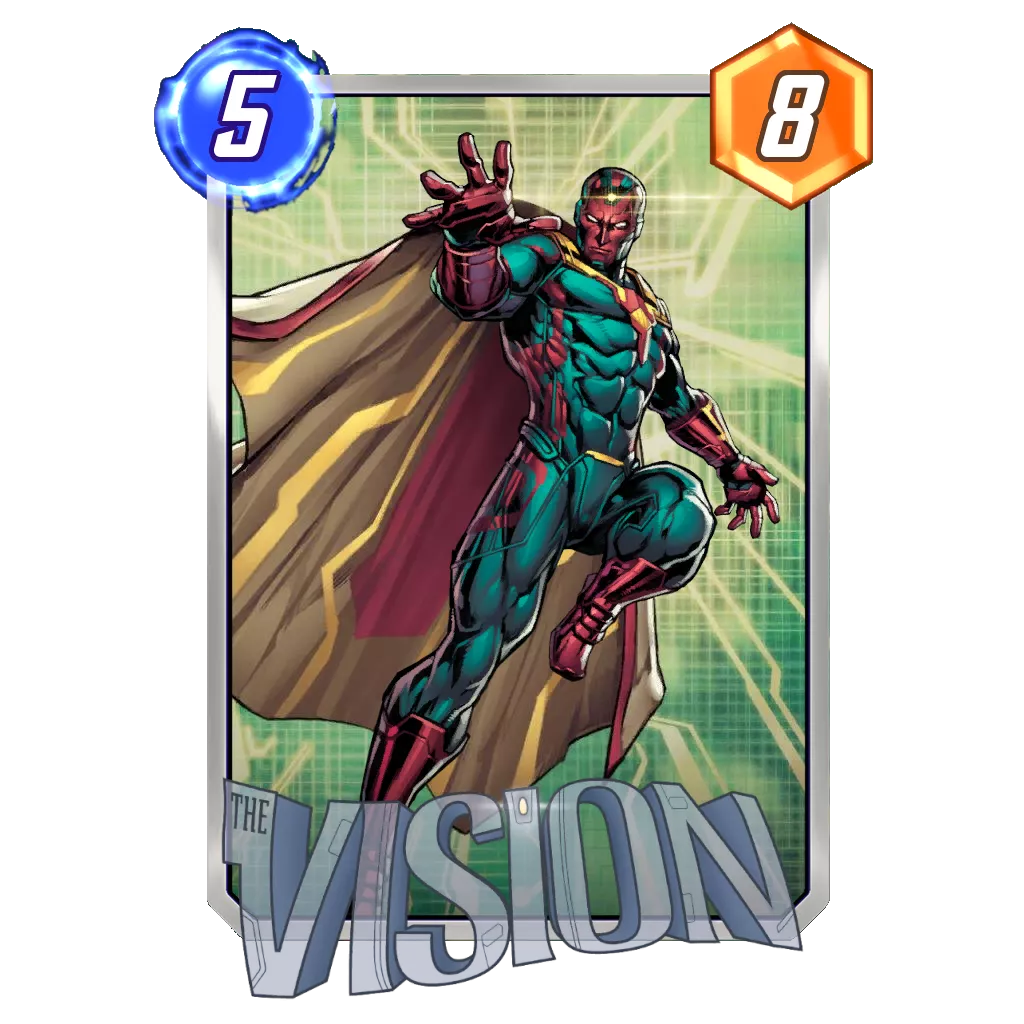
Indeed, with a fairly simple to visualize game plan and more than enough points to contest two lanes, Lockdown has become both a proactive and disruptive archetype over the course of the season. The perfect list might still be up in the air, though, as Vision made its debut in the deck when Gamora or Klaw were usually the most played 5-Costs. Still, the shell is rock solid. Vision seems to make a lot of sense considering both Nightcrawler and Jeff the Baby Land Shark have become staples in the deck; each provides cheap, flexible support to synergize with Storm and Ms. Marvel. Nevertheless, Lockdown remains one of the better ways to disrupt Werewolf By Night, which is a popular card atop the Ladder with the reputation of being the strongest win condition right now.
How to Play:
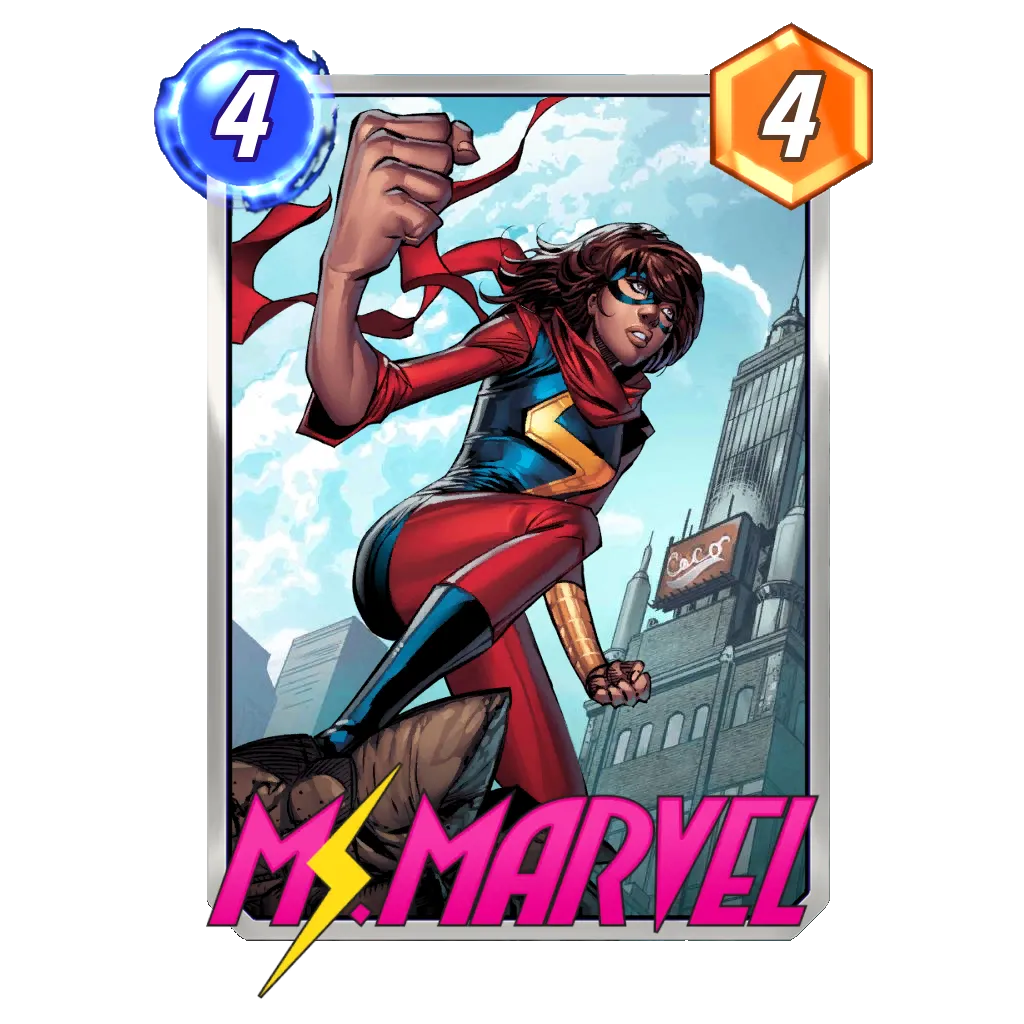
Most of the time, the goal with this deck is either to develop points flexibly or hide from your opponent where you plan to act. You can also aggressively block your opponent’s play patterns, which is easier in Conquest where you should gather information from one round to another. With Ms. Marvel in the equation, Lockdown is trying to lock one of the side lanes with Storm or Professor X in order to land Ms. Marvel in the middle for support.
If you expect your opponent to run an Ongoing counter, you could play Storm on Turn 3 in the lane where you wish to play Ms. Marvel so the opponent can’t land their card later on.
Typically, Storm is stronger if you have ways of supporting it (either with the Move cards or with Doctor Doom down the line). Professor X, on the other hand, will push for Alioth or America Chavez to be used to win the second lane.
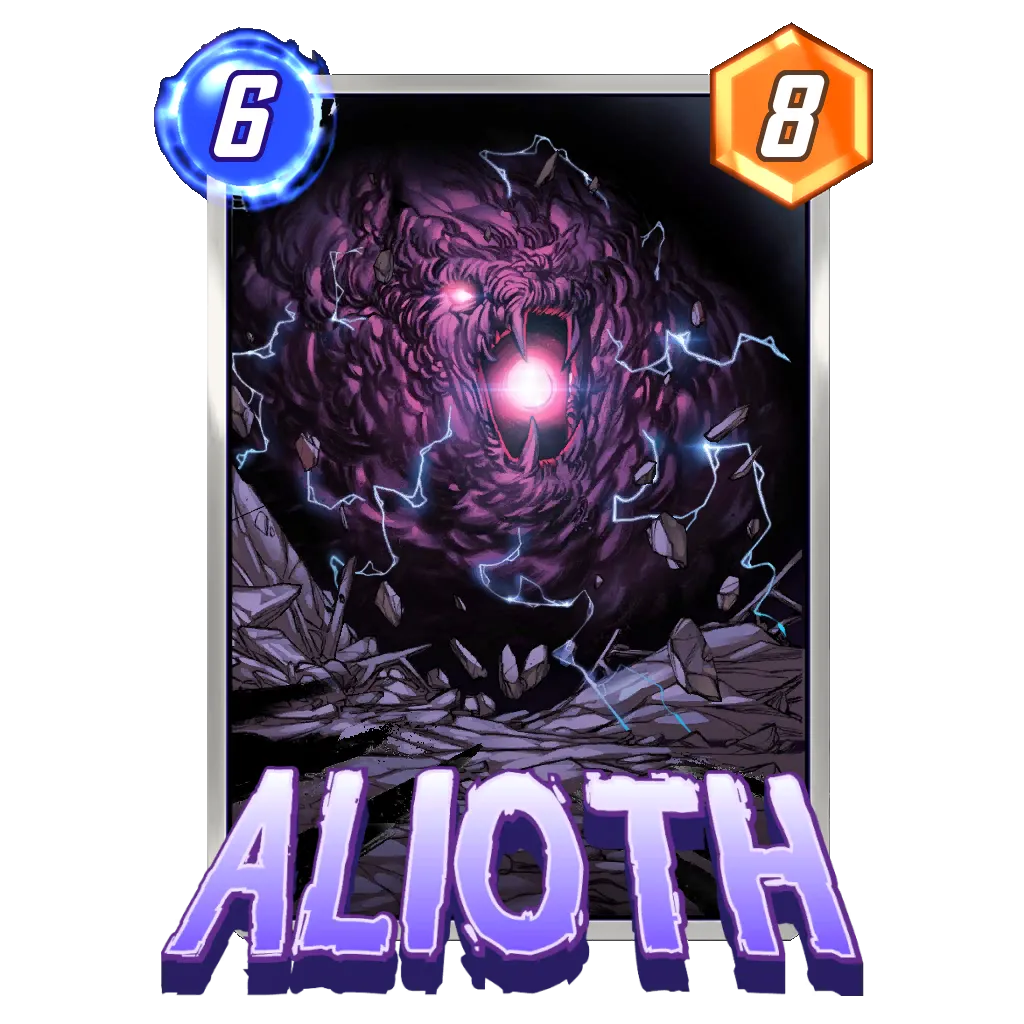
A hot start with Nebula, Medusa, and Storm can quickly lead to you winning a lane, which allows you to focus entirely on another one with a card like Alioth at the end of the game. Furthermore, the deck is also decent at spreading its points through Ms. Marvel and Doctor Doom – especially if Iron Lad hits either of those. You can then accept a battle based on points, where you would become a proactive deck.
Finally, the Move cards simply provide flexibility for Ms. Marvel so you can make sure it reliably adds points to every lane. You can reposition your cards if you need to in order to play one with the same cost on that location.
Potential Additions:
Daredevil, Klaw, and Gamora are three cards that routinely see play in Lockdown. Otherwise, a counter card such as Shang-Chi or Rogue is always an option. Echo also helps a lot for the mirror match.
Bounce
Rank Justification:
This is the dark horse of this meta. Bounce is clearly the more discreet deck of the dominant quartet, and it has done nothing but gain momentum as the weeks progressed and more players spending time to learn its intricacies. At the end of the season, where it should logically be at its best, Bounce posted a 0.55 Cube Average alongside a 59% Win Rate, which is nothing to be ashamed about.
There are two key takeaways from Bounce posting such a good performance this week:
- The Annihilus-based list appears to be worse than the Darkhawk one, but Werewolf By Night is the core of both.
- Either Lockdown is not a bad match up, or it isn’t popular enough to punish you from playing Bounce.
How to Play:
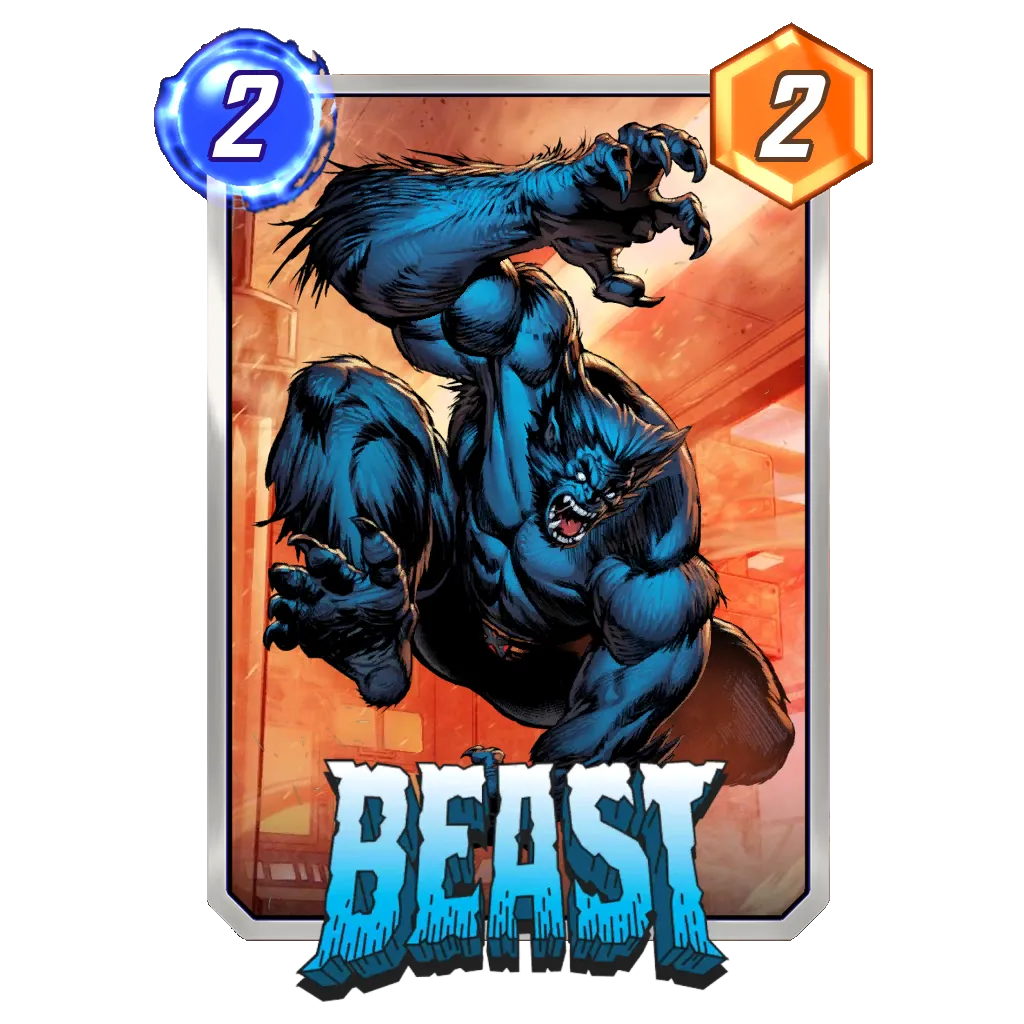
Through Beast and Falcon, Bounce can easily be considered the most flexible archetype in the game – especially when it comes to On Reveal abilities. However, it is up to the pilot to pick the right abilities to duplicate during a match. Whenever in doubt, you can always go for points.
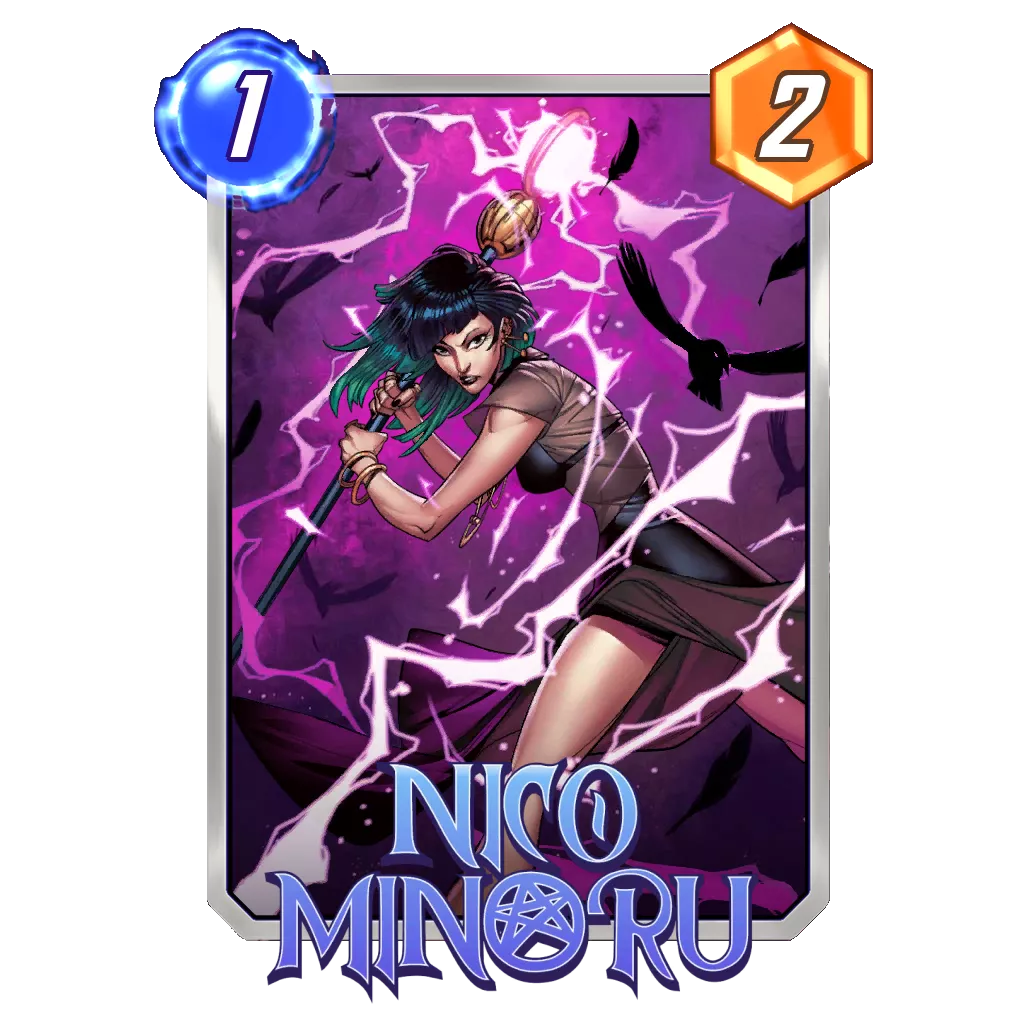
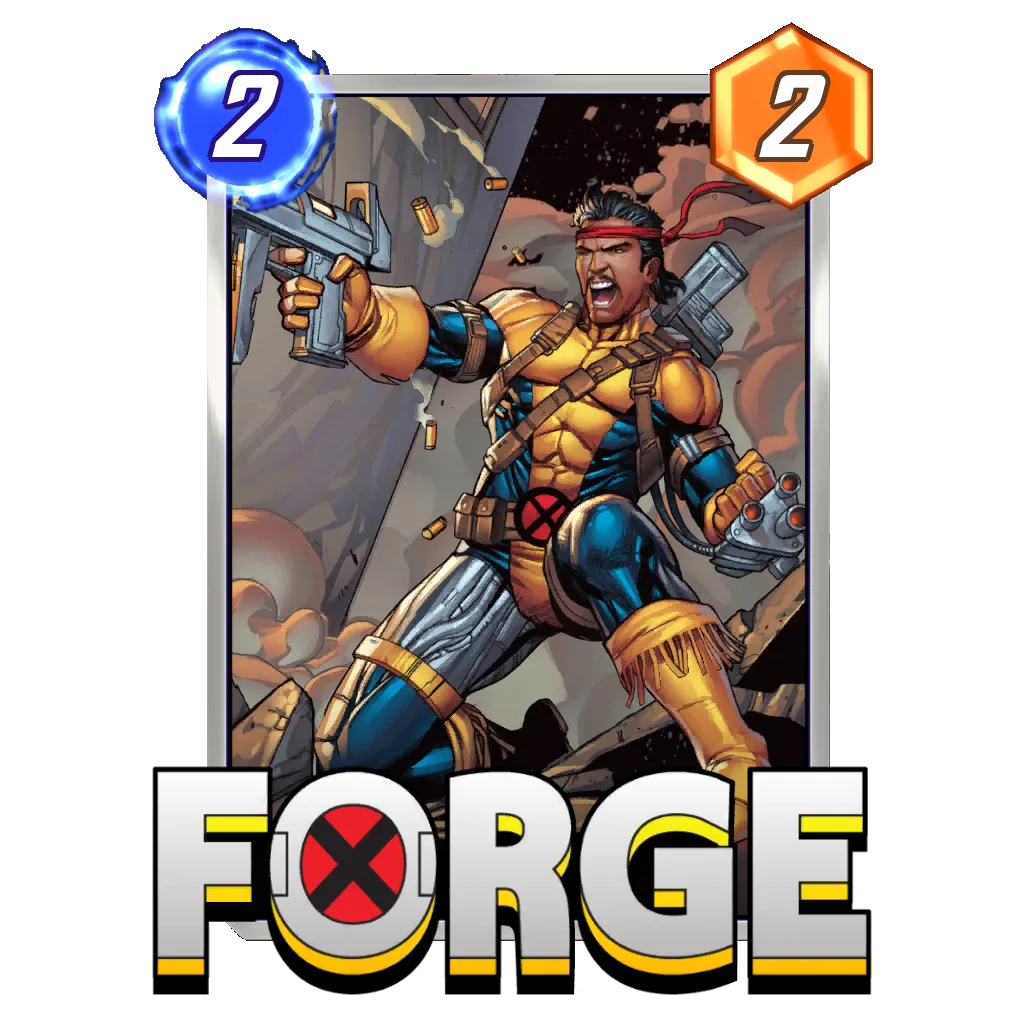
Most of the time, Bounce will rely on The Hood to create multiple six power Demons alongside Forge and Nico Minoru to buff your cards across the field. Plus, with Werewolf By Night in the deck, replaying those cheap On Reveal cards typically means a bonus two power each time, and the 3-Cost will ultimately be able to take a lane on its own. Werewolf By Night is really the glue of this deck since it will benefit from almost every card. If you go for the Bounce-heavy plan, you will be able to grow the card to double-digit power very easily.
In order for this magical game plan to exist, though, you need to control space, both on the board and in your hand, extremely well. For example, you can never fill a location unless you accept that Werewolf By Night will not be able to move there anymore to get buffed. You also can’t have too many cards in hand to block Falcon or Beast from bouncing your cards. You also always have to be mindful of Alioth on the opposing side of the field if you decide to keep all your cards in hand for Turn 6.
In addition to all of that, you don’t have that many cards with a high power, so if you start piling your cheap cards in the same place and neither Falcon nor Beast show up, then you have practically given a location to your opponent. A good rule to follow is to always try to keep one spot open on each lane, unless you have a reason to lock it or the ability to create space in the following turns.
Potential Additions:
Basically any cheap On Reveal card can fit the bill with this deck depending on what you are trying to do. As long as you have Werewolf By Night, Falcon, and Beast, there are a lot of directions you can take a Bounce deck.
Loki Werewolf
Rank Justification:
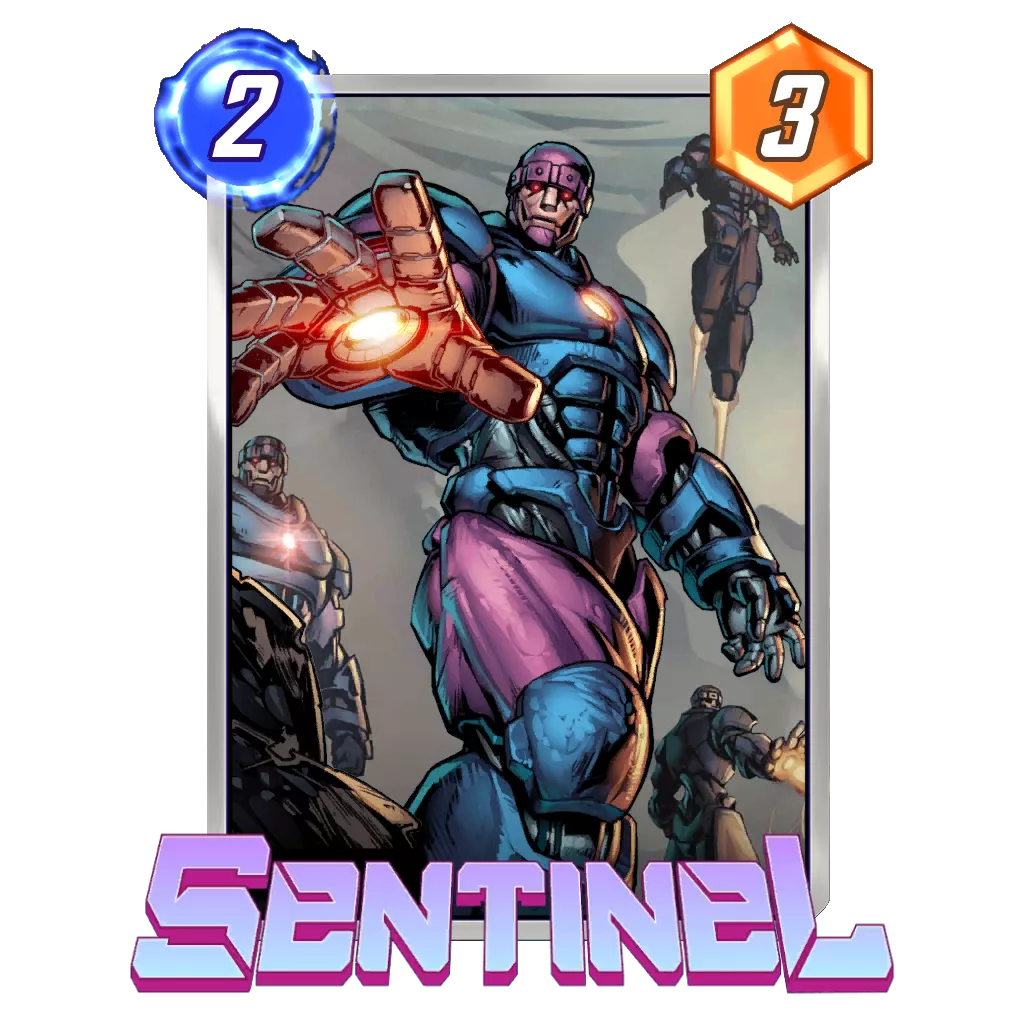
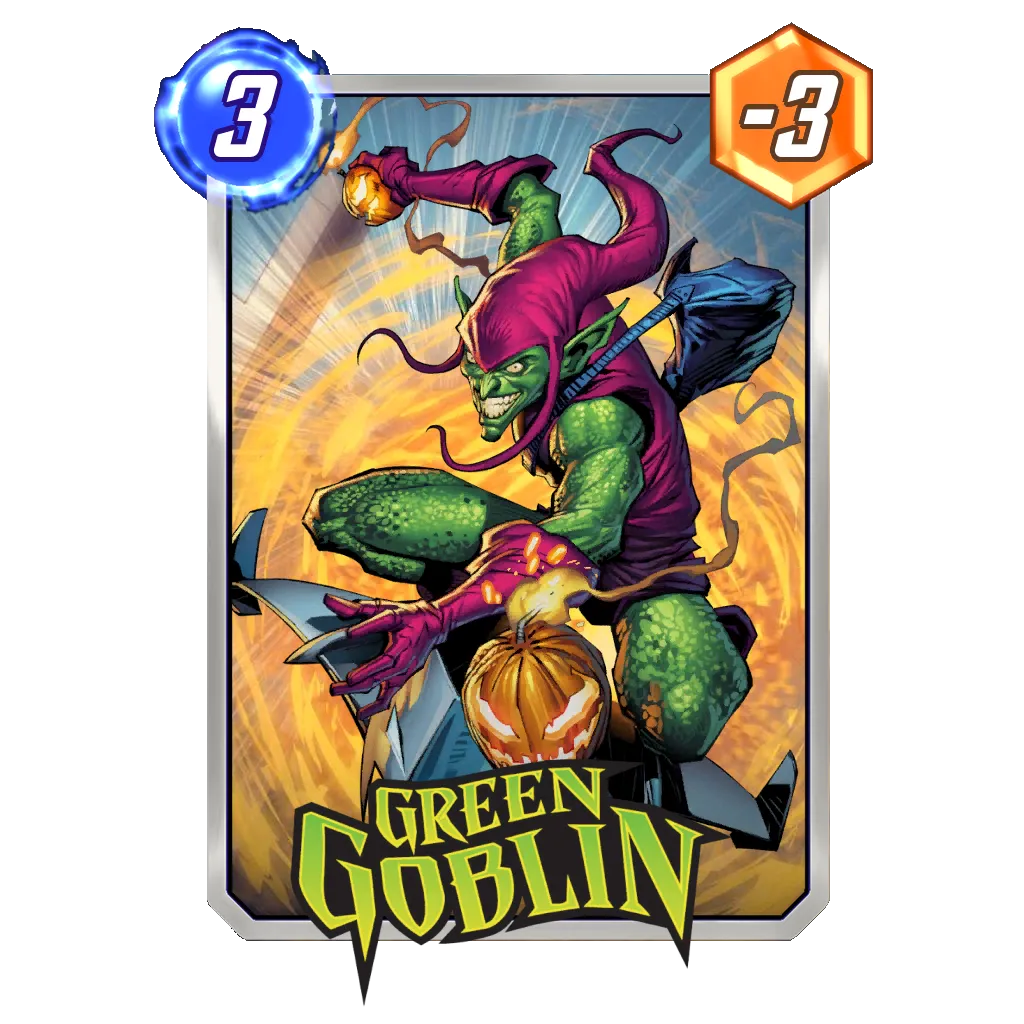
This deck is still regarded as the absolute best deck Marvel Snap has to offer (largely because the power level is compared to what Bounce can do with an added layer of possibility with Loki), but the numbers are telling us a different story. Loki seems to have pivoted away from the Bounce-heavy core it was using earlier in the season, instead focusing on creating cards with Sentinel and Agent Coulson alongside disruption with Green Goblin.
Of course, you can still make the parallel with Bounce since Werewolf By Night is a central piece of both game plans. Plus, their performances are very similar, as Loki posted a 0.5 Cube Average and a 60% Win Rate in the data I had available. Maybe it’s just safer to say that Werewolf By Night is a great card that allows several decks to profit from its mighty strength.
The complete lack of counter cards shows that Loki is able to go head to head in a points shootout, and the numbers are telling us it wins that battle more often than not.
How to Play:
Centered around its two signature cards (with support from Quinjet), Loki aims to build a lot of points on two lanes while keeping as many options as possible open for later on. Indeed, if you commit too hard, you might lack the space required for the cards Loki generates, or you might let your opponent know too much about your potential. Speaking of potential, the deck creates many cards during the match, so its biggest strength is keeping the opponent in the dark as to what they should expect.
Early on in the match, the deck will set up its anchors, Werewolf By Night and The Collector. As direct support to these two, you have all the cards at three energy or less that will generate cards or move the Werewolf. This iteration of Loki takes a large page from Bounce’s playbook. It looks to leverage the 1-Cost cards to grow both anchors simultaneously, but it is also very flexible in the way is uses the available space thanks to Falcon. Indeed, constantly finding a way to develop yet never locking yourself out of possibilities is the key to mastering this deck. You will build a lot of points without losing the ability to react to what your opponent does.
Depending on your opponent, the timing of your Loki will vary. If their deck is expensive or runs a lot of counters to your primary plan, you might want to switch early on and create a new game plan with their cards. Otherwise, Loki can be played on Turn 5 to grow The Collector and open a very flexible Turn 6, especially with Quinjet in play. One of the biggest upsides of this deck is its ability to always find new options and play patterns. As such, it is really important to set your mind early on whether you are looking to play with the cards in your deck or trying to generate a new way to achieve victory.
Since Werewolf By Night joined the deck, Loki Collector has used Loki as a Turn 6 option more often – especially if you anticipate finding no On Reveal cards in your opponent’s deck. You can just focus on building a big enough Werewolf to win a lane, and then buff The Collector on the last turn of play to contest the second one.
Potential Additions:
Beast, Mirage, Forge, and other cards that synergize with either The Collector or Werewolf By Night will make a lot of sense in this deck. You could also run a counter card if you feel the need since most of them are On Reveal cards.
Deadpool Destroy
Rank Justification:
One of the complaints I hear the most about these reports is how Destroy is never ranked in Tier 1 while it does so well for so many players. Well, I’m sorry, but I don’t make the rules, and a deck needs to hit a 0.5 Cube Average to be worthy of Tier 1. Just being a good deck isn’t enough in that regard. So, let’s say it all together: Deadpool Destroy is a great deck!
Yes, with a 0.5 Cube Average and a 58% Win Rate, the deck almost had the same week as Loki performance wise, which is an incredible feat in a season that already has three or four archetypes dominating the meta. However, apart from Lockdown being annoying with Professor X and Alioth, most of those dominant decks dropped Annihilus from their popular builds, which also reduced the need to run Armor in other archetypes.
With an environment that it could finally exploit, Deadpool and company put up a clinic. This list could even join the discussion for an elite deck if it can repeat this feat in the near future. Also, with Destroy Tempo gaining momentum as well (but posting a worse performance), we can once again validate the fact that focusing on points with a little disruption seems to be the way to go over trying to be extremely disruptive.
How to Play:
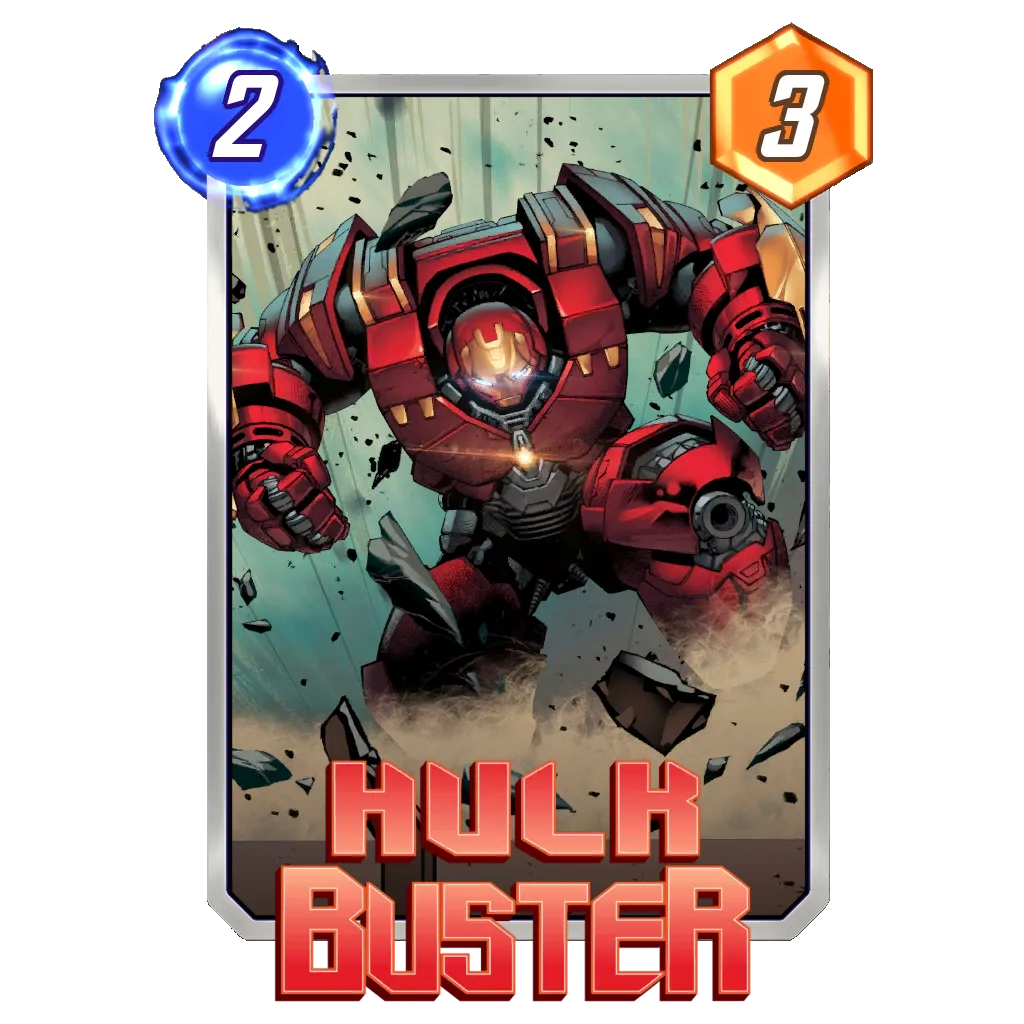
If you find Deadpool in your opening hand, buffing it with Forge or Hulk Buster and destroying it over and over again until Turn 6 is the main concept with this deck. But there are other ways to score lots of points and emerge victorious, alongside leverage a timely Shang-Chi for the win.
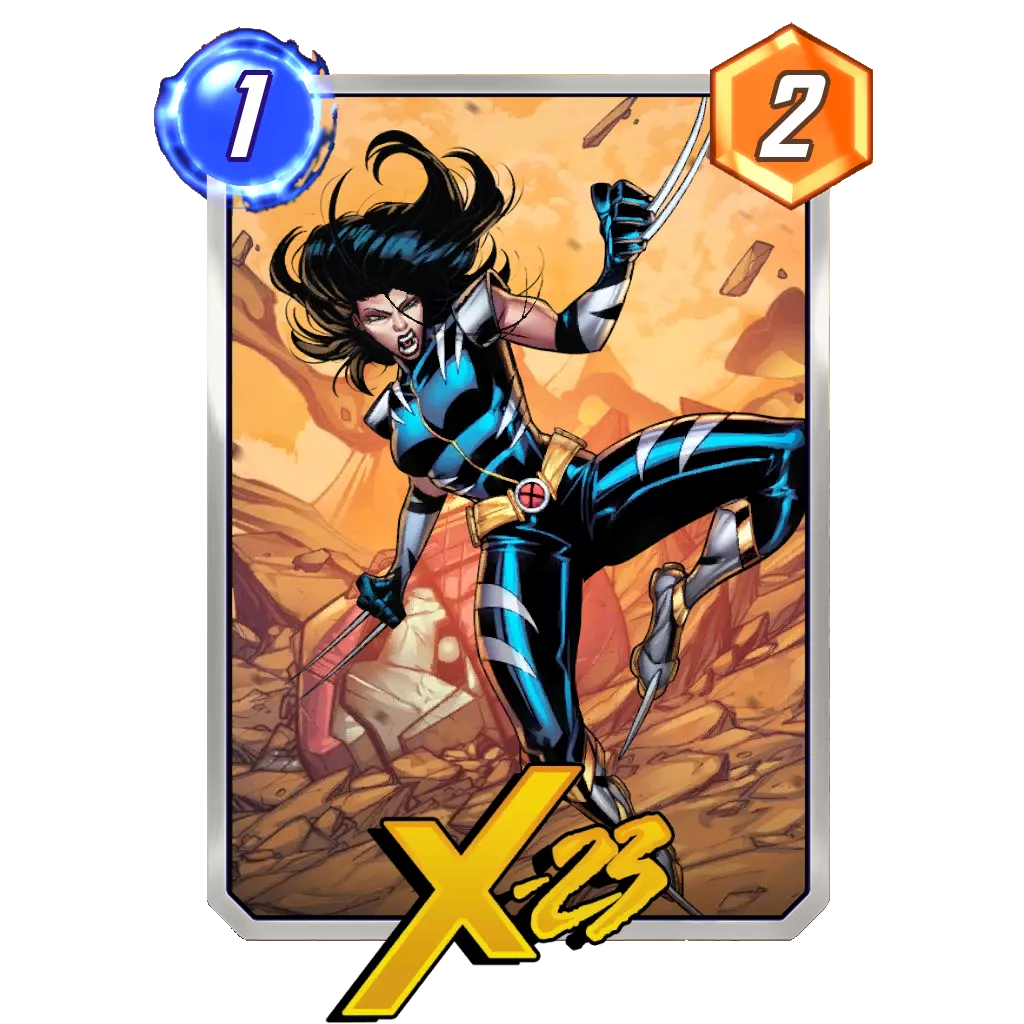
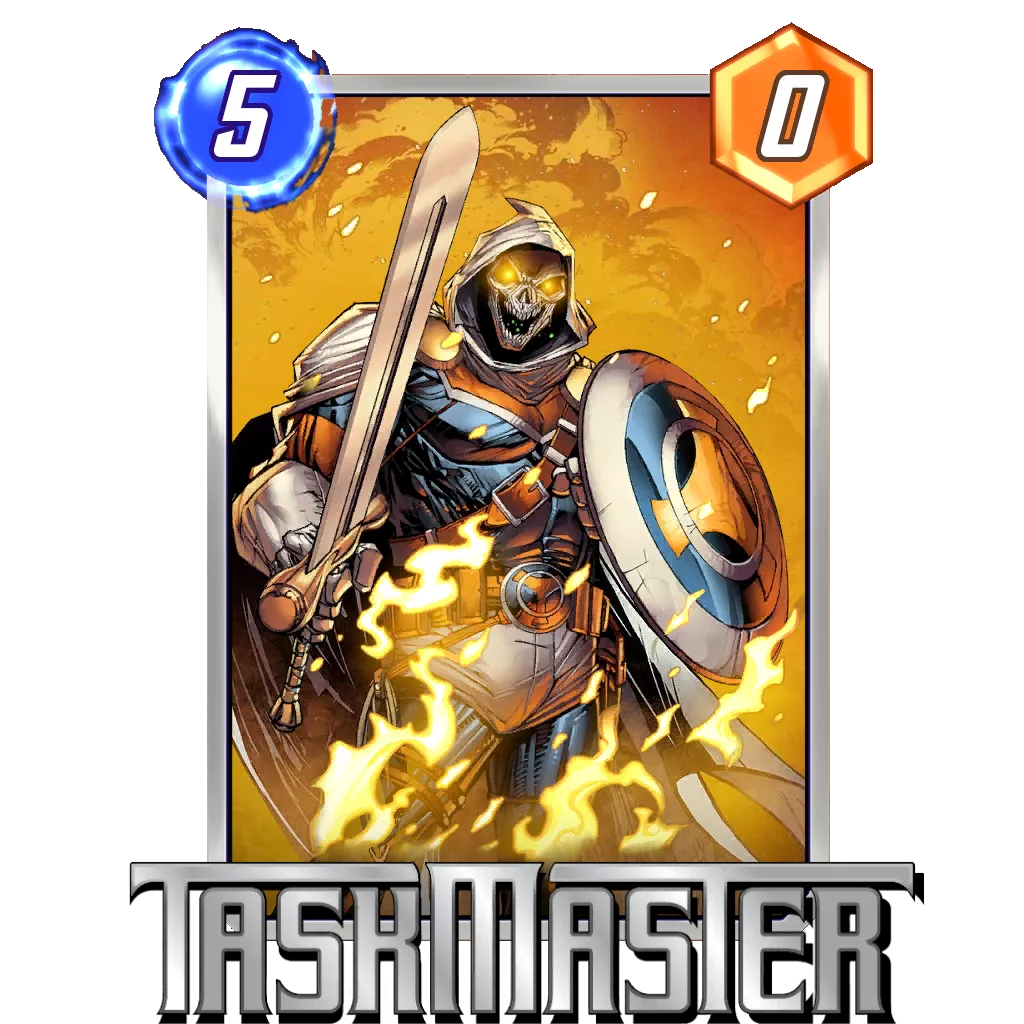
First, it is important to understand the role of X-23: to give you energy on specific turns so you can break the expected timing your opponent has for your cards. For example, going for Deadpool plus Taskmaster on Turn 5 can throw an opponent off, and it opens a Knull play on the following turn. Similarly, if you destroy X-23 on Turn 5, you can play both Deadpool plus Knull, or Arnim Zola on Turn 6. Even if some of those cards are not part of the featured list this week, it shows how you can use X-23 to create play-patterns your opponent won’t easily anticipate.
Since you are playing a deck that is easily recognizable and well known in the community, finding those unusual ways of developing your play patterns will open avenues to catch your opponent off guard. Also, keep in mind your should have an agressive Snap strategy, otherwise, your opponent will not stay in a game if you already showed them your hand.
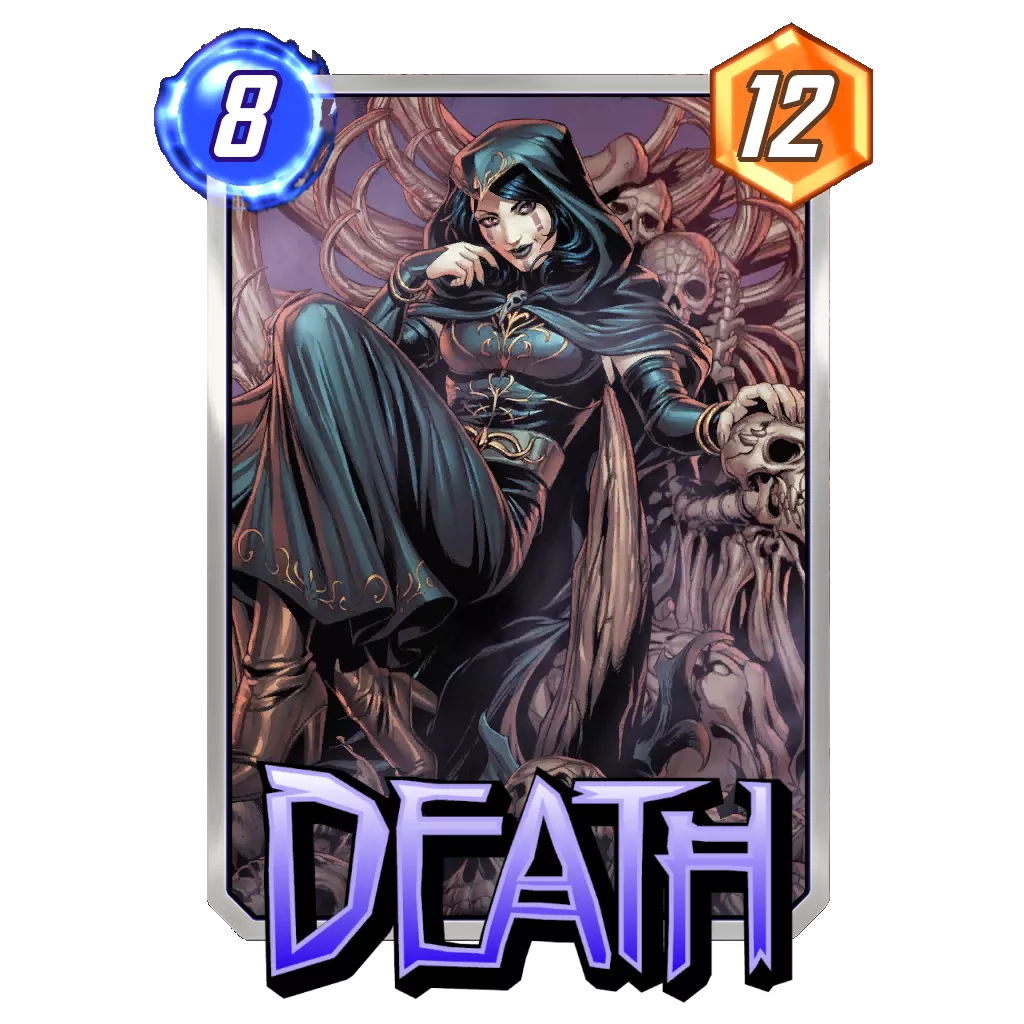
Once you understand the key concepts around your 1-Costs, the rest of the deck is really about dodging the opponent’s traps. Death needs to be played as soon as possible if you suspect your opponent is playing Mobius M. Mobius. Killmonger can be used to destroy opposing cards, not just your Deadpool. Last, Arnim Zola, if you decide to play it, can also be used on Knull, Death, or Venom to create a lot of points.
Potential Additions:
Shang-Chi replaced the usual Taskmaster or Arnim Zola in the deck this week. Nico Minoru is also seeing play, or America Chavez if you are looking to find Deadpool as often as possible.
Tier 2
Discard Dracula
Rank Justification:
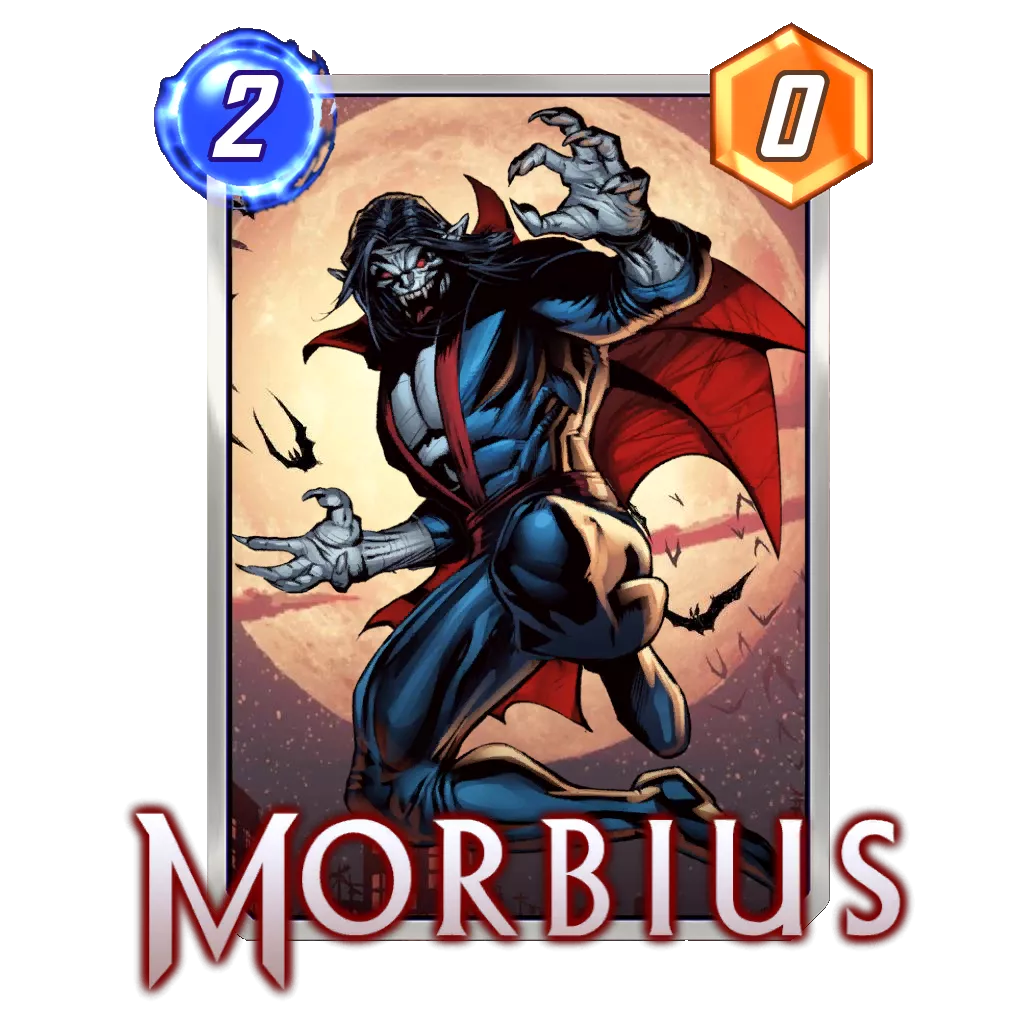
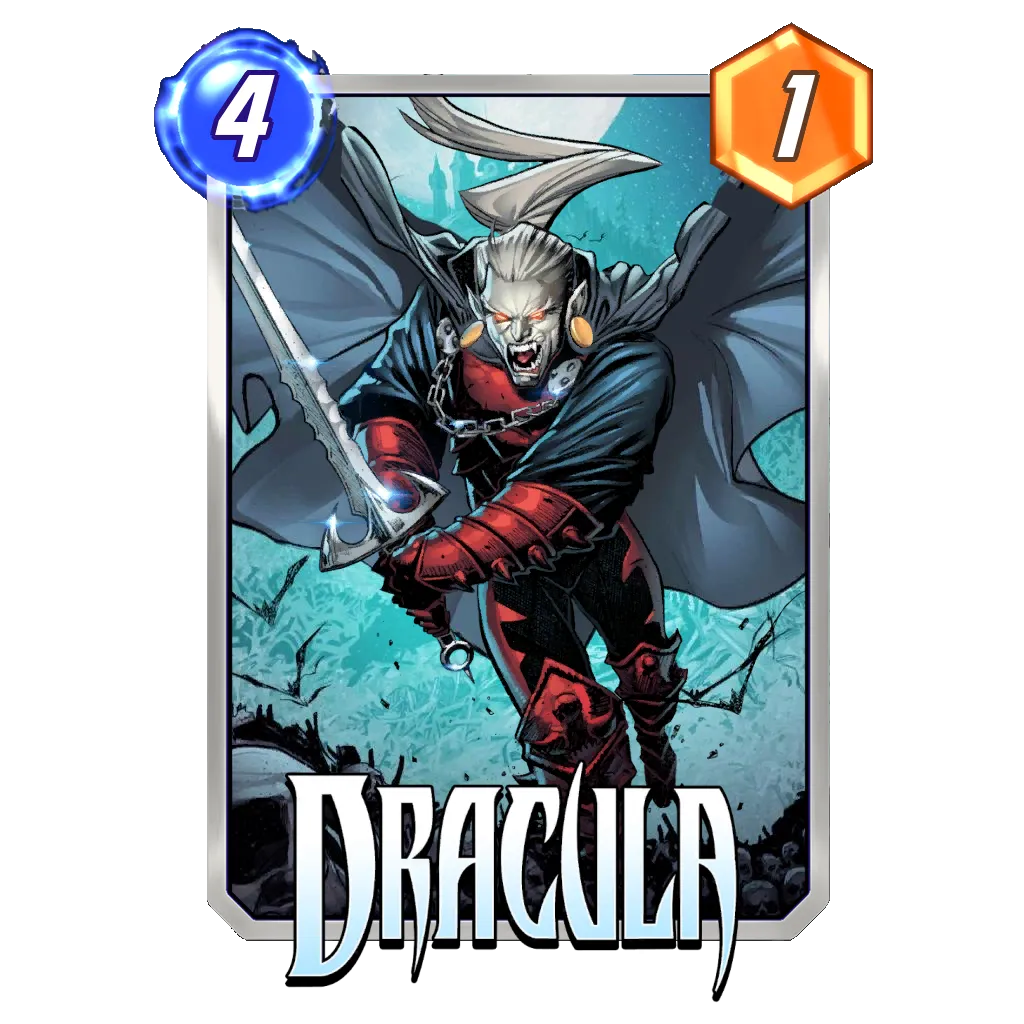
With a 0.45 Cube Average and a 57% Win Rate, Discard Dracula has never been so close to being a Tier 1 deck again, which already shows that developing a lot of points is a key factor to success in this last week of the season. The deck also made a change in the list with Absorbing Man replacing Hellcow. This is probably to maximize the deck’s high roll potential since copying a Daken or MODOK should be stronger than playing Hellcow.
I guess this makes sense for a deck that only looks to build points to maximize its potential rather than its reliability in the ranked Ladder. When you can lose only one cube with a bad draw, trying to increase your high roll potential is the best way to maximize your points (and Hellcow probably won’t help you when you can’t find Morbius or Dracula anyway).
How to Play:
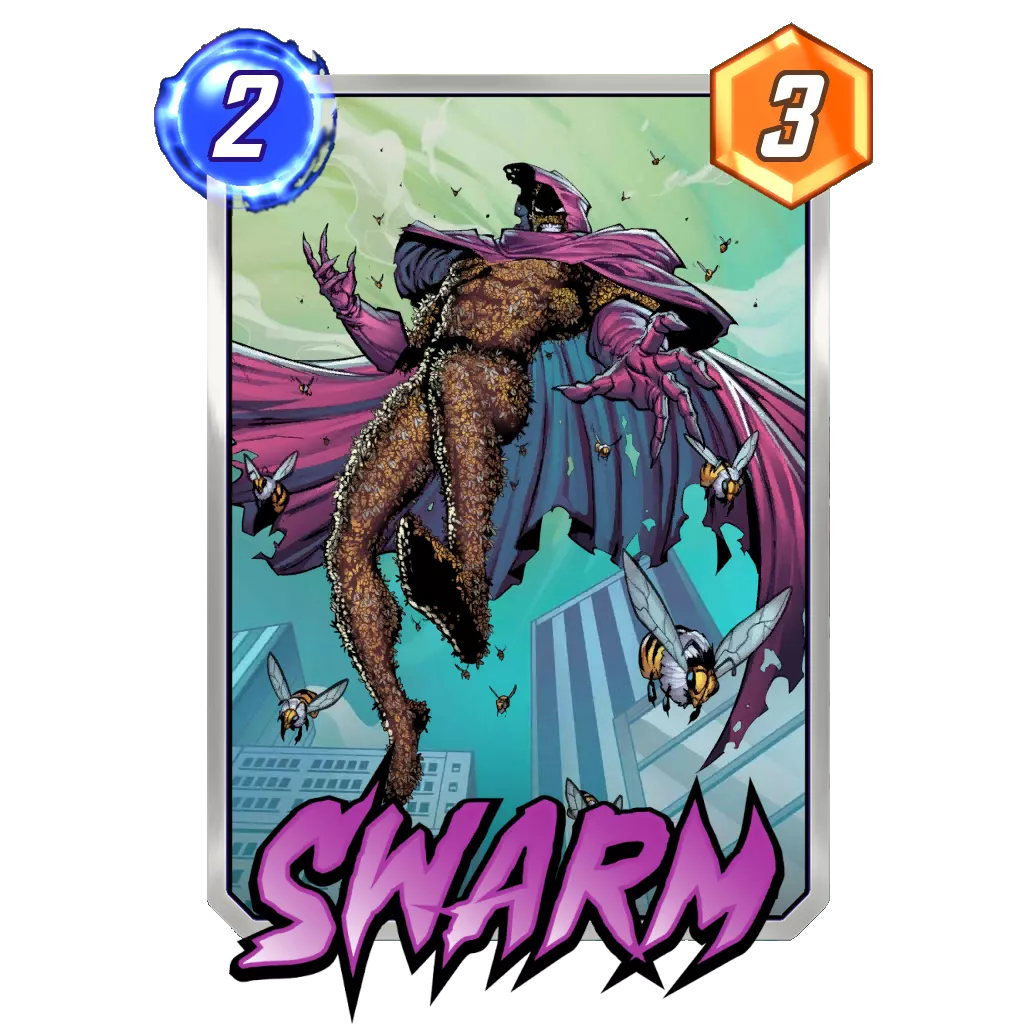
Discard Dracula aims at developing as many points as possible while dodging cards like Shang-Chi (destroys a big Morbius), Cosmo (no more discards on that location), Mobius M. Mobius (resets Swarm to base cost), and other disruptive tools. Ideally, the deck will discard as often as possible, except when Morbius, Daken, or Dracula are at risk, as these three typically represent your largest points contributors. Then, if you have all three, you might want to split them, either with one on each lane, with Dracula alone (if you have Apocalypse), or with Morbius alone (If you anticipate a ton of discards during that match).
Your other cards can also contribute to quite a lot of points, so you should never have to rely on one card alone to win a location. Still, a 20+ power Dracula can do that fairly easily. Daken, in particular, will typically be an eight power card, which is great for a 3-Cost but often not enough to secure a location on its own.
Apart from Hellcow and MODOK, which will typically be used over the last two turns, all the other discards are targeted, meaning you can control their outcome and plan accordingly during the course of the match. With Mobius M. Mobius roaming in various decks, I would advise you to just play Swarm whenever the card is a 0-Cost, at least until you get more information about your opponent. This leads the deck to be very tempo oriented because it is looking to maximize the use of its available energy on every turn if possible, especially if it can discard safely.
Overall, Discard Dracula kind of plays itself when it comes to which cards make sense to use on each turn. The emphasis as a pilot should be on where to place your cards and what information you want to hide from your opponent, rather than just slamming points on the table.
Potential Additions:
Hellcow or Silver Samurai see play instead of Absorbing Man in some lists.
Move
Rank Justification:
This is another synergy that invested into developing points more than anything else. Although we can see Alioth for good measure, Move has had one of its best weeks in a while with a 0.35 Cube Average and a 56% Win Rate.
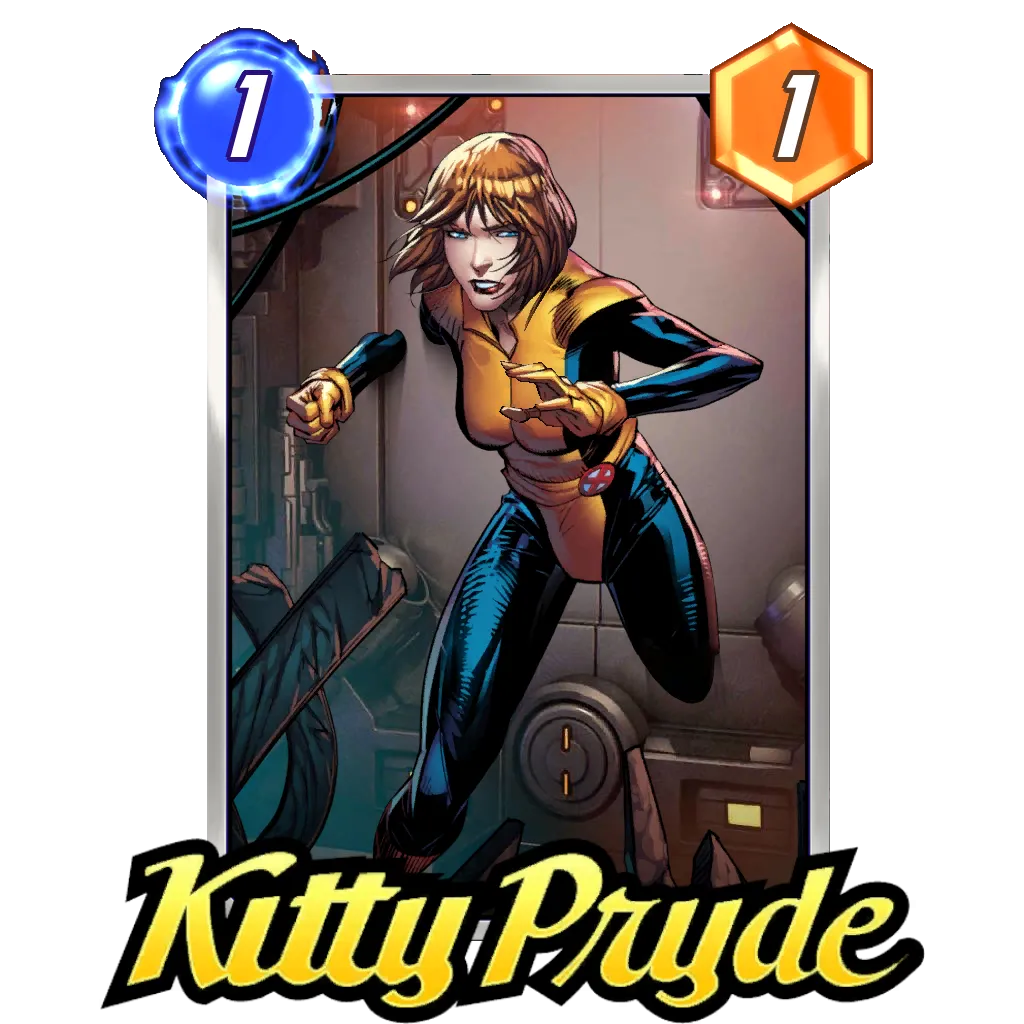
The important takeaway from this list is seeing the absence of Ms. Marvel; instead, it is replaced by the Kitty Pryde, Angela, and Elsa Bloodstone trio for creating points alongside Kraven and company. I guess the amount of 2-Cost cards the deck is looking to use was simply too much for Ms. Marvel to function reliably, so the deck went back to a list that dominated back in October.
Although flexibility is always an impactful trait to possess in a deck, seeing the Move synergy quite far from the top decks shows that it clearly isn’t enough. The amount of points a deck can develop matters more overall. Logically, the deck will develop smaller numbers compared to a Loki or Darkhawk since it is using cards that were severely nerfed last month. I wonder how good the old Elsa Bloodstone would be in the current meta…
How to Play:
Based around the Move synergy for the large part of its game plan, this archetype tries to leverage Kraven for points alongside the extreme flexibility brought by the ability to reposition its cards. Surrounding this core are typically some strong standalone cards that represent solid alternative plays if you can’t abuse Kraven or use your energy efficiently for a turn. Otherwise, apart from investing two energy for Kraven at some point (which can be later in the match after developing your Move cards), this deck doesn’t try to follow a specific pattern. Once again, the keyword is flexibility with this archetype. You can fit Miles Morales in at any point when you have leftover energy as long as you moved last turn (which is a trivial condition in this deck).
With the Elsa Bloodstone, Kitty Pryde, and Angela trio, this deck is trying to use its energy very effectively throughout the course of the game. These three will typically dictate how you position your cards when playing them onto the field, but keep in mind that where you play a Move card is never definitive. You can always buff Angela or benefit from Elsa Bloodstone‘s ability to get bonus points before you think about which lanes you really want to fight for.
This ability to manipulate your positioning, as well as the timing for when you play most of your cards, is great for keeping your opponent in the dark and not revealing where the biggest chunk of your power will be. Be patient, let your opponent tell you as much as possible about their strategy, and then commit your cards where they least expect them. Alioth could push you to commit points in order to seize priority going into the last turn of play, but, otherwise, flexibility is the keyword for this deck.
Potential Additions:
Iron Lad and disruptive cards such as Shang-Chi or Rogue can replace America Chavez.
Cerebro 5
Rank Justification:
With an identical performance to what Move did this week, Cerebro 5 profited from a meta that is based on points to return to Tier 2 – although it is part of the second group of decks that are clearly a notch below Tier 1 (and even Discard Dracula).
I was surprised not to see Enchantress included in the deck since the card seems to have helped Darkhawk so much this week, but Stegron has kept its spot in the deck as the twelfth card. I still wonder if Wave could be the cut to include the Ongoing hate card instead, as Doctor Doom is the only reason to run that card in the first place.
Otherwise, there’s nothing new for Cerebro 5; it remains popular enough to be included in this report, but, similar to Move, it does not represent an impactful deck in the current meta.
How to Play:
Apart from using Wave to play an early Doctor Doom (or playing it with another cheap card like Miles Morales on Turn 6), Cerebro 5 isn’t trying to do many complicated things. Develop your five power cards, take the occasional disruption with Polaris or Spider-Man, and be careful where you place your cards for Ms. Marvel down the line.
Otherwise, even Cerebro itself isn’t a must play every game; 20 power on a lane is already a solid number to challenge it. The deck will look to play almost the same game for the first four or five turns. Then, Turn 6 is the important one, as you need to decide if you’re going for Doctor Doom or a more flexible play. Most of the time, the only option better than Doctor Doom is be Ms. Marvel plus Miles Morales, if you haven’t had the chance to play them already.
Potential Additions:
Any card with five power that is able to help the deck can make sense here. Enchantress is the first obvious candidate in that regard.
Destroy Tempo
Rank Justification:
With a 0.35 Cube Average and a 54% Win Rate, Destroy Tempo seems to have passed the test of performance while being a known deck. Even more so, its popularity has grown in the last seven days, and we now have two separate Destroy decks to discuss in this report (alongside the other unpopular decks based around Nimrod, or Phoenix Force if you consider that a Destroy deck).
Going into this week, I would have bet Destroy Tempo would once again be the best deck inside that synergy, edging out Deadpool since it is way to predictable (at least, for my taste). The way the meta has shied away from Annihilus to become more points focused has been to the detriment of Destroy Tempo, though.
How to Play:
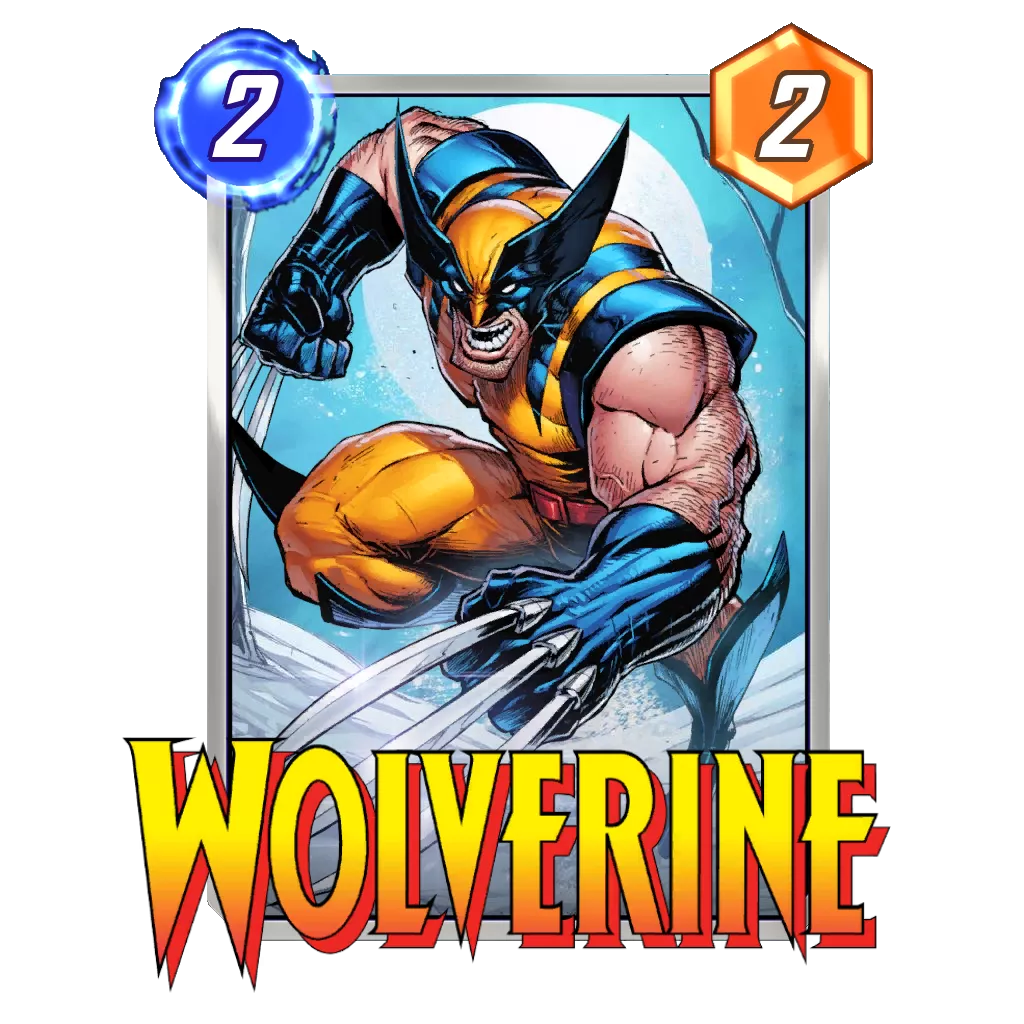
Relying on the Destroy synergy’s ability to develop a lot of points in the first four turns of the match thanks to X-23, The Hood, Bucky Barnes, and Wolverine, this deck aims at being in the lead after this first portion of the match. Then, once that positive set up is created, the deck completely changes gears and looks to put the game away with disruptive cards rather than more points. In the second part of the match, cards like Professor X, Alioth, and even Killmonger will help counter whatever the opponent might be trying to do, and you can still use Death for an extra 12 points in a lane.
This deck should really be considered as two separate strategies working as a team and switching for whichever one is preferred around Turn 4 or Turn 5.
Once you have figured this out, Destroy Tempo becomes extremely straight forward and will look to leverage the various Destroy play patterns to create points on the lane where it anticipates playing Professor X. Priority can be key with this deck because it makes a lot of your cards much stronger. First, it alleviates the pressure of a possible Armor or Cosmo for the upcoming turn. Then, even in the disruptive part of the plan, Professor X and Alioth are much stronger with priority – particularly with Annihilus roaming in various archetypes this week.
Potential Additions:
Legion can fill the role of a good card that is able to disrupt the opponent after you’ve built your lead in the first four turns. Any card that fits a similar purpose makes sense, alongside the usual suspects of Shang-Chi, Enchantress, Rogue…
Tier 3
While InSheNaut remains a mystery as to how it can be so good in Conquest without managing to get a high Cube Average in the ranked mode, the big talking point in Tier 3 this week is obviously Shuri Sauron. With a 0.2 Cube Average and a 54% Win Rate, the deck has lost almost half of its CA compared to last week. The WR is fine, although most decks in the higher tiers eclipsed the 55% mark.
This could be because Shuri has finally become predictable enough that nobody stays in the game when they see a Snap, which is bound to happen for a deck that has been around for almost 10 months at this point. Otherwise, it could be that Shuri is not able to be as reliable as the other decks at develop points, thus being forced to leave anytime Shuri does not show up. Decks like Good Cards, Loki, Bounce, and Deadpool Destroy are more than capable of beating Red Skull without its power doubled. The last reason, and maybe the real one, is because Shuri is way too inflexible at this point. It only really wins when it finds Shuri, Red Skull, AND Taskmaster in the same game. Otherwise, the opponent is able to win the other two lanes.
Sure, they will leave most of the time when Red Skull is a 28 power card, as they’re not particularly curious if they’ll be beaten by another card with the same power. Still, in a meta with Werewolf By Night and a lot of decks holding their points for Turn 6 (like Deadpool Destroy and Good Cards Darkhawk), and Alioth potentially ruining the party as well, Shuri might not even be able to win when it finds its holy trinity anymore. I mean, I wouldn’t be surprised to see Loki or Bounce reach 30 points on a lane if they decided to commit to it.
December might see Shuri rebound, as Blob could be a card the deck would be able to leverage. Until then, Shuri Sauron might finally deserve the title of “an average deck”.
InSheNaut
Pure Evolutionary
Thanos Control
Electro Ramp
Shuri Sauron
Closing Words
I didn’t think a meta with the same archetypes week after week could be so interesting, especially since we didn’t get balance updates every week and two cards had absolutely no impact whatsoever (looking at you, Martyr and Gladiator). Still, I have to admit that trying to refine a deck in this environment has been both extremely difficult to do, and very rewarding when it finally works out. Indeed, it seems impossible to build something which will beat Darkhawk, Lockdown, Loki, and Destroy all at once, so you have to be a master at Snaps and Retreats to maintain a solid Cube Average and build your deck knowing that you’re gonna have to pick your battles. No matter what, it seems like the key element of a good deck is its ability to put points on the board because you can’t stop everything your opponents will do.
This is a lesson that Junk had to learn the hard way; the archetype has not lived up to the hype everyone had for it with Annihilus included. In the end, Junk never made it past Tier 3, and Annihilus is nowhere to be seen in Tier 1 after being included in every deck last week.
Disruption wise, the Ongoing hate cards did most of the heavy lifting this month, although Shadow King and Shang-Chi almost impacted the game quite a lot. Unfortunately for Mobius M. Mobius, the return to being an Ongoing card led to absolutely nothing, and it seems like its days are gone for now. This is particularly important as these cards seems to be the final touch in a really strong deck, and what will hopefully tilt the balance in your favor in contested match ups. They could be the difference maker between a good deck and a stellar one.
I wonder how the upcoming patch and the new cards we are getting in December will impact all of this, but I know I will follow any development closely and try to let you know everything about them in these weekly reports.
To reach out, find me on the Marvel Snap Zone community Discord, or follow my Twitter page where I share decks and biased opinions about the game.
Good Game Everyone.

⭐ Premium
Enjoy our content? You can Support Marvel Snap Zone and your favorite content creators by subscribing to our Premium community! Get the most of your Marvel Snap experience with the following perks for paid membership:
- No ads: Browse the entire website ad-free, both display and video.
- Exclusive Content: Get instant access to all our Premium articles!
- Meta Reports: Exclusive daily meta reports, such as the Ultimate Card Metrics Report, Top 10 Decks of the Day, Top 30 Cards, and Top Card Pairs tailored for you!
- Team Coaching: Join our free weekly team coaching call sessions on the Discord server. Claim your Premium role and gain access to exclusive channels where you can learn and discuss in real time!
- Premium Dashboard: Get full instant access to the member-only dashboard, the all-in-one page for all your benefits.
- Support: All your contributions get directly reinvested into the website to increase your viewing experience! You get also get a Premium badge and border on your profile.
- Special offer: For a limited time, use coupon code SBYREX4RL1 to get 50% off the Annual plan!


