With Marvel Snap still being in closed beta for most regions, there isn’t a lot of high-ranking gameplay readily available for viewing. This series aims to enable both new and advanced players to learn the strategy, matchup analysis and mind games involved in some of the games played on the Infinite ladder.
If you are missing some of these cards, or playing a completely different deck even, don’t worry! This replay analysis will cover everything from location commitments and power balancing to reading your opponent and extracting knowledge from their plays.
Here is the decklist I am featuring today:
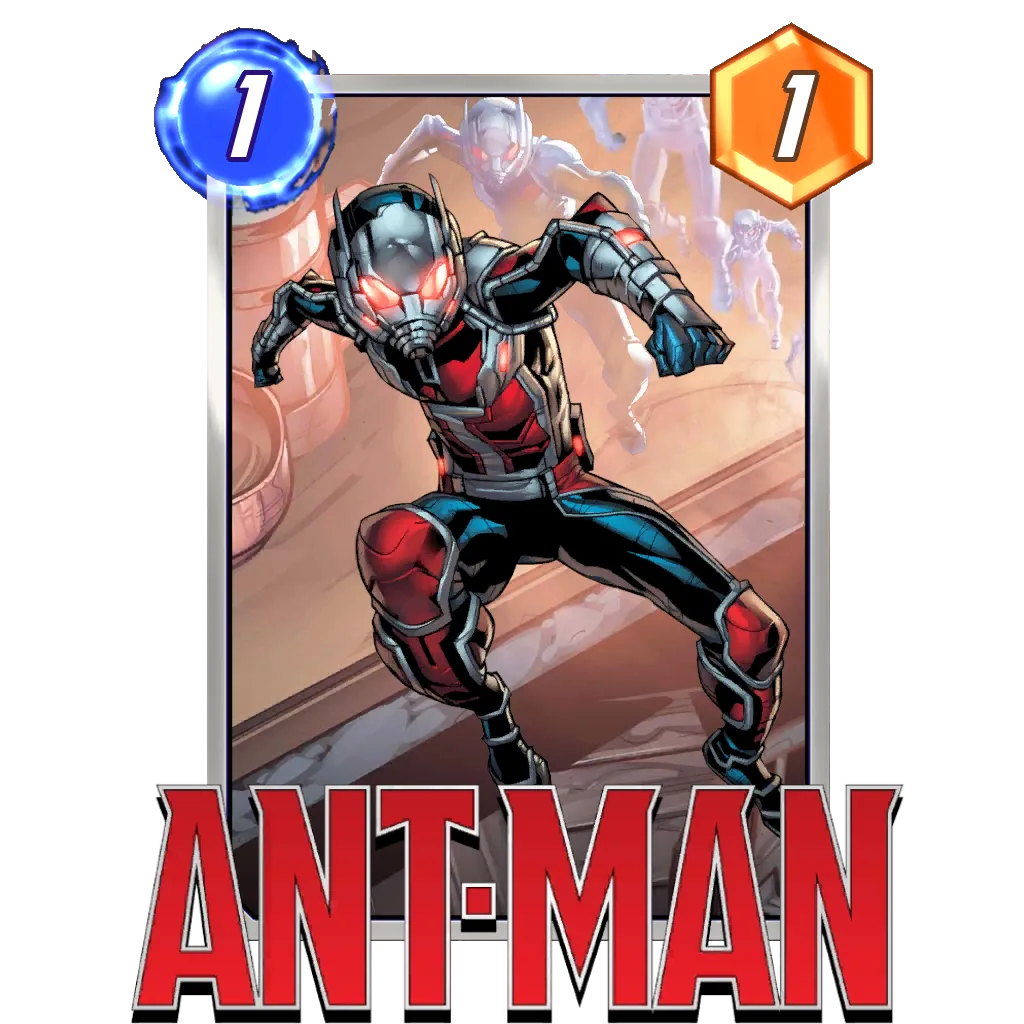
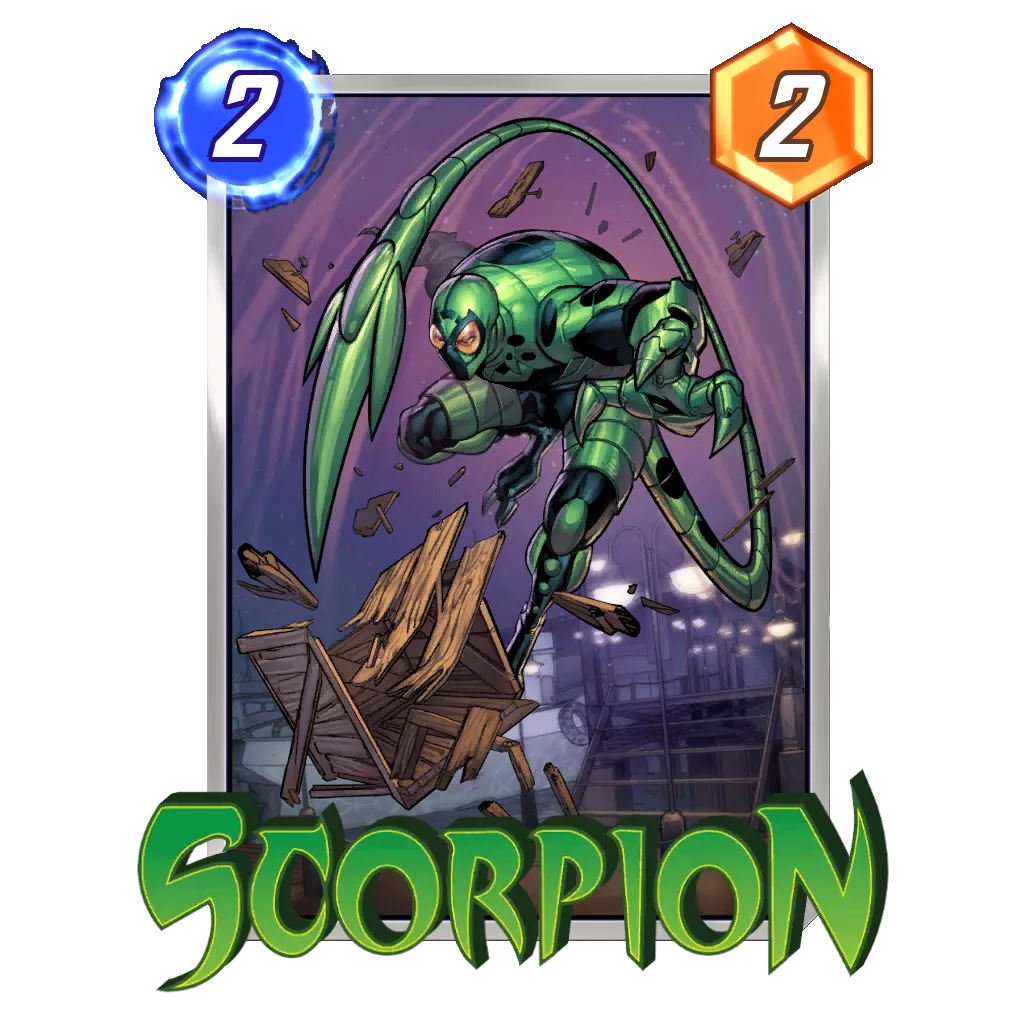
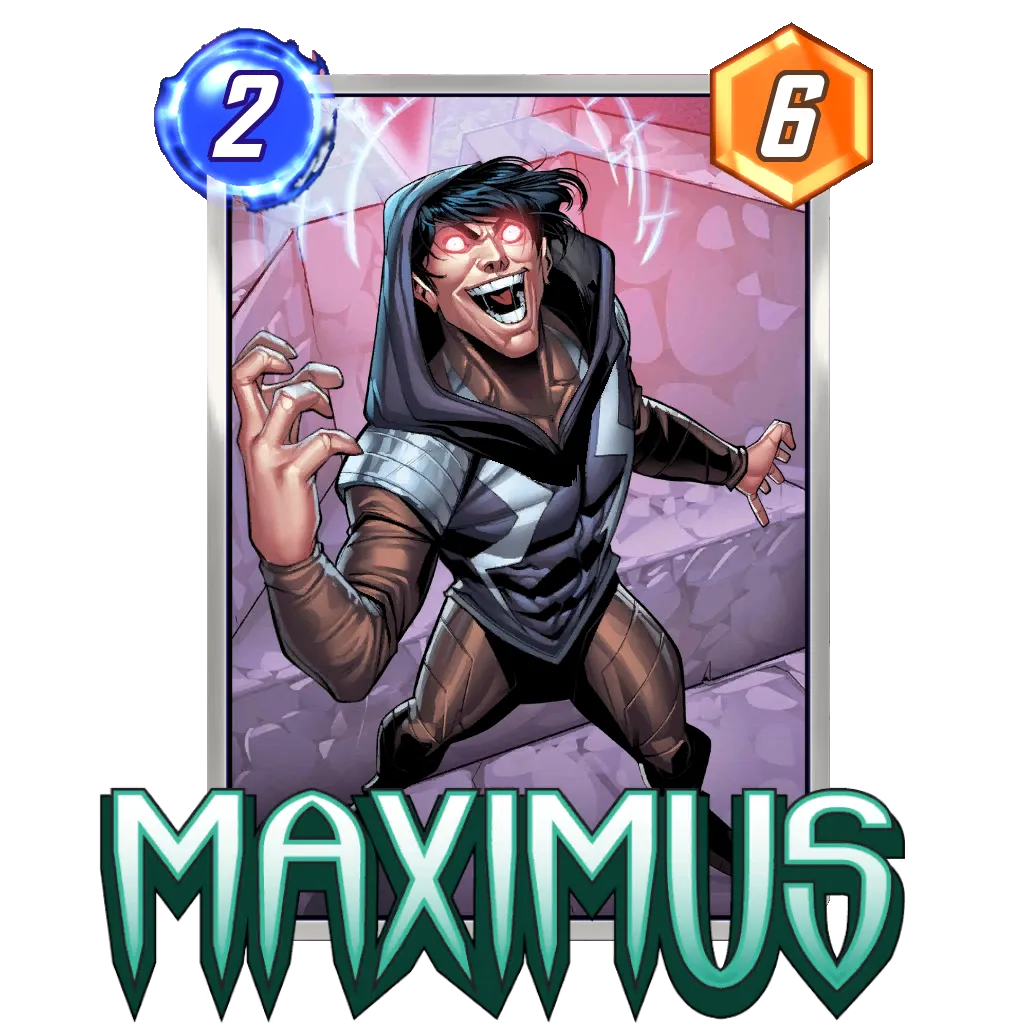
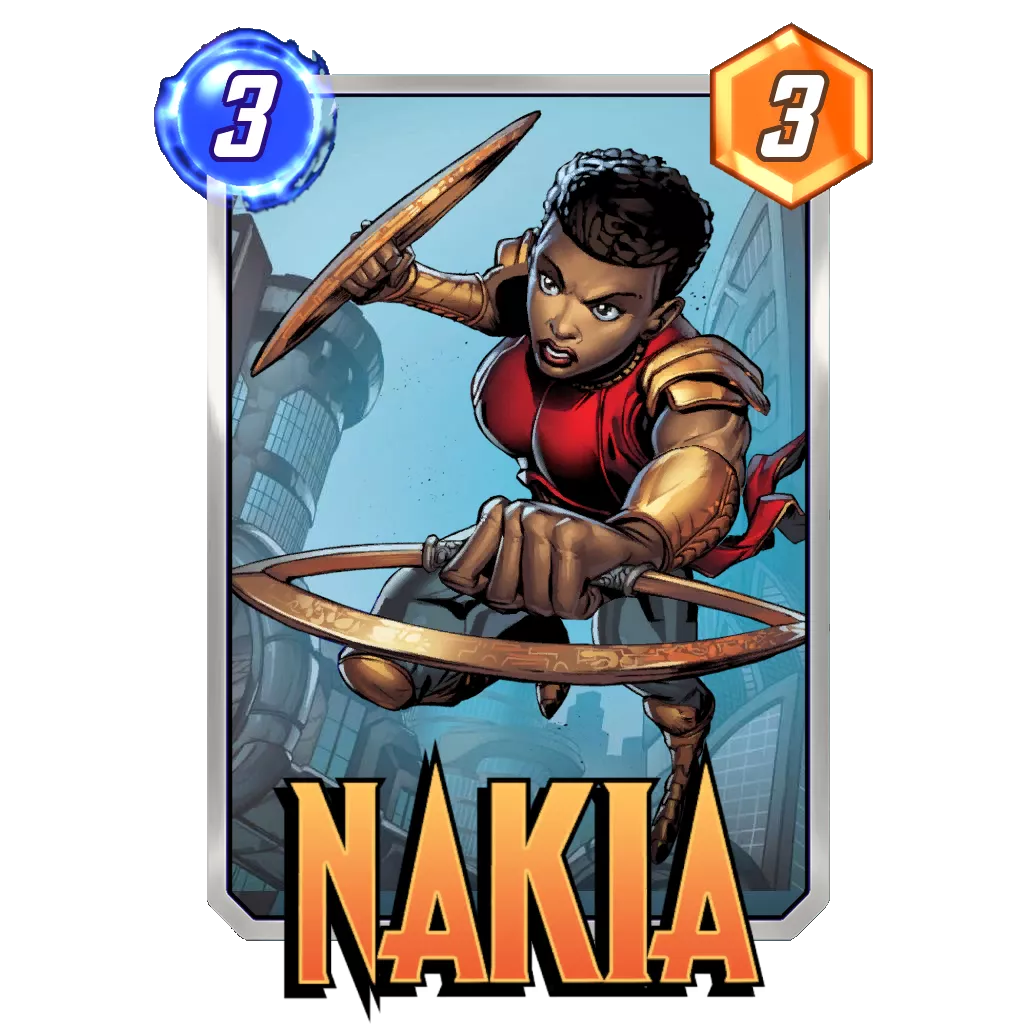
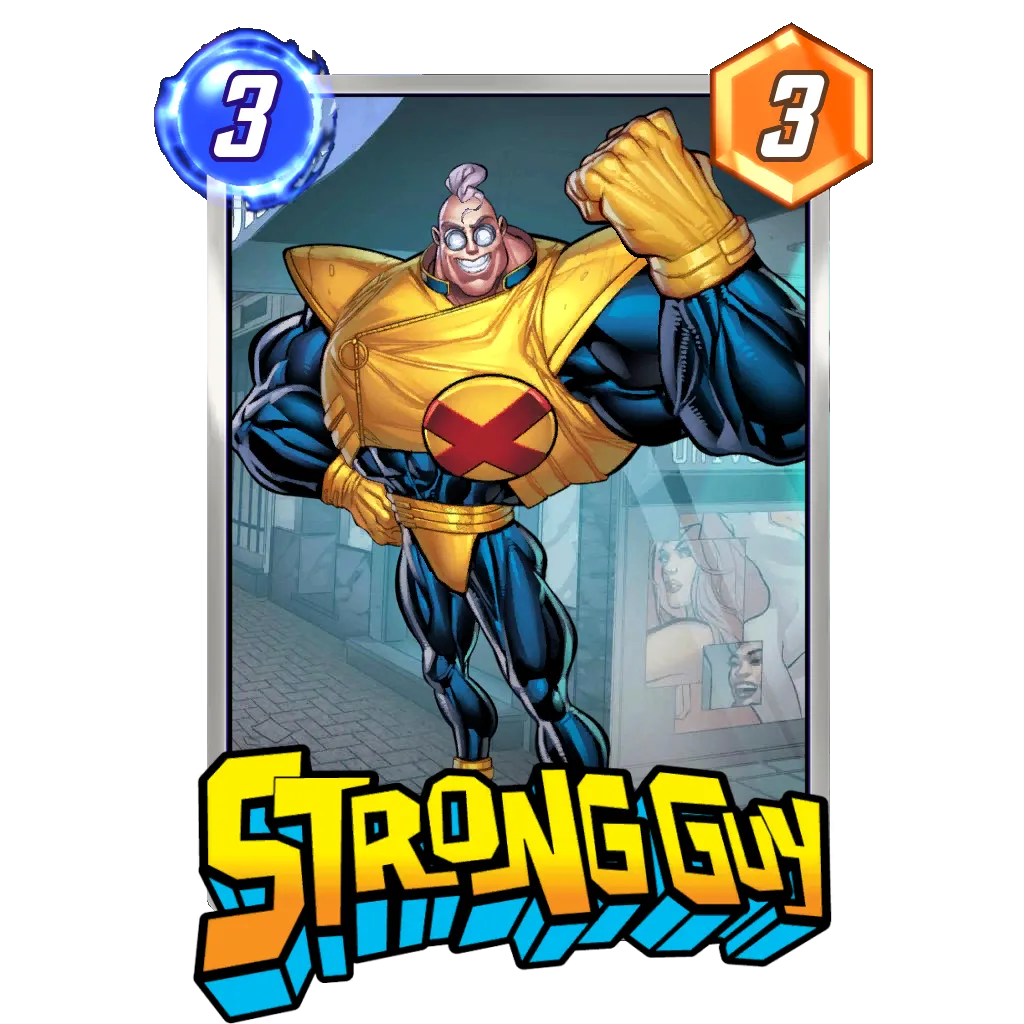
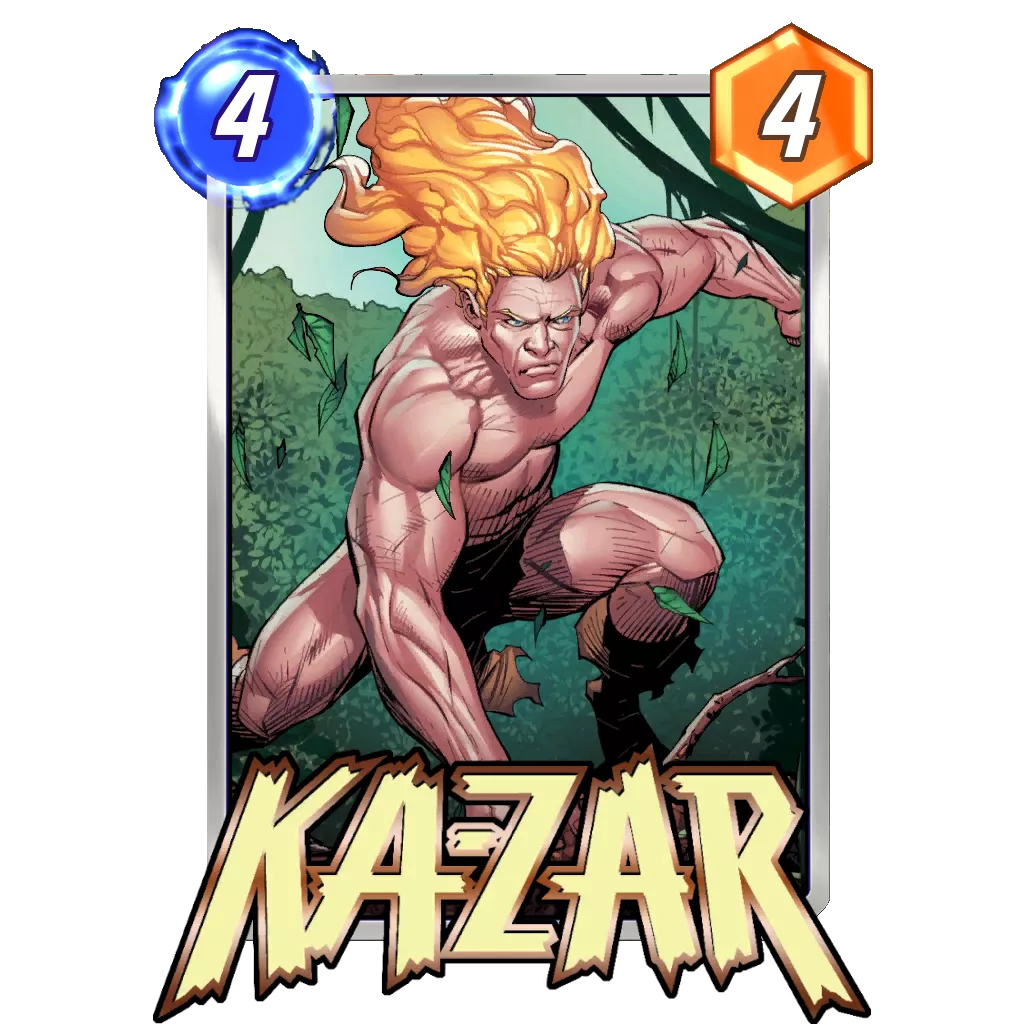
This is a variant of the Kazoo deck specifically geared to the current meta. It decimates the mirror using Maximus to deny your opponent’s Strong Guy, and punishes your opponent for keeping a large hand size (typically for Nakia, Sera or Collector decks) using Scorpion. Over the course of 20 games at Infinite rank, I went 18-2 (90% w/l) with an average of 4.85 cubes per game. You can find an in-depth breakdown of the deck on my Twitter @StellaTetris , or dm me @Stella#1148 on Discord for more info.
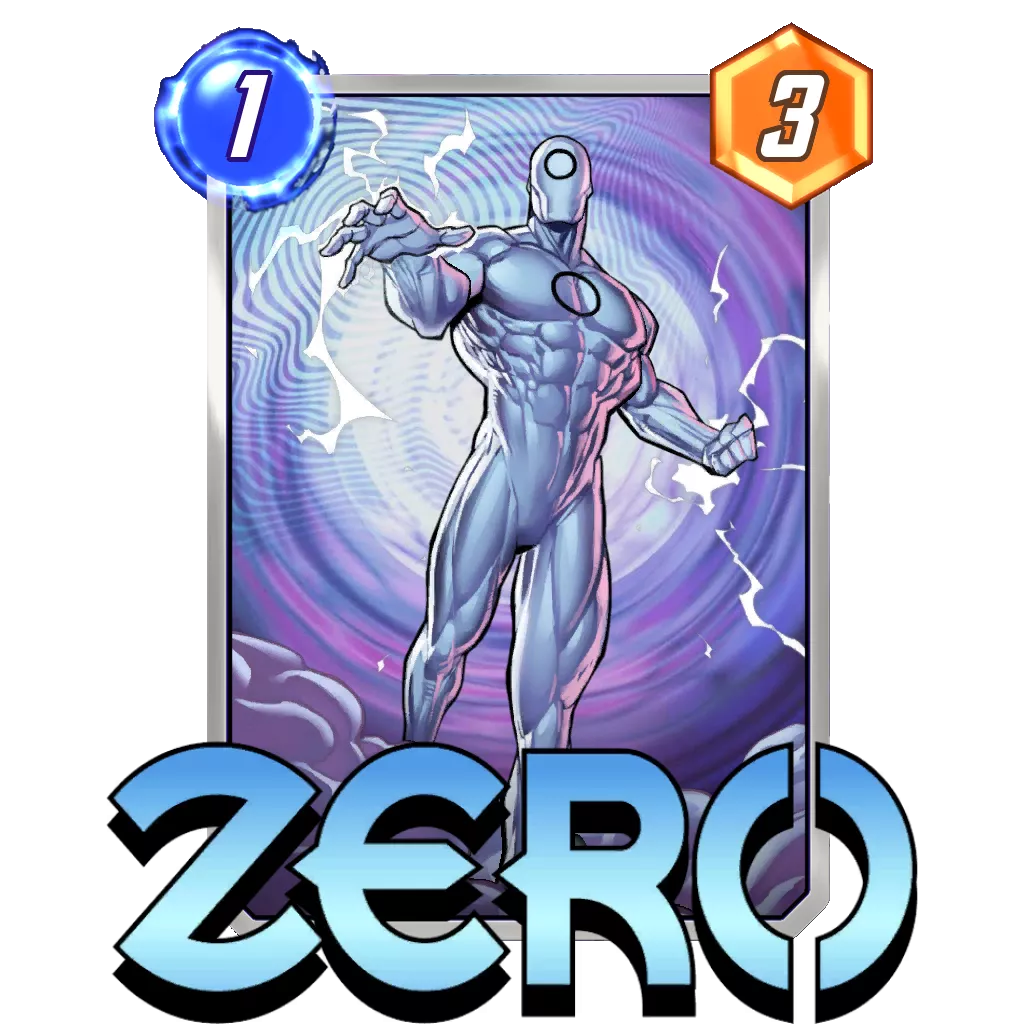
This is a variant of the Ka-Zar Zoo deck specifically designed by myself to combat the current meta. It decimates the mirror using Maximus to deny your opponent’s Strong Guy, and punishes your opponent for keeping a large hand size (typically for Nakia, Sera or The Collector decks) using Scorpion. Last but not least, we have Zero as not just a premium statted 1-drop (1|3) but also a way to turn off the effect of Maximus if needed.
Starting the Game
The first thing you should do at the start of every game is analyze your starting hand as well as the first location.
Here, I immediately think four things:
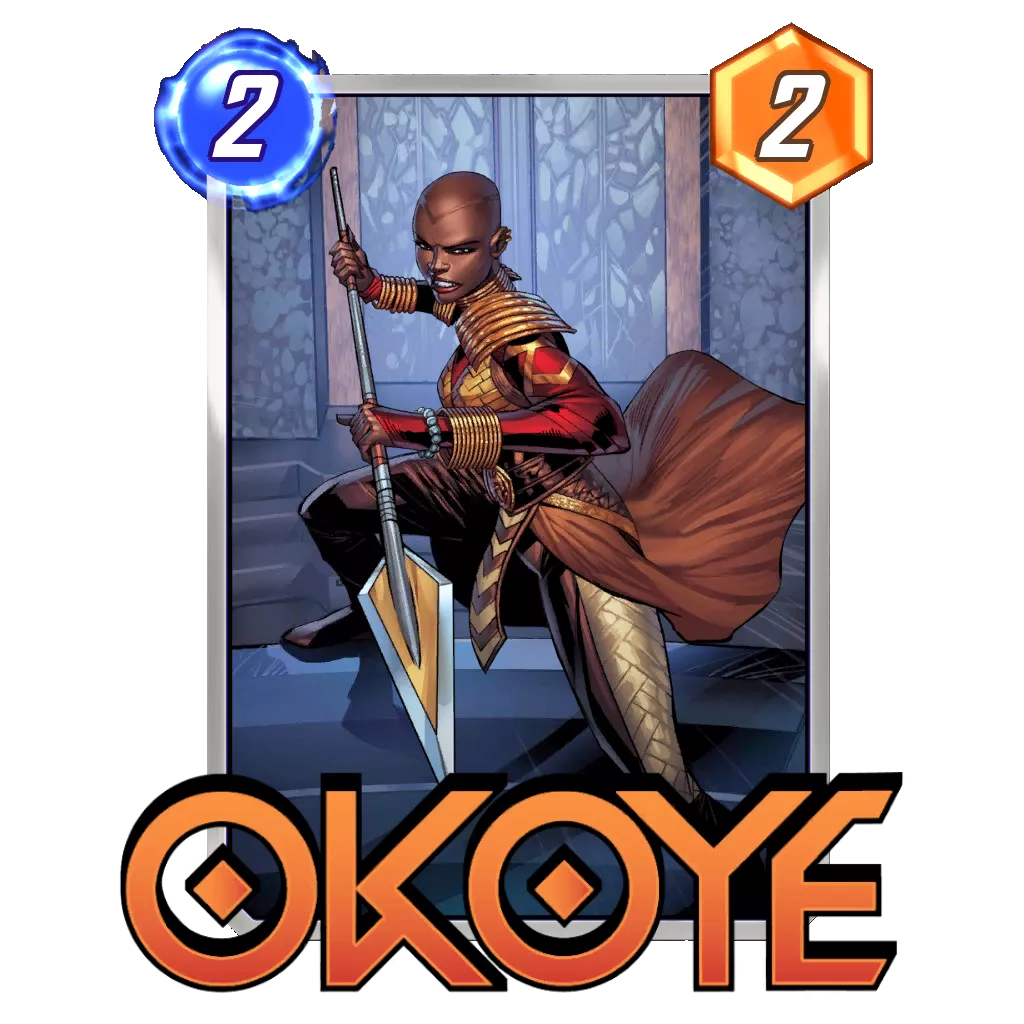
- We opened Okoye, so that will be our turn 1 play.
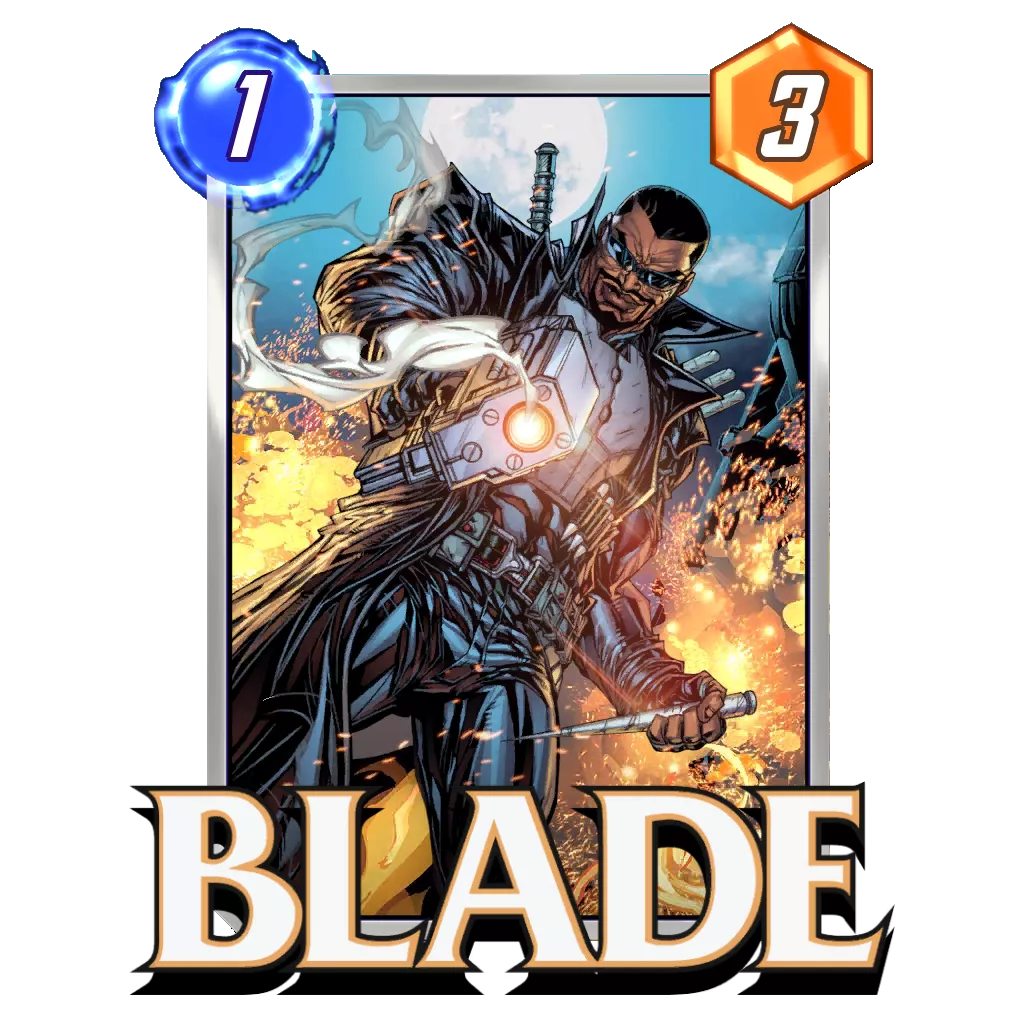
- We did not open Nakia or Blade, but we did open Strong Guy, so we need to limit our commitment as much as possible to try and draw her without overloading our hand since we don’t have Blade for discarding late game if needed.
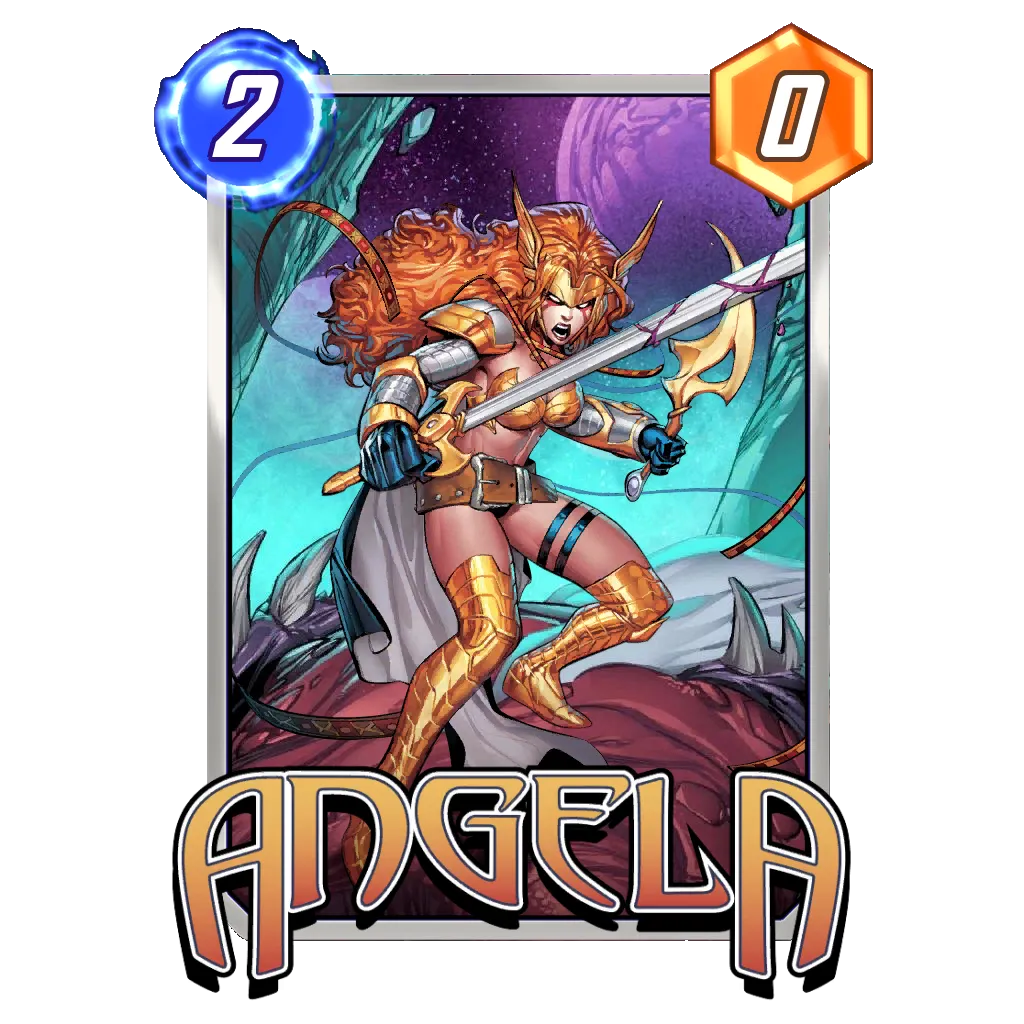
- We did open a lot of the top end of the deck (only cards remaining above 1-cost are Ka-Zar, Nakia and Angela) so we know we will on average draw 3 or more 1-cost cards and 2 or less of the higher cost cards through the course of the game.
- Since we don’t have a lot of low cost cards in hand, we should consider committing Strong Guy on turn 2 to make efficient use of our mana instead of waiting for Nakia.
On turn one, our opponent plays Nova, and the revealed location is The Big House. Now, this play immediately gives us massive information about our opponent’s deck.
- At the very least they are playing destruction synergy, so we can expect lanes to be very uncertain until later.
- The most likely decks that would play Nova here are Destroyer and Death + Wave, so we should keep an eye out for any clues hinting towards one or the other.
- We have to be extra careful of Killmonger, since both of those decks are control-oriented.
The reveal of The Big House is also very good for us, as it means if they are on DeathWave or Destroyer, they will struggle to play effectively onto that location, and we can easily take it with minor commitment.
Last but certainly not least, we drew into our Nakia. This is huge for obvious reasons, but it also means we should not play Strong Guy here, since almost all of the rest of our draws should be 1-drops and we won’t have an issue emptying our hand. As a result, we’ll pass turn and see what our opponent does next.
The Midgame
I am skipping turn 3, because our play was always going to be Nakia no matter what, but what’s important is our opponent played Bucky Barnes on turn 2, then Wave on turn 3. The location revealed was Dark Dimension. Now that we’re on turn 4, we can really start to narrow down our opponent’s deck possibilities and begin to map out our last few turns.
With the turn 2 Bucky Barnes, I would lean towards our opponent being on Deathwave but a Wave this early means they either didn’t draw Death, or are playing Destroyer. That means that they have almost zero potential commitment to The Big House, letting us easily take it with any single large card. Here I will plan for Scorpion now, and potentially a 1-drop later in case they add Armor or Sunspot.
Now we need to get some planning done. The most logical play here, and the one I think is best, is Scorpion. The opponent can only play one card, so they will retain their hand size, and we want to get as close to 4 mana as possible. That means next turn we will likely be playing Zero + Maximus, or Strong Guy + a 1-drop depending on our draw.
The reason I decided to play Nakia onto Asgard, despite having no intention of fighting over the location, is it causes a tie. Worst case scenario, neither of us will draw 2 cards, but I am hoping to bait my opponent into committing a big push here that will let us win Dark Dimension since we have a much lower curve deck and most likely won’t be able to raw out-value a full lane.
The Endgame
Turn 5 is where most games start to really get dangerous. Our opponent played their Wave card on Dark Dimension, which is very bad news for us as it means they didn’t commit to Asgard. On the upside though, our tie made it so no one drew cards. Our draw for turn is Blade, which is great news.
Now we can start planning our final turns of the game, and consider Snapping. Most games you would want to Snap much earlier than this, because you want the board to be as unclear as possible to your opponent, but our lack of commitment and their face-down card on Dark Dimension makes Snapping a possibility. Additionally, high-curve control decks are much more likely to stay in versus late Snaps, as their most powerful plays come turns 5 and 6.
Let’s review our options here:
- Strong Guy + Maximus. Very mana-efficient, but why do we care about being mana-efficient at this point in the game? If we draw Ka-Zar, we will still have to discard with Blade regardless. Giving our opponent two chances to draw a game-winning card is not worth it.
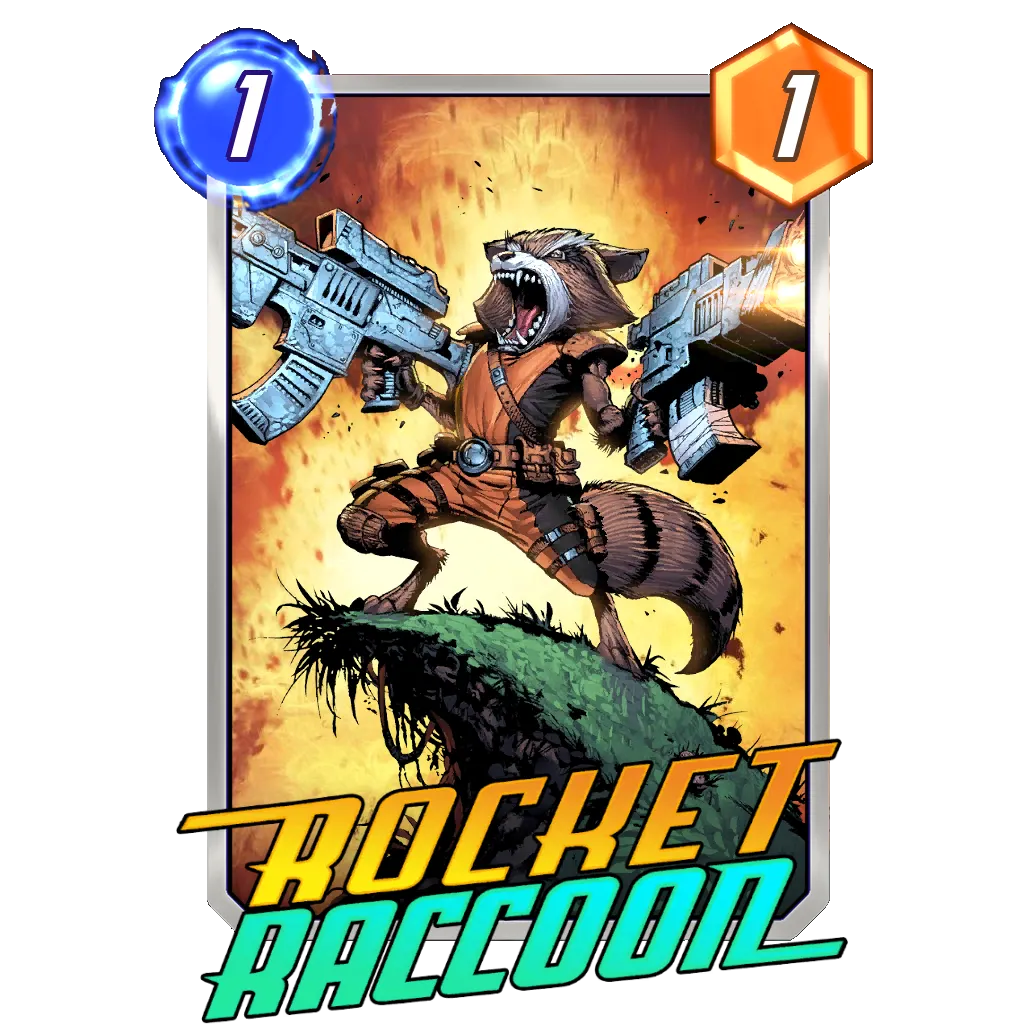
- Strong Guy + Rocket Raccoon + Zero. This insulates The Big House, as there’s almost no chance a big deck like this can beat 16 power without being able to play 4-6 cost cards. We can play Rocket Raccoon face down in Dark Dimension in case of Killmonger, and Zero on Asgard to prepare for Maximus and make just a tiny bit of a push to ensure we’re always ready to commit to any location we want on turn 6.
On turn 5 I go with option 2, and our opponent plays Venom, triggering Bucky Barnes and Nova and taking back control of Asgard. We draw Angela for turn.
Let’s analyze this board, and I’ll discuss why I made the decisions I did. First off, we have to play Maximus first, since we ended on Zero last turn. We are certainly winning The Big House now, so we can write off that location. Now we need to decide, do we fully commit to Asgard, Dark Dimension, or both? And should we snap?
Let’s think back to our opponent’s deck. They play Wave, so we know they’re some form of high-curve control deck, likely DeathWave after seeing Nova, Bucky Barnes and Venom. The face down card is still unknown, but they must assume it is better than mine in a higher curve deck. As a result, it is safe to assume their turn 6 play is most likely one big card. By that logic, we should lightly commit to both remaining locations, and attempt to win the one they don’t commit to.
We play Maximus on the left to (theoretically) win Asgard, then Angela and Blade on the right to empty our hand and put down a healthy 12 points (tying a face-down Death and beating America Chavez or Hulk).
Now you may notice in the second image, that I snapped. Normally I would highly discourage snapping on turn 6, as your opponent is extremely likely to retreat when you would have gotten 2 cubes. But as I mentioned earlier, high-curve control decks are much more likely to stay in versus late snaps, so I go for it. They accept the challenge, and the final result is revealed!
We were rewarded for safeguarding The Big House with Strong Guy due to Dark Dimension revealing Magneto and bringing Scorpion over, and our opponent tried to take Asgard back with Killmonger and hope Magneto could hold the right instead of dropping a big card. This means our strategy of playing both locations lightly instead of one heavily would have covered both options successfully!
Conclusions and Additional Information
Throughout the course of just a single replay, we can see how all different aspects of Marvel Snap come together to form a complex and risky game, where one wrong move can spell disaster. If you’re looking to improve your game, try to carefully consider every possibility for both you and your opponent when playing. And always remember – sometimes, the most important games are mind games.
If you enjoyed this article, have any questions on why I made certain decisions, or other feedback, feel free to comment below or check out my Twitter @StellaTetris. You can also find more information on this list in particular there. As a brief footnote about my qualifications as a Snap player, I went from rank 0-100 last season with only Pool 1 cards, and ended the season at 165.
This Love and Thunder season I reached Infinite on Day 1, and decided to build this deck to counter the decks that I encountered most on ladder. Over the course of a 20 game test spread, I went 18-2 (90% w/l) and averaged 4.85 cubes per game, gaining 11 ranks in just 20 games. I cannot stress enough how important it is to be aware of the meta you’re playing in and adjust accordingly, but perhaps that is a topic for another day.
Good luck climbing the ladder, and see you in Infinite!
Enjoy our content? You can Support Marvel Snap Zone and your favorite content creators by subscribing to our Premium community! Get the most of your Marvel Snap experience with the following perks for paid membership:
- No ads: Browse the entire website ad-free, both display and video.
- Exclusive Content: Get instant access to all our Premium articles!
- Meta Reports: Exclusive daily meta reports, such as the Ultimate Card Metrics Report, Top 10 Decks of the Day, Top 30 Cards, and Top Card Pairs tailored for you!
- Team Coaching: Join our free weekly team coaching call sessions on the Discord server. Claim your Premium role and gain access to exclusive channels where you can learn and discuss in real time!
- Premium Dashboard: Get full instant access to the member-only dashboard, the all-in-one page for all your benefits.
- Support: All your contributions get directly reinvested into the website to increase your viewing experience! You get also get a Premium badge and border on your profile.
- Special offer: For a limited time, use coupon code SBYREX4RL1 to get 50% off the Annual plan!


