Table of Contents
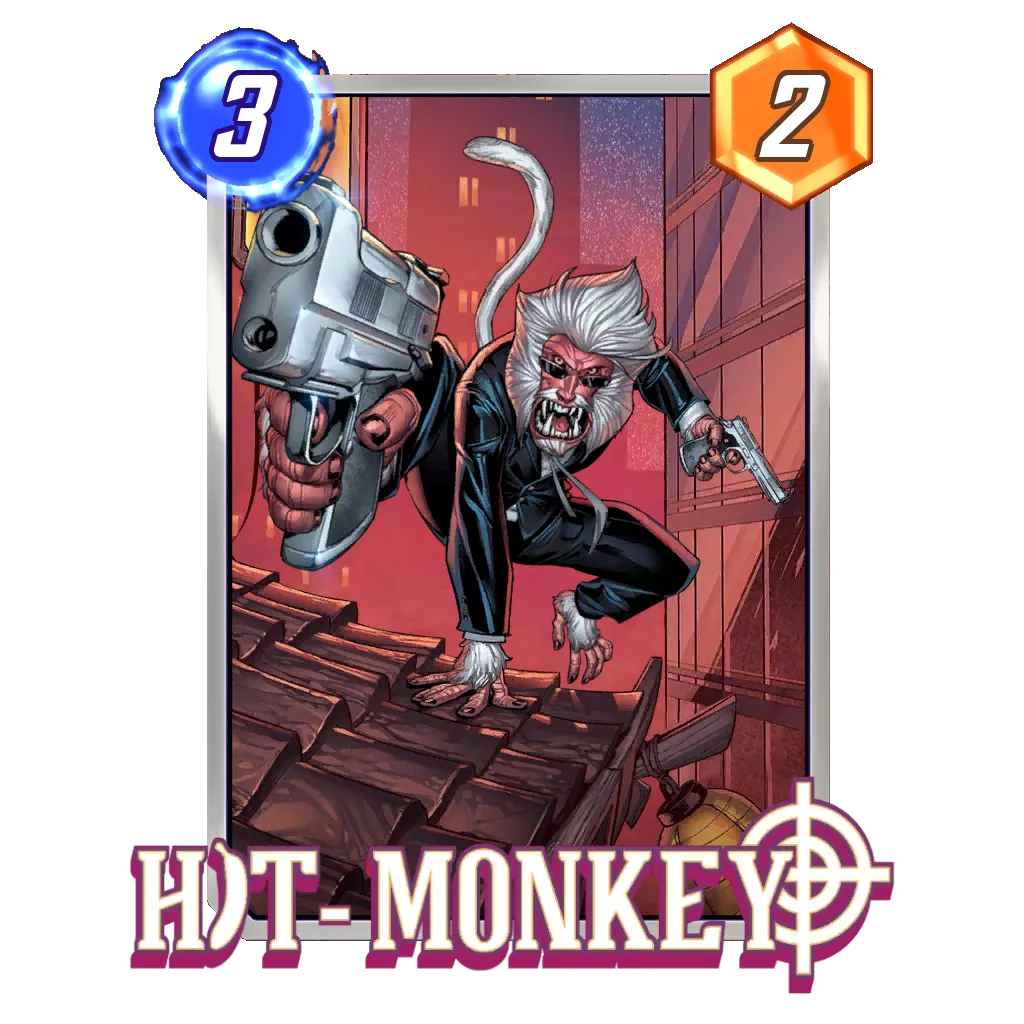
A little less than a week into the new season Animals Assemble and just a few days after the April 6, 2023 “Over The Air” balance patch, the Marvel Snap metagame has shifted rather significantly. One could attribute the lack of new archetypes – apart from Bounce – rising to Hit Monkey joining the game as the featured Season Pass card; however, many archetypes have seen their lists reworked to match the new dynamic that is slowly spreading throughout Marvel Snap.
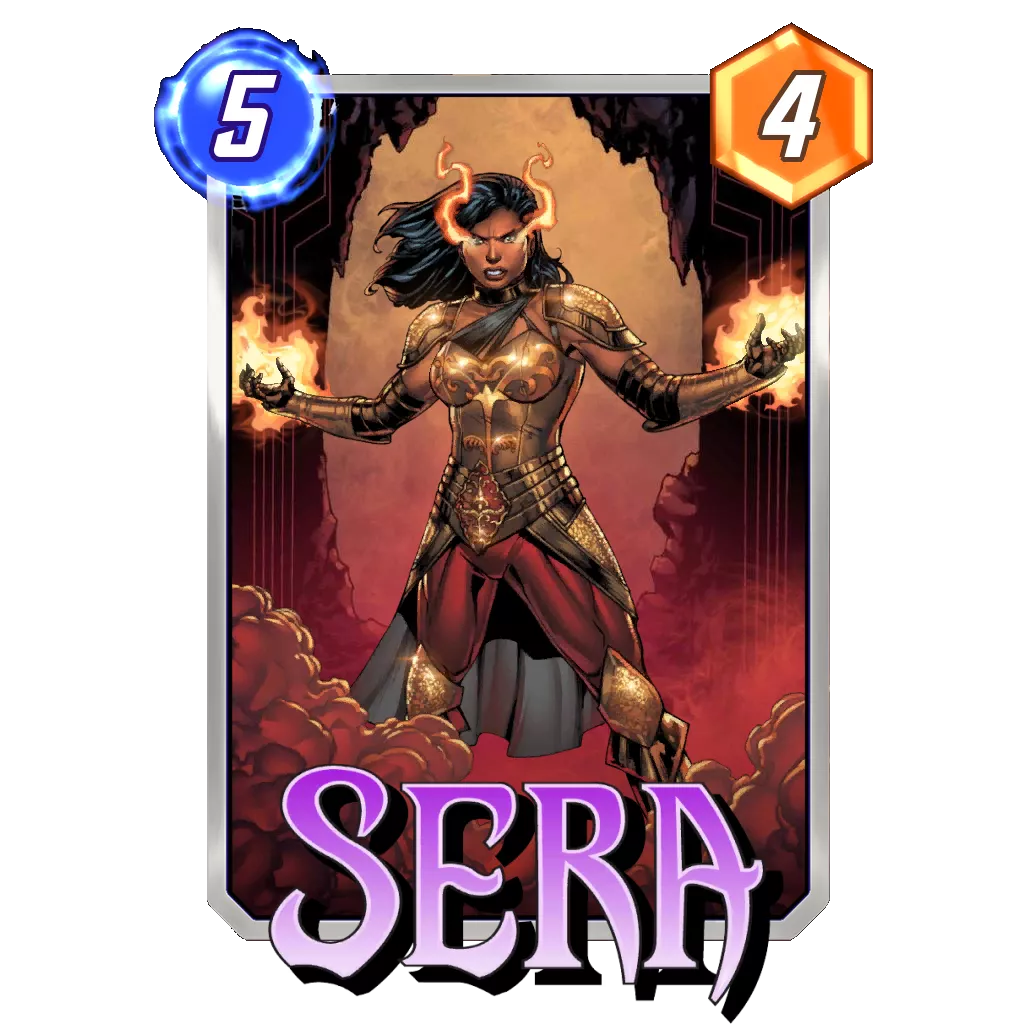
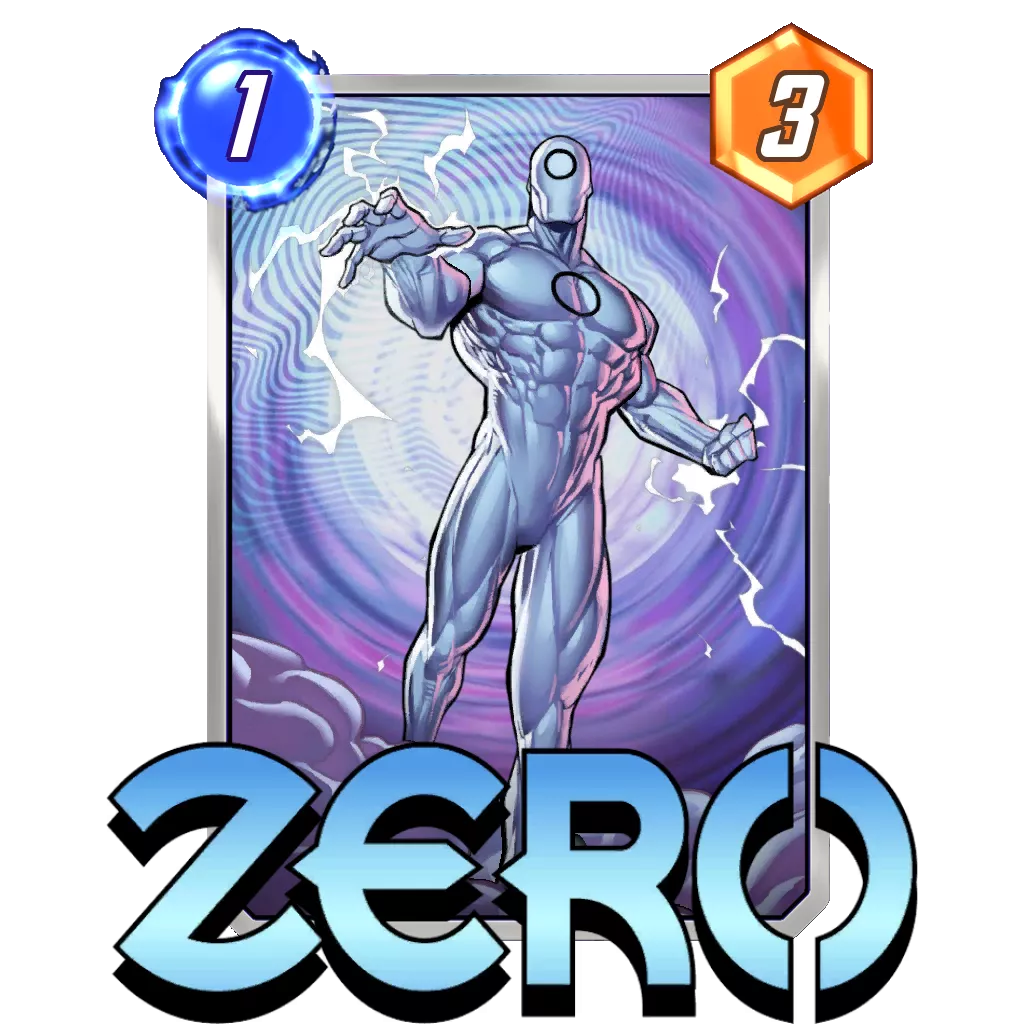
Yes, it finally happened: Shuri Zero is not the best deck in the game! It is still a great deck, at least for now, but Sera Control seems to have edged it out this week as the deck also benefited a ton from Hit Monkey joining the game. With the new card in its arsenal, Sera control is no longer a completely reactive deck, and it’s not forced to rely on Shang-Chi or Enchantress to turn a lane around. The deck is now able to compete on points thanks to its ability to mount one of the most explosive Turn 6’s in the game.
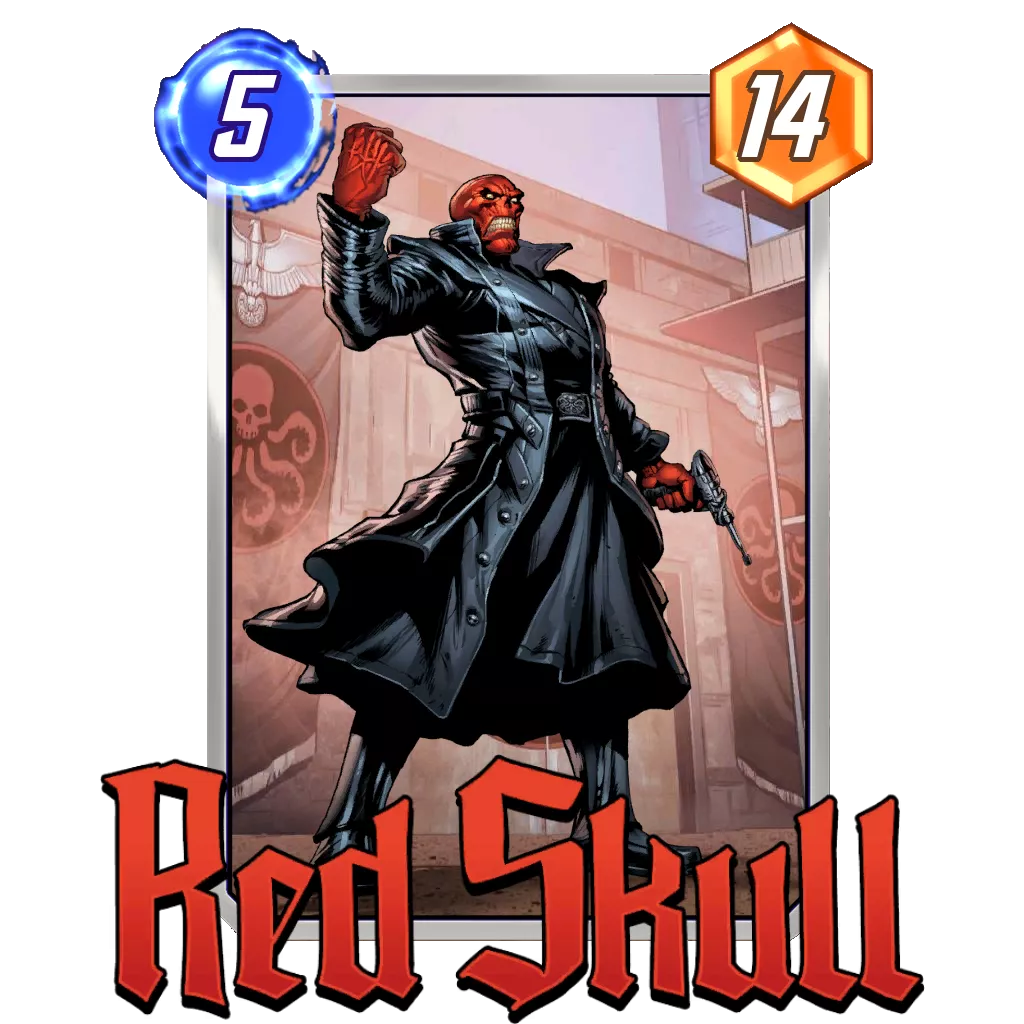
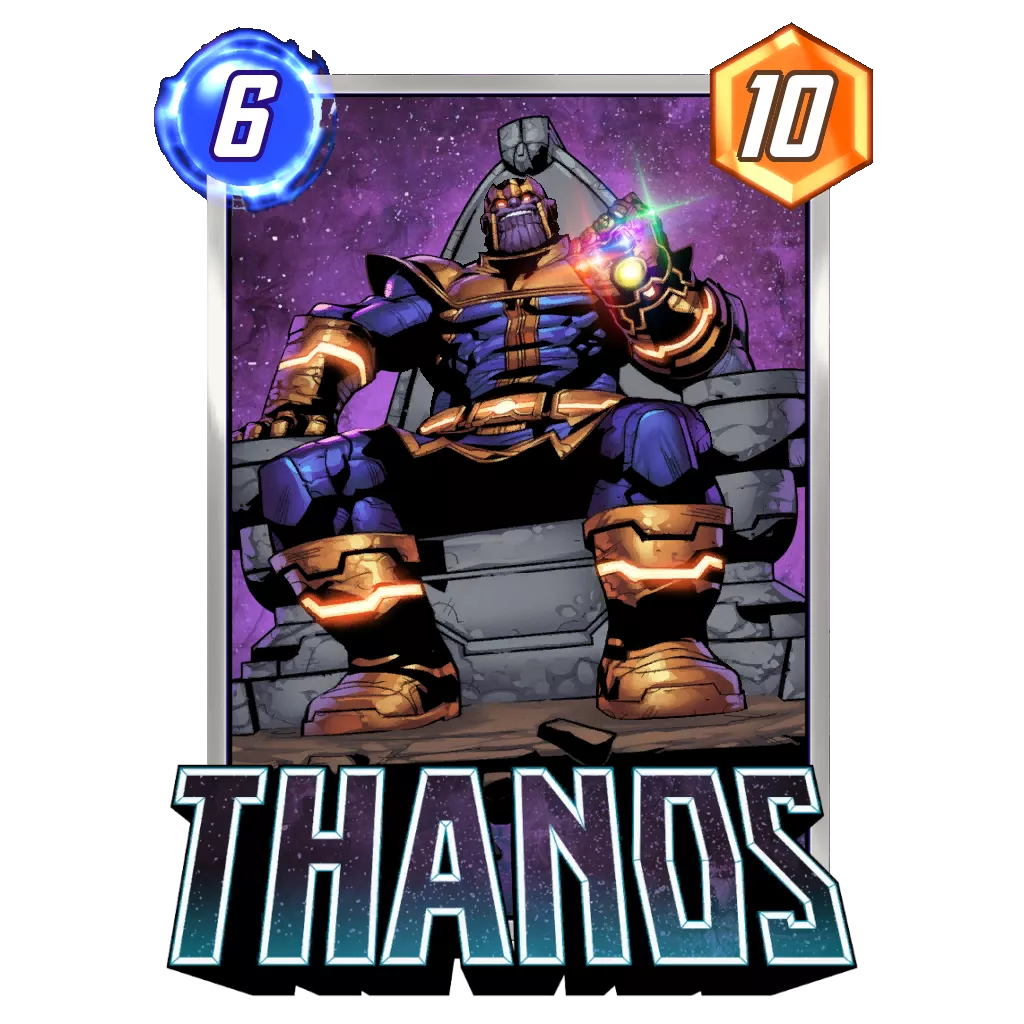
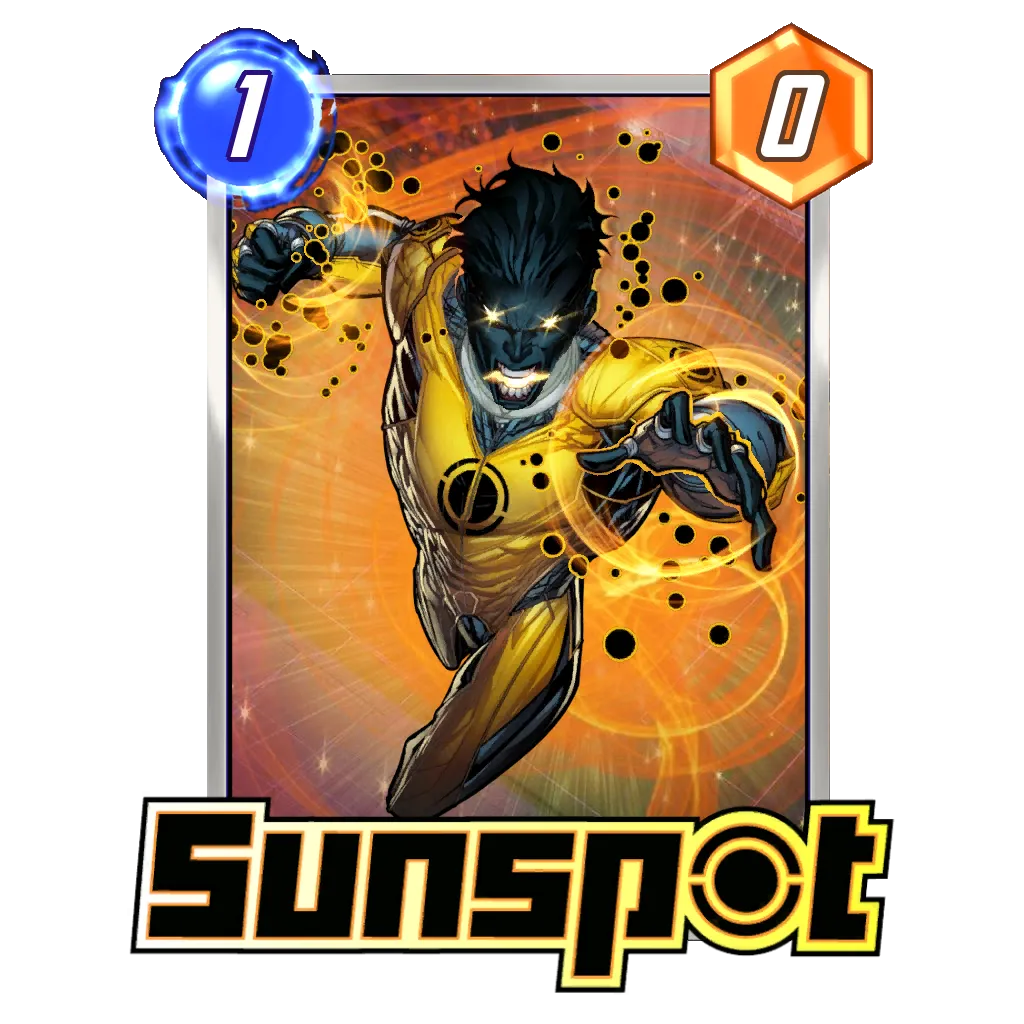
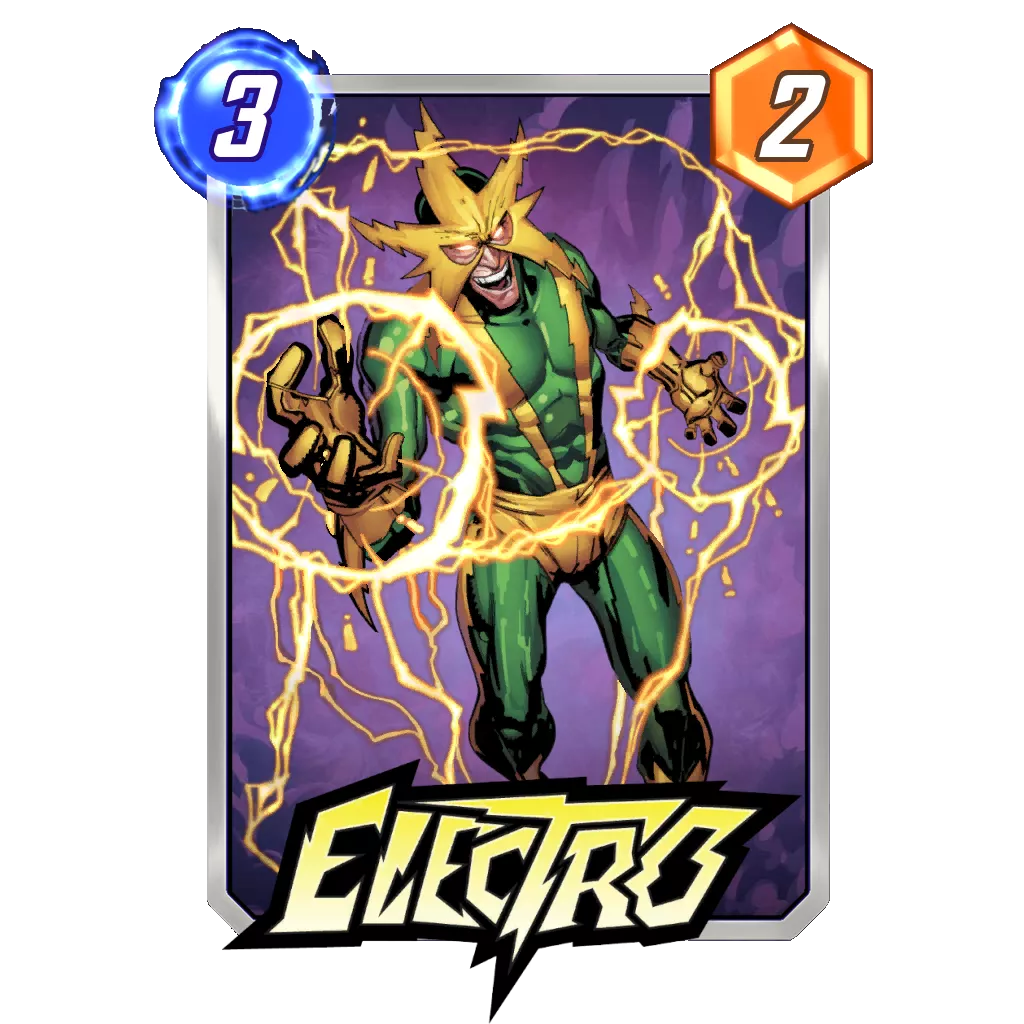
Speaking of points, it seems like the second nerf to Red Skull and the first to Sunspot, both dropping to 5/12 and 1/0 respectively, has opened lots of avenues towards competing with Shuri Zero. It is quite customary to see proactive builds do very well in a new environment, but they have dominated the field of play this week. Patriot, Thanos Ongoing, and Devil Darkhawk have all risen in cube average and solidified their spots as great decks. Behind these, we have some highly synergistic builds with Thanos Lockjaw and Bounce, both decks I expected to do great in the new season. While a top 10 ranking is nothing to be shy about, it feels like the complexity behind their intricate game plan might have held their performance a bit. Joining them to round out Tier 2 is Electro Ramp, a great counter deck that doesn’t do so hot against Shuri Zero and Patriot, thereby holding the deck back overall. I would still keep an eye on it if Sera Control keeps its rise in popularity.
Looking from afar, the metagame is similar to what it was last week. Still, I truly believe the dynamic in certain match ups has changed, and most decks on the list have been performing much better than they had in the past. This has lead to a lot more diversity for many archetypes. You will notice that in the report, but most of the potential addition sections this week will be alternate builds of the same archetype rather than just cards that could fit in the base list.
Of course, most of us would have liked to see a bigger shift after Shuri Zero‘s second nerf with new archetypes rising to turn the metagame upside down. I do believe this is possible, but it will probably take longer than just a week for it to be visible. Until then, I still believe this week in Marvel Snap was great from a creative perspective, and it has been quite some time since innovating on a deck was rewarded so much.
Happy Tier List, everyone!
In order to be featured here, a deck needs to represent at least 1% of the current environment and have a positive cube average using data from our Marvel Snap Tracker. If a deck showed great performances with a very limited presence in the metagame, you can find it in the new “Silent Performers” section. There, I will highlight decks with an excellent cube per game ratio but too little of a sample size to be representative of their real strength.
Decks not good enough to be considered contenders but with a good representation will be ranked in Tier 4 in our chart and won’t have their own dedicated writeup here but may be transferred to the main Tier List section. See Tier 4 as decks that are good to know about, as you should face those when playing Marvel Snap. However, unless the metagame changes or a new variation of the build emerges, these decks aren’t noteworthy picks at the moment.
Marvel Snap Meta Tier List
| Tier | Deck | Guide |
|---|---|---|
| Tier 1 | Sera Miracle Control | Guide |
| Tier 1 | Shuri Zero | Guide |
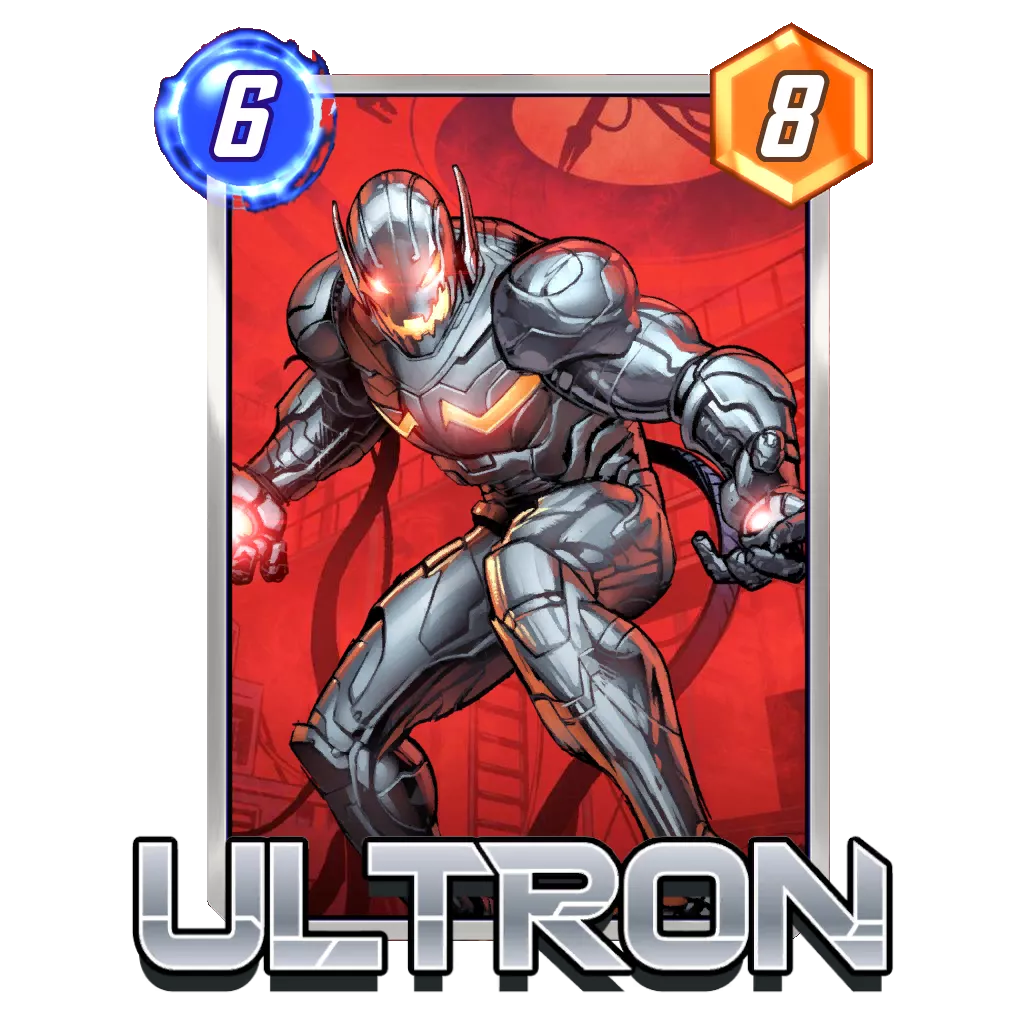
| Tier 2 (High) | Patriot Ultron 🔼 | Guide |
| Tier 2 (High) | Thanos Ongoing | Guide |
| Tier 2 (High) | Zabu Devil Darkhawk | Guide |
| Tier 2 (Low) | Thanos Death Lockjaw 🔽 | Guide |
| Tier 2 (Low) | Good Cards DoomWave | Guide |
| Tier 2 (Low) | Electro Ramp | Guide |
| Tier 2 (Low) | Bounce 🔼 | Guide |
| Tier 3 (High) | Galactus | Guide |
| Tier 3 (High) | Sera Surfer 🔽 | |
| Tier 3 (Low) | Dracula Discard | Guide |
| Tier 3 (Low) | DeathWave | Guide |
| Budget | Handsize Destroy | |
| Budget | Ongoing | |
| Budget | Sandman Kazoo | Guide |
| Budget | Control |
Silent Performers of the Week
This week’s Silent Performers section features a bit of everything, which makes it difficult to pinpoint exactly why these decks were performing well. Thanos Control was already featured last week and showed that disruption still has a lot of merit in the metagame, but its popularity still isn’t high enough to make it into the report. Also, one could argue the Thanos Ongoing archetype is quite similar since it also features Valkyrie, but its proactive approach might be easier to handle for someone without a ton of experience with Thanos-based archetypes.
Cerebro 2 and Kazoocula have been around for a long time in Marvel Snap, and both have always performed decently among the Pool 3 archetypes. With the metagame being a little all over the place right now, I would guess these comfort picks did well for players without an idea of what else would be good to play.
If these two are still putting up similar numbers next week, I’ll start believing they could play a role in the forming metagame. Otherwise, it is a testimony that playing what you are comfortable with is able to get you some cubes in Marvel Snap, especially if you haven’t finished collecting Pool 3. In particular, Cerebro 2 managed to have a stellar 0.7 average cube per game among Pool 3 players, a ratio worthy of a Tier 1 placement if it were able to maintain it once we look at players with a 3500+ collection level. There the deck unfortunately crumbles and falls to a 0.02 cube average.
Long story short, consider Thanos Control if you are done with Pool 3 and have a large collection, and consider the other two if you are still below the 3500 collection level mark.
Tier Explanation
Tier 1: Tier 1 represents decks with all the upsides we would be looking for to rack up Cubes. They have good match ups in the current metagame, offer different play patterns during a match, and often have the ability for explosive or surprising turns. These should be decks worth investing into in order to climb for the coming week.
Tier 2: Tier 2 are very good decks but with a weakness holding them back – either not being as reliable in its draws as Tier 1 decks, countered by another popular deck, or still being a work in progress as you read this. A good pilot could probably take these and have the same results as with a Tier 1 deck, but their play patterns are more difficult to enact compared to the Tier above.
Tier 3: This tier is made of decks that have a pervasive issue compared to Tier One or Two decks. Usually, Tier 3 will be a mix of decks on the rise which don’t have much data about themselves, old archetypes on the decline, decks that require substantial experience and/or knowledge to pilot properly, powerful decks that aren’t well positioned, or niche decks.
Tier 4: Off-meta decks that have fallen off in recent times.
Budget: Decks that consist only cards in Pool 1 and 2 but are still capable of competing with an experienced pilot in a similar Collection Level, Rank, and MMR range. See our matchmaking guide for more details.
Meta stats and analytics directly from our Marvel Snap Tracker can also be found here. Version 3 now out!
Tier 1
Sera Miracle Control
Rank Justification: Sera Control was already on the verge of taking the top spot since Shuri Zero and Thanos Lockjaw were hit in recent balance patches. This week, with Shuri Zero taking yet another hit and Hit Monkey proving to be a great addition to the deck, Sera Control soared in popularity, average cubes, and win rate.
Up until this point, Sera Control needed to manage its Snaps and Retreats really well to perform up to the Tier 1 standard. Indeed, it has been one of the very few decks to enter the highest tier with a win rate below 50% in the history of this Tier List. Currently, with an overall win rate of 54%, the archetype seems to have broken its biggest barrier and appears ready to be the deck to beat.
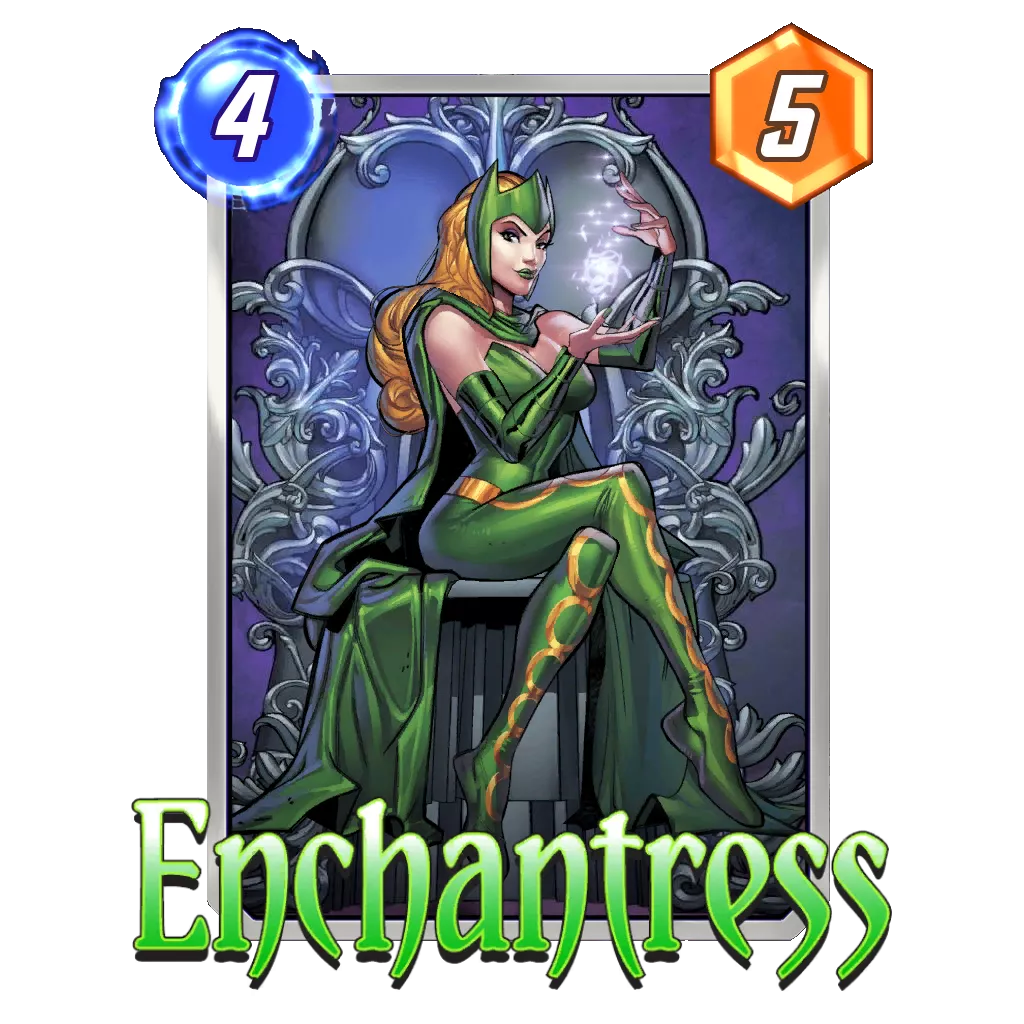
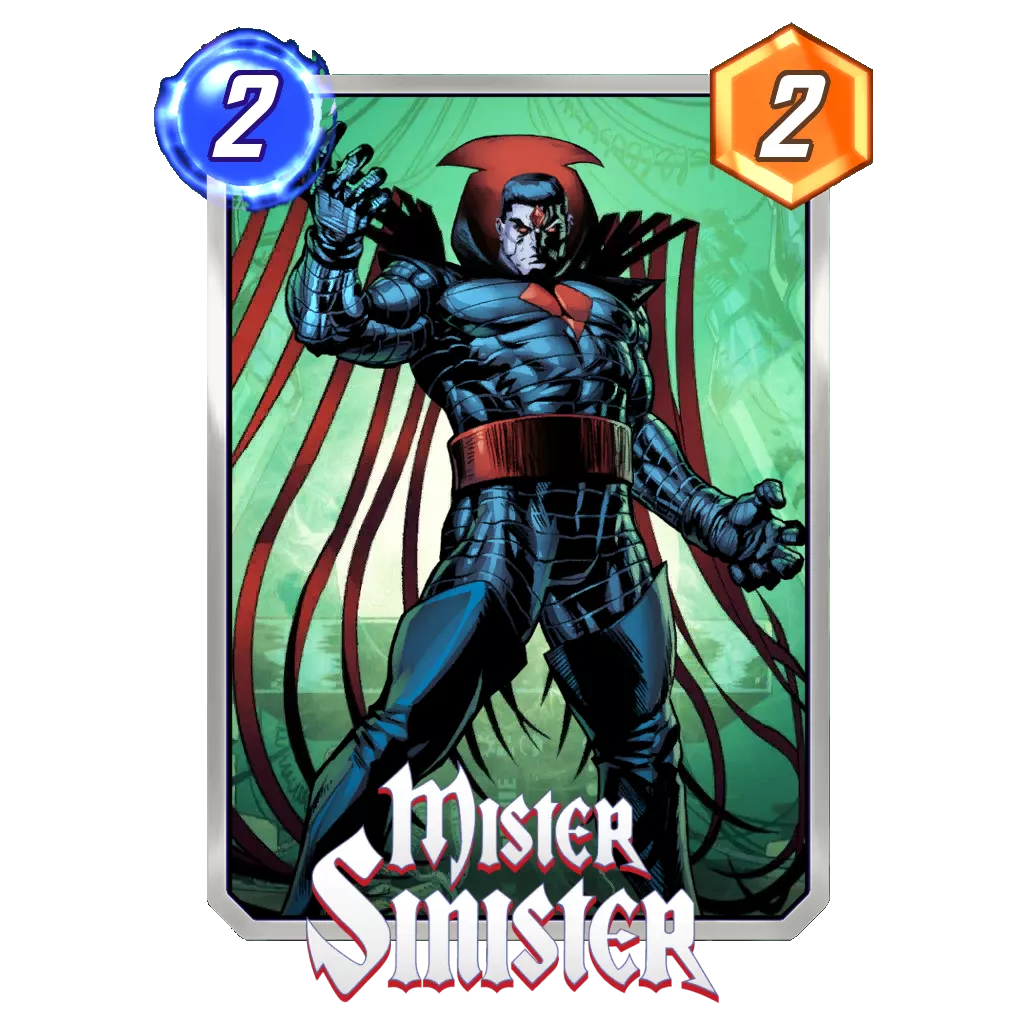
How to play: This archetype relies on giving up priority going into the last turn so it can punish the opponent with reactive cards. In this build, we are looking to use Shang-Chi and Enchantress for a reactive turn, or a combination of Hit Monkey and Hazmat for more of a miracle turn.
Sera is at the core of this strategy as she allows you to reduce the cost of cards in your hand, strengthening your Turn 6 potential and making it worth to purposefully give the lead to your opponent. Note that losing priority doesn’t mean losing the game – we can be in the lead on a location and close on the other two. Since Sera only has four power, your opponent will typically have a stronger Turn 5 than you do and take back priority.
This way, we don’t need to have an incredible Turn 6 or perfectly guess our opponent’s plays to win every game. Most of this deck’s strength relies on its ability to be able to stay as close as possible while not having priority so our reactive cards are at their best.
Potential Additions: Sera Control had many builds shared this week, and they all have upsides depending on the popular decks you are facing. Here are a couple other ways to build the deck:
Shuri Zero
Rank Justification: Shuri Zero‘s win rate and popularity are still some of the highest in the game at most ranks, and, funnily enough, it has been slightly better since the OTA changes. The deck’s cube average took a slight hit, most likely due to losing on points more often than it did in the past.
As it stands, Shuri Zero still deserves its spot in Tier 1. The deck appears to be the best proactive strategy since a 24-power Red Skull still beats most others win conditions in Marvel Snap; however, the coming week will be key for Shuri Zero. It might not get away with a Snap every time Shuri is in hand anymore.
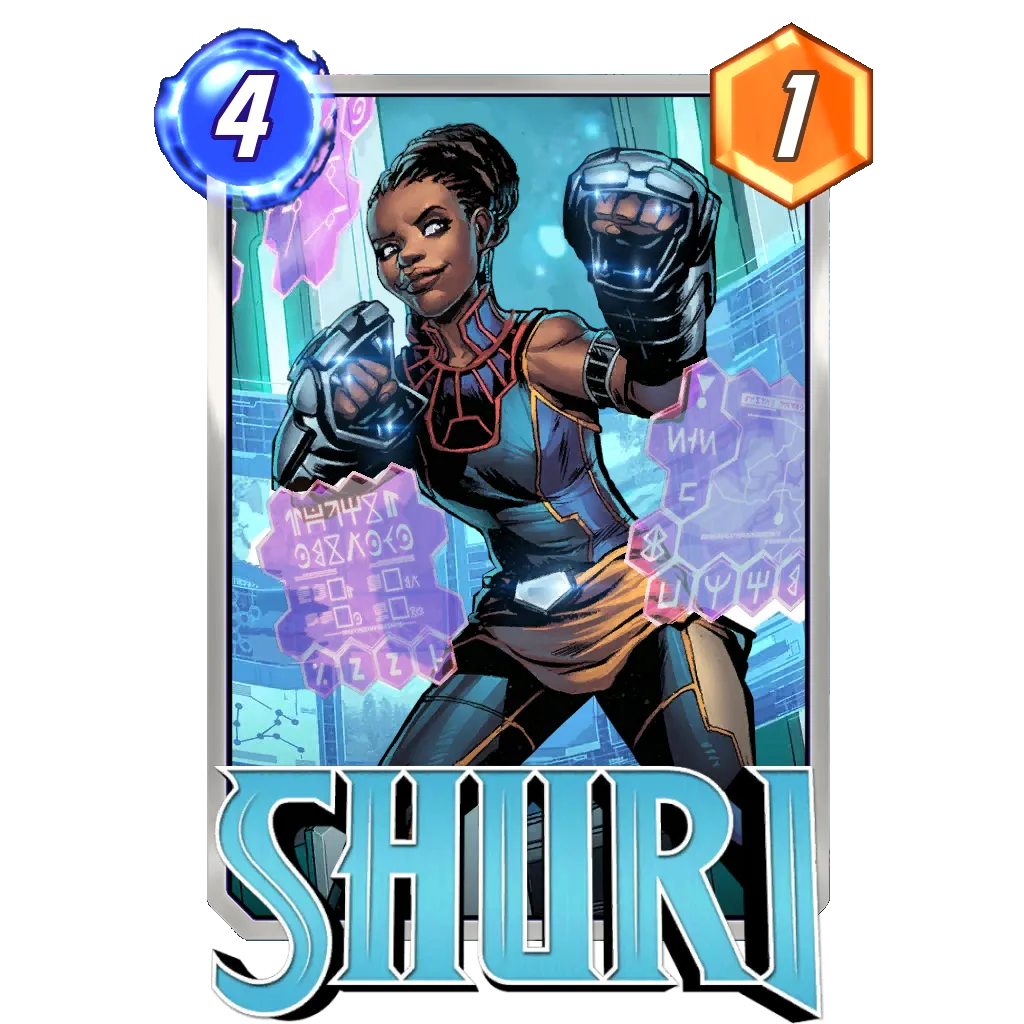
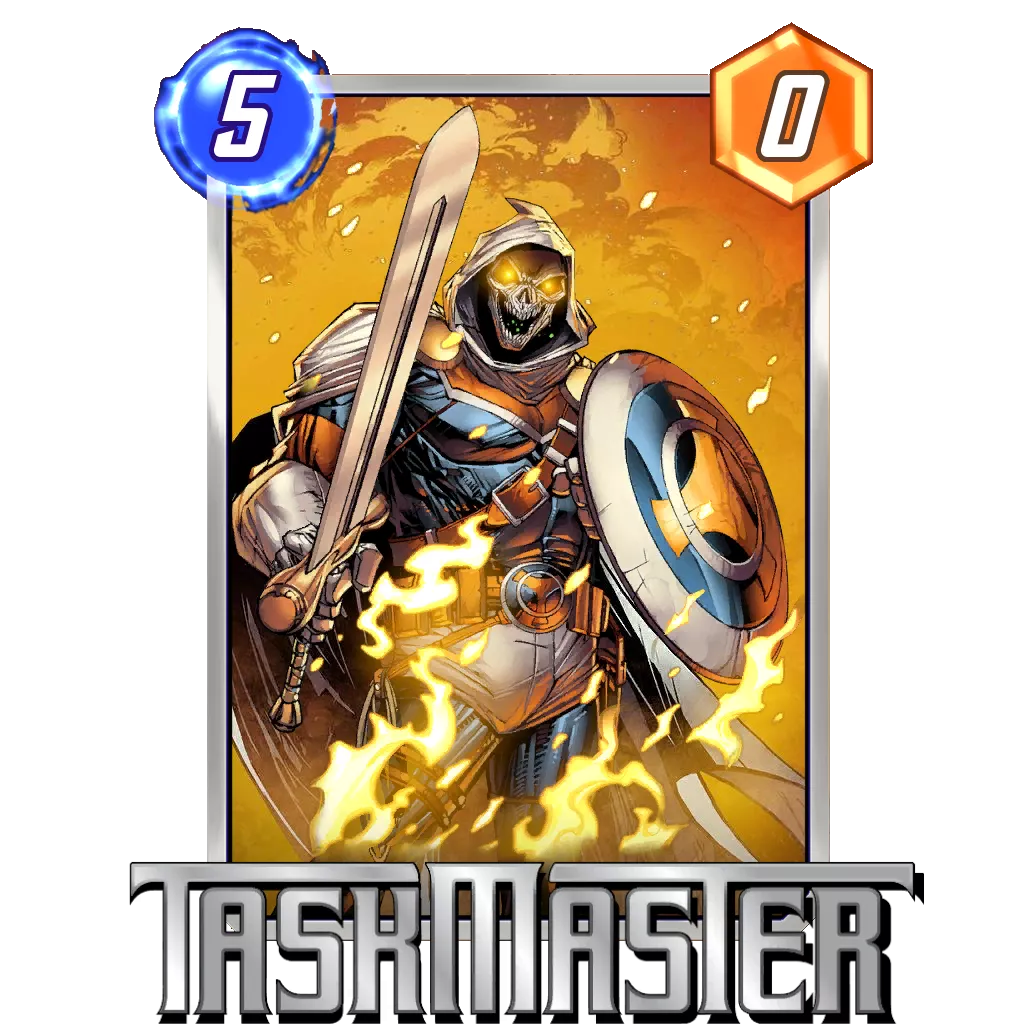
How to play: The whole point of the deck is to overwhelm the opponent with impossible-to-match numbers, most of the time during the second part of the game. Ideally, one will play Shuri on Turn 4, Red Skull on Turn 5, and Taskmaster on Turn 6, leading to two 24-point monsters to contest two lanes and win the game. Because of this relative rigidity in the last three turns, Shuri Zero often needs to play its other cards before this point and can’t really hold too many resources in hand for a surprise later on. The only flexibility we might have are 1-cost cards, which can be paired up with Taskmaster on Turn 6.
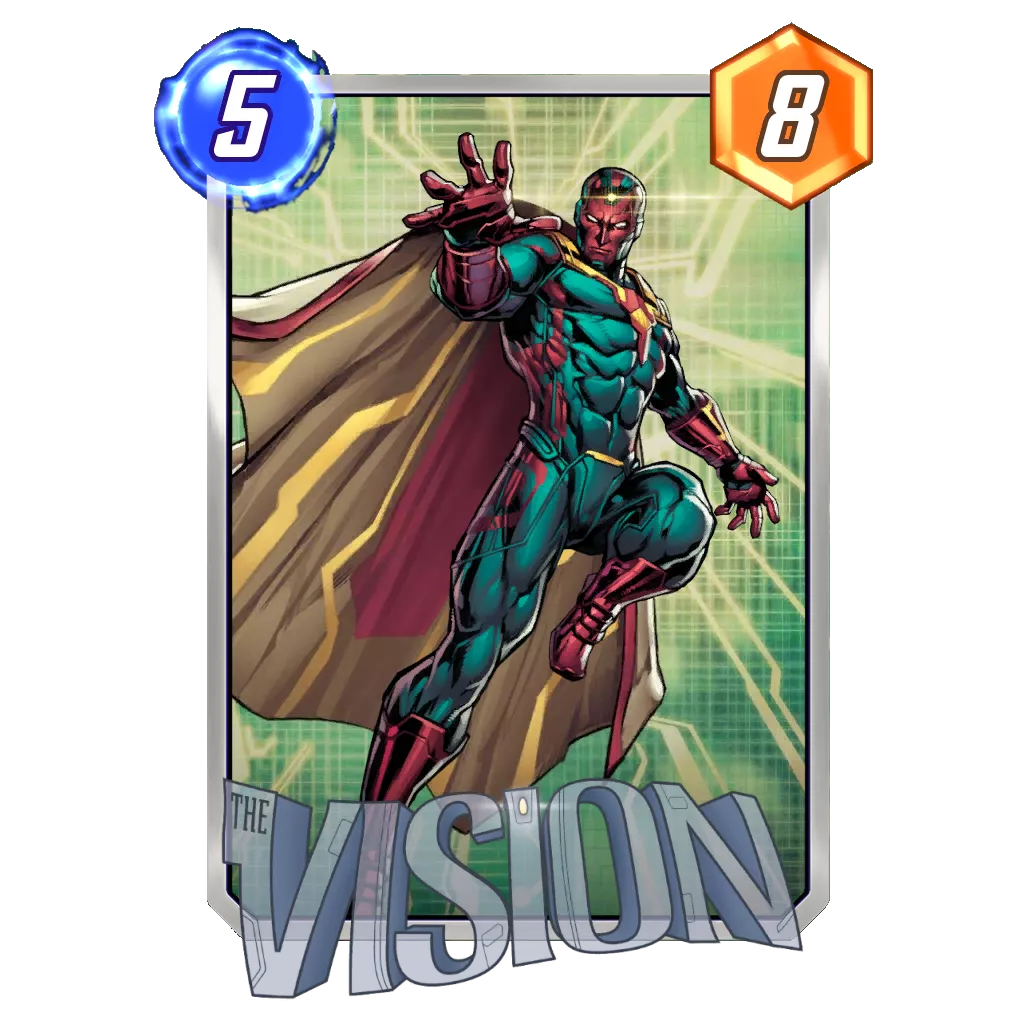
While Red Skull is usually the go-to card on Turn 5, there are other, more flexible options to consider – even if they are worth a little less points. Vision took over Aero with the patch and serves as both a solid Shuri target and a difficult target for the opponent’s Shang-Chi thanks to its ability to move.
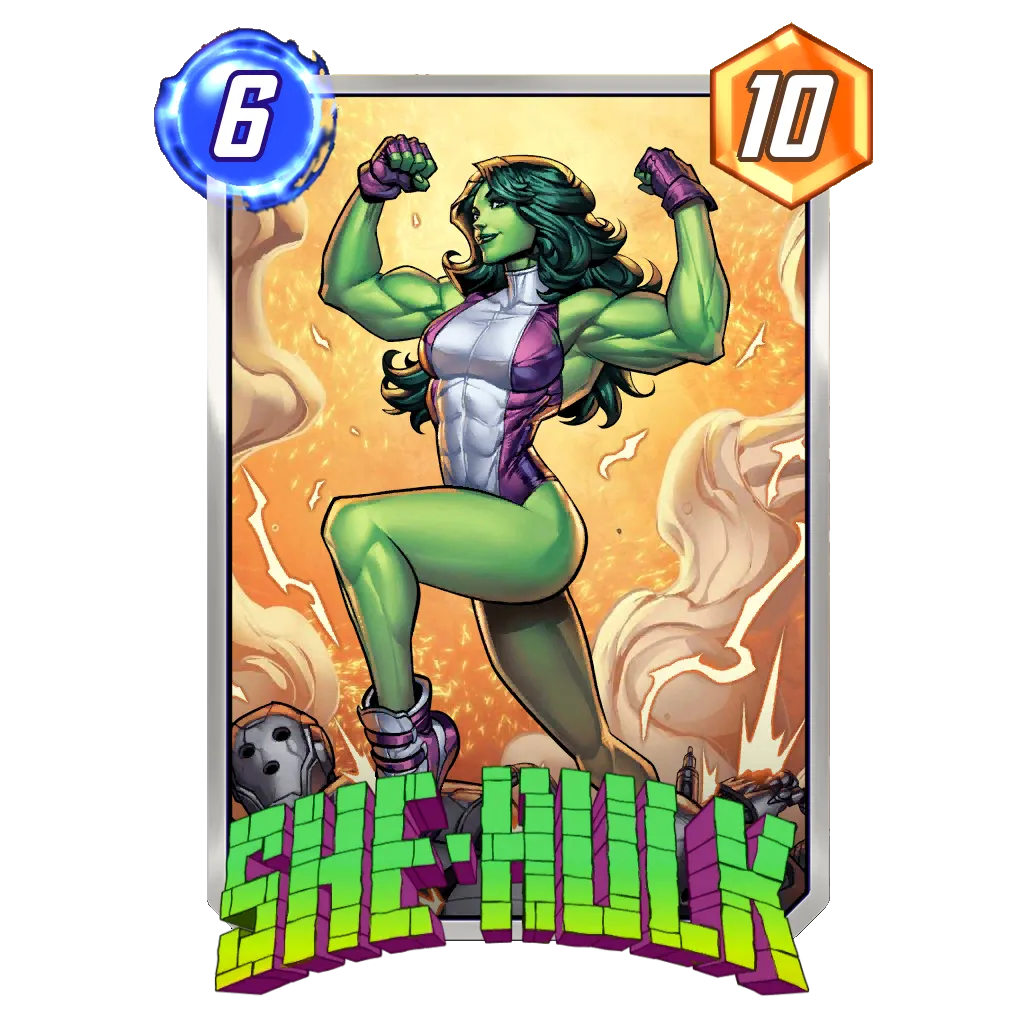
Lastly, because the deck is looking to abuse 5-cost cards most of the time, She-Hulk makes it worth to consider passing your turn on five and then slamming your 5-cost alongside She-Hulk on six. This strategy is especially effective when you want to lose priority against an expected Shang-Chi or wait and see where your opponent plays their Galactus.
Potential additions:
- Aero and Captain Marvel can be played instead of Vision.
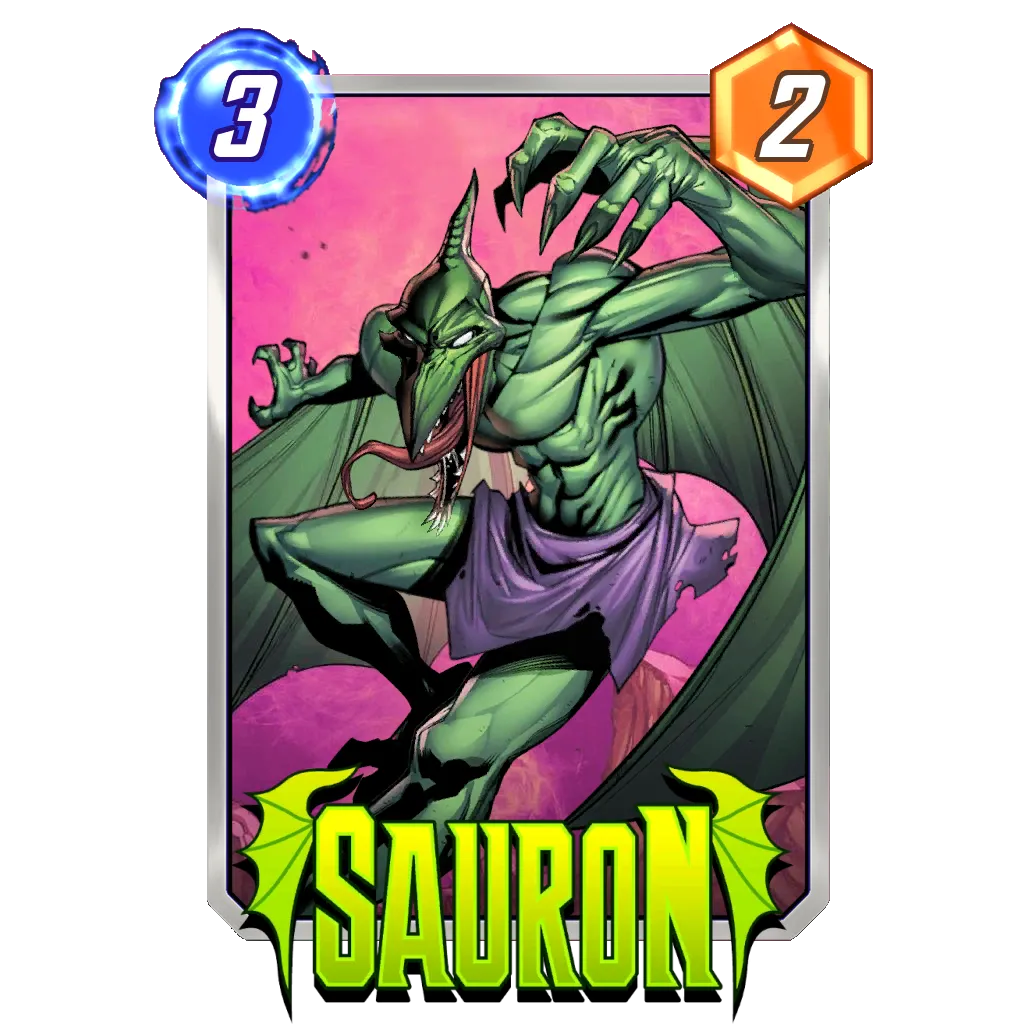
- Sunspot and Polaris are still popular inclusion, but Ebony Maw and Sauron have performed better in the latest patch.
- Arnim Zola can be used to duplicated our buffed Red Skull, but the card doesn’t synergize well with Armor and Cosmo.
Tier 2
Patriot Ultron 🔼
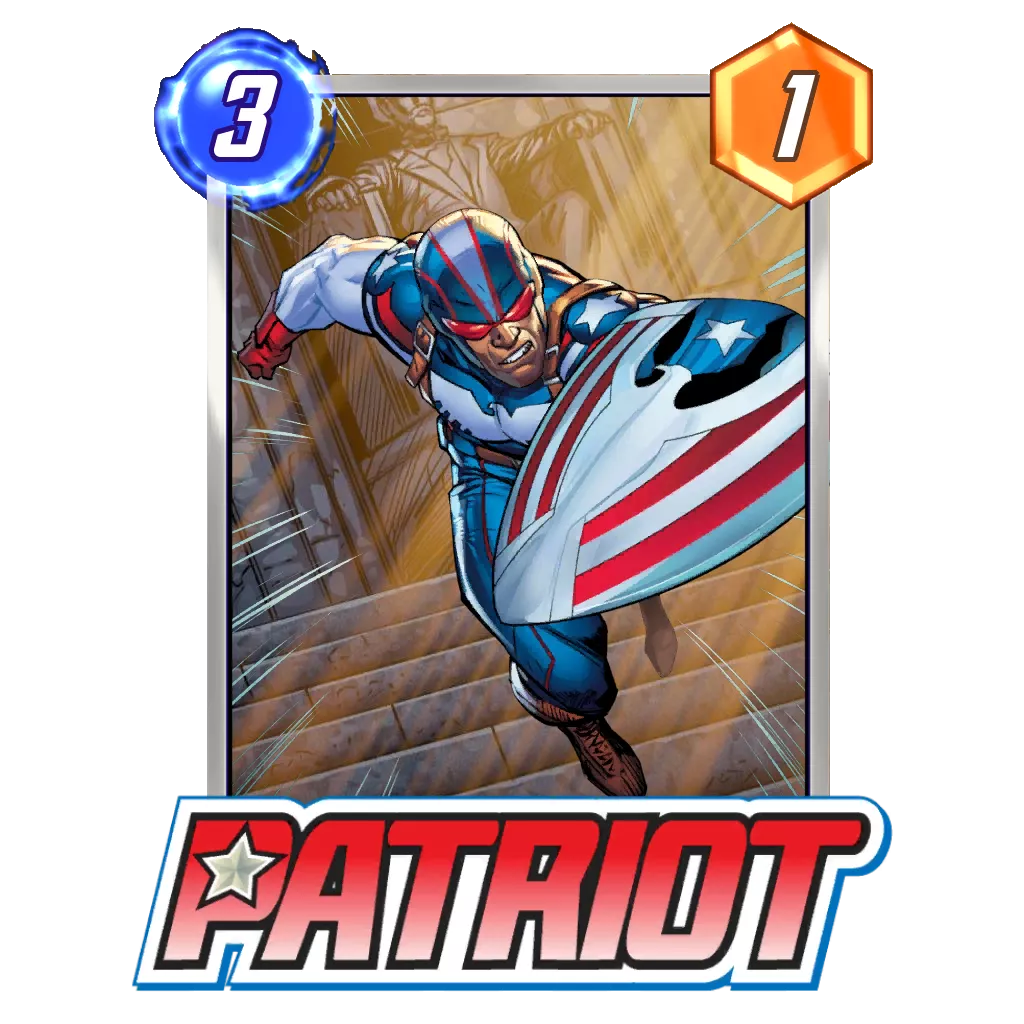
Rank Justification: This has been a great week for Patriot, and it rose to its highest ranking in a very long time. For most of the week, it seemed like Sera Control was not running Enchantress, and Patriot was on pace to compete for a Tier 1 spot. Once the card started coming back (and because Sera Control is more than 10% of the current metagame), Patriot’s performance took a little dip over the weekend.
Nonetheless, the deck seems to be among those able to rival Shuri Zero in the points department since the patch. Also, considering the deck can play on all three lanes, it doesn’t have to think too much about where the Shuri player will develop most of its points. If the traditional build doesn’t feel safe enough, the Bast Valkyrie list (Gunny Patriot) in the Potential Additions should seal the deal for this particular match up. That variation seems to do a little worse overall, but it had better numbers at the higher ranks where Shuri Zero is still the most popular deck.
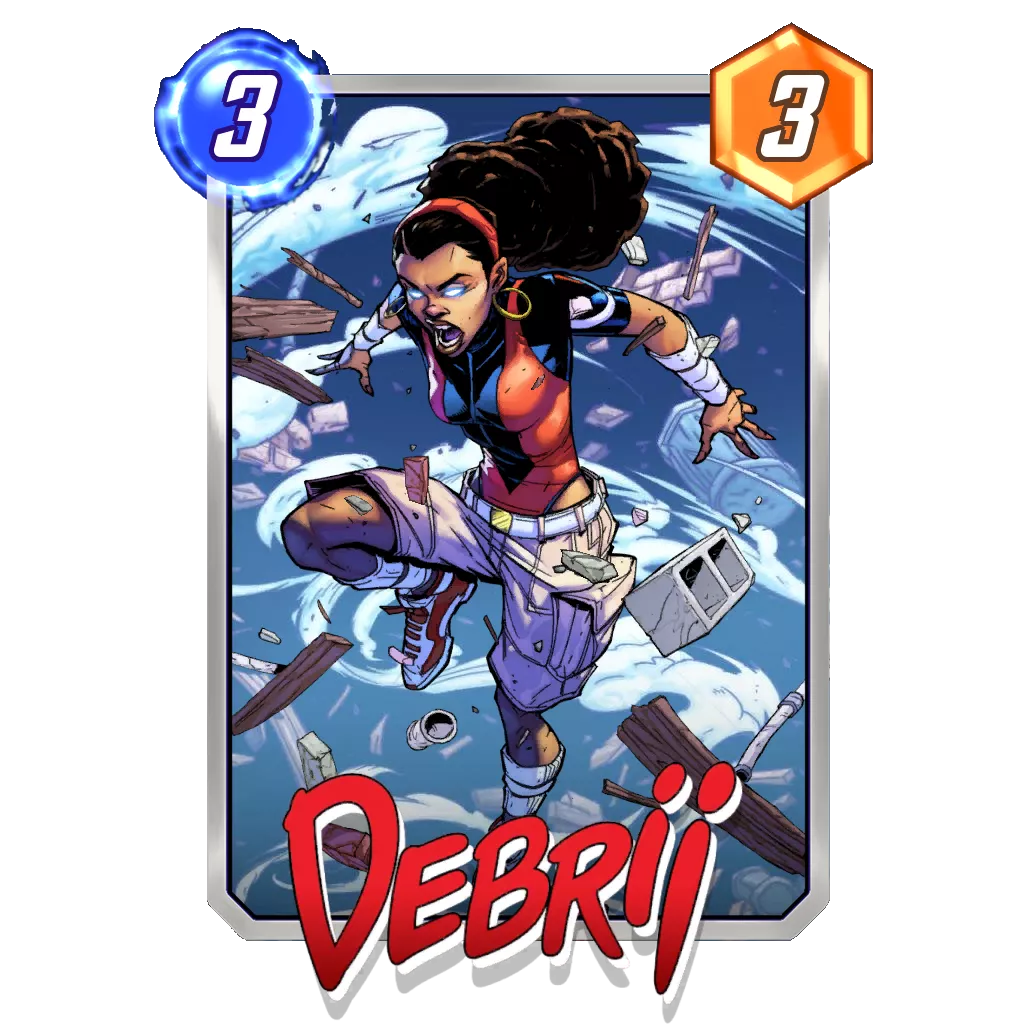
Other decks made popular with the patch included Electro Ramp and Galactus. The former can be dealt with thanks to Ultron being a stellar play against an opposing Sandman, and Galactus seems like it is still unable to beat Debrii.
And while it has been great week for Patriot overall, the return of Enchantress in Sera Control could be a bad sign for the future.
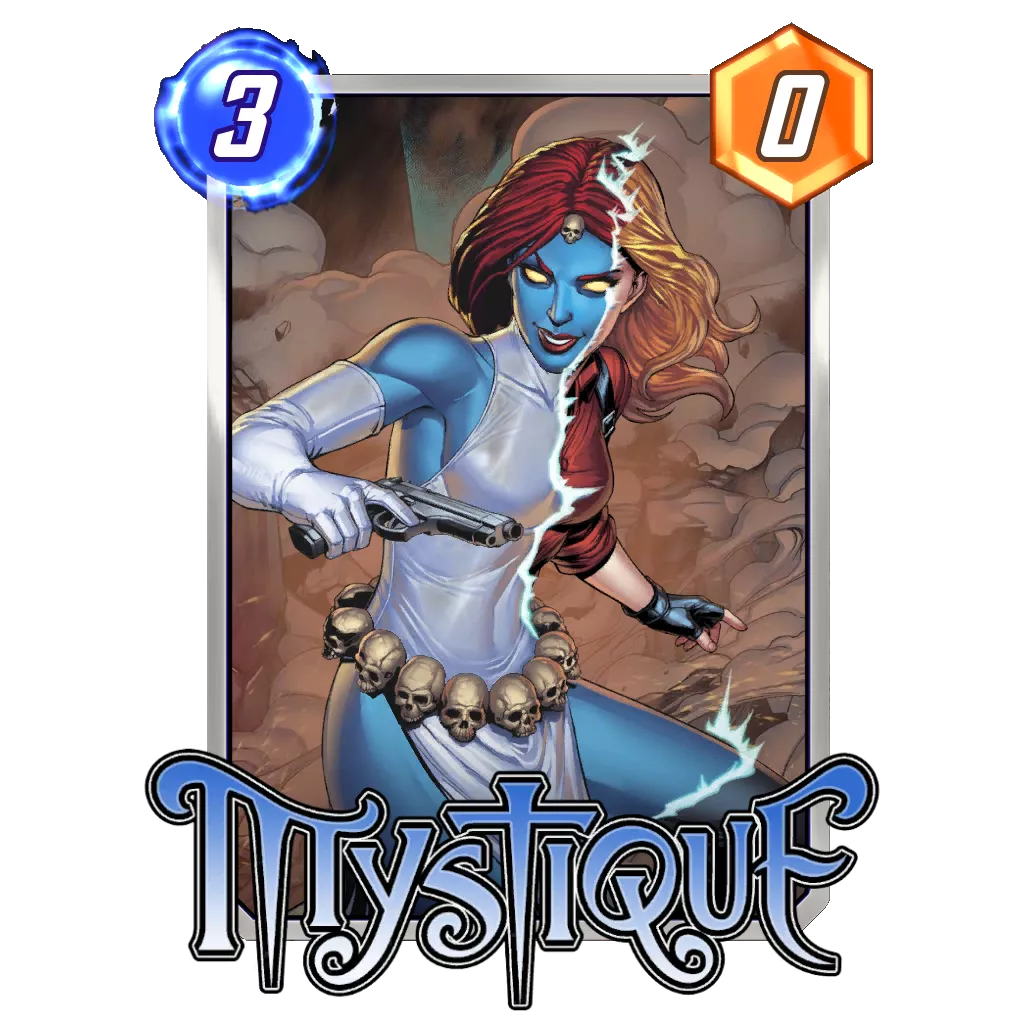
How to play: At its core, Patriot is a points-based deck looking to develop as many as possible across the three locations. Most of the time, because Patriot and his best friend Mystique are worth very few points, the deck will abandon the location where these cards are played. In exchange, the other locations should be very strong, as all the cards there receive a solid +4 power buff.
Depending on the opponent, you might also want to balance your points and have Patriot and Mystique on different lanes. This can be done to avoid a disastrous Enchantress, or simply because you believe you have a higher ceiling than your opponent and want to force them into investing into each lane to win it.
Strategy wise, most of the thinking will be done based on what is in your hand since the deck isn’t exactly flexible. You will, of course, have different ways to build your turns, but the end result should be the same, meaning the emphasis is on how to get there. In that regard, there are a few questions one needs to ask when playing Patriot:
- How much information do you want to give your opponent before going all in? For example, Squirrel Girl, Cosmo, or even Ka-Zar aren’t a tell of exactly what you are playing, while Misty Knight and Shocker are obvious clues.
- Which locations will you go for, and which one will serve to host your low scoring cards?
- Are you relying on Ultron to fill the whole board at once on the last turn, or are you building the board incrementally?
Because Patriot doesn’t have many game plans, it can’t really try to be flexible regarding how to win. Through asking these key questions, you can at least manipulate and control how you will get to the final point, how you will keep your opponent on their toes, or, at least, how you will hide the location and the amount of points you will develop.
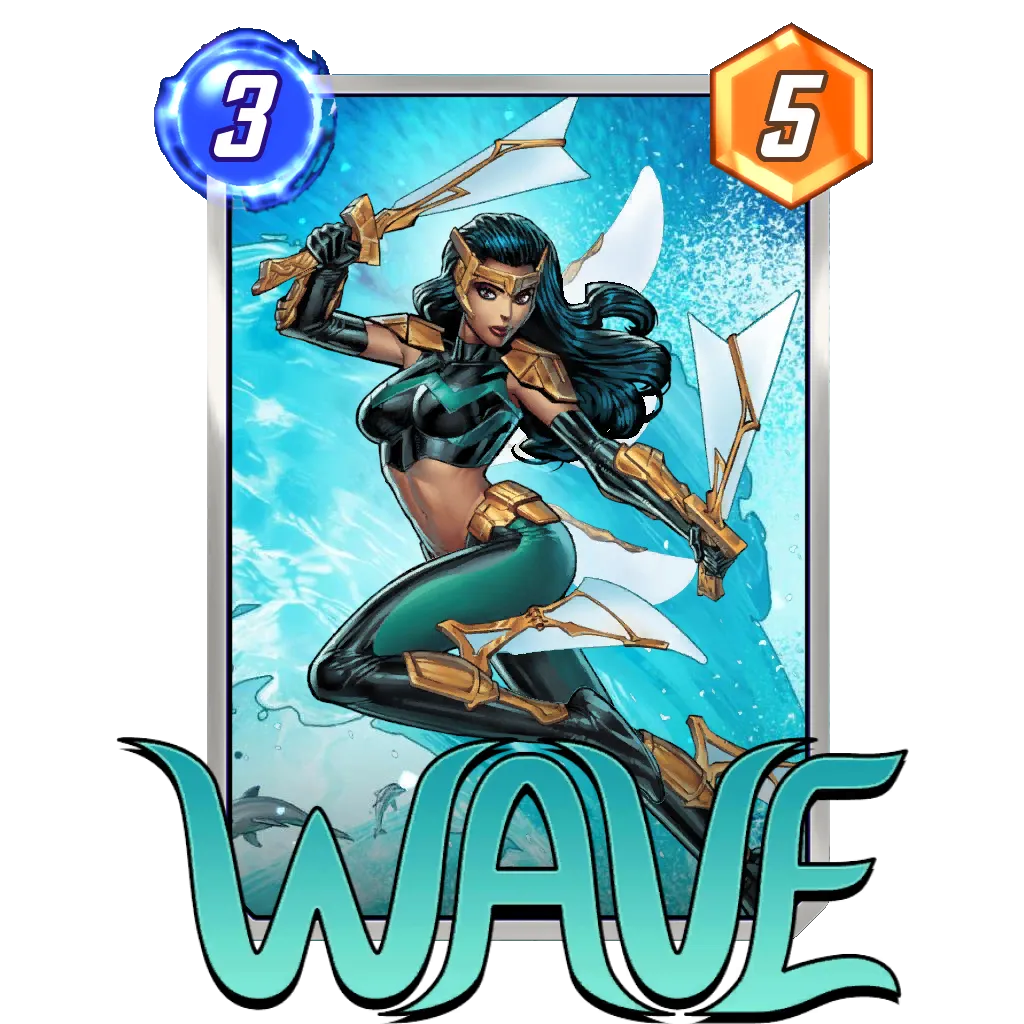
Potential additions: In the traditional build, a few cards can make sense. Cosmo can protect from Enchantress. Wave and Magik can allow some form of energy cheating to open playing both Onslaught and Ultron in the same match. Lastly, most targets for Patriot could be considered one way or another.
The hybrid take on the build is the preferred way to play the deck amongst players done with Pool 3 :
Thanos Ongoing
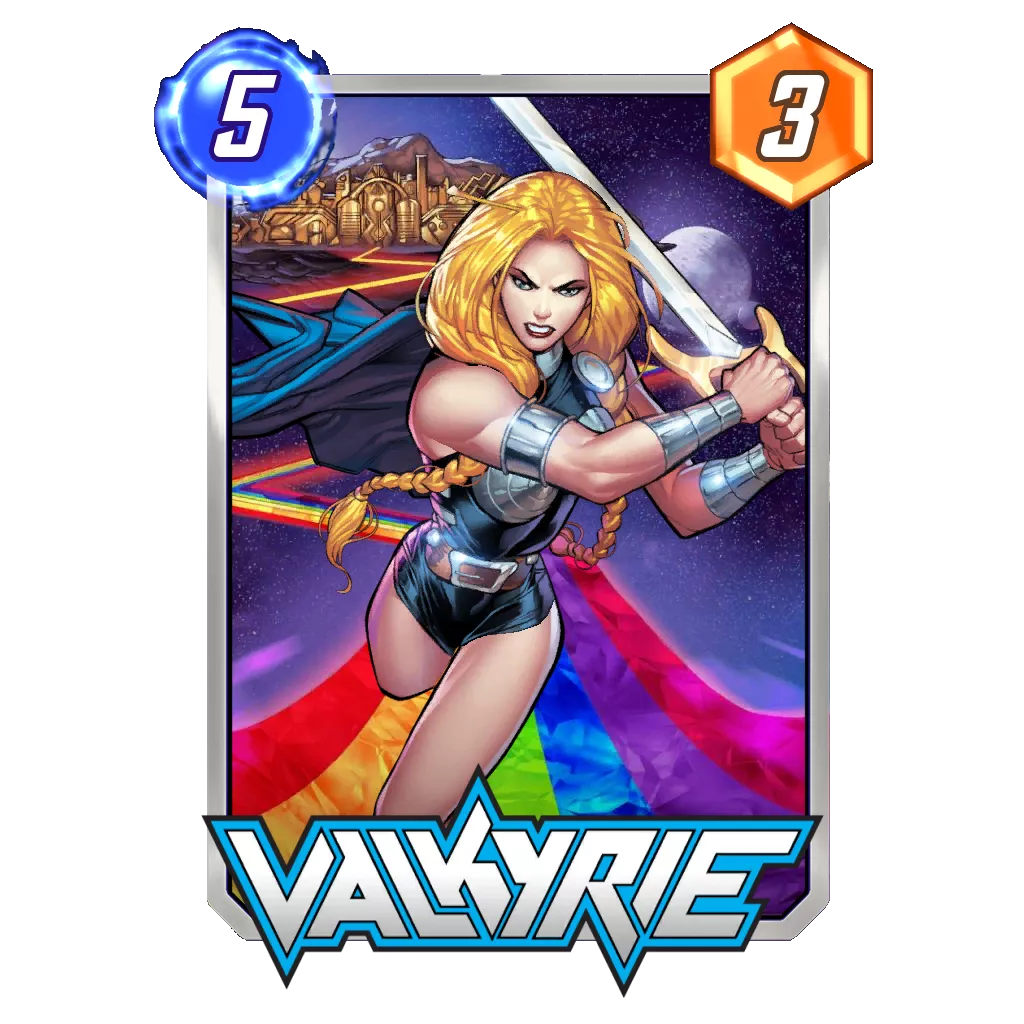
Rank Justification: For the first time in our Tier List, the best Thanos build isn’t associated with Lockjaw, although there is a Lockjaw variation in the Potential Additions section. I would attribute a lot of that success to Valkyrie, Professor X, and Cosmo, three cards that seem to make a lot of sense in the current metagame.
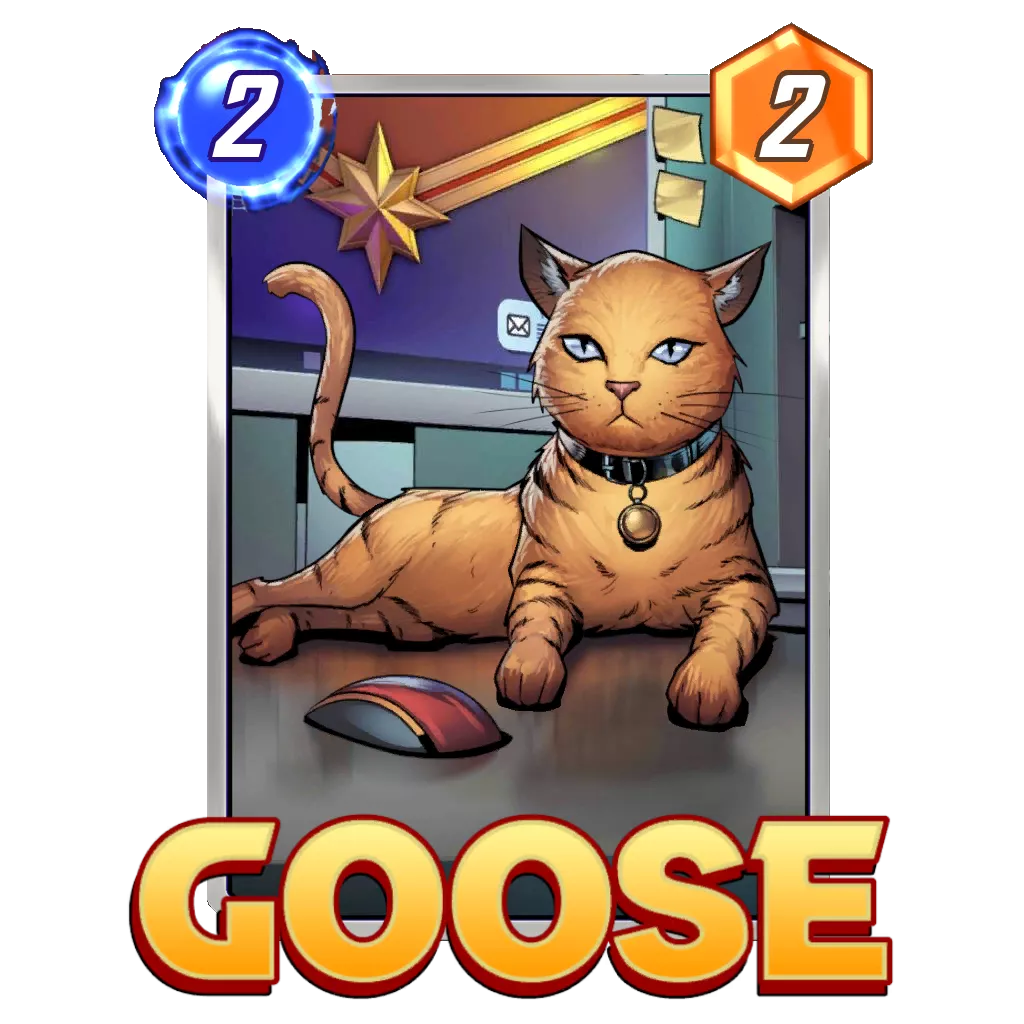
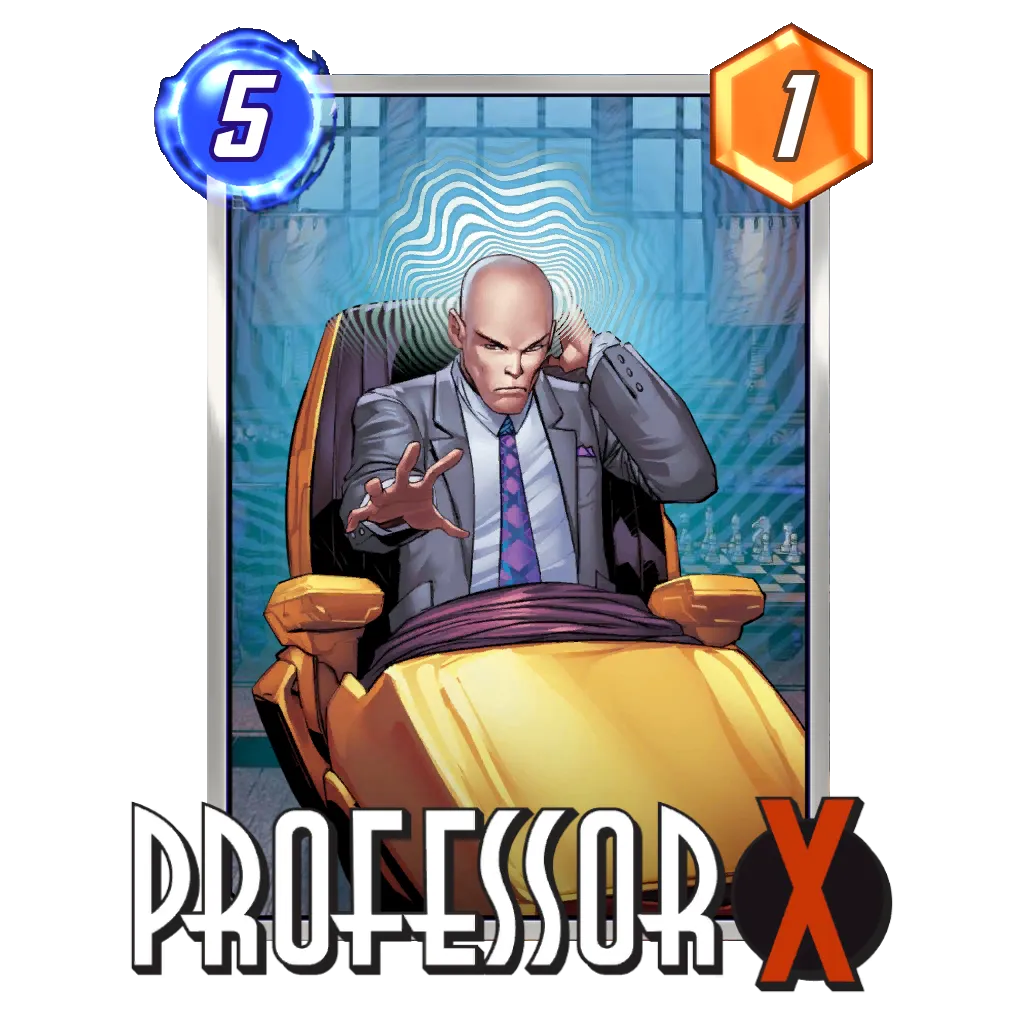
Valkyrie still keeps Shuri Zero in check, and it annoys the deck a ton, especially alongside Goose. As for Cosmo and Professor X, the pair is great against Sera Control. Professor X locks a lane against an opposing Sera on Turn 5, while Cosmo can come down and block Shang-Chi, Enchantress, or Hit Monkey on Turn 6 since we typically will have priority.
You might have to look back to the glory days of Ongoing Destroyer to see the archetype so high in our rankings. Now, let’s see if the deck can maintain this performance over several weeks.
How to play: Compared to the previous Ongoing deck with Destroyer, this one clearly retains a very similar theme. Thanos, however, makes it a little more complicated to navigate, especially because the Infinity Stones can quickly fill our side of the board and block some lanes for us. As such, be careful when playing the non-Ongoing Stones and consider holding them in hand if you have no precise reason to use up that space and don’t need the card draw.
When it comes to winning lanes, the deck has various angles of attack:
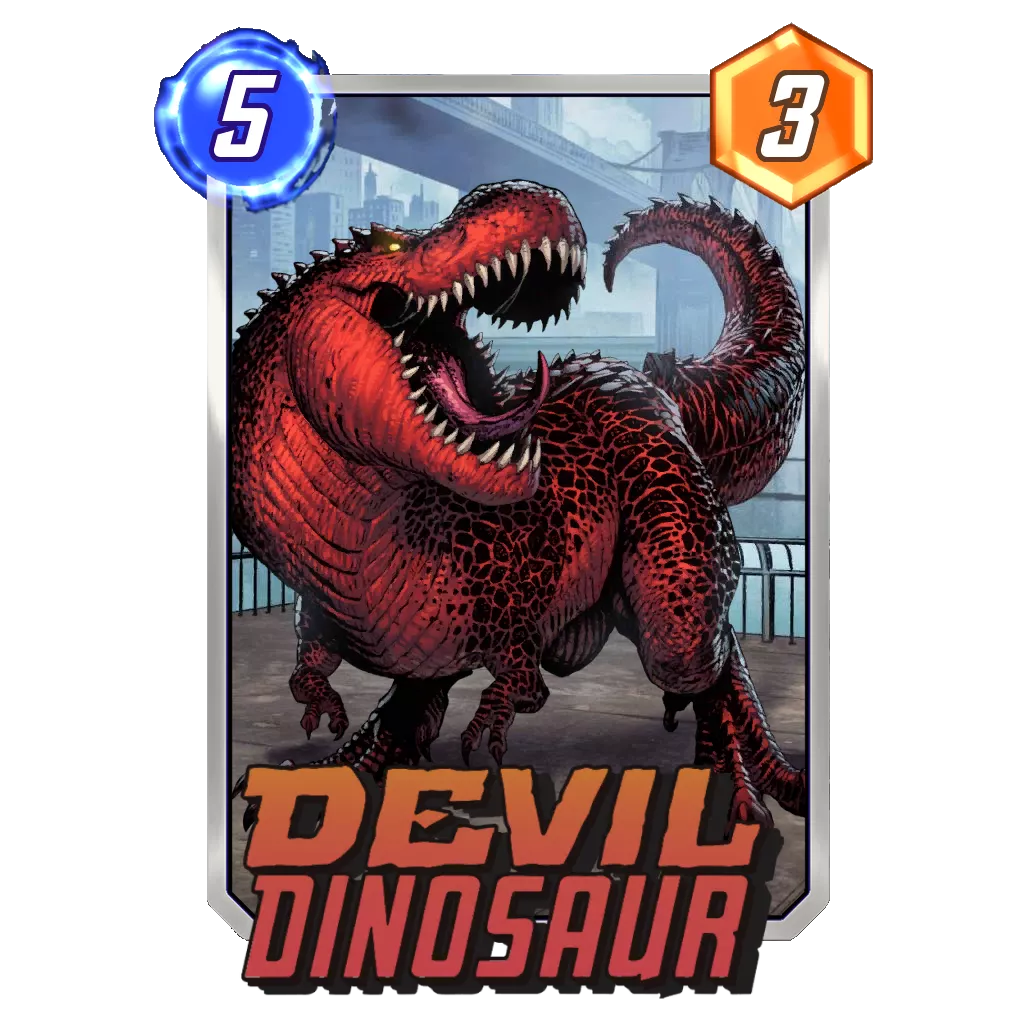
- Going big with Devil Dinosaur (and Cosmo for protection) alongside cheap support.
- Valkyrie should win us a lane most of the time since it is nearly impossible for our cards to stay at the three power they are set to considering the many buffs they can receive.
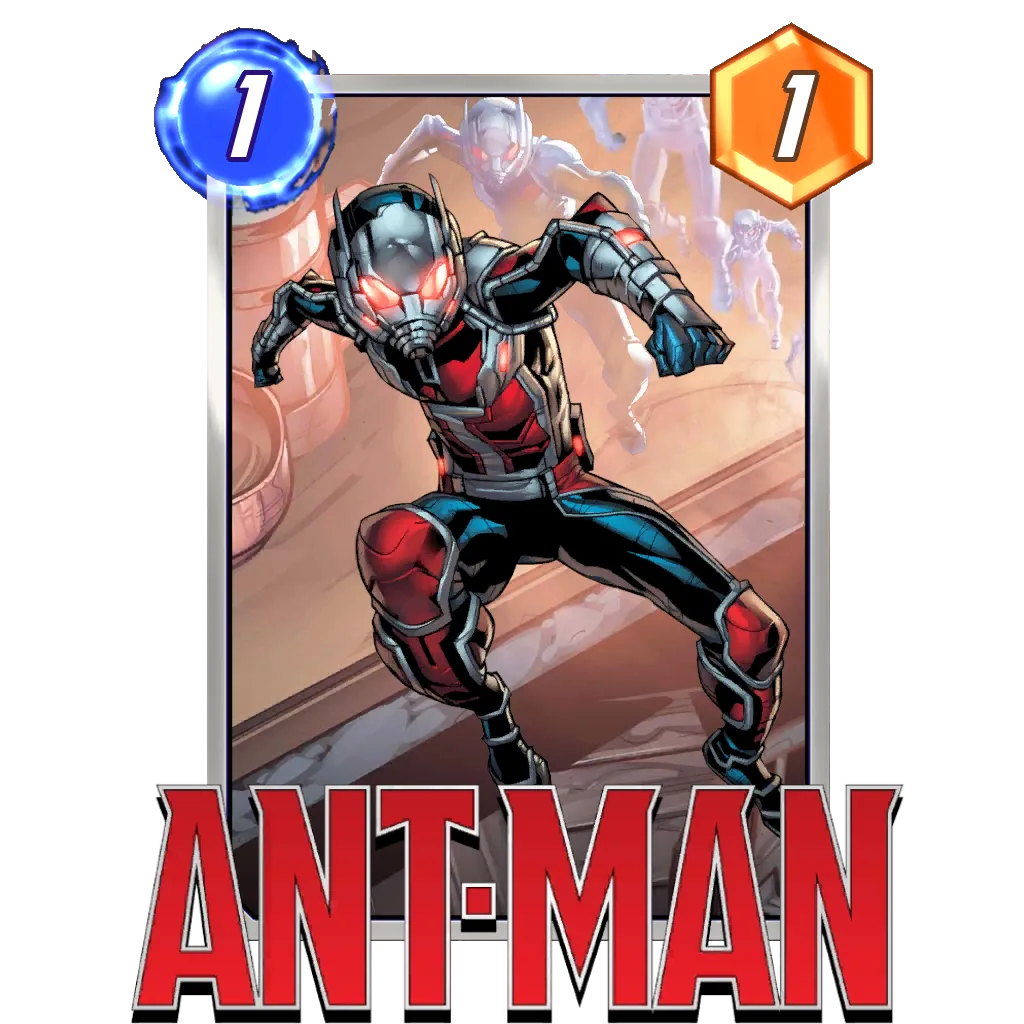
- Using
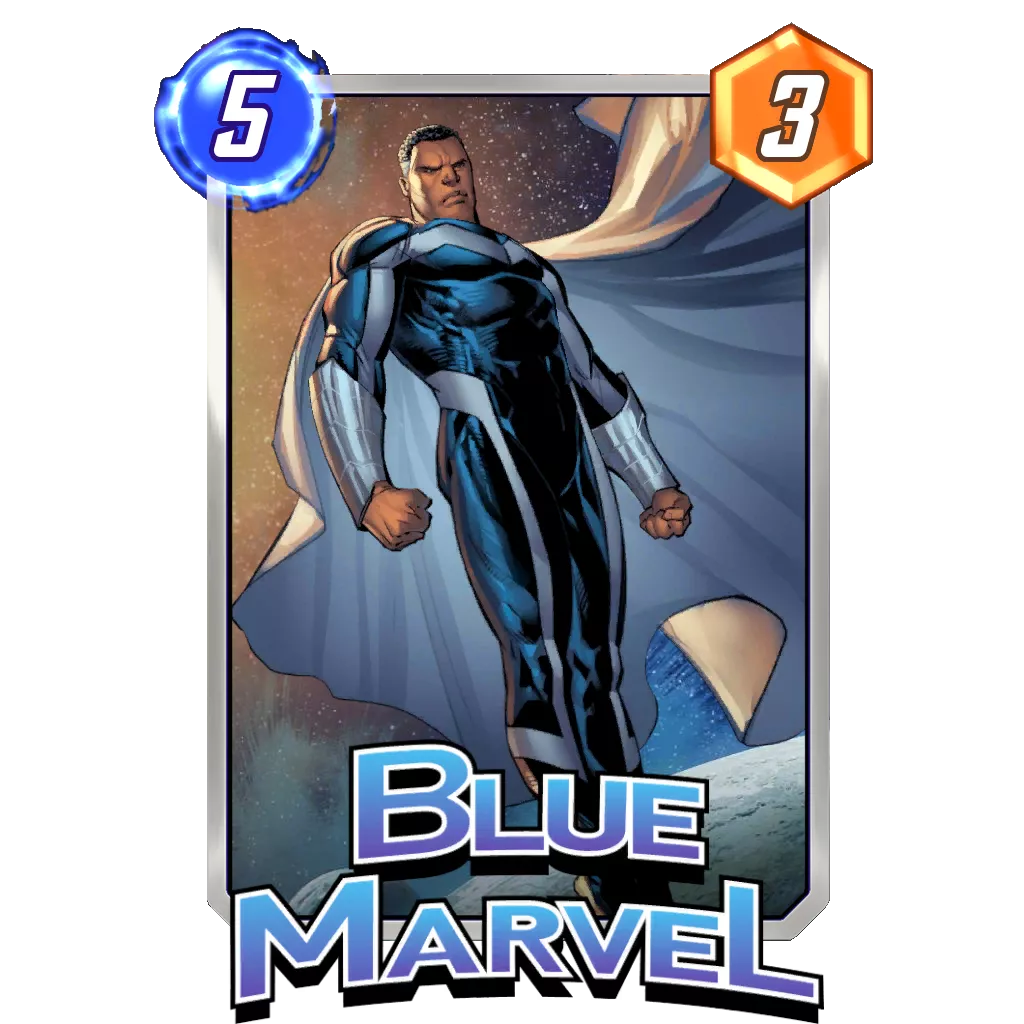
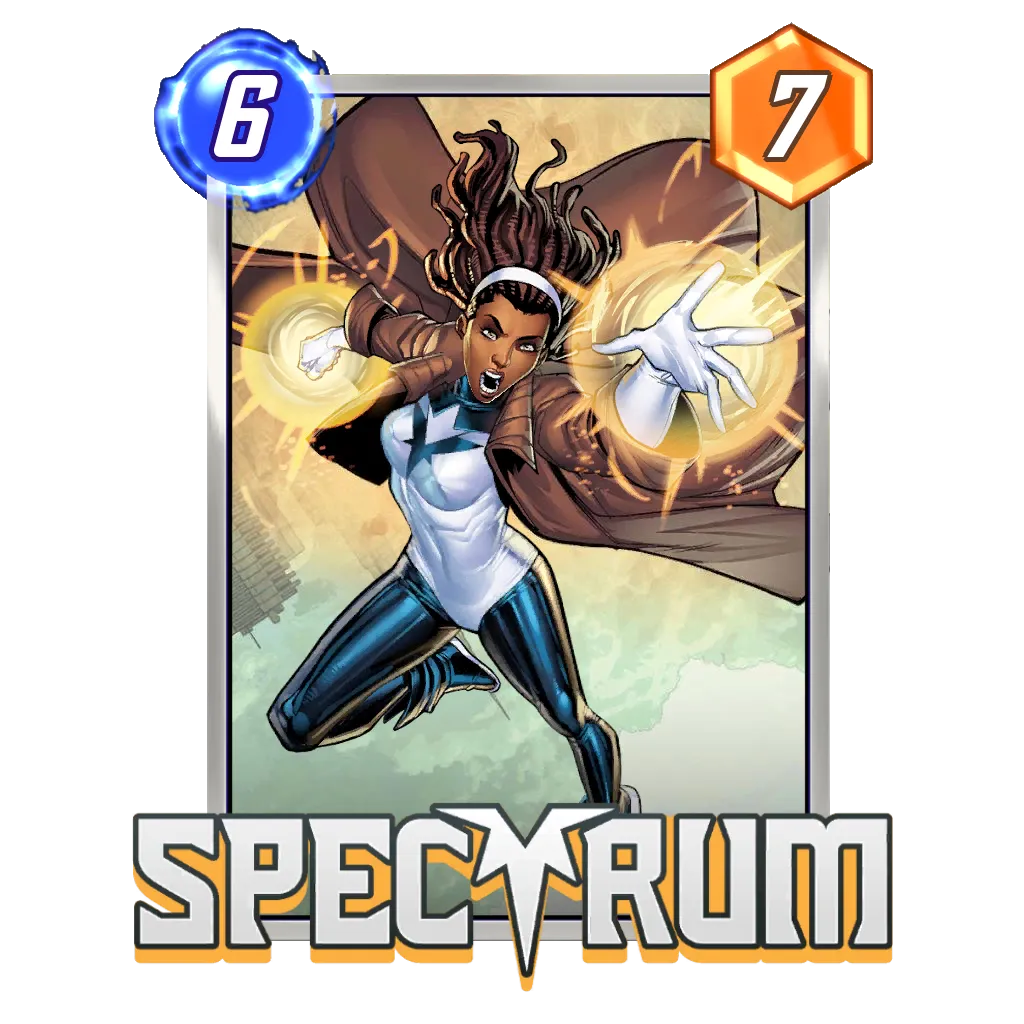
Ant-Man , Goose, and other cheap cards that are also supported by Ka-Zar, Blue Marvel, and Spectrum. - Professor X can lock a lane we are ahead on, and we can still impact it with our buffing abilities on Turn 6 if needed.
Potential additions: The Thanos Zoo build still exists as well, and it features a more targeted list towards beating Shuri Zero. Notably, Goose and Valkyrie help in this specific match up.
Zabu Devil Darkhawk
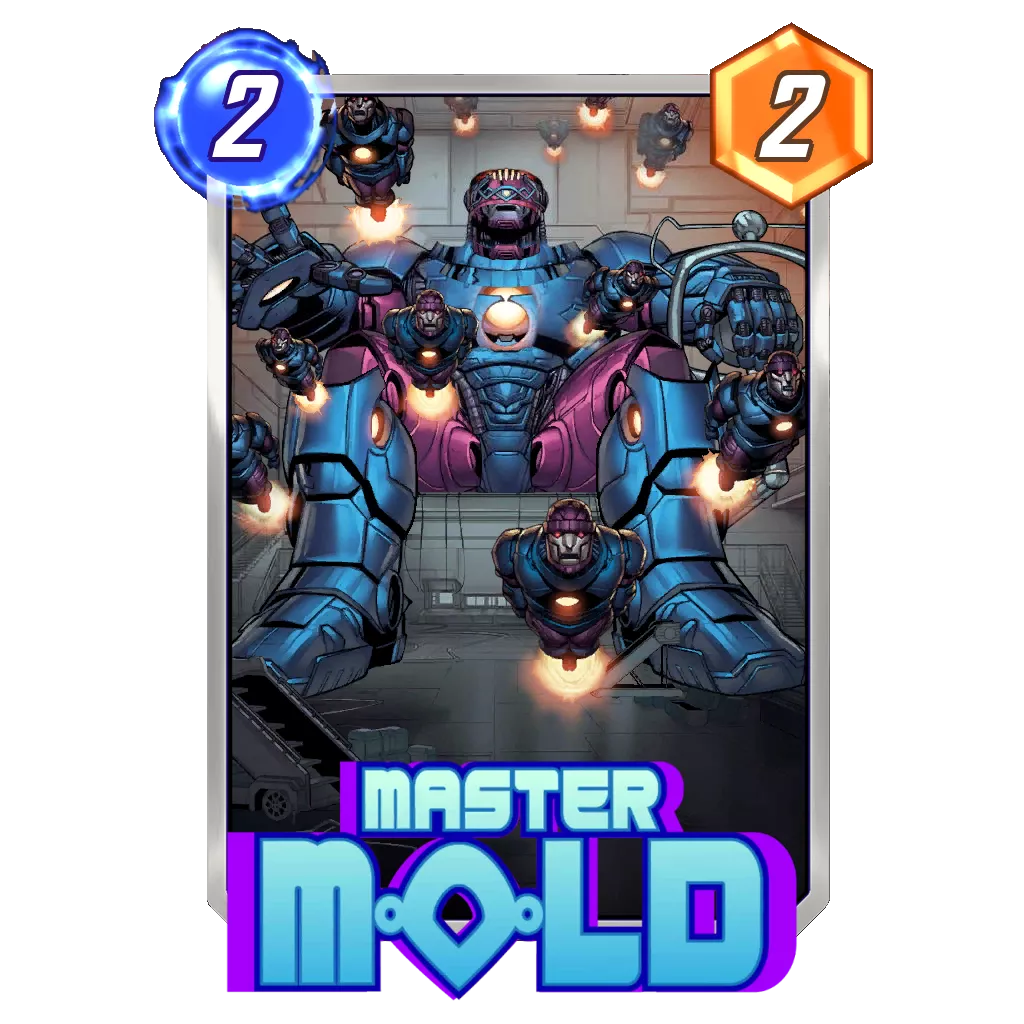
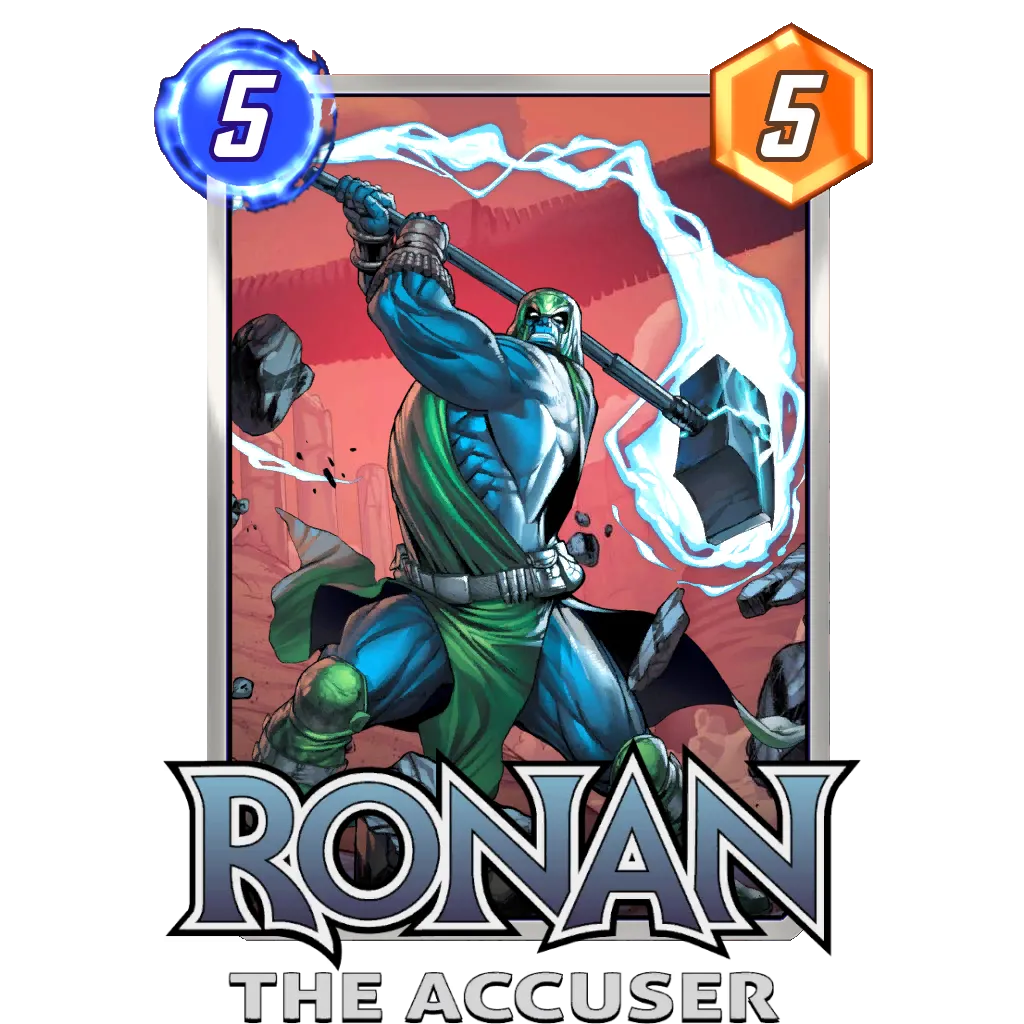
Rank Justification: A Tier 2 staple, the pair of Devil Dinosaur and Darkhawk had a solid week as well. I feel it could have been ranked higher, even challenged Patriot for the best deck in Tier 2, if there weren’t so many variations of the build. Also, with Master Mold making Ronan the Accuser a consideration as well, there are three packages fighting for the spots in the deck.
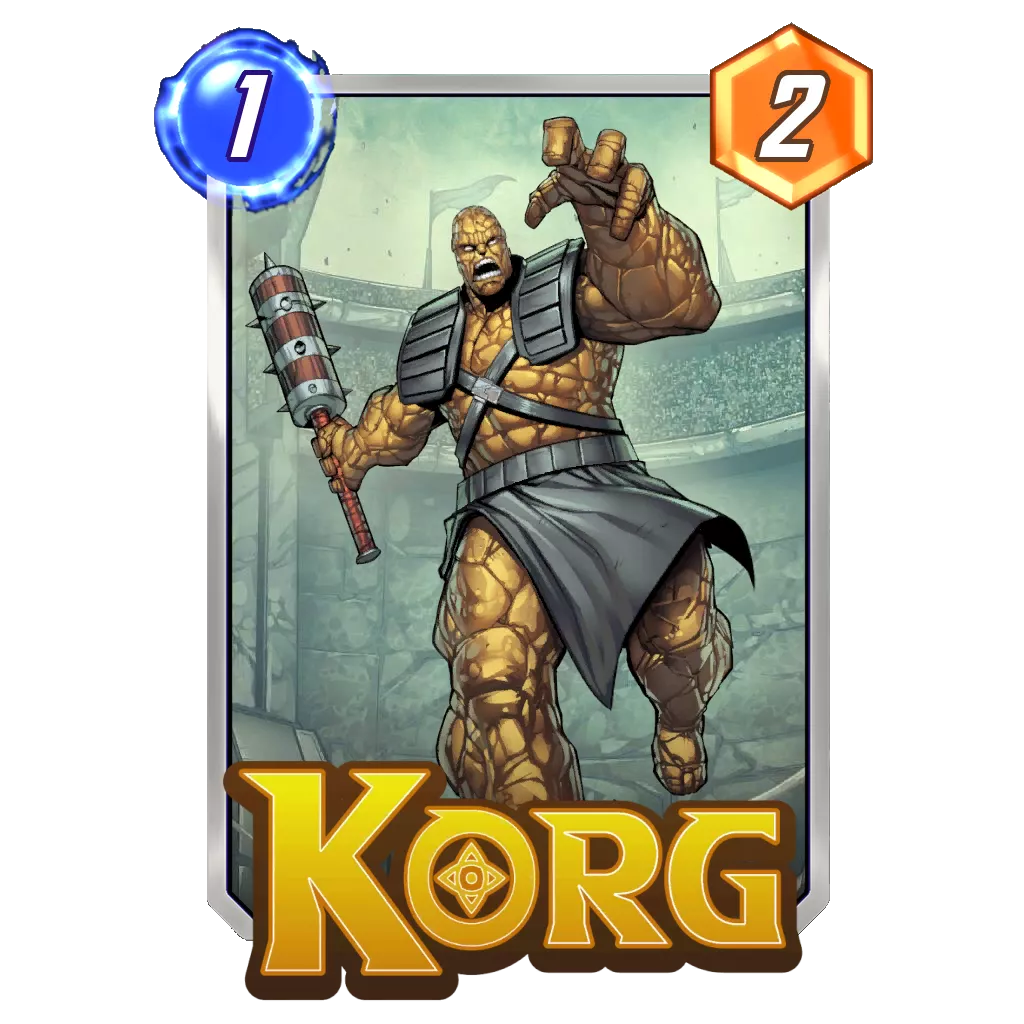
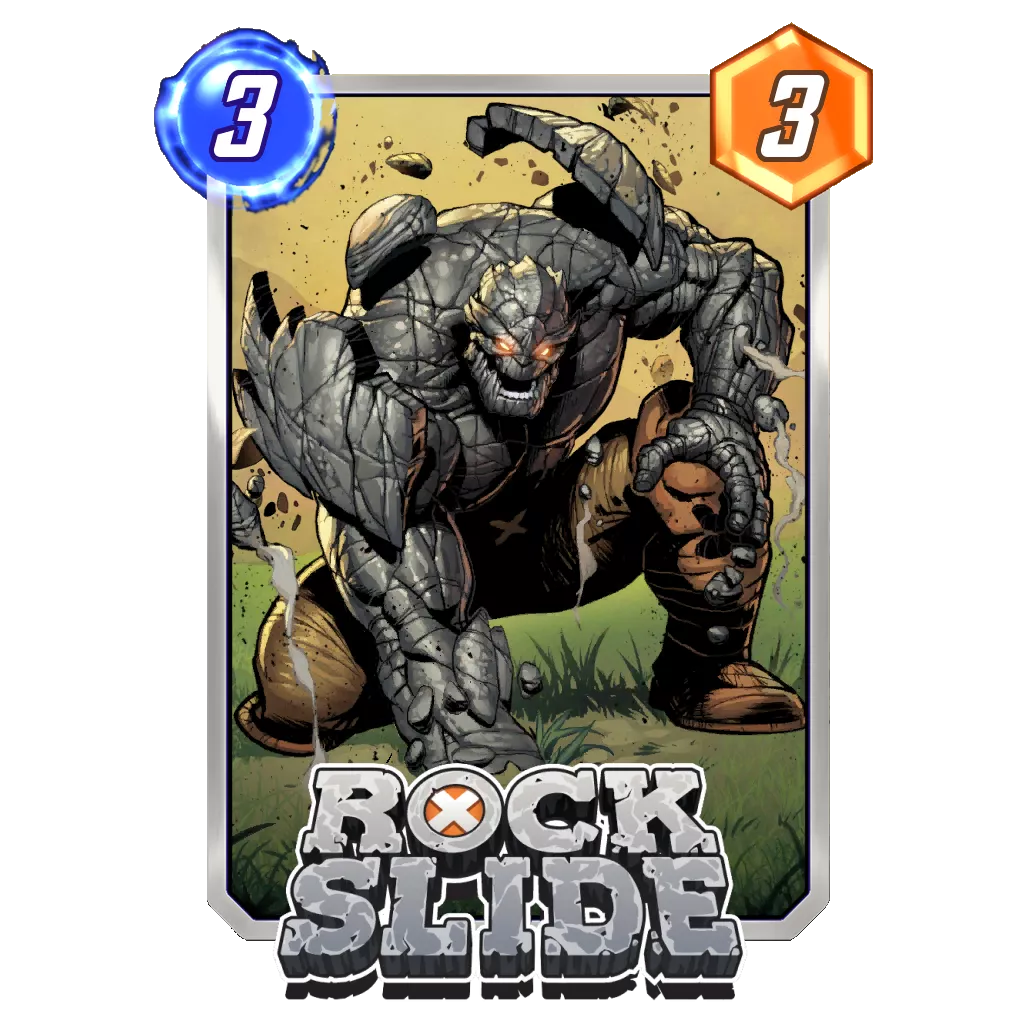
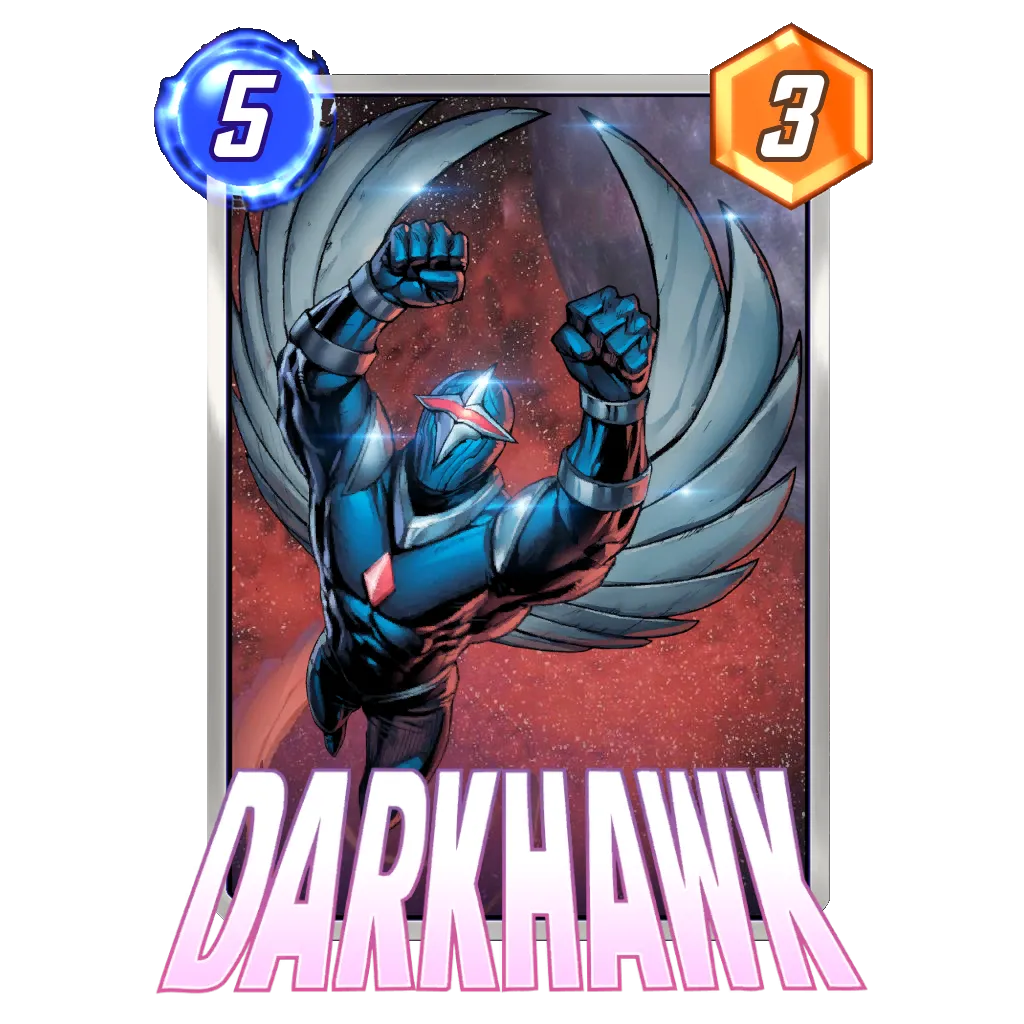
Darkhawk seems to be the foundation of the archetype, and it was seen in most lists alongside Korg, Rockslide, and Mystique. The card was also slotted in the DoomWave build to create the “Good Darkhawk” deck featured in the Potential Additions.
Once the optimal list for the current metagame is established, I would expect this deck to rise in the rankings and compete for the top of Tier 2 – or maybe a Tier 1 spot.
How To Play: The goal here is to be very efficient with our energy while also keeping our options open for the last few turns. We have three main win conditions: Darkhawk, Devil Dinosaur, and Shang-Chi, and Mystique could represent a fourth win condition if she copies either of our two huge Ongoing cards. When we find Zabu on Turn 2, we are able to keep Darkhawk and Mystique together for a Turn 6 play, creating a solid one-two punch with Devil Dinosaur on Turn 5. Shang-Chi plus Darkhawk is another very strong Turn 6.
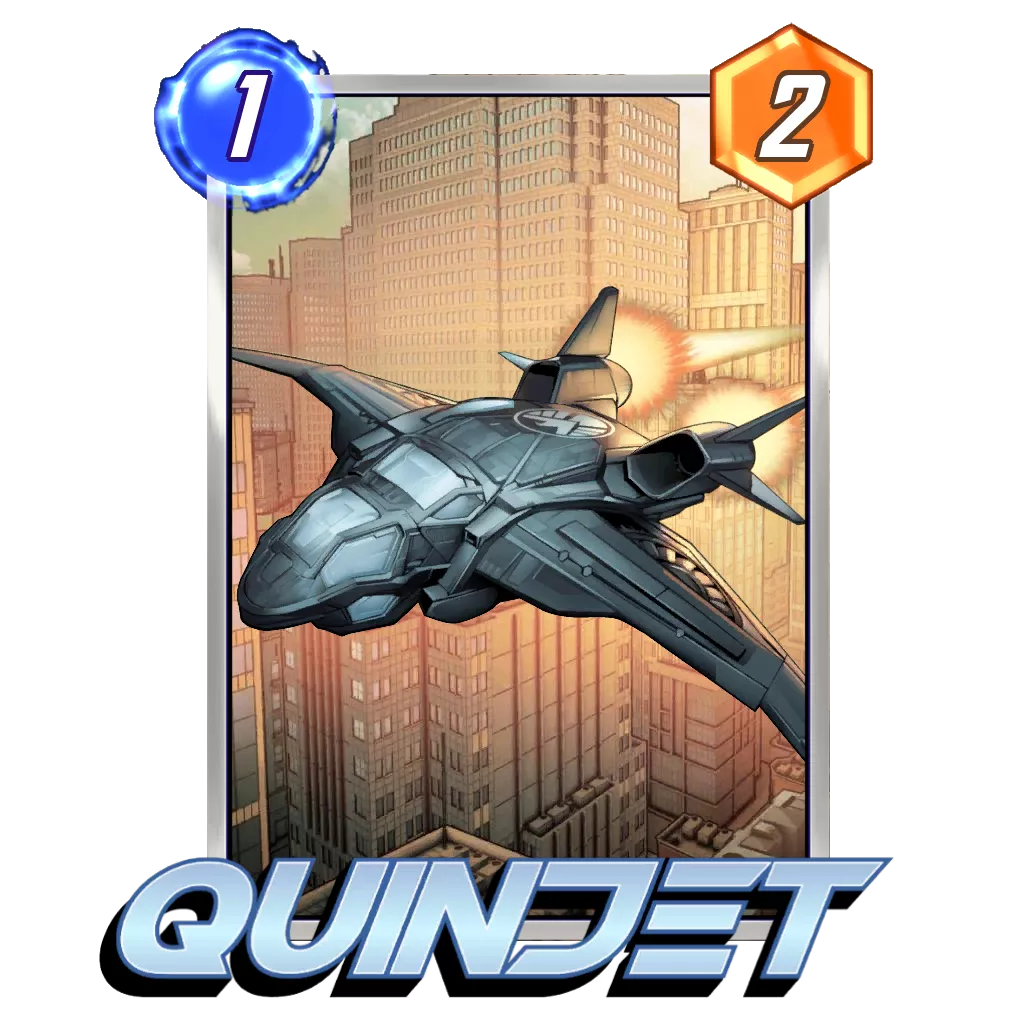
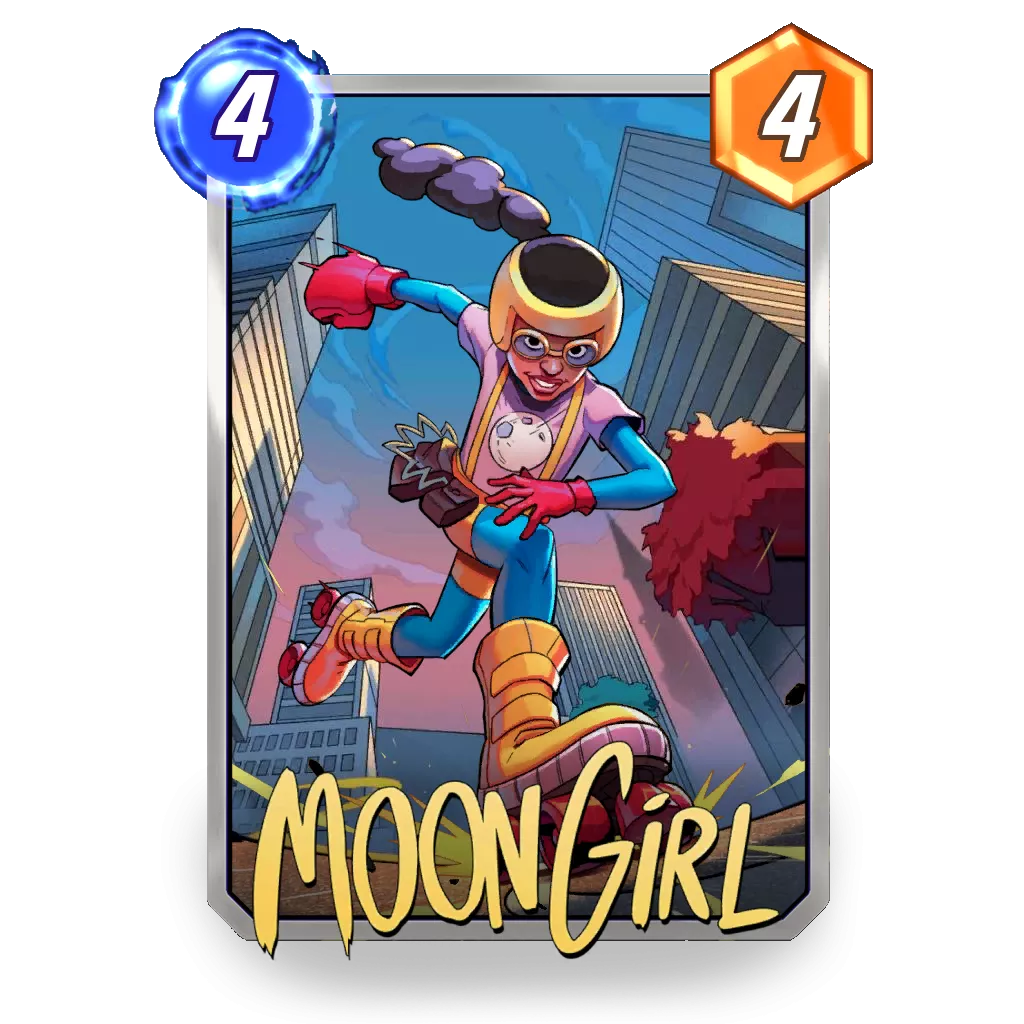
Without Zabu, we are a bit less explosive and usually rely on Mystique copying Devil Dinosaur or Darkhawk alongside Cosmo to protect either of them from Shang-Chi. We could also use Quinjet to cheat some energy on cards copied with Moon Girl to create a different Turn 6.
Potential additions:
Thanos Death Lockjaw 🔽
Rank Justification: The big return of last week has fallen a little flat this time. Compared to its impressive 59% win rate last week, the deck only posted a 53% score this time around if we look at the same portion of the ladder. The popularity did go up quite a bit, from 4% to 8% among players higher than 3500 CL, which might explain the performance dip.
Indeed, with more people playing the deck, and Thanos Lockjaw not being so easy to master, it could be logical to see the new players make mistakes and give a bad look to the deck. I would keep a close eye on this archetype’s performances next week; the win rate could rise if the players who picked up the deck this week are able to master it by then.
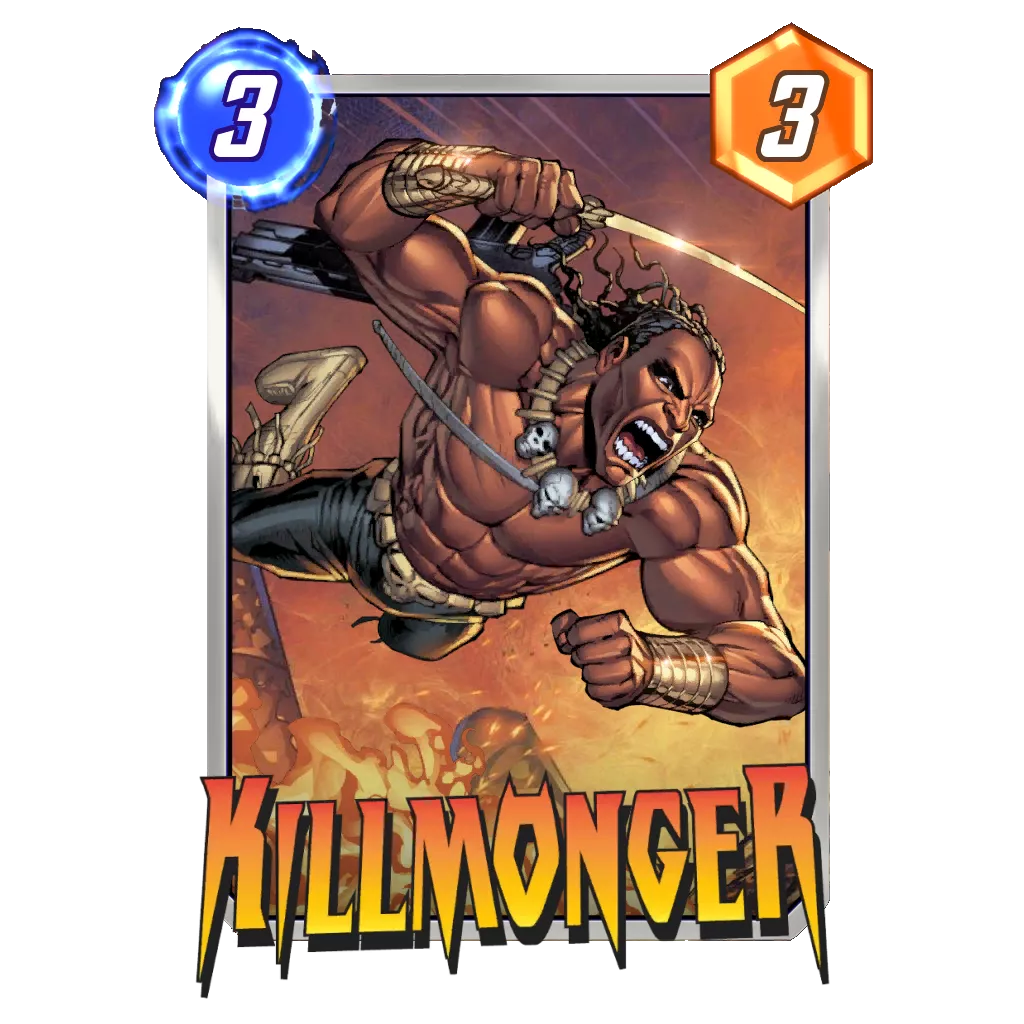
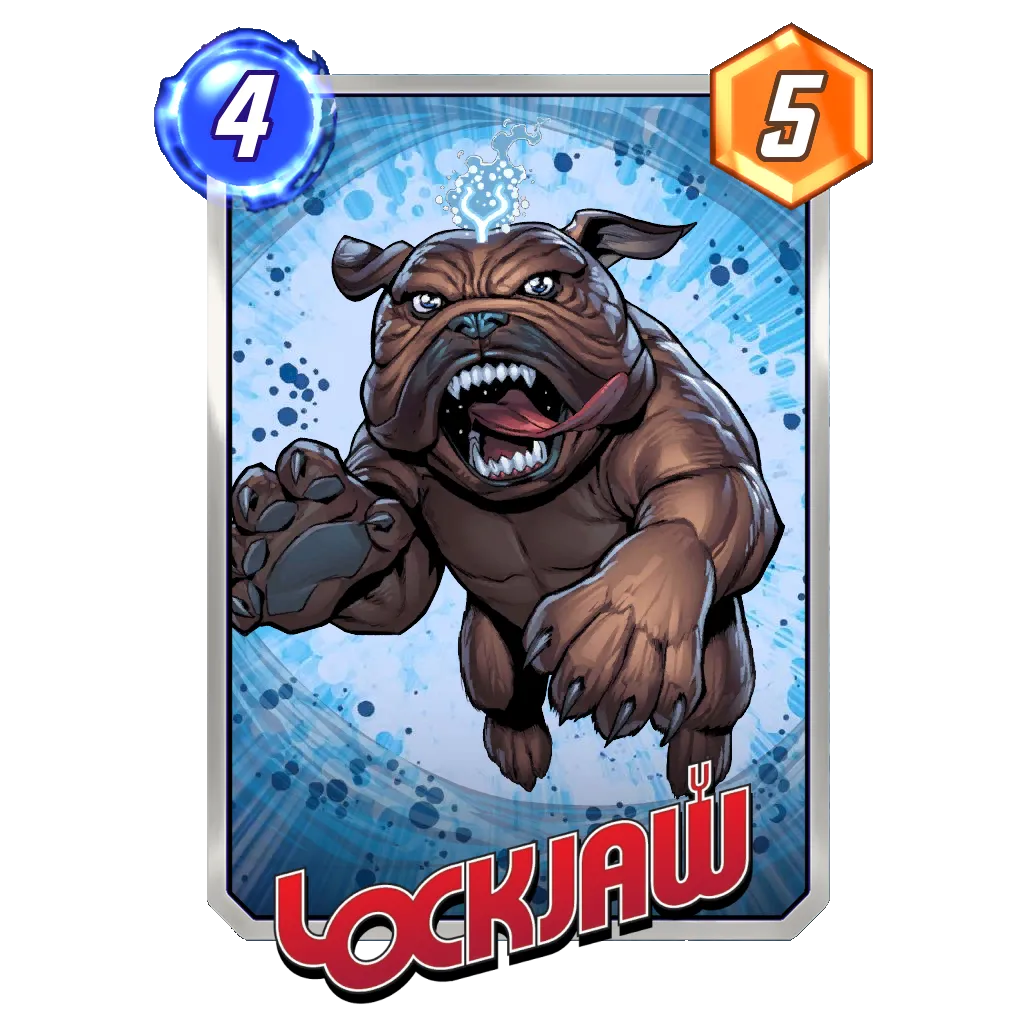
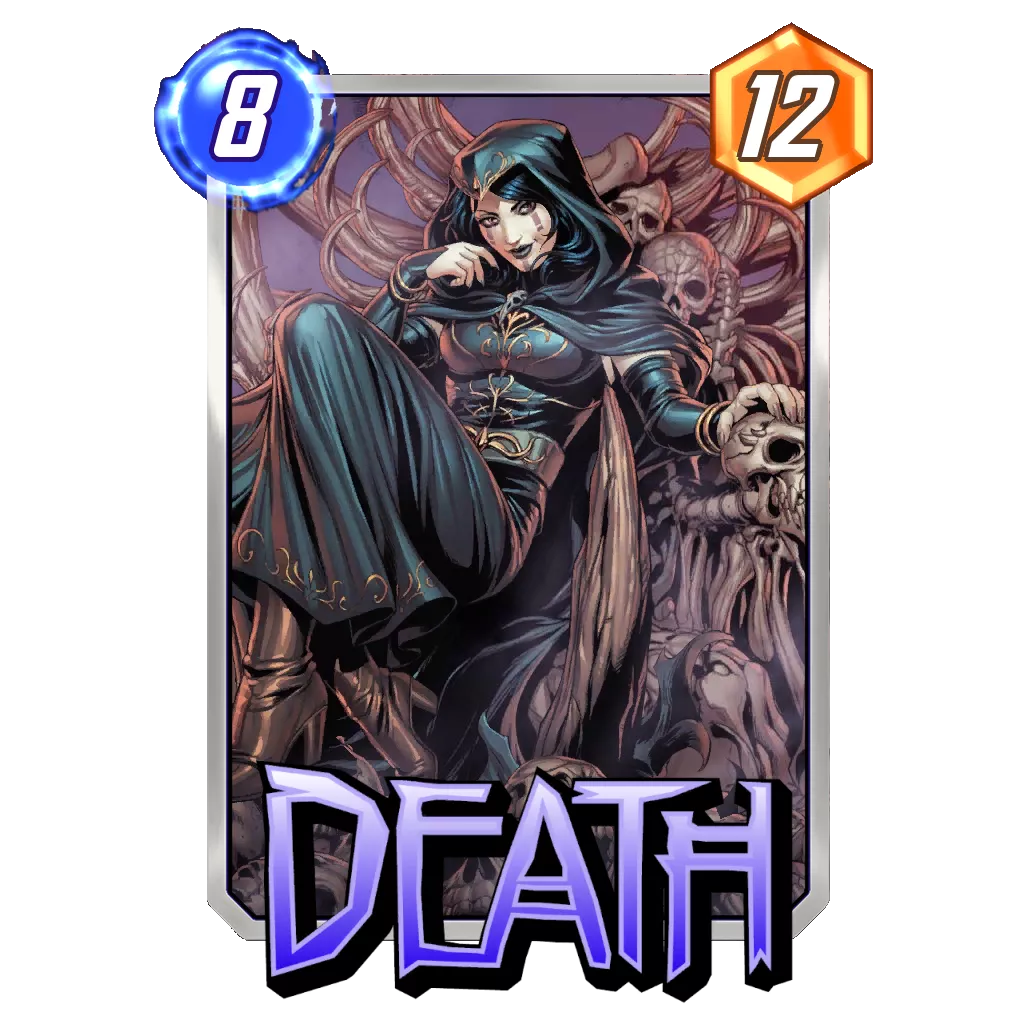
How to play: This deck is a mix of two popular archetypes: DeathWave and Thanos Lockjaw, and it uses both their play patterns to generate a ton of points. At the center of both synergies are the Infinity Stones. They’re used to abuse Lockjaw’s ability and to reduce Death‘s cost with Killmonger.
The biggest strength the deck has is the ability to remain totally unpredictable and still very effective. Here are a few synergies to keep in mind:
- Lockjaw serves to cycle the Infinity Stones back in our deck and replace them with our big cards. Keep in mind that each Stone has a powerful ability, so they can contribute outside this synergy as well.
- Killmonger, Wave, and Death represent another explosive pattern for the deck. They give the Stones another purpose when we don’t find Lockjaw. Use Killmonger to destroy the Stones, then Wave on Turn 5 for an explosive Turn 6 with Death and She-Hulk.
- Leech represents the third win condition for the deck. You will usually win the game if you can get it out early with Lockjaw or the Time Stone.
At its core, Thanos Death Lockjaw is quite the high roll strategy. Its win rate lets us know it is working more often than not, but the true secret with this deck is to be fearless with your Snaps when you have one of your high rolls. Bad draws happen – they’ll cost you a cube, and then you’re on to the next game.
Potential additions:
Good Cards DoomWave
Rank Justification: With Sera Control slowly taking hold of the Marvel Snap metagame, any deck with Wave should consider that to be good news.
The deck isn’t performing at its best among players with a large collection; however, DoomWave held one of the highest win rates (59%) with players below 3500 on the collection track. This week, DoomWave was competing with Patriot for the pride of being the best Pool 3 deck, but it loses in our ranking due to Patriot being more flexible and able to adapt to various collection levels.
Sunspot was still listed as a staple in the deck this week, but I wouldn’t be surprised to see it replaced in the near future.
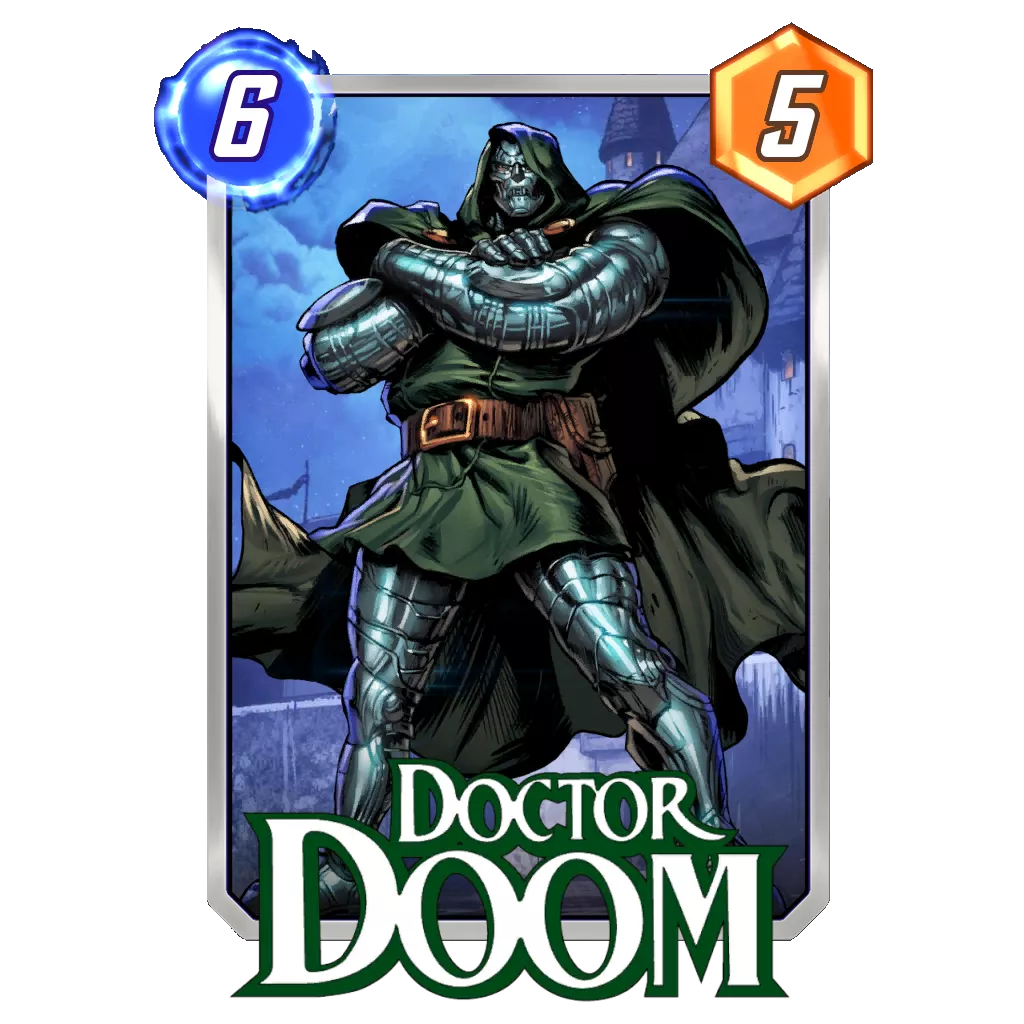
How To Play: The deck’s bread and butter is the Turn 5 and 6 play pattern using Wave followed by She-Hulk plus another big card, usually Aero, Doctor Doom, or, at worst, America Chavez. Shang-Chi is a consideration when the card is able to turn a lane around as well.
In order to make sure this late game sequence locks the game for good, we need to be ahead on Turn 5. Then playing only Wave won’t represent such a sacrifice since we need to keep two energy saved for She-Hulk to be a 2-cost card on Turn 6. Once every card costs four, we should be in the driver’s seat to lock the game, either going big on a location or spreading our points.
In order to take the lead in the first four turns, we have the usual good cards suspects at every energy cost. The way you want to spread your points early in the game should depend on whether you anticipate going for Aero or Doctor Doom late in the match. The former would push for building two solid locations because Aero can pull any opposing cards to the third one. The latter, on the other hand, allows us to win close and contested lanes on the last turn and is fine with seeing you spread your points around.
Potential additions: As usual with the Good Cards archetype, a lot of cards could be mentioned as long as they are worth enough points to satisfy the deck’s game plan.
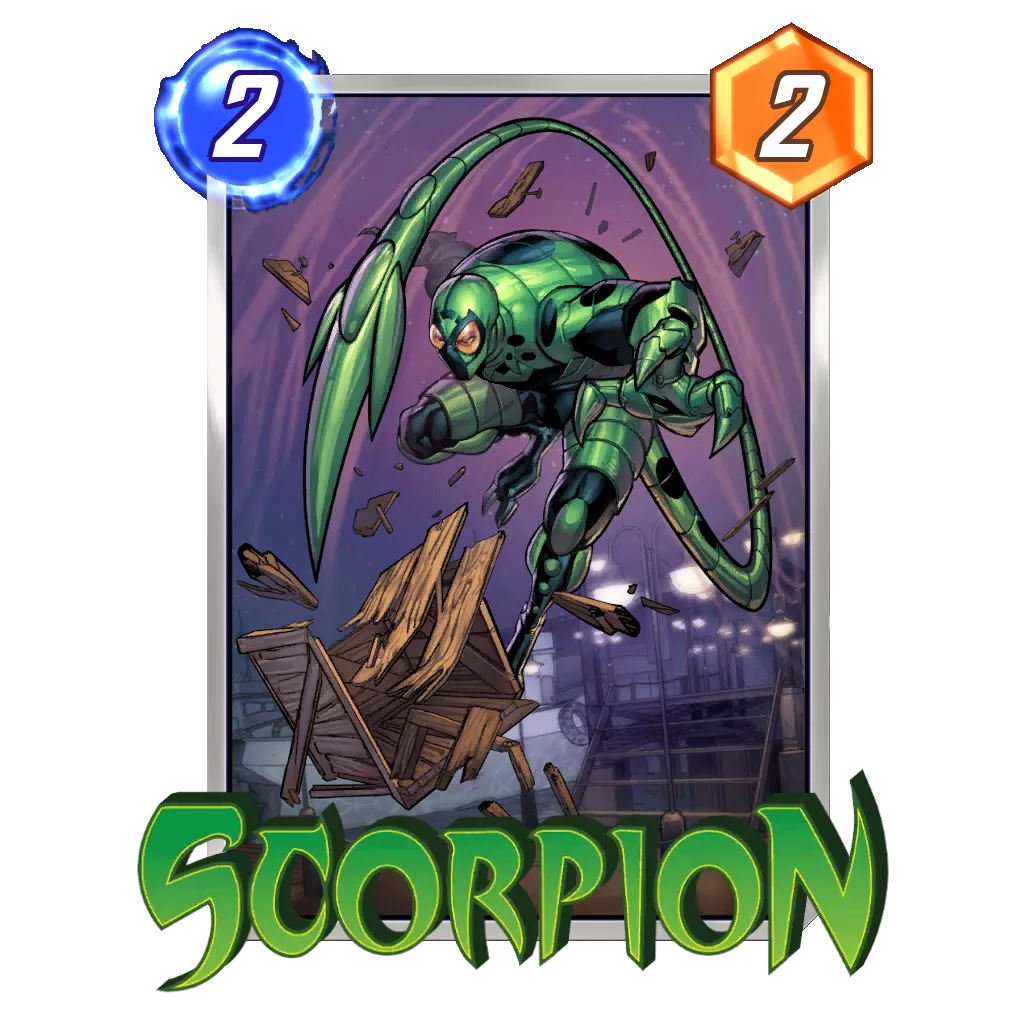
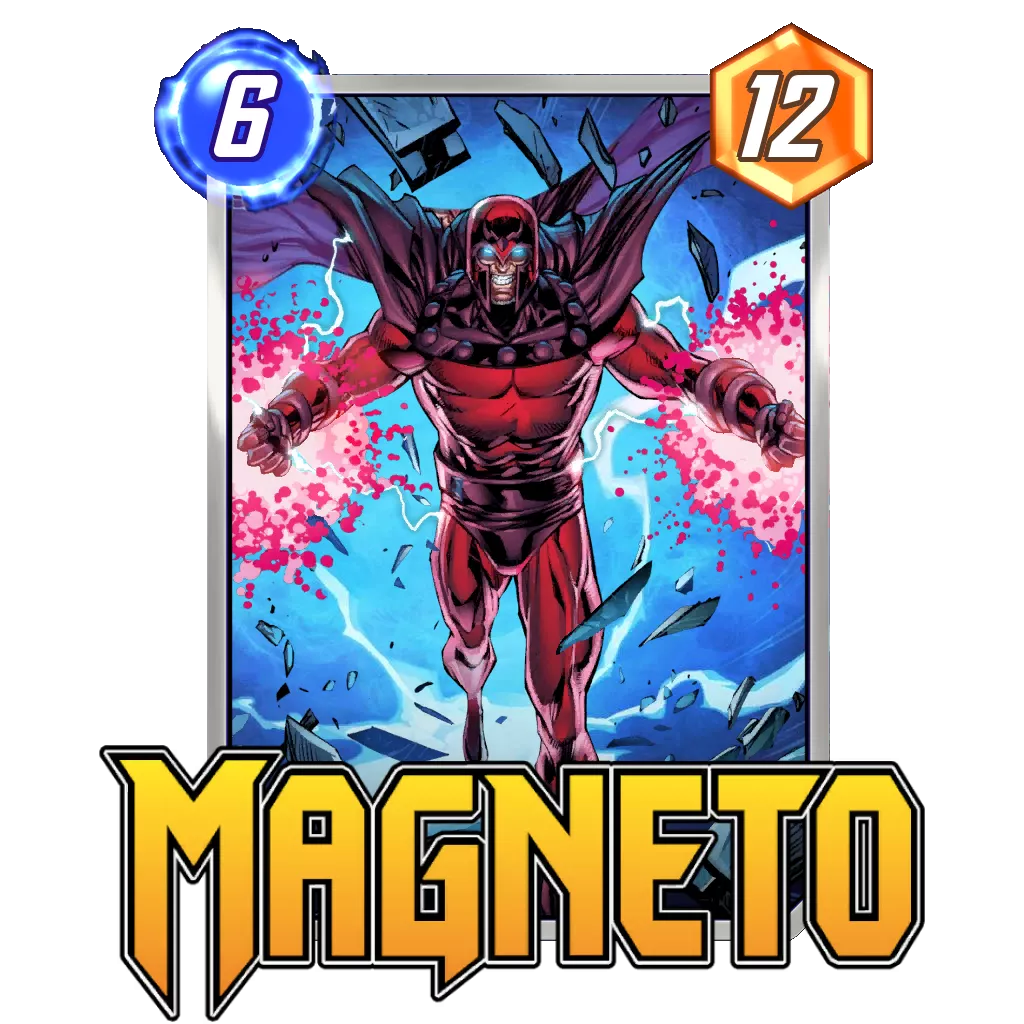
Currently, Polaris and Magneto are logical inclusions as they are good cards against many other archetypes. Daredevil could also replace Scorpion if you value Turn 5 information when you don’t draw Wave. Spider-Woman was experimented with as well.
With Sunspot nerfed, players have started looking for a potential replacement. If Nightcrawler could work as a card for card change, this build also has emerged, merging with the Darkhawk package.
Electro Ramp
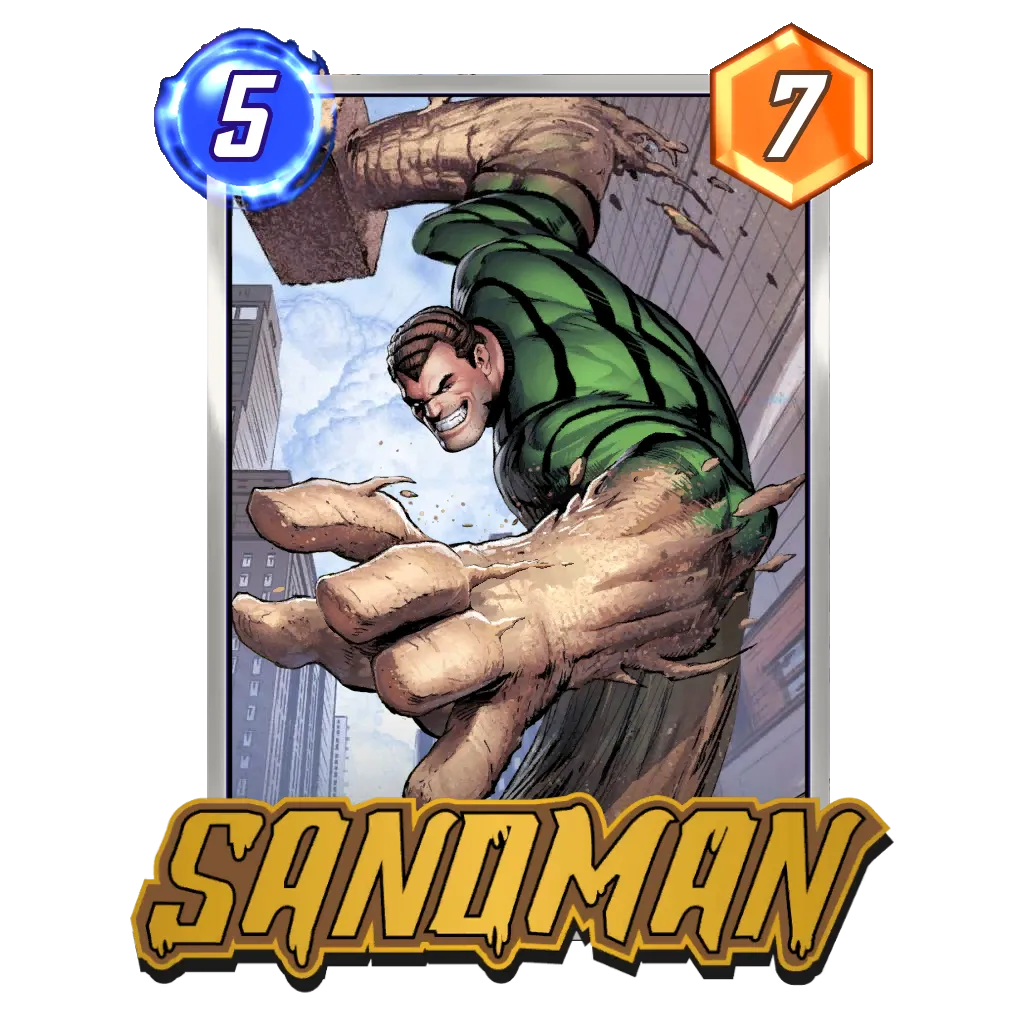
Rank Justification: This deck was announced as the deck to keep an eye on since Sandman is considered the best counter to Hit Monkey in Marvel Snap. Unfortunately, Electro Ramp didn’t post such impressive numbers. The deck appears to be a solid pick with a 53% win rate overall and around a 0.4 average cubes.
It is still significantly below the best deck’s performances in both categories, which seems to indicate Electro Ramp isn’t ready to take over yet. However, the deck still performs incredibly well right before the Infinite rank, where most players tend to play the best (and most obvious) archetypes.
In that part of the ladder, Electro Ramp becomes very easy to pilot as we should know most of what will happen in a match once we figure out the opponent’s deck.
How to play: Electro Ramp relies on very simple concepts, and it’s usually a deck that is great for players struggling with flexible play-patterns.
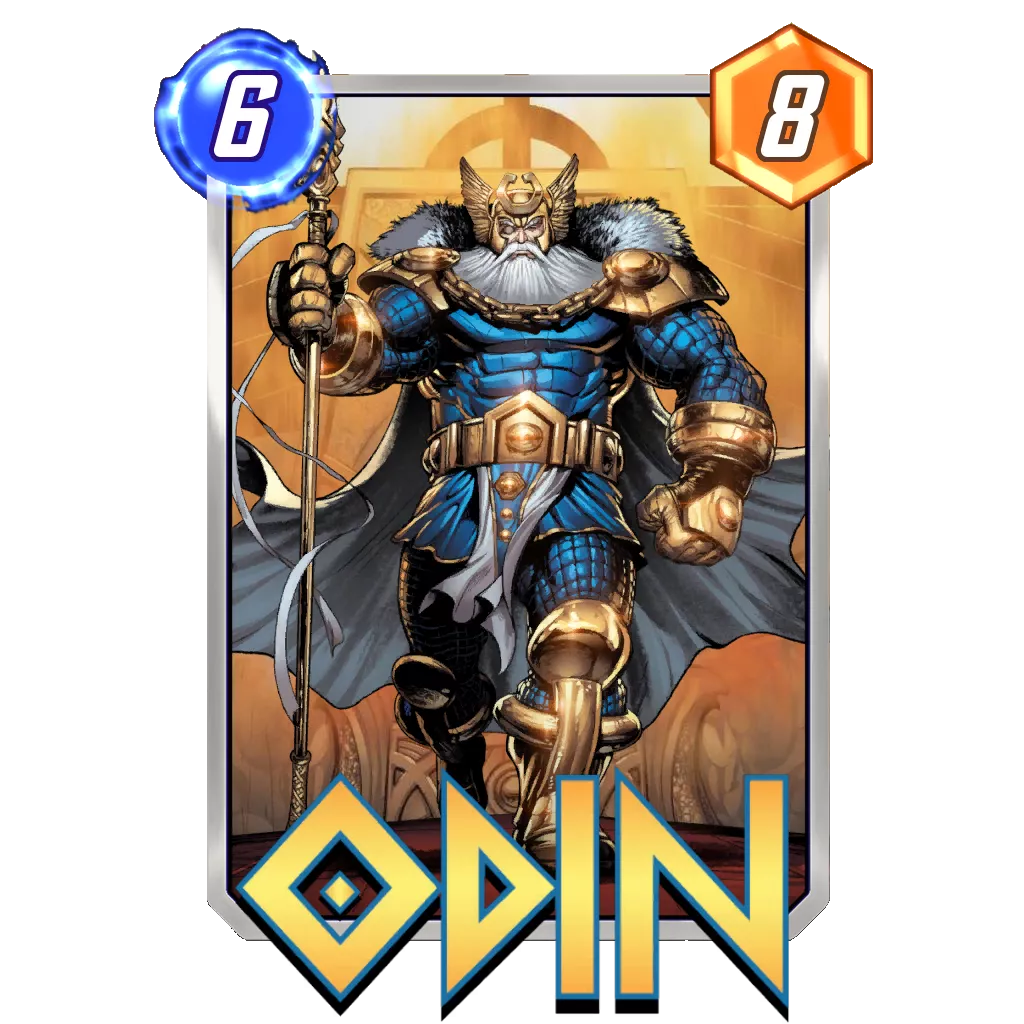
At its core, the deck is trying to play Electro on Turn 3 and then go on a 5-6-6-cost pattern for the three remaining turns. For example, the Sandman → Doctor Doom → Odin pattern has been the deck’s bread and butter for a while.
In the current metagame, where disruption seems to be more important, Electro Ramp will usually value Sandman, Magneto, and Aero more if the opponent didn’t have a strong early game. In this approach, playing proactively before Electro is quite important because the deck will develop fewer points later on.
Sunspot makes this approach to play low cost cards such as Shang-Chi in the later rounds a valid option, giving the deck the possibility of being disruptive with fewer points developed.
Potential additions:
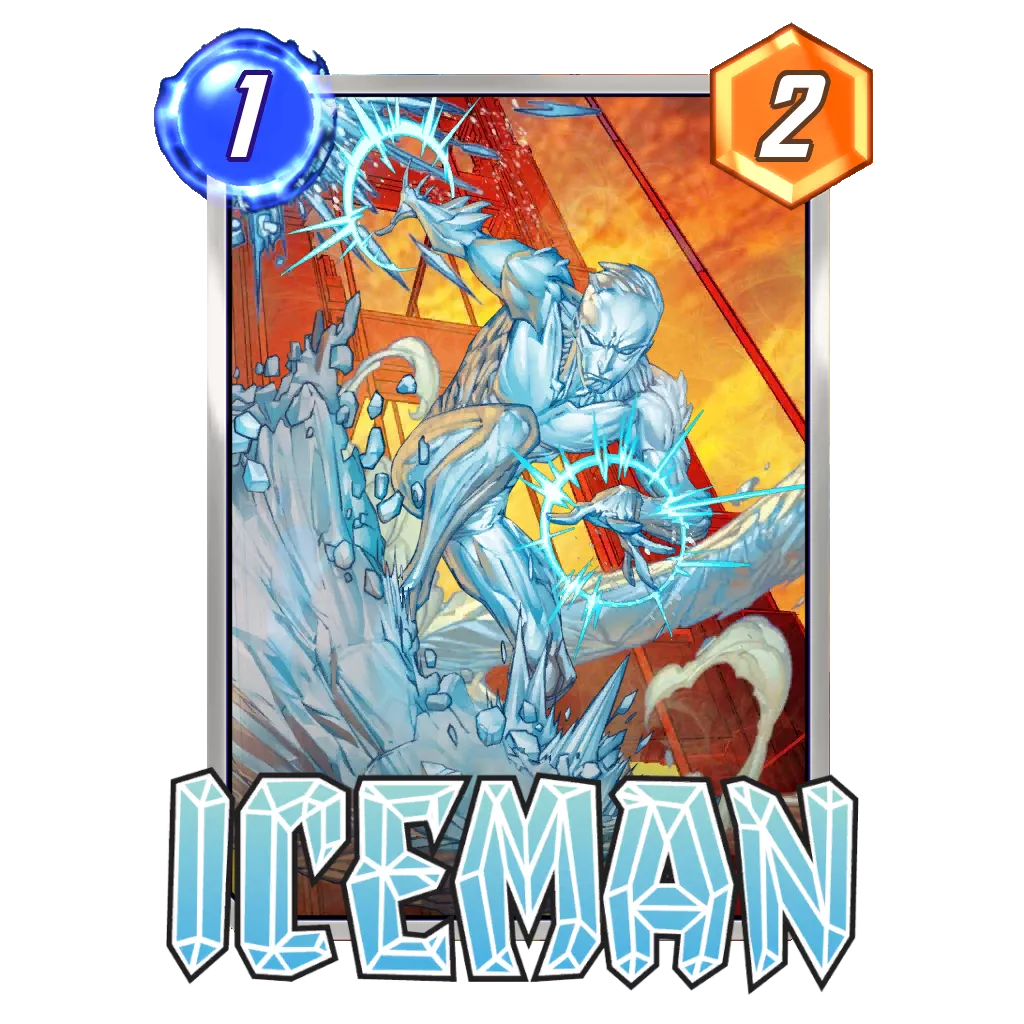
- Iceman, Armor, and
Scorpion highlight the popular cheap cards the deck could run outside the ones included. Squirrel Girl could be considered for priority purposes, or as a soft synergy with Sandman.
For the late game, there are a few duos worth mentioning:
Black Panther andArnim Zola go very well in the On Reveal shell the deck pushes for. - Doctor Octopus and Heimdall have a nice synergy going on.
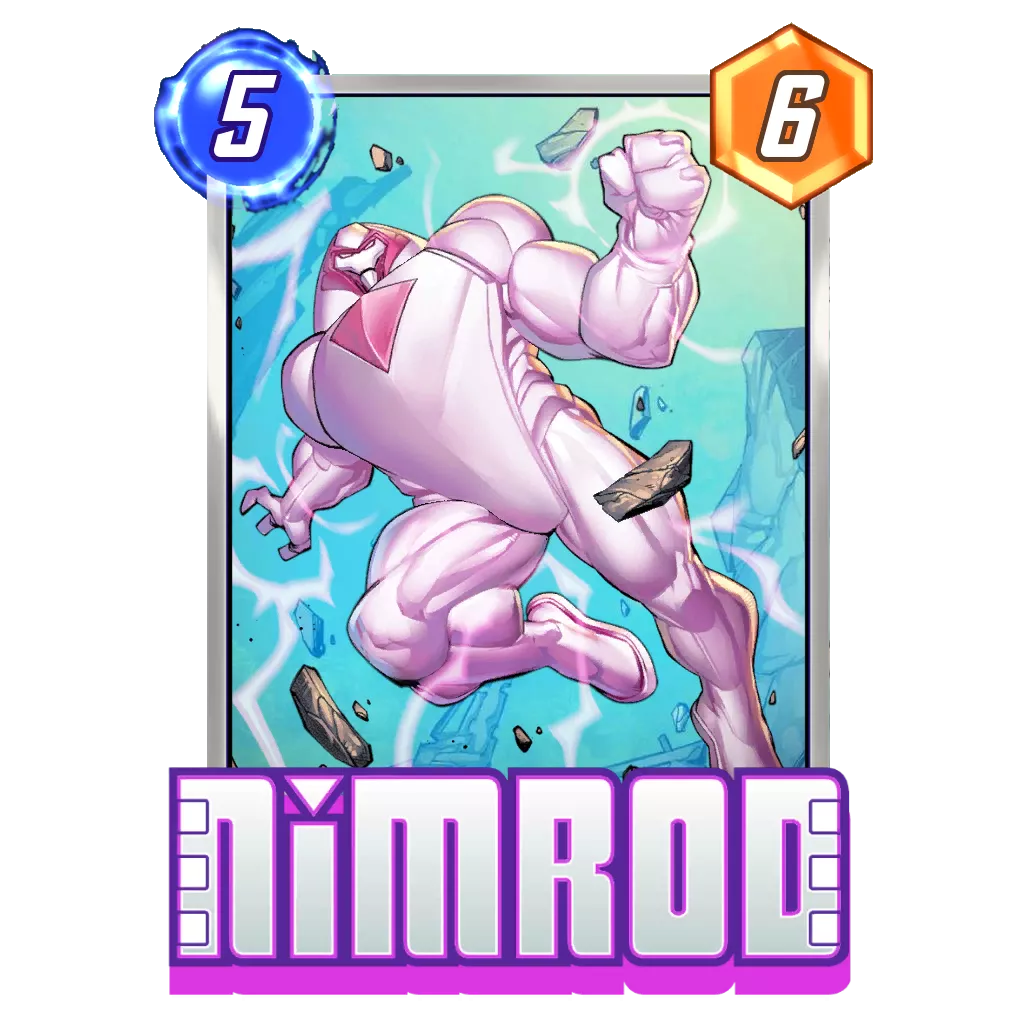
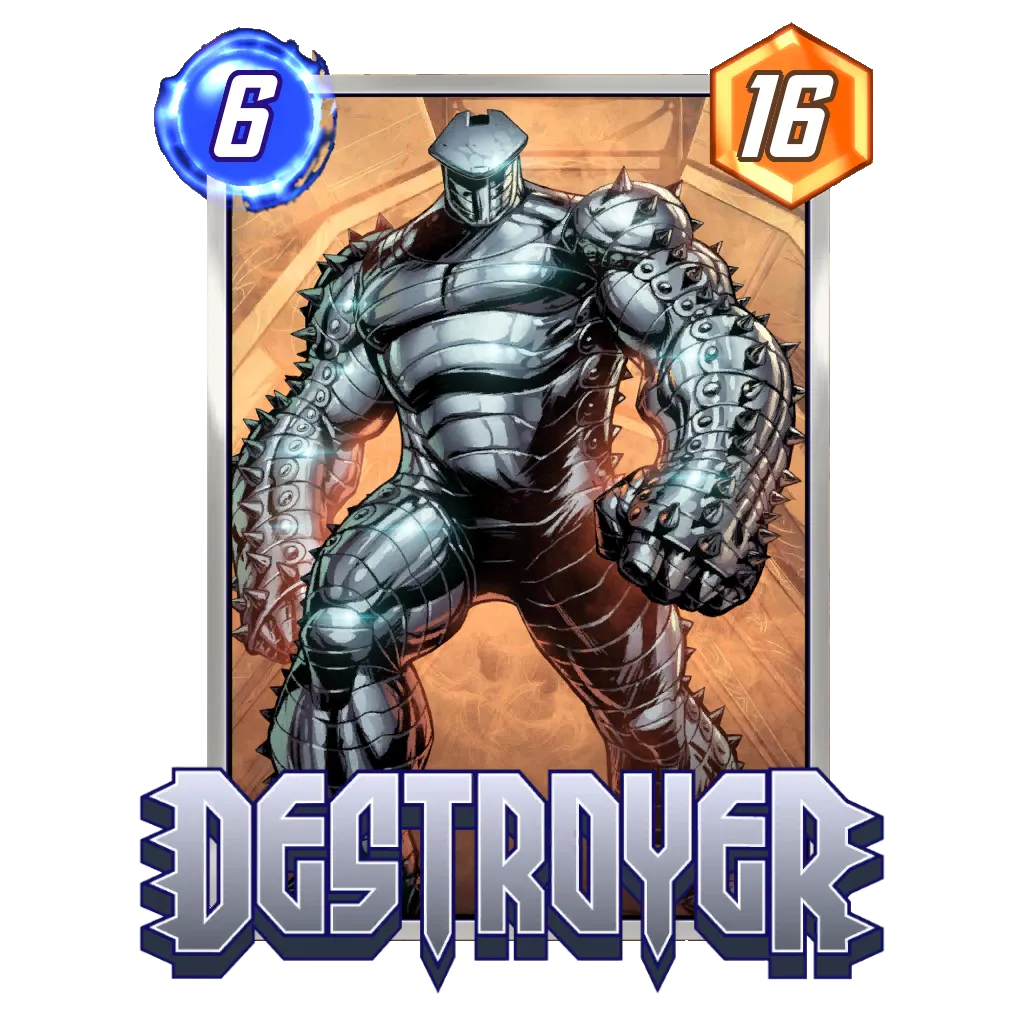
- Shuri and Nimrod are fine if you include Arnim Zola or Destroyer as well.
Bounce 🔼
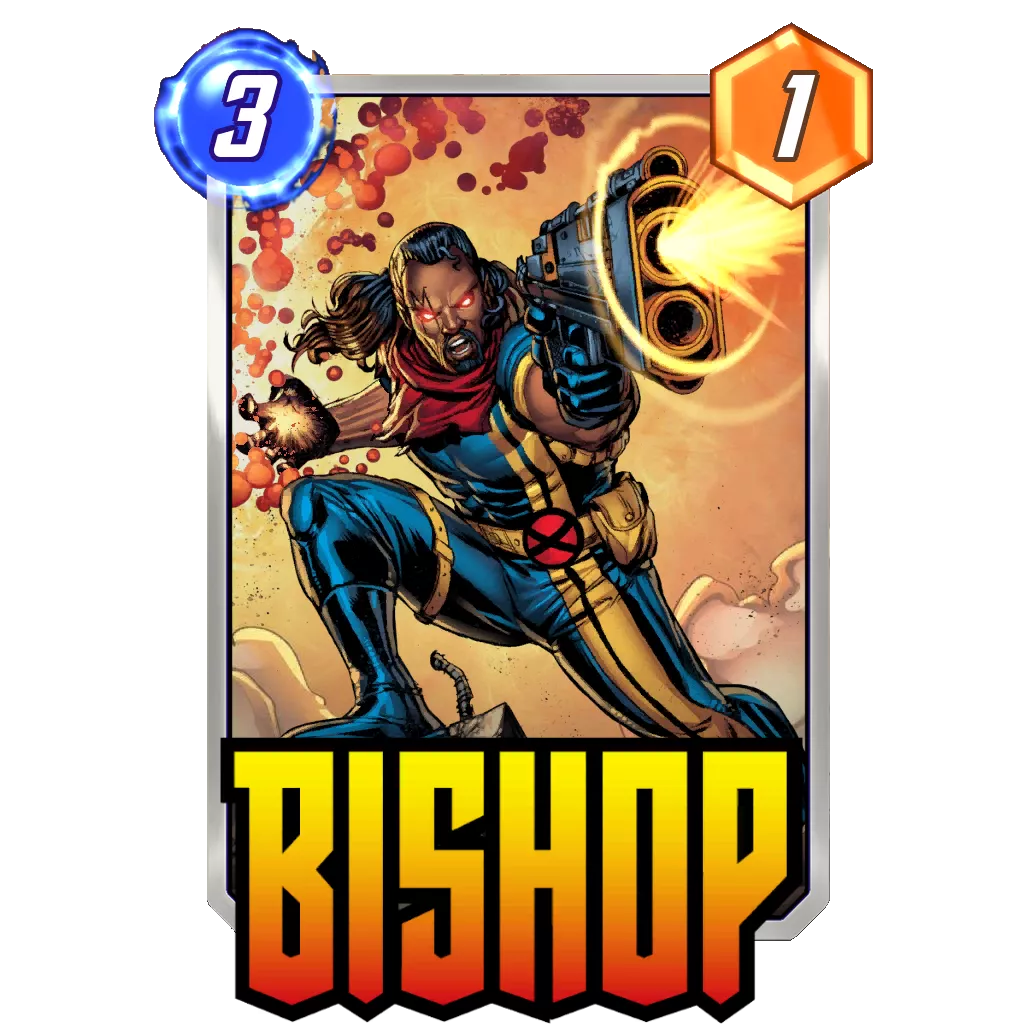
Rank Justification: If the bottom of Tier 2 disappoints those who love the Bounce archetype, keep in mind the deck has been battling to be considered a valid build for most of its existence. Especially after both Angela and Bishop suffered some nerfs, the deck’s ability to produce enough points, while dodging Wave and Sandman as well, never felt good enough.
If the threat of the two counter cards still remains, the addition of Hit Monkey has provided the deck with another great win condition – and a nice win rate boost in the process. Currently, it looks like Sera Control was the biggest winner from Hit Monkey joining Marvel Snap; however, if we think about the fact that Bounce was a non-existent archetype before this season, jumping to Tier 2 is quite the accomplishment.
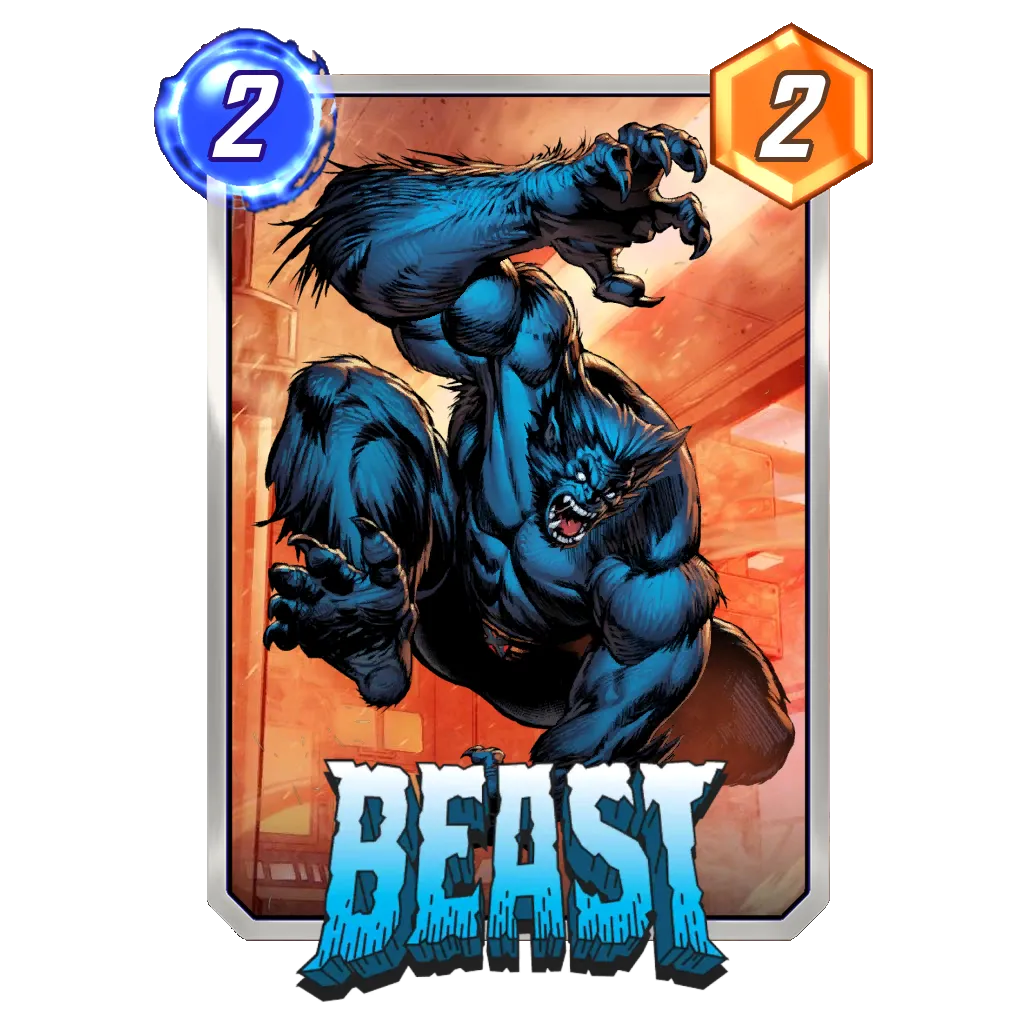
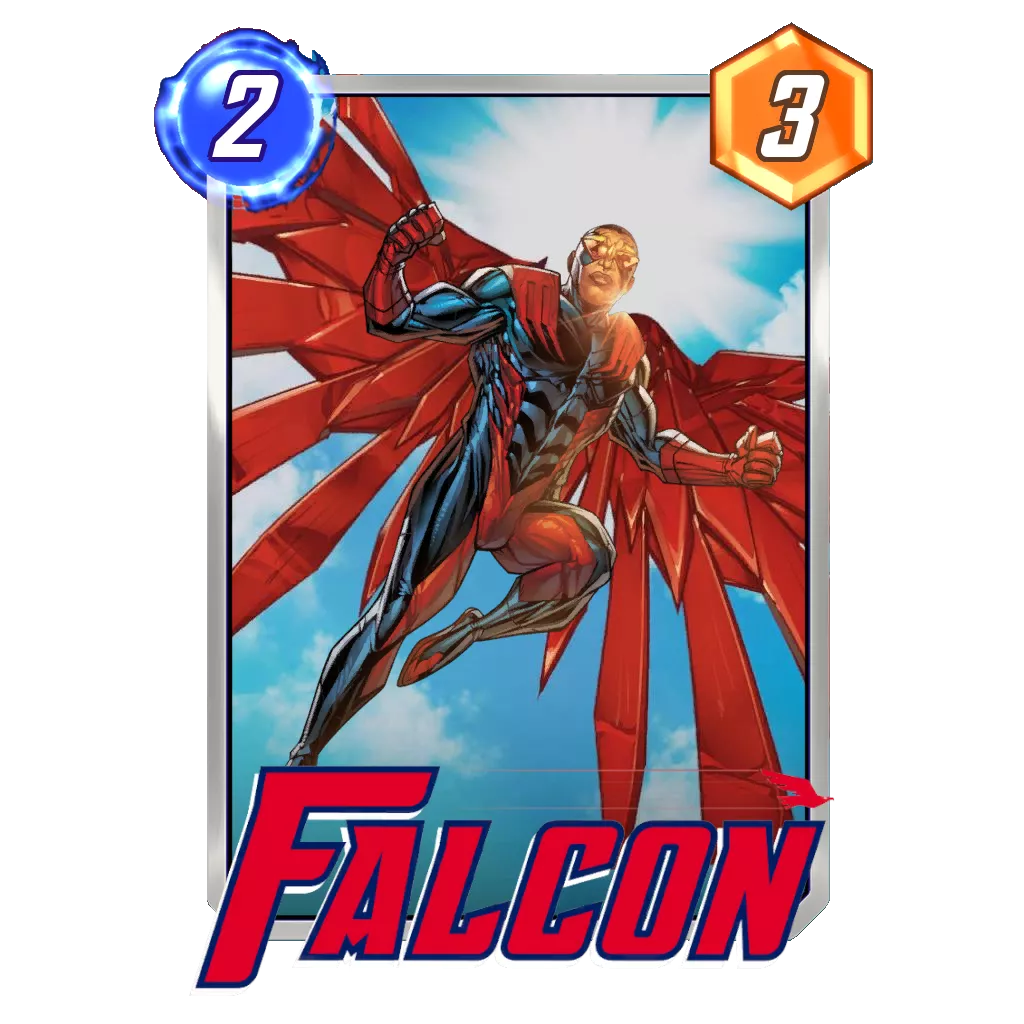
How to play: Bounce relies on replaying cheap cards several times through Beast and Falcon, leading to several benefits:
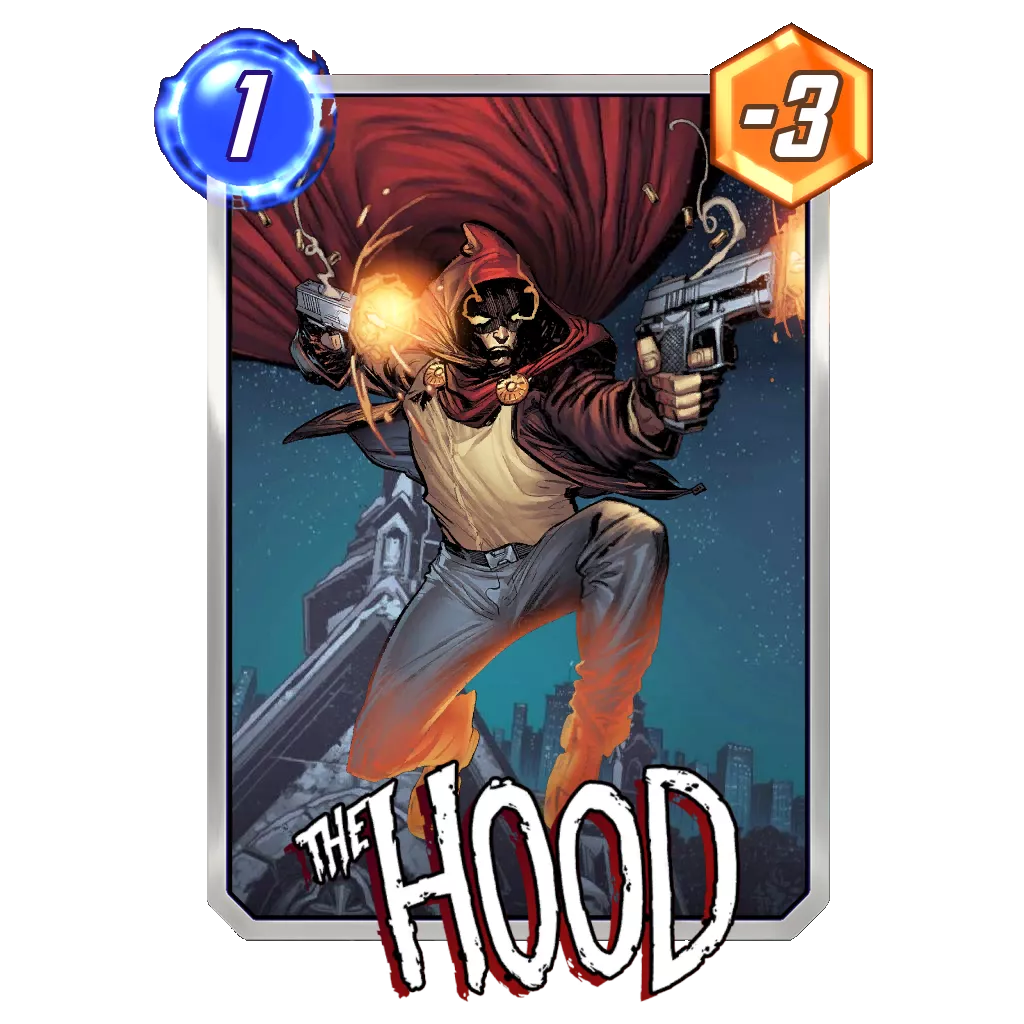
- Their abilities can be great, such as Iceman and The Hood. Korg, for example, feeds Darkhawk and disrupts the opponent’s deck each time you replay it.
- They serve to buff cards like Angela or Bishop as they grow when you play more cards.
- It gives you an easy way to plan ahead of time because you don’t necessarily depend on your draw to use your energy. You can reuse cards already in play.
- You are much more flexible with your available space, as you can remove cards to play others instead in that spot
- Bounced cards are usually quite cheap, leading to very flexible turns down the line.
With Hit Monkey joining the archetype, Bounce now also looks to keep those cheap cards in hand to have an explosive Turn 6 play. Through the bounce mechanic, we are able to both play those cards to buff Angela and Bishop during the game and have them available to play alongside Hit Monkey.
Potential additions: The most flexible parts of the deck are Korg and Darkhawk, which can be changed for more standalone cards. Valkyrie, Scorpion, Shang-Chi, Carnage, Ka-Zar, Blue Marvel, Viper, or even America Chavez could be considered depending on how you prefer playing the deck.
Tier 3
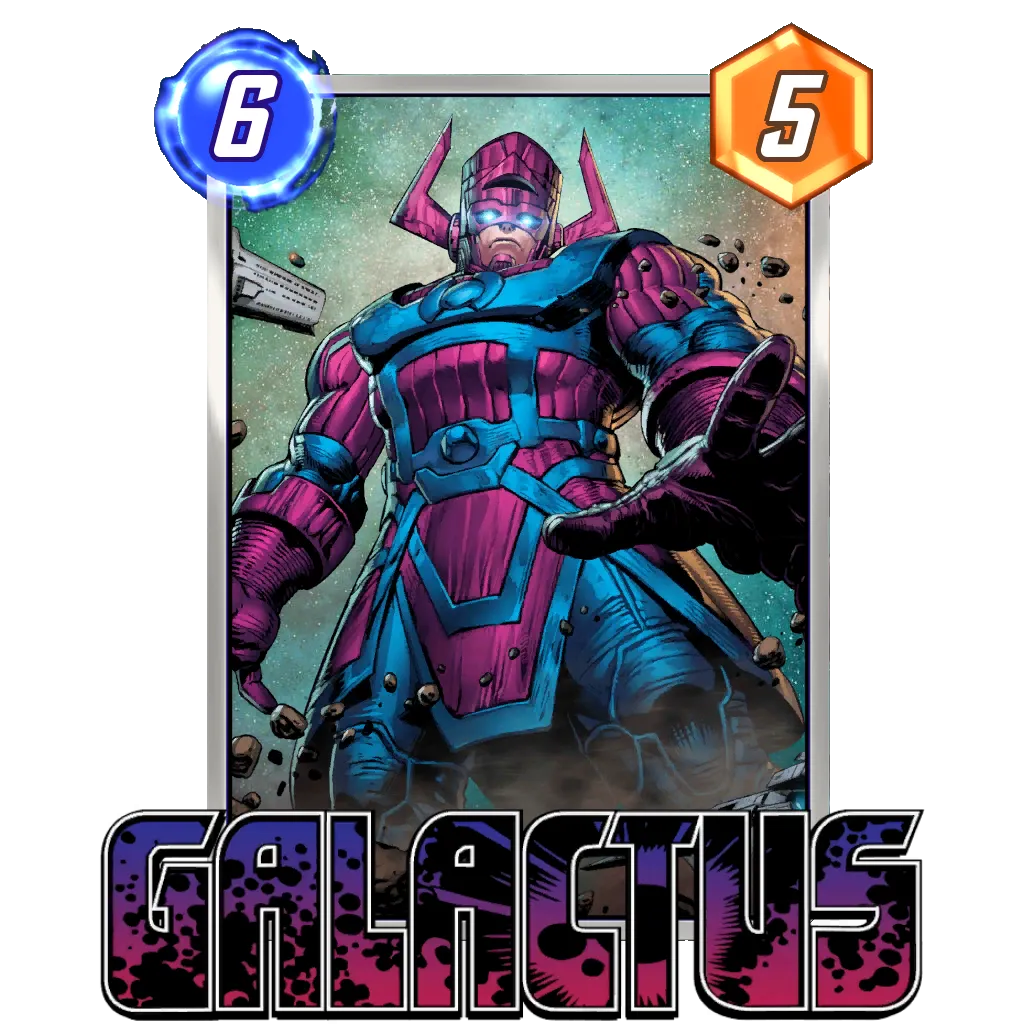
Galactus
Rank Justification: While hectic metagames tend to be a nice environment for Galactus, it seems like the Devourer of Worlds will never have a week without a counter card. This time, Cosmo and Debrii have been the biggest offenders, denying the deck a lot of opportunities and cubes. Bounce and Sera Control, two popular picks, aren’t running most of the usual annoying cards for Galactus. If these two keep rising in the popularity rankings, we might see Galactus have a shot at being a Tier 2 deck once again.
For once, most players seems to have agreed on the more traditional approach of the deck and dropped the Nimrod / Shuri package from the deck. The deck still exists, and it represents a decent part of the Galactus decks, but it has been doing worse and lost some popularity this week.
How to play: The goal with this deck is to land Galactus safely, and then dominate the only remaining lane.
We have two main routes to victory after playing Galactus:
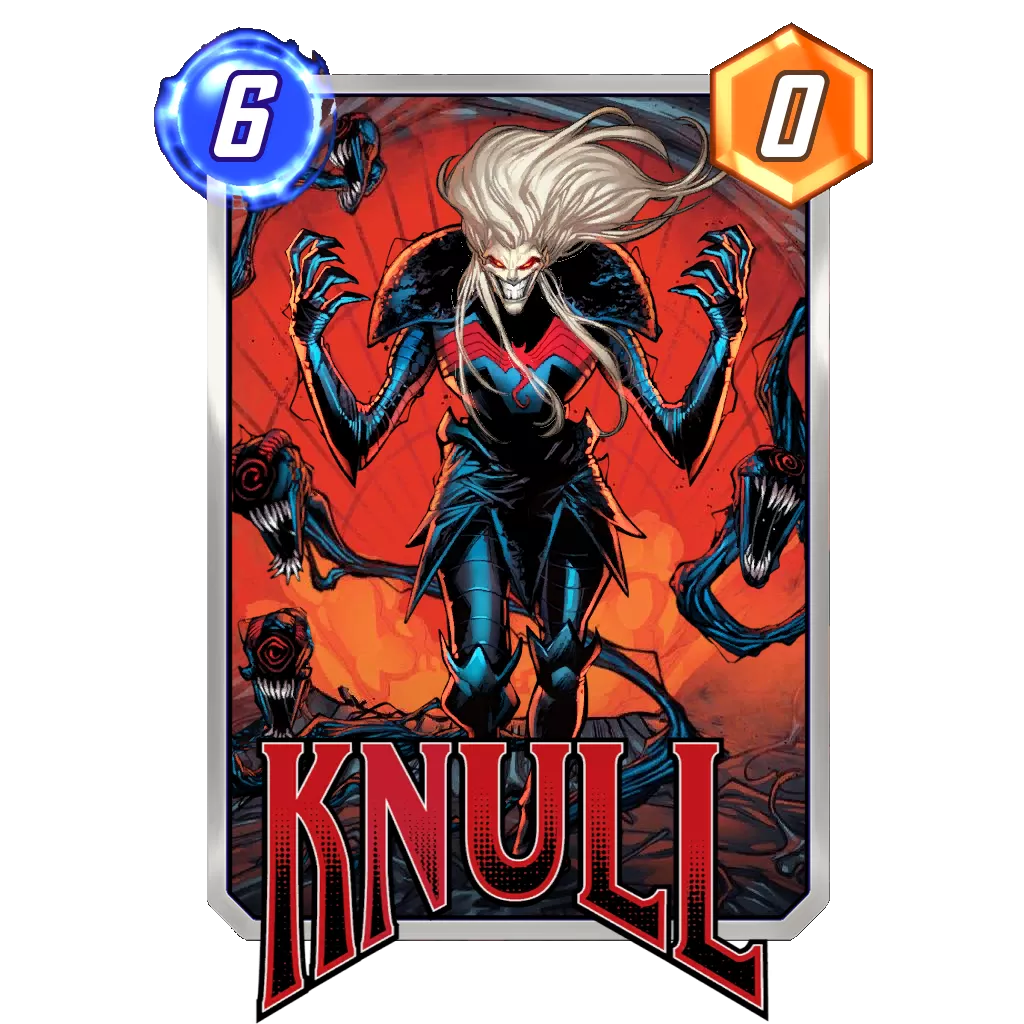
- If we played it on Turn 5 (the Electro route), we want to have an explosive Turn 6, such as Death plus Knull or Shang-Chi. Note that playing Galactus on a lane where the opponent already has more than two points is nice to give up priority going into Turn 6. Playing Doctor Octopus on Turn 5 can help deplete the opponent’s hand of options.
- If we played Galactus on Turn 4 (the Wave route), we will try to disrupt the opponent on Turn 5 with Spider-Man, Hobgoblin, or Doctor Octopus. Then, we just have to play it safe on Turn 6 (if the opponent hasn’t retreated).
Snapping is everything when playing a Galactus deck, and part of why is because it is quite the risky pick. If we Snap after revealing Galactus, the opponent will likely leave for one cube or counter Snap if they have a counter in hand. As such, it is important to Snap before we go into our easily recognizable play patterns in order to keep our opponent in the game for at least one more turn.
Potential Additions:
Sera Surfer 🔽
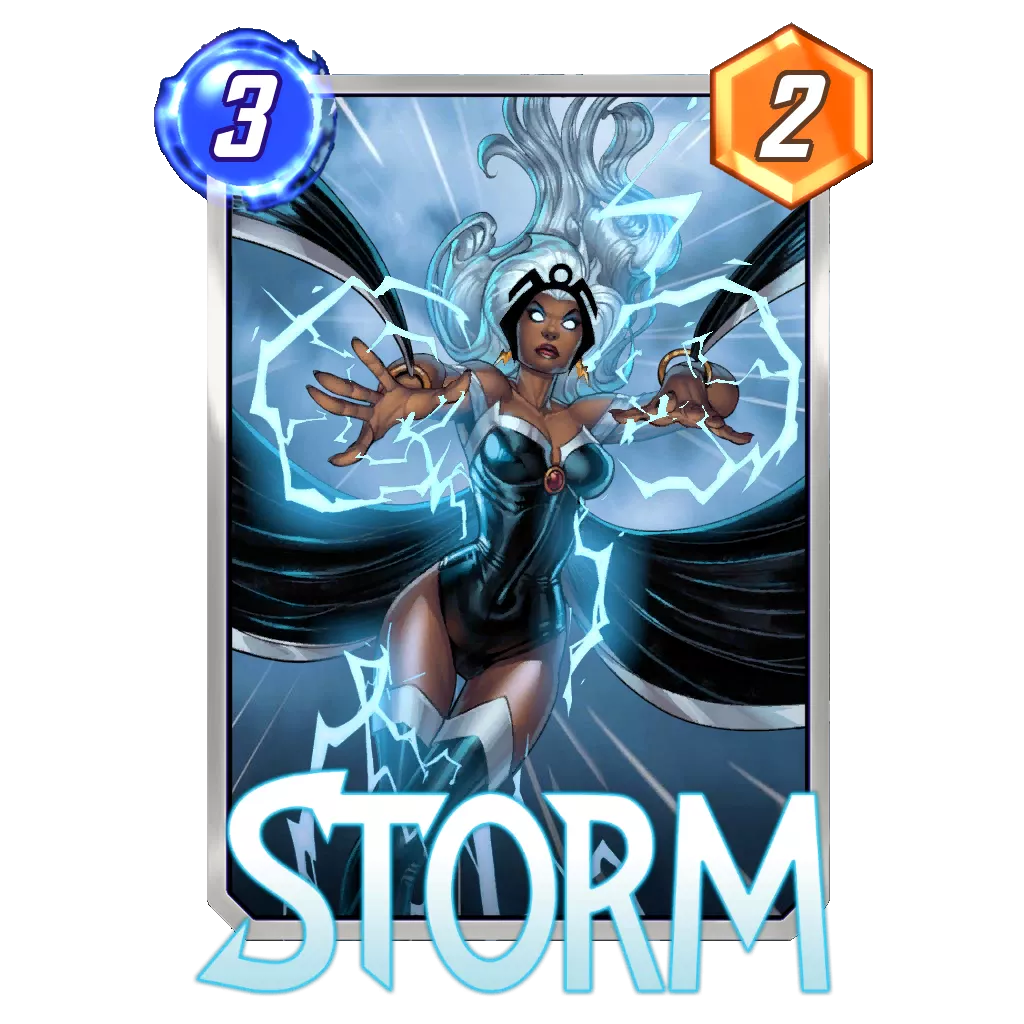
Rank Justification: With a lot of annoying cards in its build, Sera Surfer is slowly making its way back into the metagame. As it stands, the deck seems to mostly win off the back of its cards abilities rather than beating the opponent on sheer points. Nevertheless, with lane disruption feeling rather strong right now, decks able to play Goose and Storm are naturally looking pretty decent.
If the deck is ranked in Tier 3 because of its performance across the board, it seems to be a solid choice in the rank before hitting Infinite. There, the deck features a 56% win rate and 0.6 average cubes per game, numbers worthy of a high Tier 2 deck and a bit of an anomaly for a deck usually averaging 0.2.
How to play: The deck follows a pretty simple play pattern that culminates into an explosive Turn 6 and hopefully catches the opponent off guard.
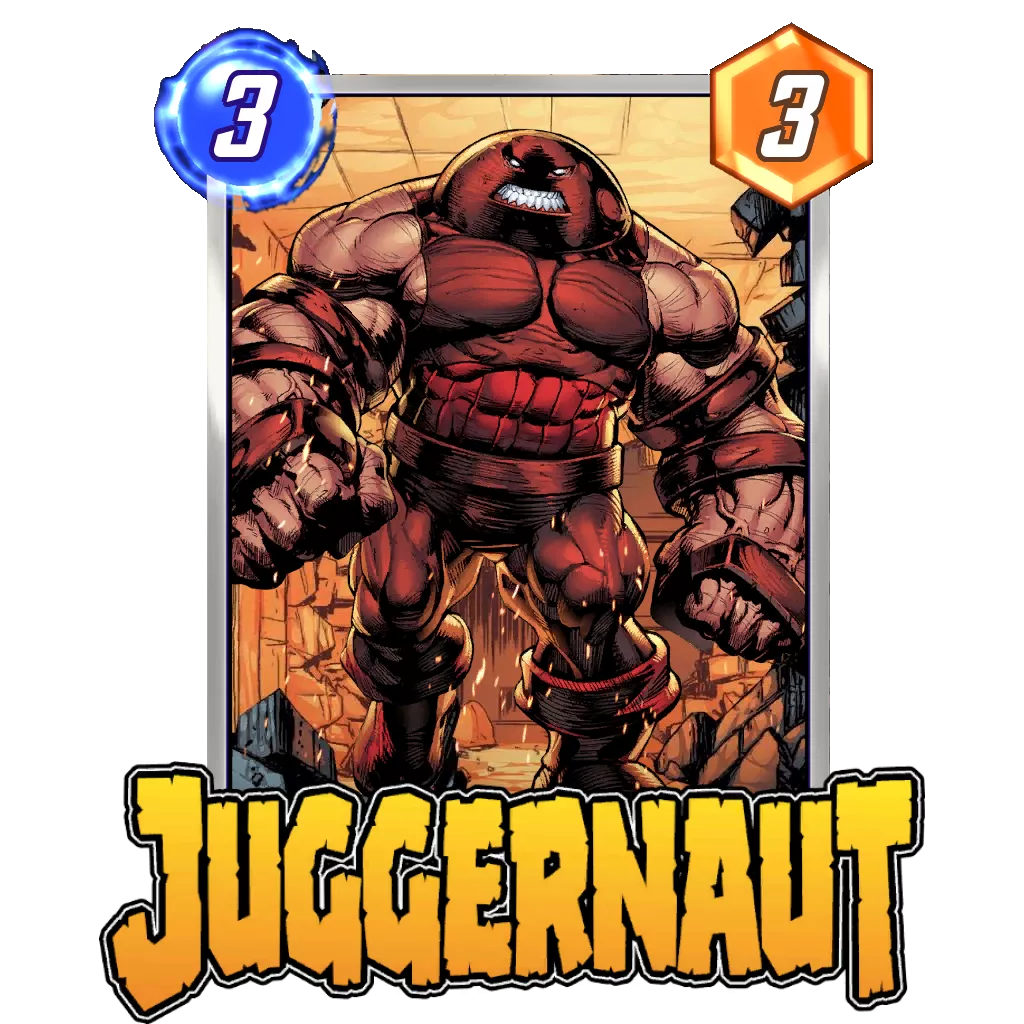
On Turns 2, 3, and 4, you will usually just play a card and focus on spending your energy efficiently and advancing your game plan. Apart from the Storm-Juggernaut duo on Turns 3 and 4, there aren’t many synergies going on. Look to play cards you won’t be able to fit in on Turns 5 and 6 but still need to have in play.
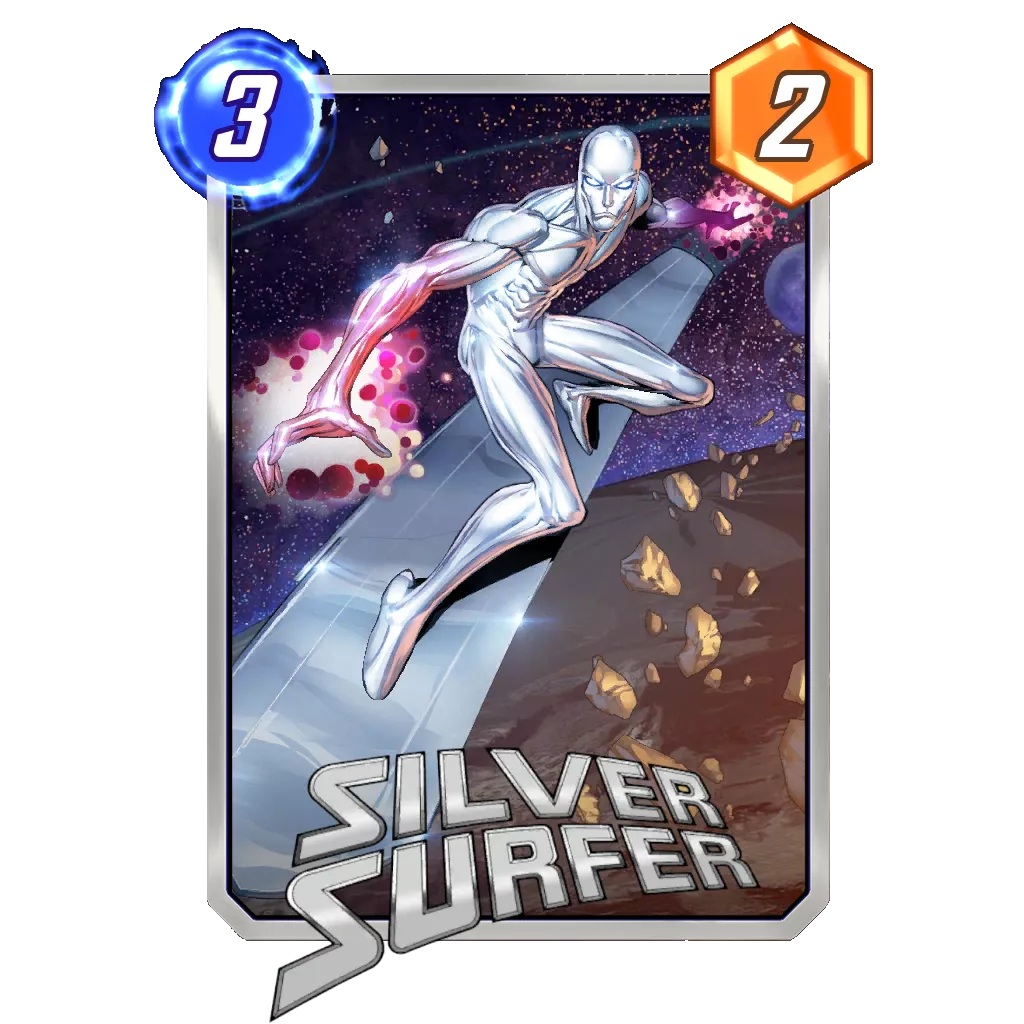
Turn 5 will usually be a Sera play, if you can. If you don’t have Sera, it can be a 3-cost plus a 2-cost (Goose can lock a location from a big card being played by our opponent while barely impacting us). On the last turn of play, the deck has many play patterns. The general game plan is dumping two 3-cost cards followed by Silver Surfer in order to surprise the opponent with power.
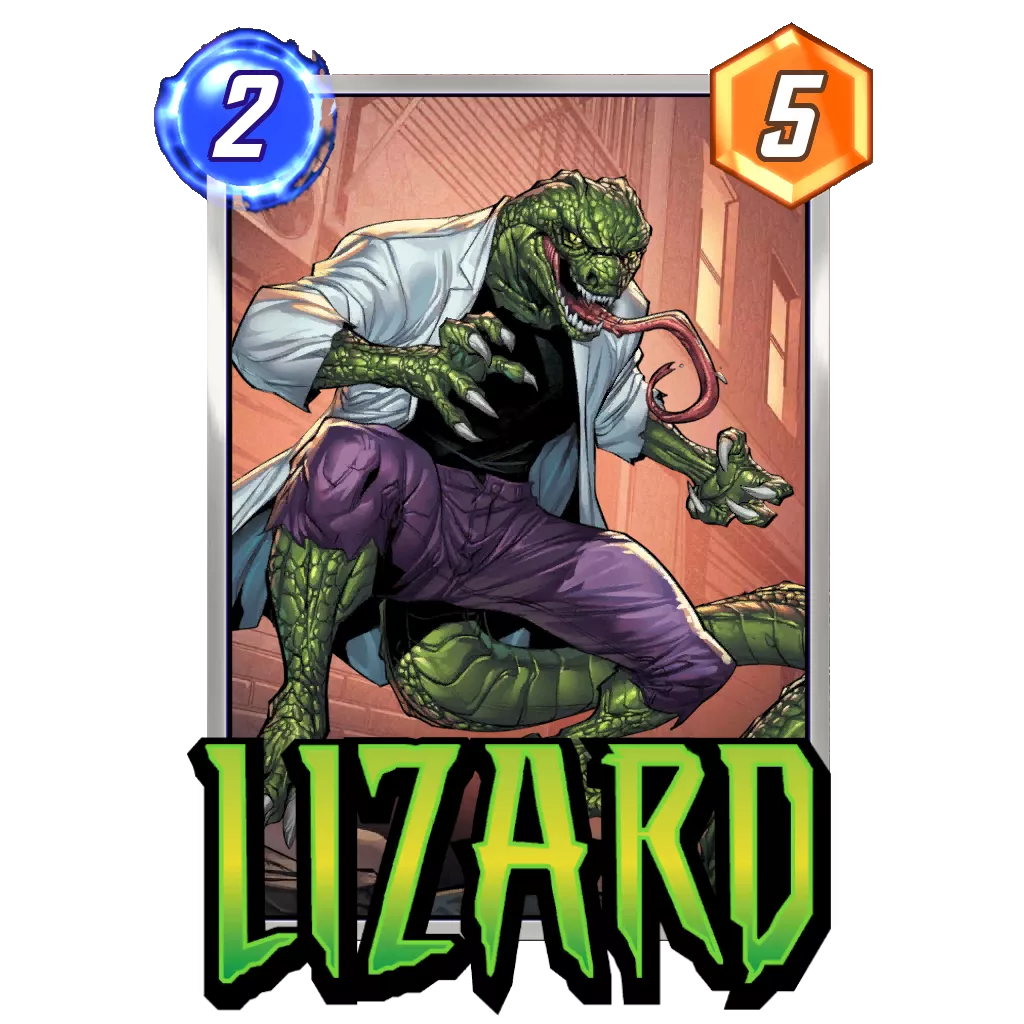
Potential additions: A lot of 3-cost cards can enter the deck and make sense. Feel free to play around with the abilities you think are valuable to the deck’s success. When it comes to 2-cost cards, Goose is currently in the lead to annoy Shuri Zero. Otherwise, Lizard and Scorpion tend to be the next best things.
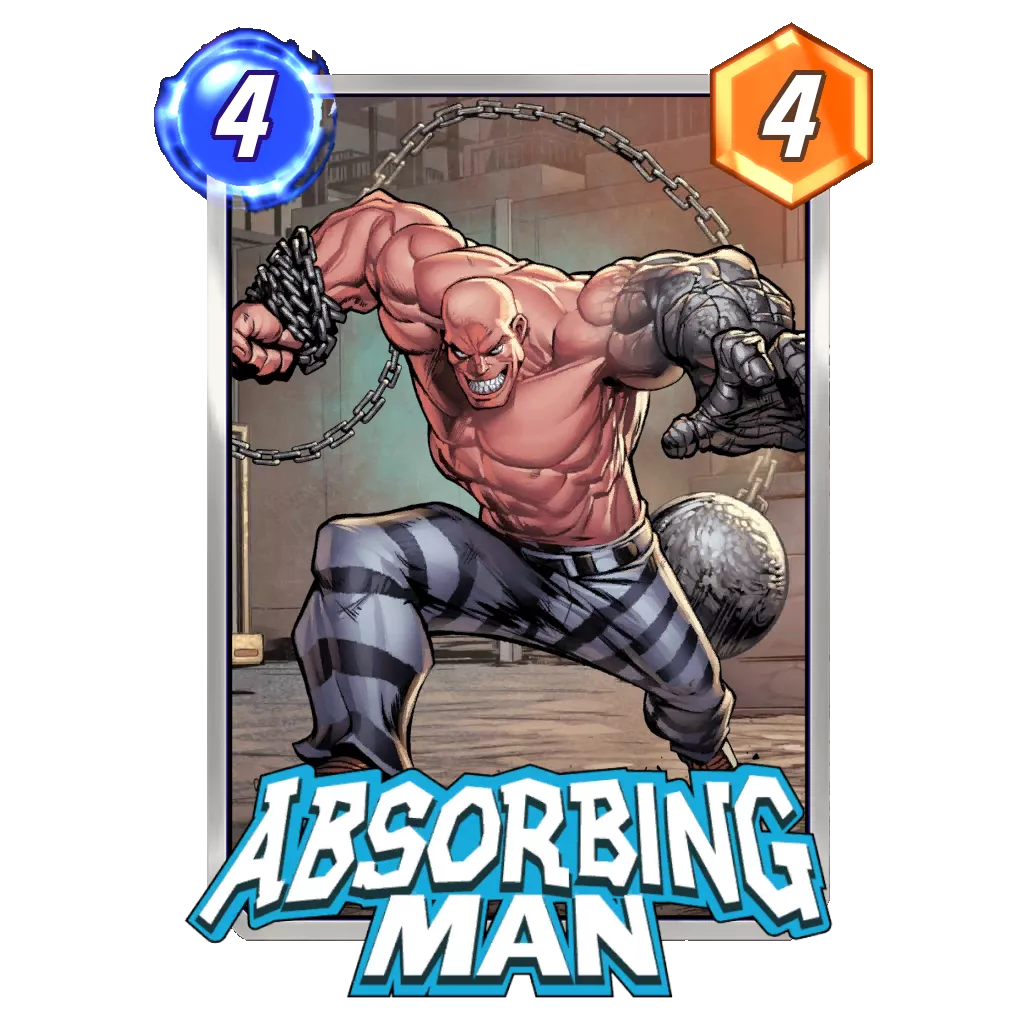
If we want to go for another route, Zabu can allow us to play some 4-costs along with our Surfer game plan. Zabu plus Sera even allows us to play them for two energy on Turn 6 with our other 3-cost cards. If your board is already full of 3-costs, playing Wong, Silver Surfer, and Absorbing Man can develop enough points to rival Shuri Zero. You can also mix in some disruption using Shang-Chi.
Dracula Discard
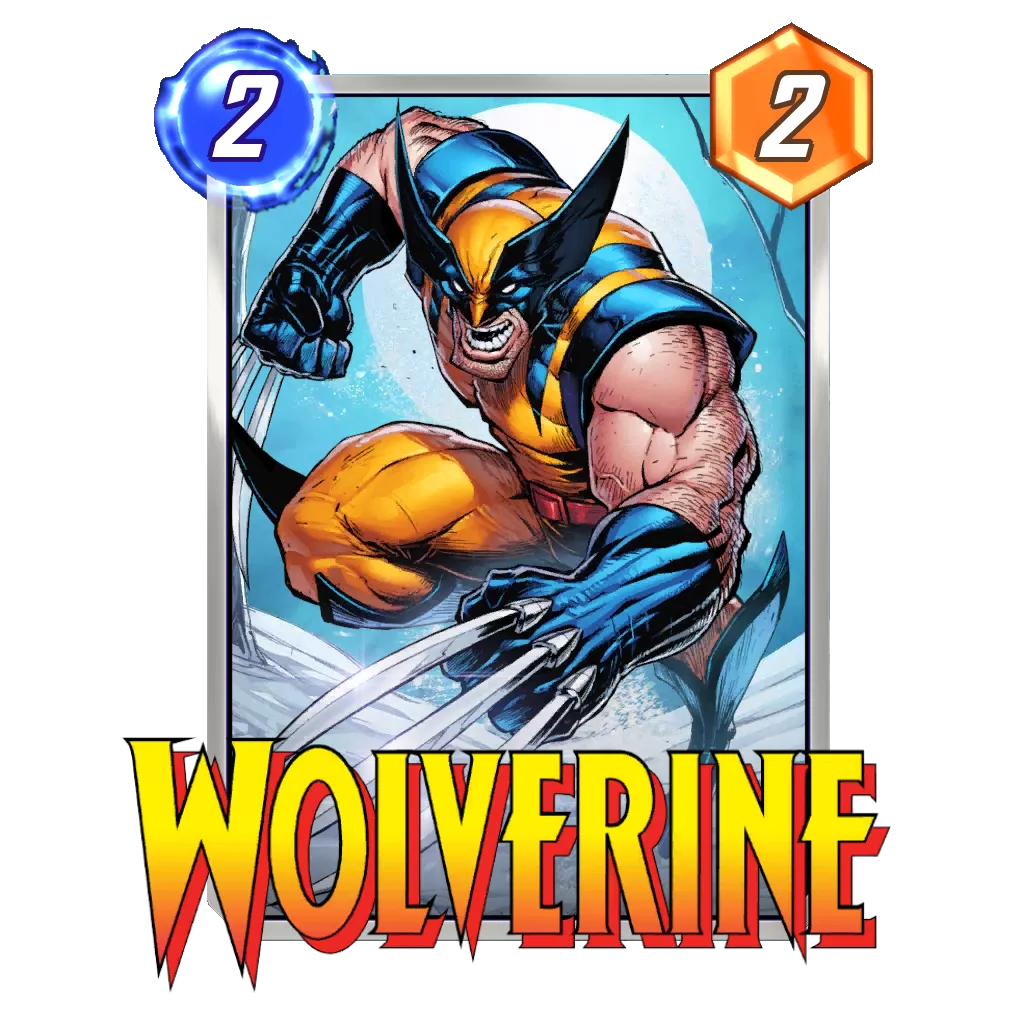
Rank Justification: Thanos Lockjaw gaining 4% in popularity and Cosmo still running amok has Discard unable to make a push for a higher ranking. Also, the deck felt like collateral damage to the Sunspot nerf as the card seemed to be a nice 1-cost in the deck to round it out. Wolverine has replaced the card for now, but Discard might be looking for its 12th card once again.
The deck seems to be particularly strong in the lower ranks, especially before 60. After this point, the ladder starts to be oriented mostly around the more popular archetypes and just a big points output doesn’t cut it anymore.
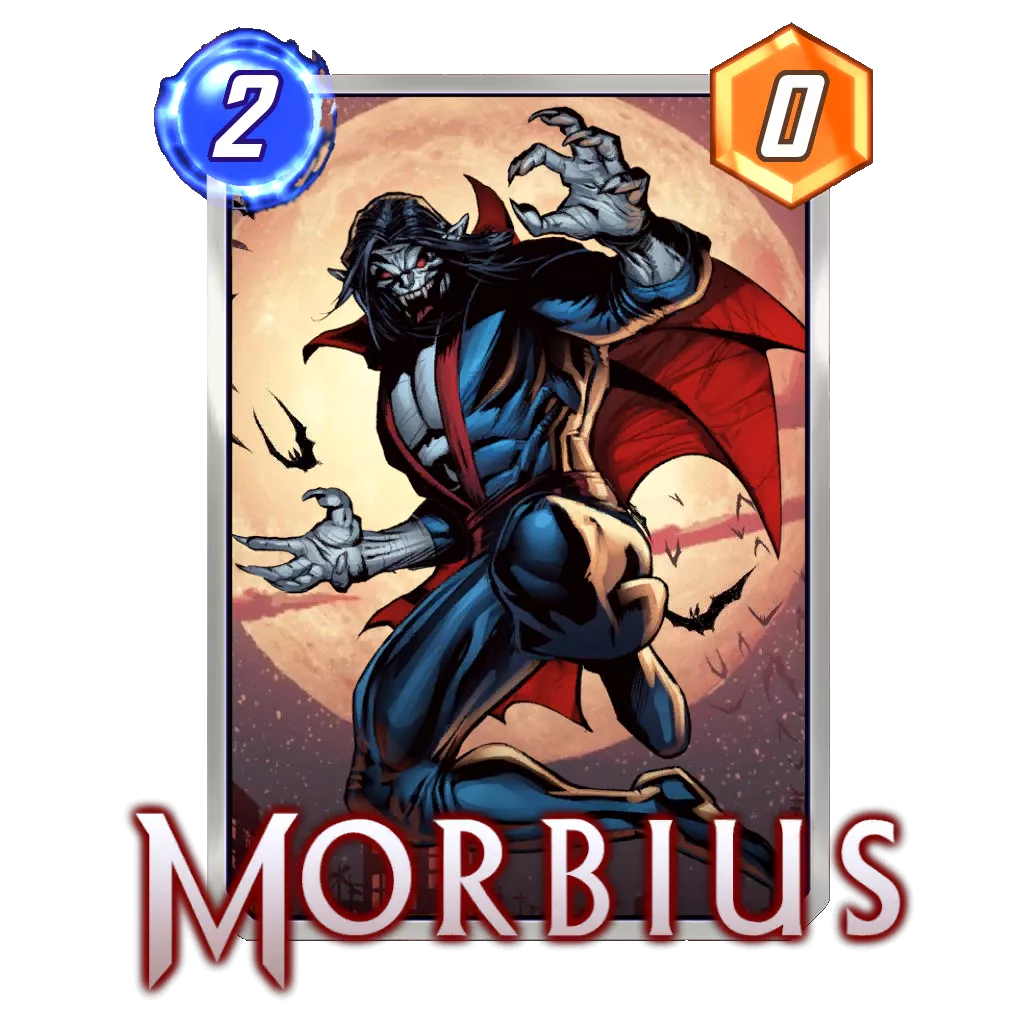
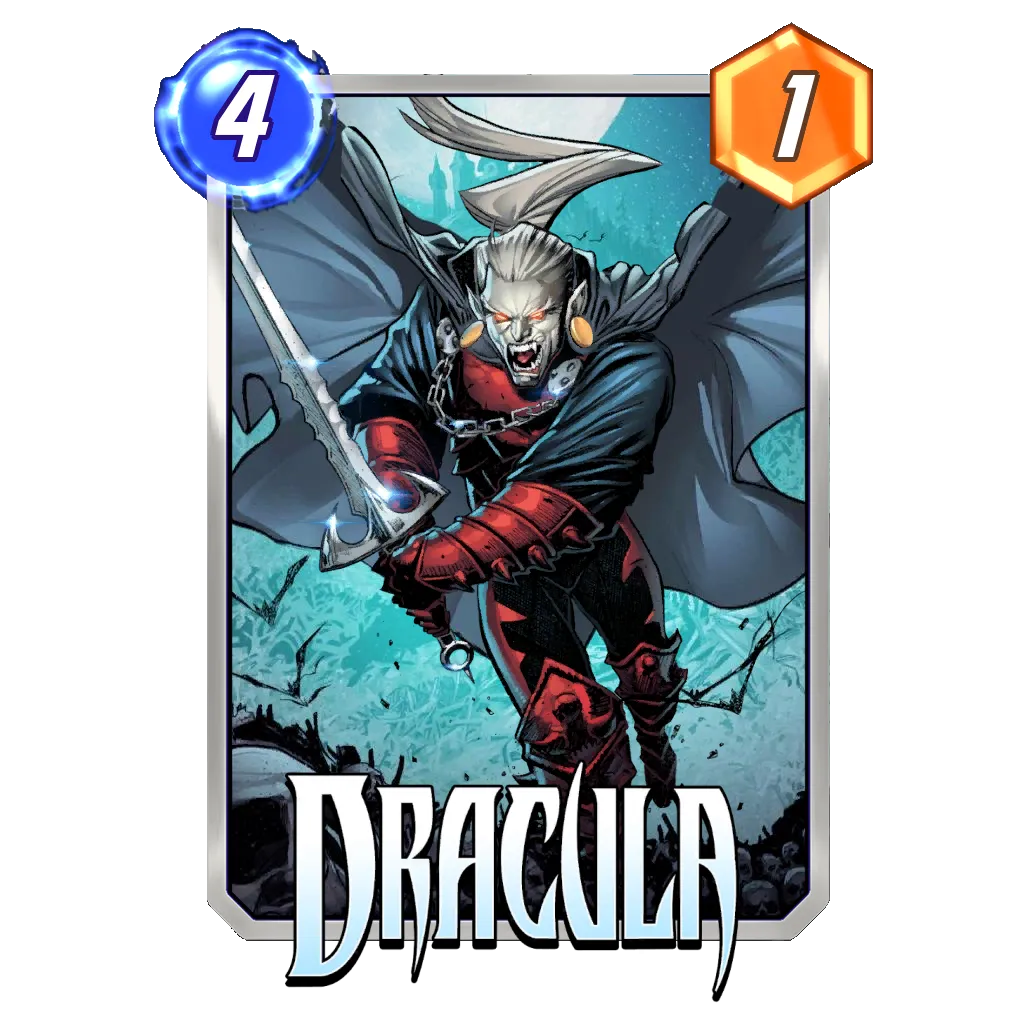
How to play: The idea with a Discard deck is to be extremely strong on two lanes and have one for utility purposes. Oftentimes, Morbius and Dracula will serve as anchors to our strong lanes while the third one will be dedicated to Lockjaw shenanigans. If Morbius or Dracula are still in the deck, though, you could consider the Lockjaw lane to be strong as you might pull one of these two at some point.
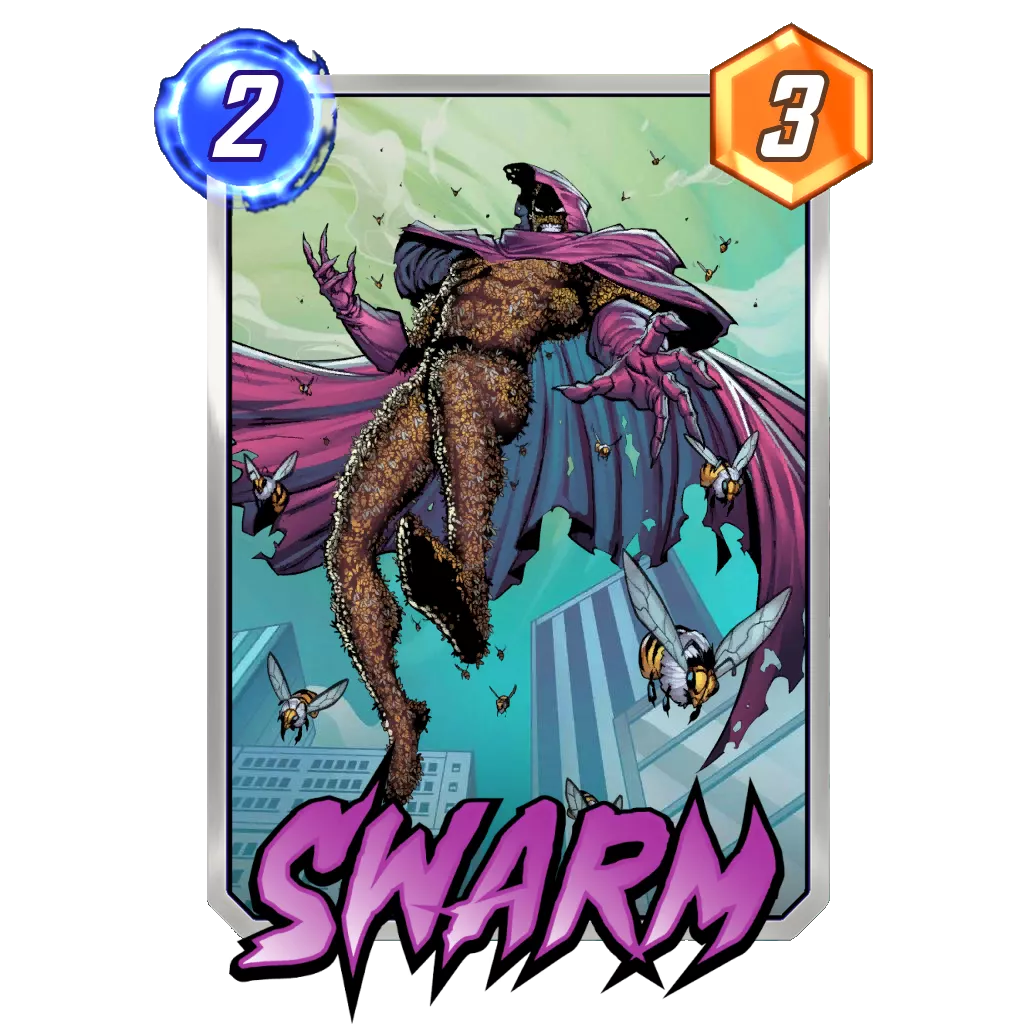
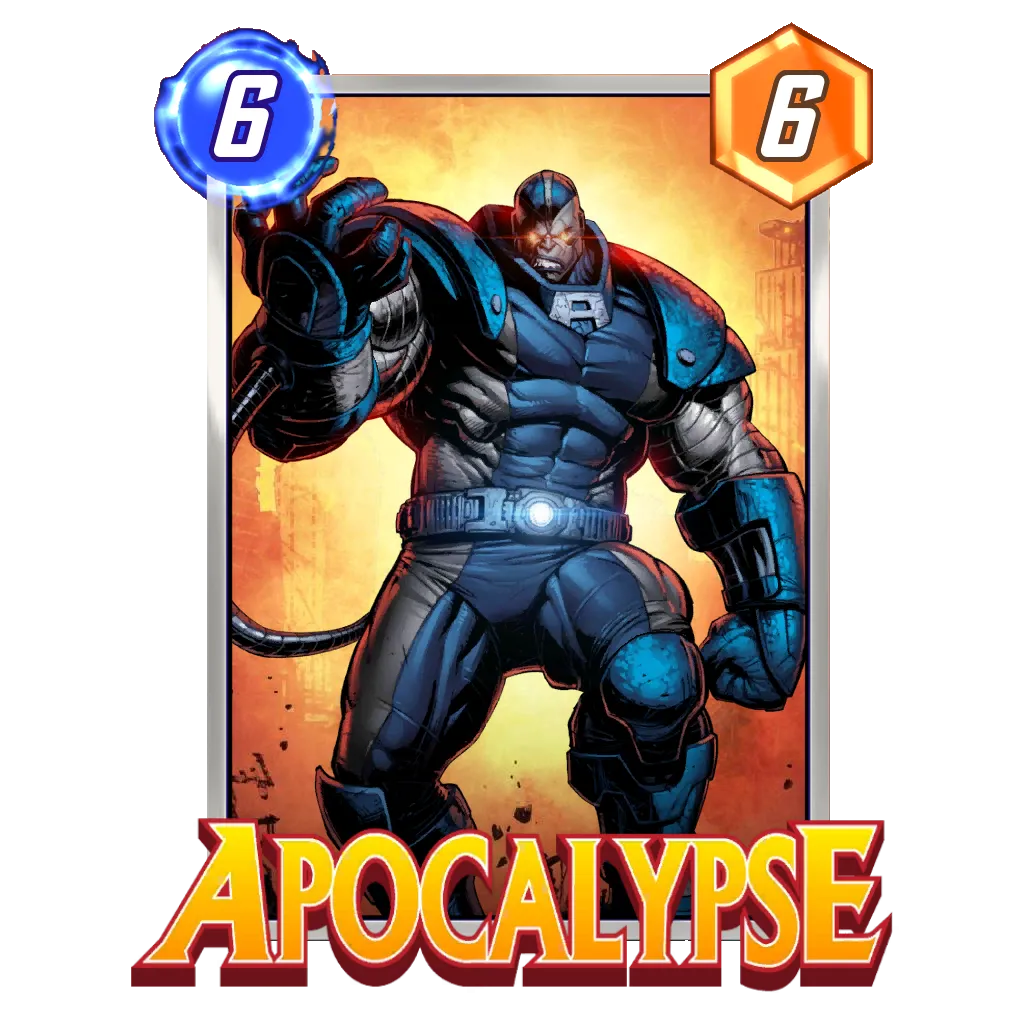
The second important success factor for a Discard deck is knowing when to discard and when to play it safe. In the perfect scenario, we play out Morbius, Lockjaw, and Dracula and only begin to discard once these cards are out of hand; however, when we draw one of these later in the game, it can be difficult to decide what to do. In that instance, it is your hand that will dictate what to go for, especially when you have Swarm and Apocalypse in hand already.
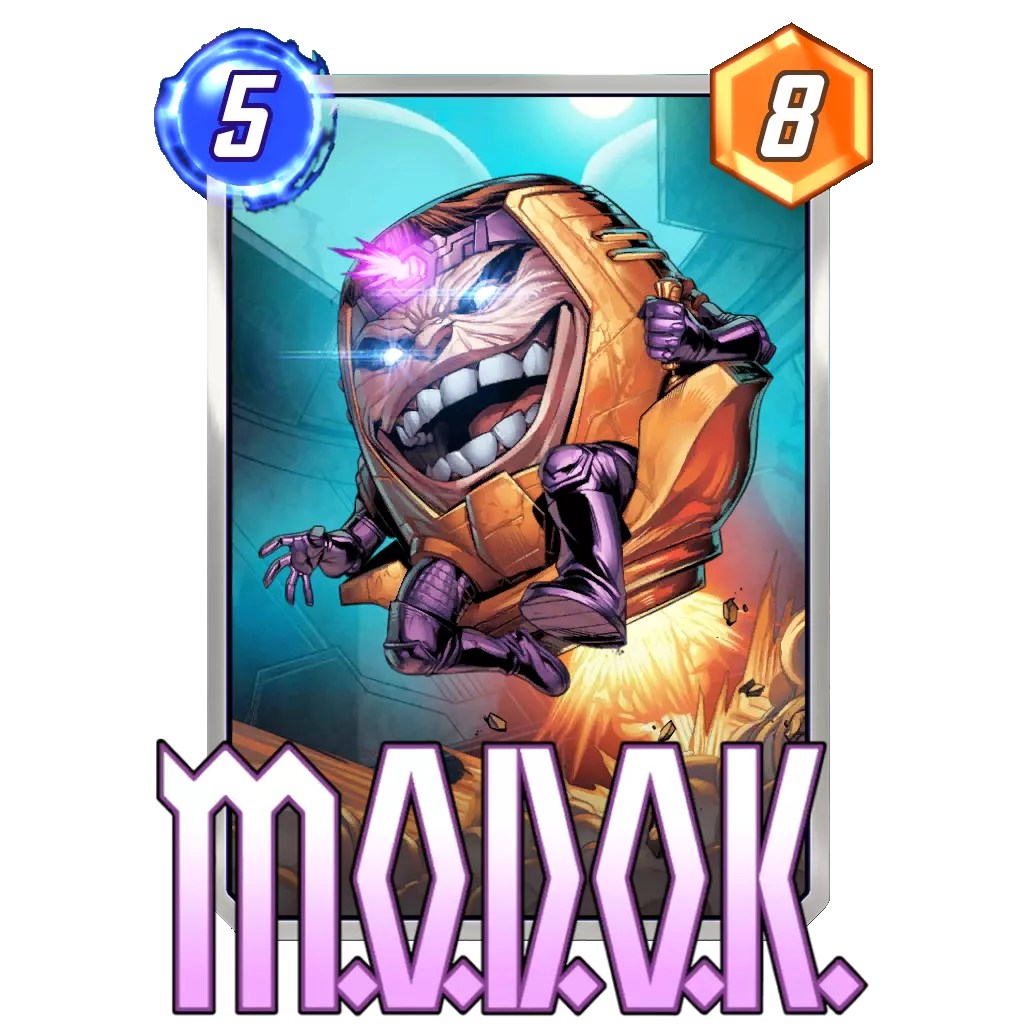
With Swarm in hand, you have the ability to pull some crazy turns with Lockjaw and discard a ton as you cycle through your deck. With Apocalypse, you can build a big card for Turn 6 or leave it in hand since it’s the perfect target for Dracula. Morbius is more of a standalone card. It’s just happy to see you discard a lot, making MODOK the default partner. As such, depending on the structure of your hand, each of your anchors will see its strength affected, impacting how reliable they will be at competing for a lane.
Potential additions: Sunspot is the flexible card in the build and is included to ease the need to pass the turn occasionally (and it’s a fine play behind Lockjaw at worst). Moon Knight could be in that slot if you want more discards.
The other route you can take is to have a very strong card to pull with Lockjaw, most of the time an impactful 5-cost like Leech.
DeathWave
Rank Justification: If one were to look at only the Pool 3 filters in our tracker, they might wonder why DeathWave isn’t competing for a Tier 1 spot. Below collection level 3500, DeathWave competes with Sera Control for performance and rocks an impressive 58% win rate.
As soon as we take a look at players above that collection level, though, the deck loses 10% win rate and looks like an awful idea to run.
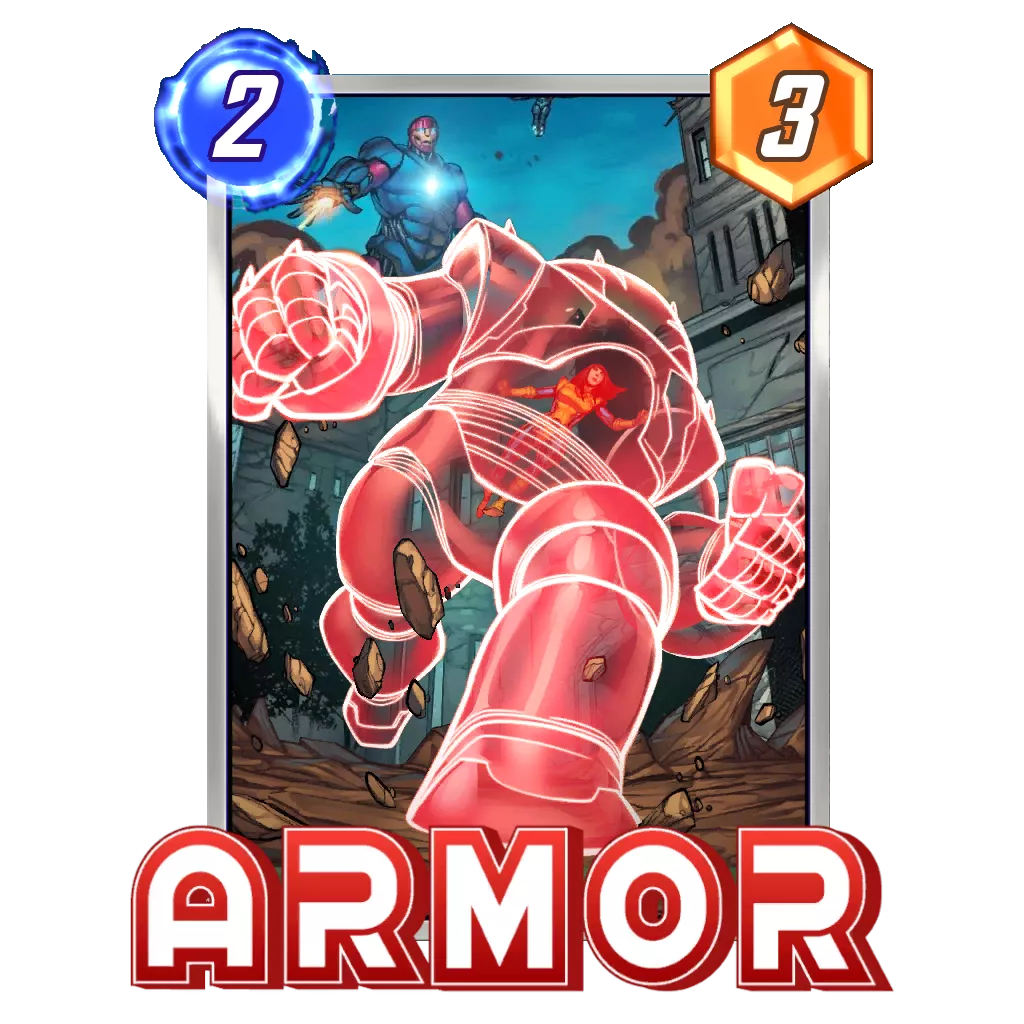
Wave being in the build kind of saves the archetype since it pairs well against Sera Control; however, with Shuri Zero still representing a large part of the metagame, Armor and Cosmo are still too popular for DeathWave to be a real contender. With Sunspot being nerfed, one might expect Armor to not be as popular as it used to be, but the card is still among the ten most used cards in Marvel Snap right now.
As the metagame develops, we are seeing Wave and Death lend their services to many archetypes and do much better there than they do in their dedicated build. It might be time to let DeathWave go as an archetype once you are done with collecting Pool 3 cards. Instead, simply consider Wave and Death as one of the best packages in the game, a package that is able to give an explosive touch to an archetype with some destroy potential.
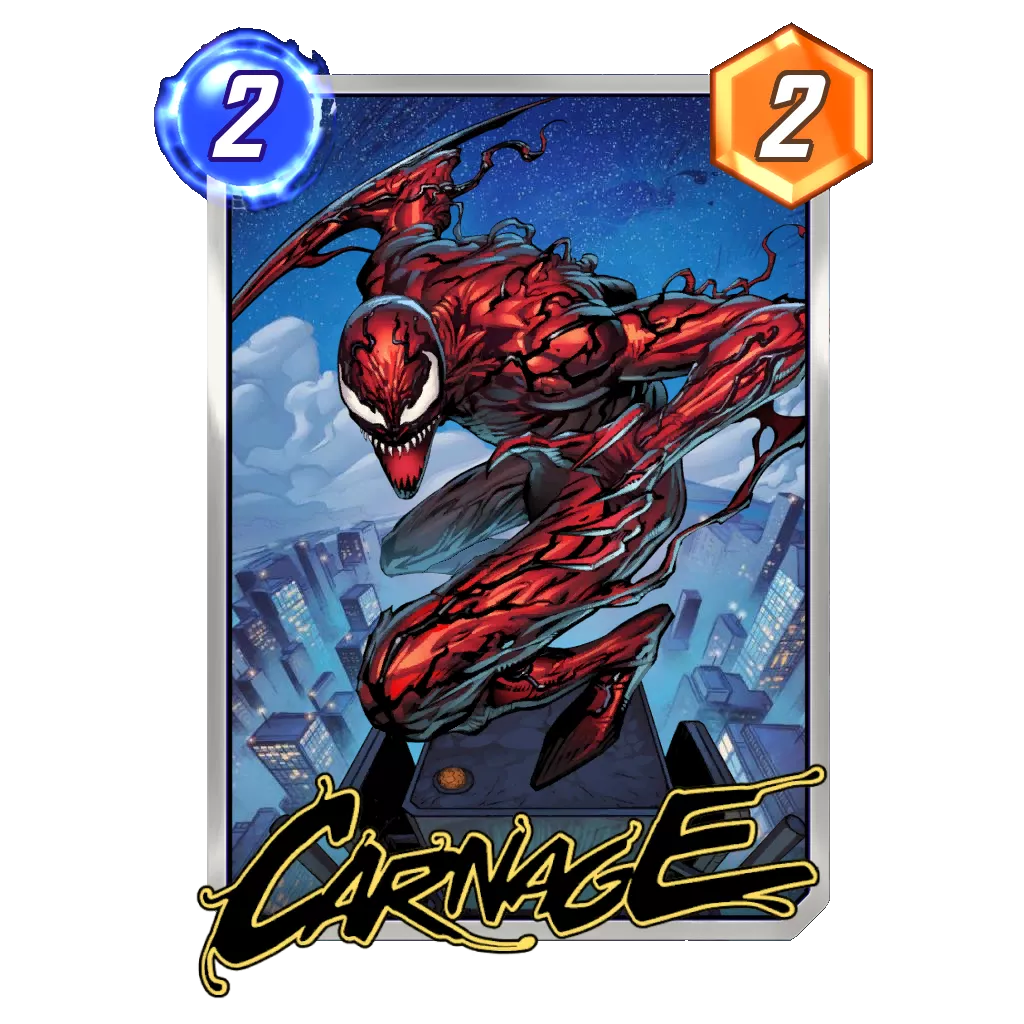
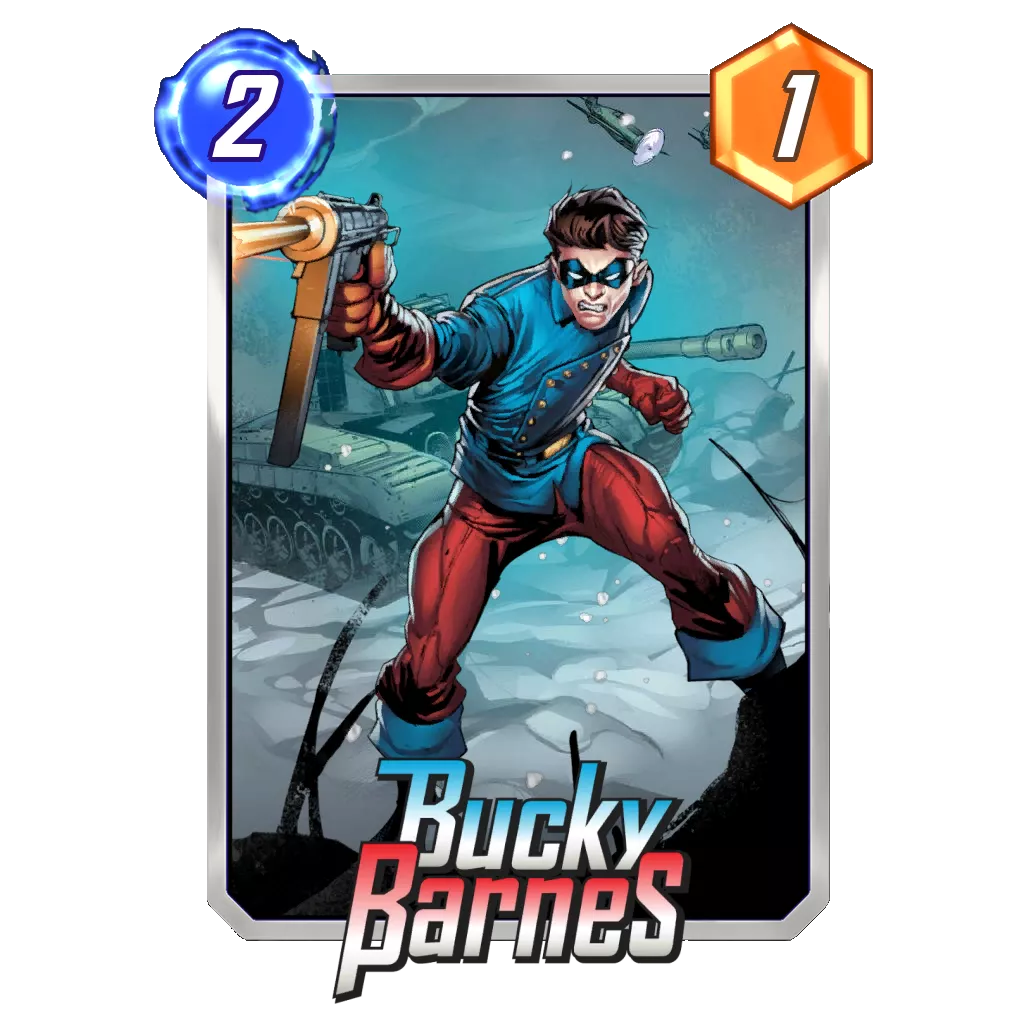
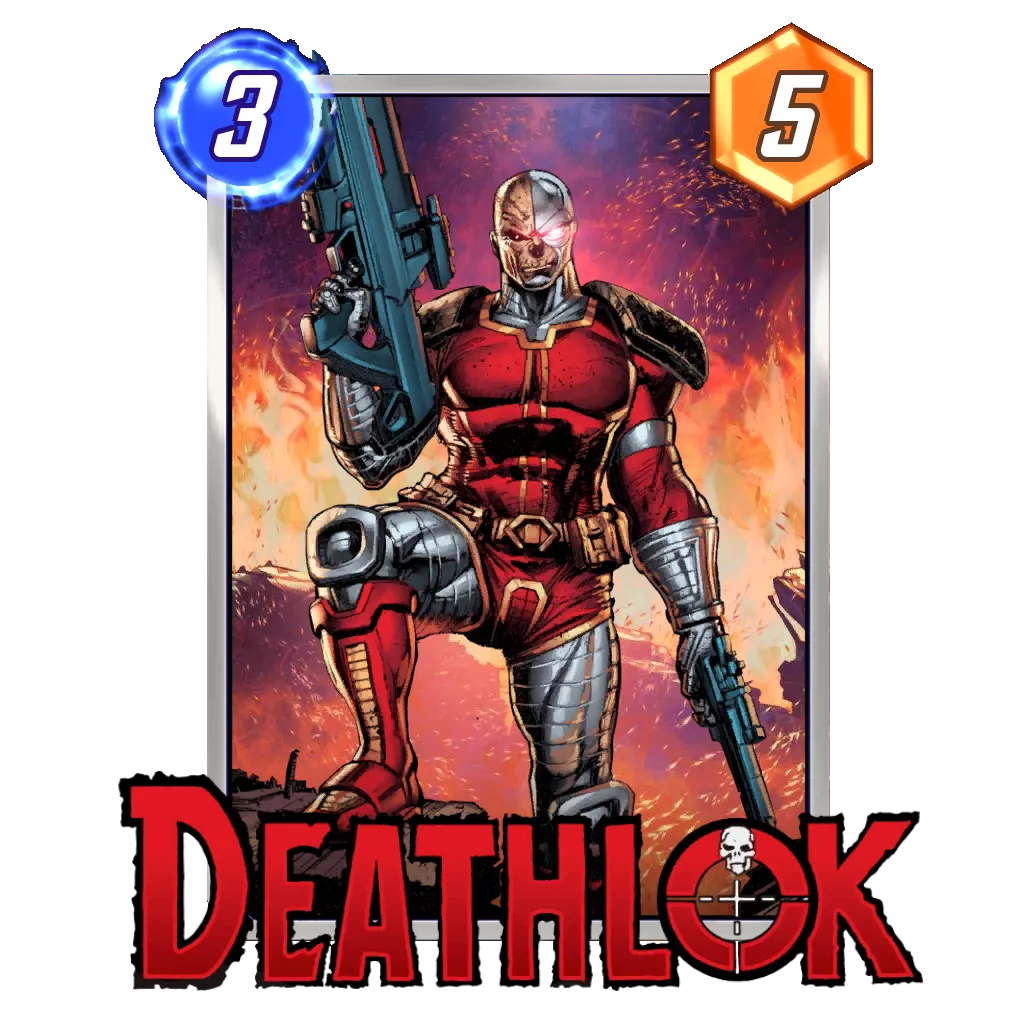
How to play: The whole point of the deck is to get at least two destroy effects while having reveal priority going into Turn 6. This should be achieved with a simple on-curve play during the first four turns, as the destroy synergy is able to generate solid power through its signature cards Bucky Barnes, Deathlok, and Carnage.
Turn 5 should be a Wave play and nothing else. If we have She-Hulk in hand, the card will be a 2-cost on the next turn and can be paired with anything else. If we manage to get to four destroy effects, Death becomes free and both her and She-Hulk can be played in addition to another card. Squirrel Girl being destroyed by Killmonger is usually the way we get our four destructions in time.
Outside this basic play pattern, the deck is quite flexible and is able to develop points even without drawing into Wave. The destroy synergy shines especially well when it comes to cleaning up annoying cards that appear on our side of the board.
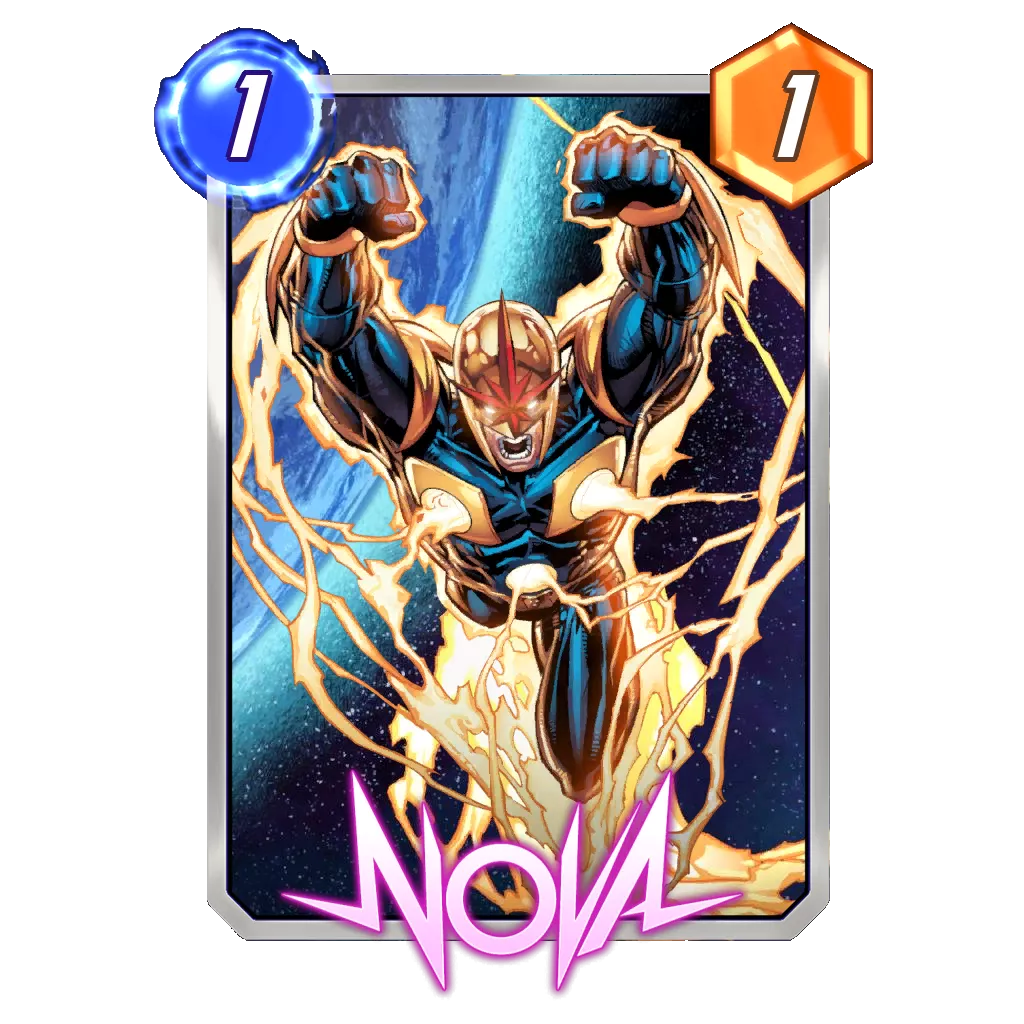
Potential additions: The deck usually rotates through four different 1-cost cards: Nova, Yondu, The Hood, and Squirrel Girl, and each has its own merits. Moon Girl is a notable inclusion, as duplicating She-Hulk or Death often opens some crazy strong turns. America Chavez can also be considered for more consistency, although both Shang-Chi and Aero seem impossible to remove right now.
Closing Words
With a new season and a balance patch happening this week, collecting all the necessary data for this Tier List has been a bit hectic. I tried to highlight the various upsides of each archetype, especially based on where you are in your collection and ladder rank. Still, considering this was just the first week and things moved very fast with Shuri Zero, I wouldn’t be surprised if next week’s Tier List looked very different.
Currently, it feels like we are one great build away from potentially changing the whole dynamic of the Marvel Snap metagame. Sera Control has taken the title of the deck to beat, but we know the counters to it already, both of which have decks already built around them if Sera becomes too popular. As such, if one would find a way to break this dynamic and come up with a deck that is resistant to both Sera Control and its most popular counters, who knows what the environment might look like?
Of course, these kinds of changes take time, and even in the internet era of card games it will not happen overnight. Nevertheless, the current state of the game feels great for experimenting and trying to surprise your future opponents. You might be punished for doing so – no great accomplishment comes without some form of setback – but the reward seems very appealing.
At worst, we will have the next balance patch on April 18th and that should create some turmoil. I don’t know yet how it will affect the next Tier List report. We usually publish those on Tuesdays, but you should expect an excited analysis by yours truly whenever we know what is in that patch!
Until then, I hope you’re having fun on the ladder. If you want to share your passion with the community, feel free to join us on Discord. For daily deck sharing, personal opinions, and hot takes about Marvel Snap, you can follow me on Twitter.
Good Game Everyone.

⭐ Premium
Enjoy our content? You can Support Marvel Snap Zone and your favorite content creators by subscribing to our Premium community! Get the most of your Marvel Snap experience with the following perks for paid membership:
- No ads: Browse the entire website ad-free, both display and video.
- Exclusive Content: Get instant access to all our Premium articles!
- Meta Reports: Exclusive daily meta reports, such as the Ultimate Card Metrics Report, Top 10 Decks of the Day, Top 30 Cards, and Top Card Pairs tailored for you!
- Team Coaching: Join our free weekly team coaching call sessions on the Discord server. Claim your Premium role and gain access to exclusive channels where you can learn and discuss in real time!
- Premium Dashboard: Get full instant access to the member-only dashboard, the all-in-one page for all your benefits.
- Support: All your contributions get directly reinvested into the website to increase your viewing experience! You get also get a Premium badge and border on your profile.
- Special offer: For a limited time, use coupon code SBYREX4RL1 to get 50% off the Annual plan!


