
Table of Contents
Death and Wave might be the most iconic duo in Marvel Snap history. Although they’re no longer the hottest pair as time has gone on, DeathWave goes back to the beta days in the summer of 2022, and it hasn’t exited the metagame since. It also has quite the history as it is the archetype that revealed the mighty power of Aero. It was the first deck to include the card as a staple, and was renamed BAEro for the occasion.
Still, even with Aero joining the deck and cementing its spot as a premier card in the game ever since, there is a reason why the archetype was labeled DeathWave in the first place. Even with She-Hulk joining in on the fun in December 2022, the deck has always stayed true to its roots: destroying cards, disrupting opposing plays, and developing a lot of points on the last turn of play.
Nowadays, Armor has established itself as a big problem for DeathWave. Also, the lack of Destroy oriented cards in Series 4 and 5 has made the Destroy archetype a juggernaut of Series 3 and not much else. As a result, DeathWave feels like the perfect deck to feature first in our growing series of Deck Guides, where we intend to cover the most popular and/or evergreen archetypes in Marvel Snap. In that sense, the king of the Destroy archetype perfectly fits the bill and absolutely deserves to be the first to be covered. It is our way of acknowledging its impact on Marvel Snap for so long as it’s likely still one of the best full Series 3 decks anyone can play.
If you like highly synergistic decks coupled with flexible play patterns, DeathWave is the deck you want to know more about!
Deck Presentation
 den
den


Deck Concept and Strategy
For a highly synergistic deck, DeathWave is actually quite flexible and doesn’t need to follow a precise play pattern in order to win a game. There are some sequences which are the bread and butter of the deck, but as long as you manage to destroy at least two cards (ideally four) during the game you should be in a good spot for the last two turns of the match. Ideally, here are the important bits to understand with the deck:
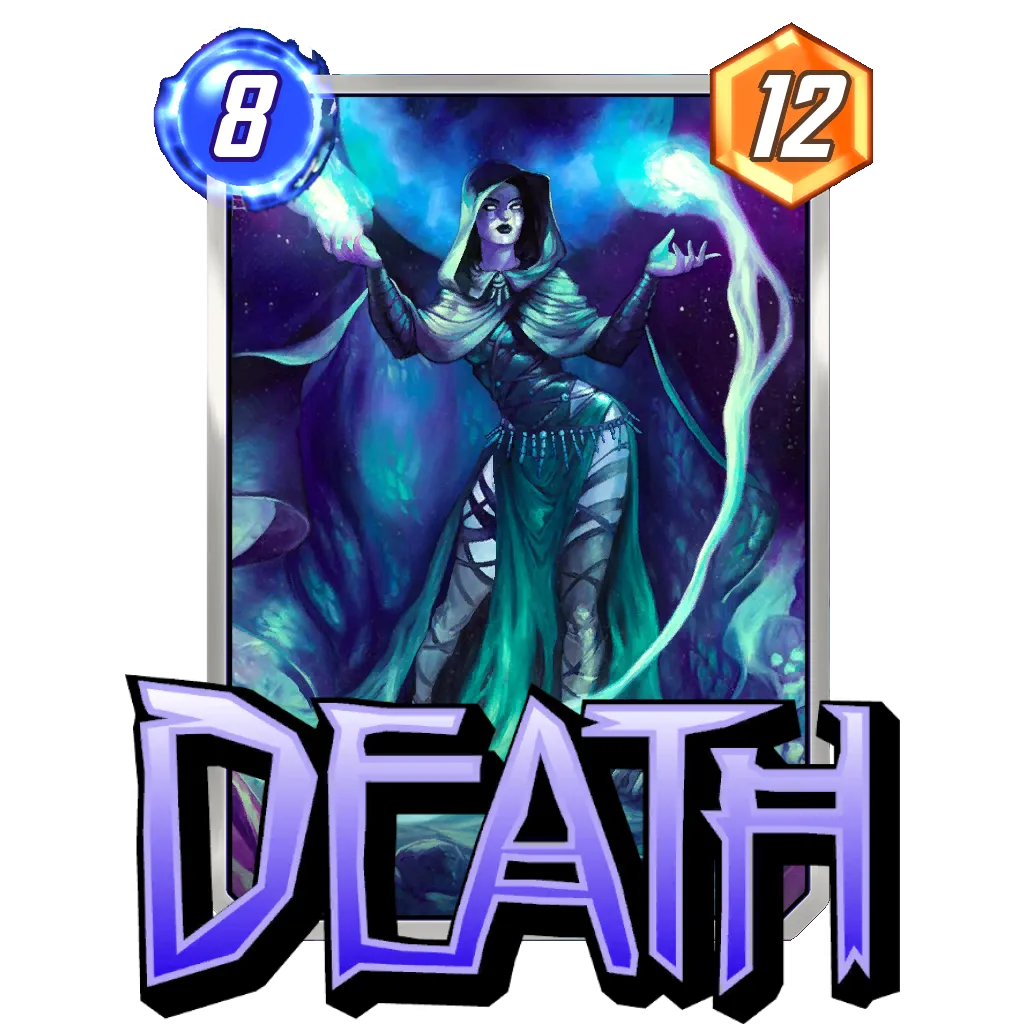
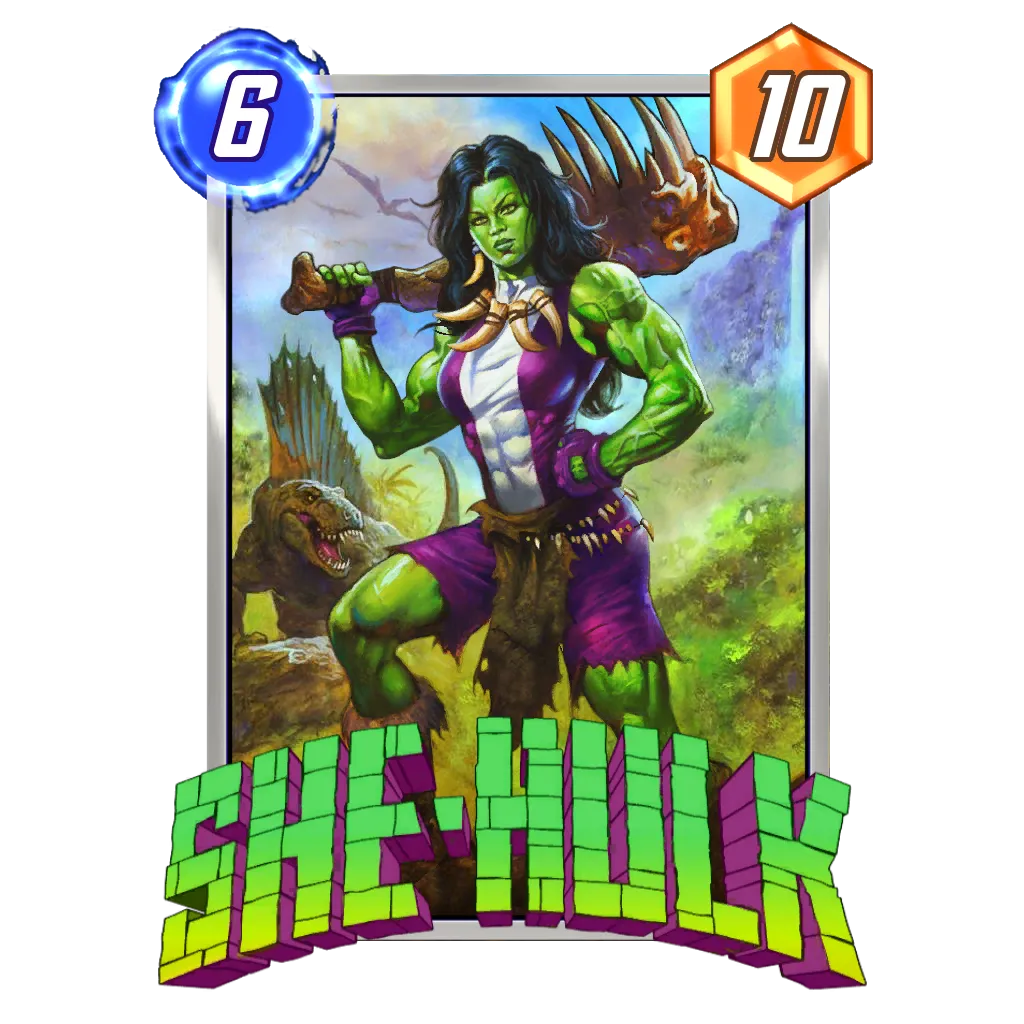
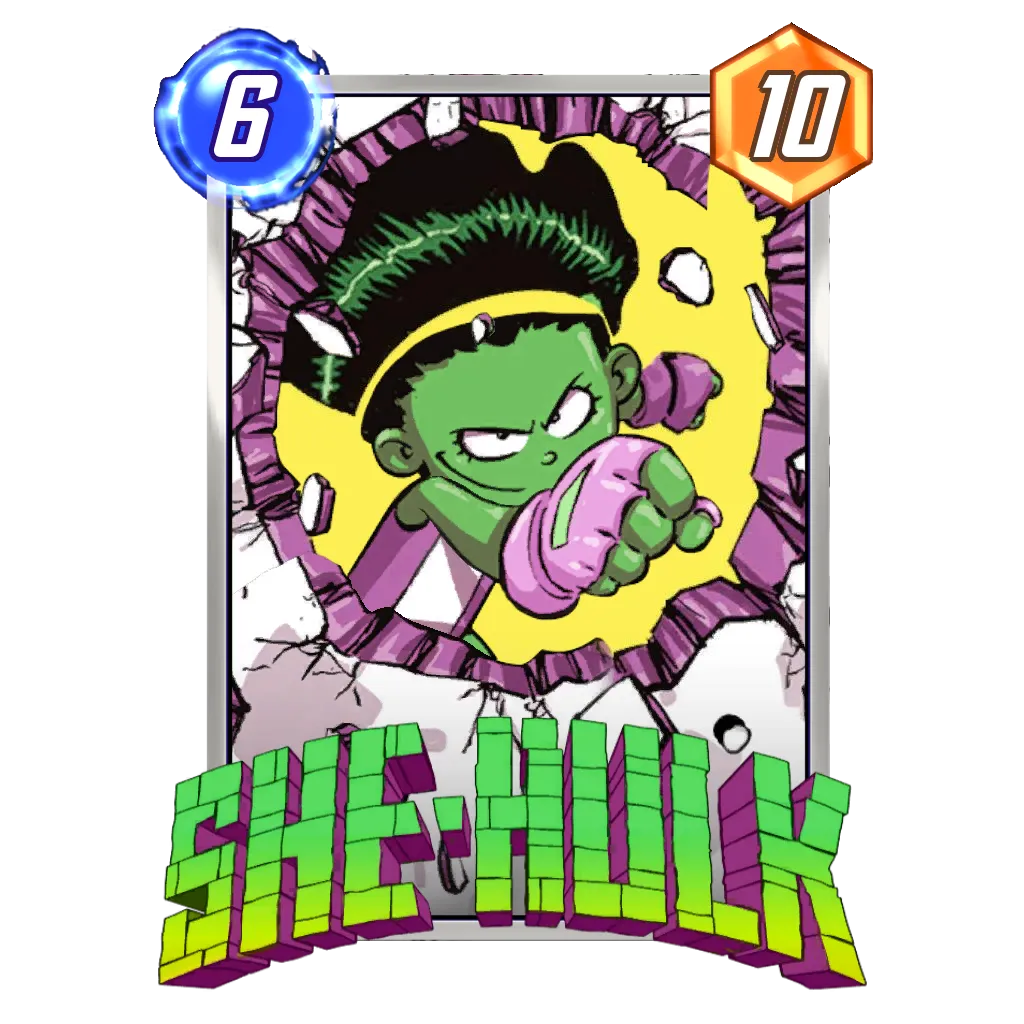
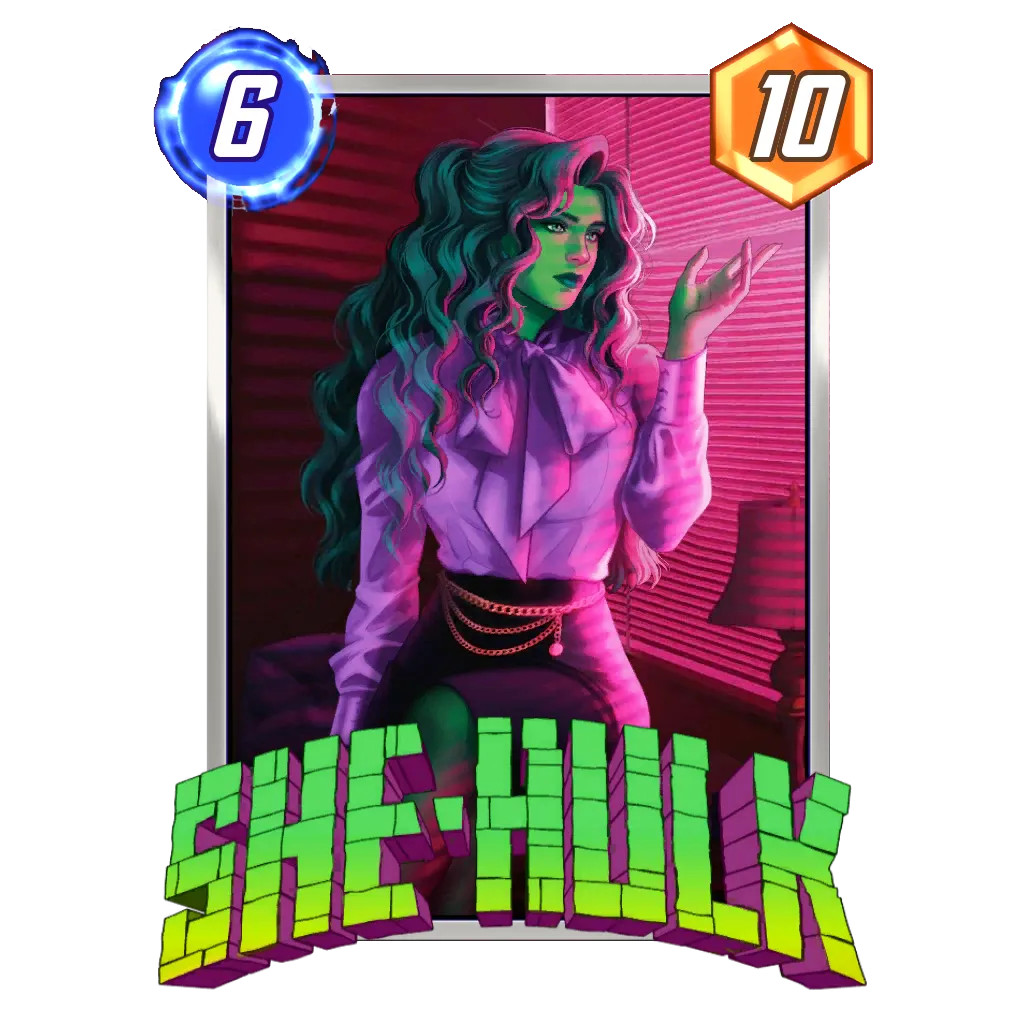
- You will almost always want to play Wave on turn five. You’ll set every card in both players’ hands to four, except She-Hulk and Death can still have their costs changed depending on energy used or cards destroyed. As such, you will be in a position to play either She-Hulk or Death plus any card from your hand on turn six with Wave played on turn five.
- She-Hulk reduces her cost based on unused energy, so if you play Wave alone on turn five then you’ll have two unused energy and create a 2-cost She-Hulk.
- Death sees her cost changed based on cards destroyed during the game – from both players. If you got two destroys, Death will be a 2-cost with Wave; if you got at least four, Death is free to play.
Once you understand how to manipulate the cost of Death and She-Hulk, you can prepare some super explosive turns. Also, with Aero in your deck, you can develop points with She-Hulk and/or Death while controlling where your opponent’s cards will end up.
The destroy synergy is able to develop a decent amount of points thanks to cards like Bucky Barnes or the Demon from The Hood alongside cards like Carnage and Deathlok. These early turns, most often used in order to prepare your critical turn six, are for reducing Death‘s cost while developing some points. If the first four turns can win you a lane, it is a great accomplishment and will make the rest of the match easier.
Otherwise, you don’t mind entering the last turn of play in a contested game state where several lanes are still up for grabs. Considering you should have the ability to play several cards while the opponent is limited to only one card, you’re often a winning scenario.
Core Cards
In order to achieve this game plan, the deck is split among two distinct categories of cards, both of which are very difficult to modify:
The Game Winners


The Destroy Package


This Destroy package is then supported by the best cards to destroy; adding The Hood and Squirrel Girl provides three destroys with Killmonger, and Bucky Barnes is always a staple. This already brings the deck to 11 cards, making DeathWave difficult to maneuver from a deckbuilding perspective as every card fills a vital role in the strategy.


America Chavez is the last card in the deck, mostly included for consistency purposes, but that slot is flexible if you want to include another card in the deck.
Card Substitutions
Nova


A worthy consideration in the deck. Nova is a card you want to destroy, but the deck doesn’t have many cards in play by the time it is looking to destroy the card. This limits Nova’s effectiveness in the deck compared to the other three 1-cost cards already included.
Moon Girl


Through her ability, you could create a second She-Hulk or Death in order to have even more explosive firepower on the last turn of play. For a long time, Moon Girl was the default replacement for players without She-Hulk.
Wolverine


DeathWave isn’t looking to destroy cards every single turn and will usually just set up one destroy turn in order to get Death discounted and then call it a day. In that regard, Wolverine will rarely be more than a four power card.
6-Cost Cards


There are many cards that are much stronger than America Chavez such as
Shang-Chi


The most popular tech card in the game actually has “destroy” written on it, and it could be good enough on turn six to be considered instead of proactive cards. This is purely a match up based decision.
Snap and Retreat
DeathWave is a late game deck looking to be extremely explosive on turn six, meaning we can plan ahead of time on whether we have the needed tools in hand for it to happen or not. In addition, with America Chavez in our deck, we have all the information we require by turn five. This should lead to us being able to make educated snaps before going into the last turn.
The same logic applies to retreats: whenever your opponent snaps, you should have a look at your hand and see how likely you are to pull your explosive turn six. Obviously you might not have drawn all of it if it is early in the game, but missing just Death isn’t the same as missing, for example, Wave, Death, and She-Hulk.
There are a few things to keep in mind when pondering if we should go for a snap or not, though, especially in the current metagame:


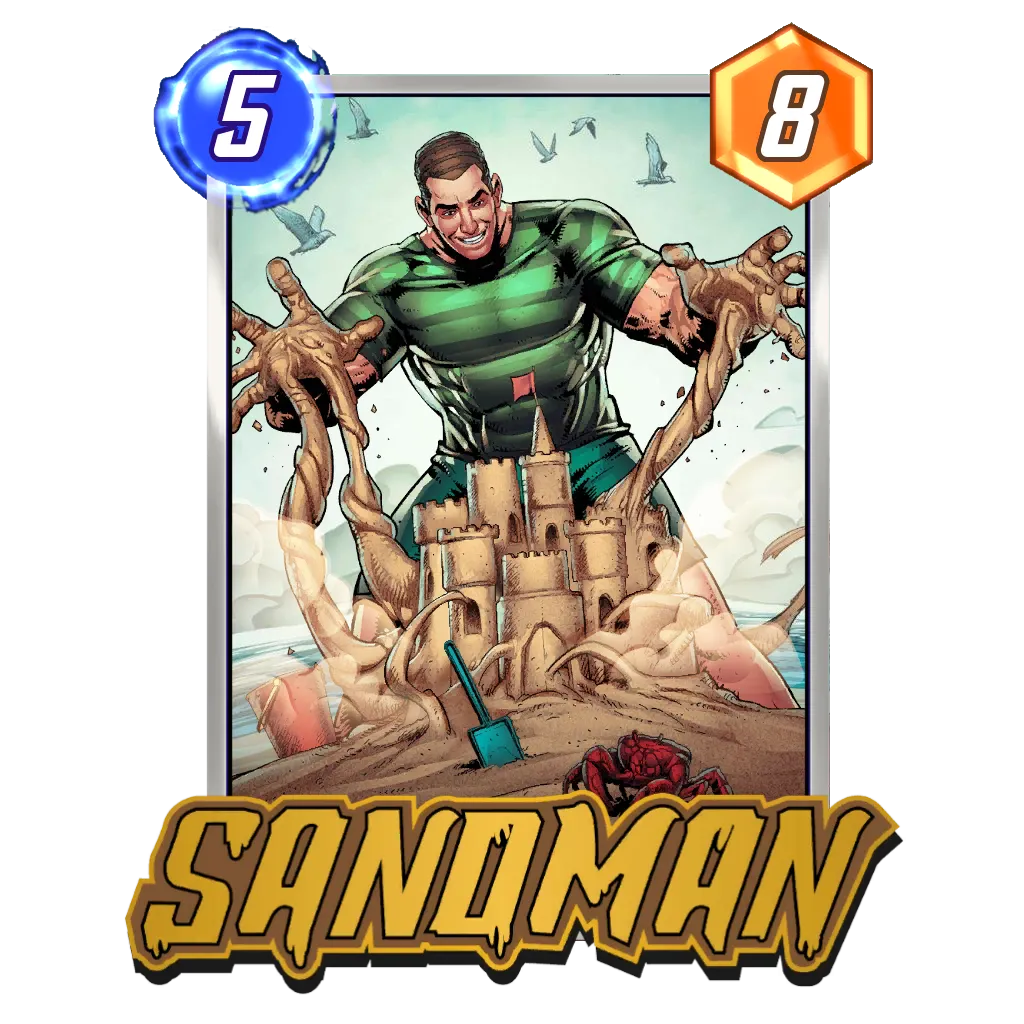


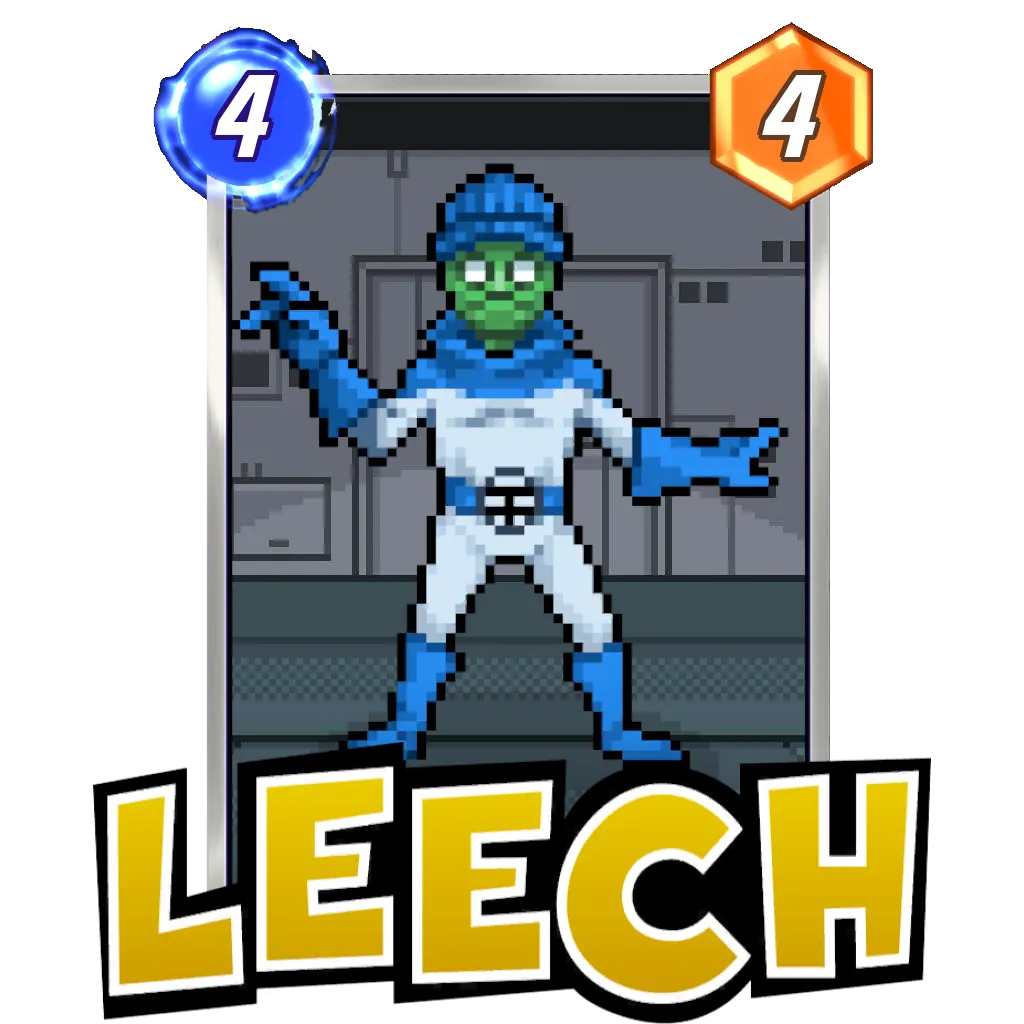

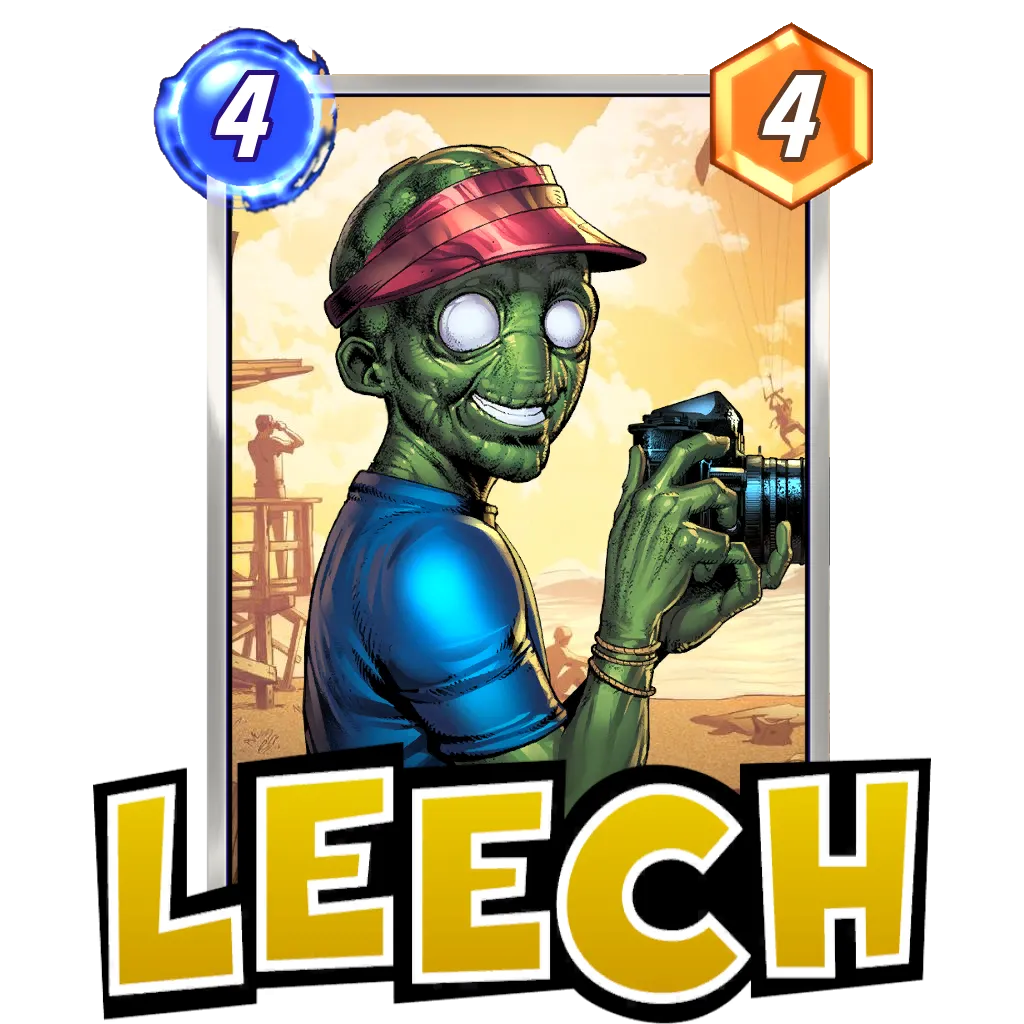
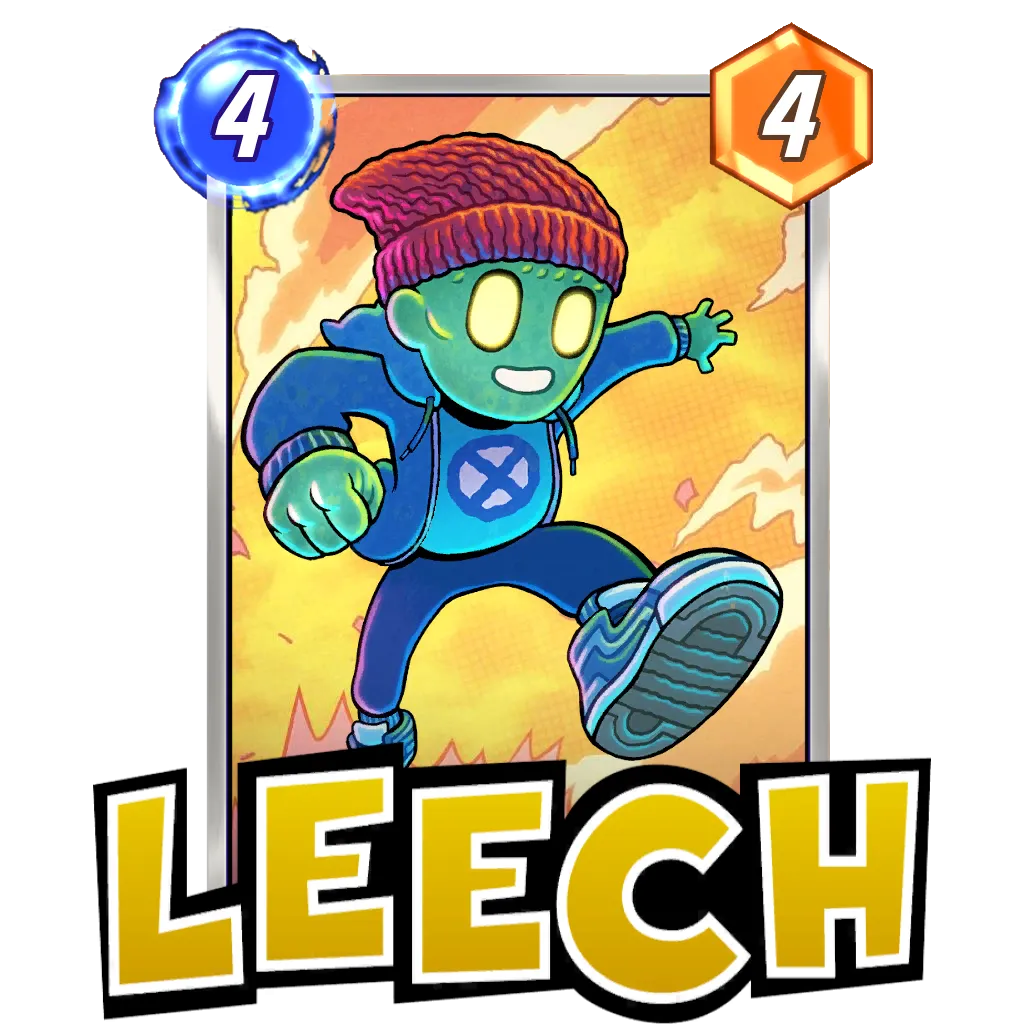

- Sandman and Leech can counter our turn six, as the former prevents playing several cards and the latter cancels out Death‘s and She-Hulk‘s ability (meaning they won’t have their costs reduced).
- Priority is very important going into the last turn, especially if we anticipate playing Aero. Otherwise, opposing cards will reveal before Aero and could alter her ability to drag everything onto the same lane.
- Without priority, we are open to an opposing Aero dragging all our cards to the same lane and likely losing the other two, so snapping in that scenario is much riskier.
- Without Aero and with priority, we could be open to an opposing Shang-Chi removing either Death, She-Hulk, or America Chavez.
Locations
Part of the reason DeathWave managed to stay relevant for so long is the amount of Destroy based locations in Marvel Snap. Not all of them are worth snapping for, but they should be a great help:


- Altar of Death, Collapsed Mine, Death's Domain, Lamentis-1, Rickety Bridge → Easy 0 cost Death
- Bar With No Name → Sneaky Hood on turn six can win it for free
- Morag → Wave can block the opponent’s ability to play here on turn six
- The Big House → You can play a discounted Death or She-Hulk here, which should easily dominate against low cost cards
- Savage Land, Central Park → More targets for Killmonger to destroy
On the other hand, there are some awful locations for DeathWave that should immediately cause you to switch to a careful approach and stay close to your retreat button:


- Wakanda → A huge problem location for a Destroy based deck
- Sanctum Sanctorum → We have Squirrel Girl to reach unplayable locations, but that isn’t ideal most of the time
- Mindscape → If forced to, we can always go off on turn five and win the game before the switch; otherwise, we simply cannot get our regular game plan underway
- Ego: Combo oriented decks tend to do very poorly with Ego as the location doesn’t even try to use cards synergistically
Matchups

Favored
There are usually two kinds of decks DeathWave tends to do well against: those with a lot of 1-cost cards, and those looking to hoard their cards to play everything on turn six. The first kind should be easily dismantled by Killmonger, which reduces the opponent’s board a ton while giving us a very cheap Death in the process. The second kind usually gets very annoyed at Wave making every card cost four because they suddenly can’t have the super explosive turn they wished for.
In the first category, we find Ka-Zar based decks, and occasionally some Thanos decks – especially the ones favoring
If you have your key card in hand and don’t see any bad locations, these are some match ups you should be fine snapping early against most of the time. Of course, you won’t always be rewarded, but a large sample size should show that you won more cubes than you lost from taking a little risk against these decks.
Unfavored
Most decks that can ignore Wave’s limitation on turn six will tend to do quite well against DeathWave and should be able to compete with the deck in the points department. Fortunately, there aren’t that many when playing with Series 3 cards only. It can get a little messier when Series 4 and 5 cards are added to the equation.
Shuri Zero represents a deck that plays very well decks with only one card a turn during the last few turns of a match. Without Shang-Chi in your deck, you would be well advised to be careful when facing the deck.
The same can be said about decks that can decide when they want to be explosive like Lockjaw Thanos. While they tend to keep their most explosive turns for the end game surprise factor, they are flexible enough to go off a turn earlier and just play a big card on turn six.
Otherwise, rather than specific decks, DeathWave’s biggest weaknesses in this metagame are specific cards that, unfortunately, are flexible enough to see play in various decks:
- Armor can disable a lane completely for our deck. It feels very unwise to snap before turn two because of the card’s prevalence. I usually expect it on the same location as an opposing Sunspot, so don’t play the cards you wish to destroy later there. Cosmo can have a similar effect but is less common (and comes down a turn later).
- Sandman and Leech can cancel our explosive turn six. Both cards can see play alongside Electro, and Leech is a popular inclusion in Lockjaw decks as well.
- She-Hulk is a popular card in several decks and benefits from Wave’s ability if the opponent didn’t use their full energy on turn five, so be aware of that.
Turn by Turn Breakdown
Turn 1
Develop any of your 1-cost cards, but prefer Yondu or Squirrel Girl if you have a choice. The former gives you intel on what your opponent is playing while the latter gives you priority, a useful tool to activate your destroys before Armor or Cosmo can come down. The Hood is a great card, but it gives priority and opens Armor on that lane for the opponent.
Turn 2
Bucky Barnes is our go-to if we have the card, but, once again, be wary of Armor being played on the other side of the lane if there is a card worth protecting for your opponent. If you don’t have Bucky Barnes, you can develop another 1-cost or Carnage if you already have Death and want to advance her cost reduction.
Turn 3
Deathlok is usually the logical play here, especially if you managed to get Bucky Barnes down on the previous turn. A 1-cost plus Carnage works perfectly as well and should get your two destroys completed. Ideally, destroying Bucky Barnes should give you advantage on that lane until turn six, or at least a nice boost to gain priority going into your Aero turn.
Without any destruction available, the turn becomes flexible. If you don’t draw a destroy effect next turn, it’s usually best to just retreat.
Turn 4
This is our last flexible turn before we go into our rigid play patterns. Here is where we would play Killmonger if we have a good opportunity, or get our destroys done before it’s too late. If none of this is available, you should retreat if your opponent snaps or resort to creativity.
If you don’t have Wave in hand but have She-Hulk and Killmonger, you could pass to play both cards the next turn and hope it is enough to discount Death for turn six.
Turn 5
If you have her in hand, play Wave, ideally on a lane that would give you priority for turn six if you have Aero in hand. Otherwise, you might want to purposefully lose priority to avoid a Shang-Chi from your opponent.
If you don’t, you can either pass to plan for an Aero plus She-Hulk turn six if you didn’t go the Killmonger plus She-Hulk route.
This should usually be your last opportunity for a snap if you have a good hand. Once you reveal Wave, the opponent will either leave or have a way to punish you.
Turn 6
Unleash your power and win the game. If you are still in the game at this point, it is either because you felt good about it (so follow the plan you had in mind), or because nobody snapped and you wanted to see if there was a way to steal this one (don’t go crazy but see if you can get that win some way).
Closing Words
Although it isn’t the titan it once was, DeathWave remains one of the best decks anyone can play before regularly playing against refined decks with multiple Series 4 and 5 cards. DeathWave is a great archetype to learn how to plan ahead of time based on your hand, and how to snap based on the information you possess. It’s definitely a deck worthy of a player’s development process. Another reason to give this archetype a shot is tournament play. We might have a limited format or be asked to play several decks with no overlapping cards. In this context, a deck with very synergistic cards solely from Series 3 can be a blessing to round up a line-up without the need to adapt our other builds.
Armor is clearly DeathWave’s biggest offender and a large part of why it isn’t considered a safe deck to play on the ladder to rack up cubes. If the card was to be nerfed, or simply see less play, I wouldn’t be shocked to see DeathWave rise and become a popular consideration once more.
I hope this guide helped you learn a bit about the DeathWave archetype. We will soon have more guides coming for the most popular decks in Marvel Snap, so stay tuned! Also, if you had any questions regarding this guide, join our community Discord to get in touch with the Marvel Snap Zone team or get to know our lovely community. As for myself, you can find me on Twitter for a direct contact.
Good Game Everyone.


More Content