
Table of Contents
For a very long time, Hela was regarded as a riskier way than Discard Dracula to play around the discard synergy. As time passed, and the developers added more ways to safely build towards a strong Hela, in addition to our understanding of how important being unpredictable can be. Hela grew as the best way to build a deck based around discarding our cards, as it was the only way to not let the opponent know too much about our real potential.
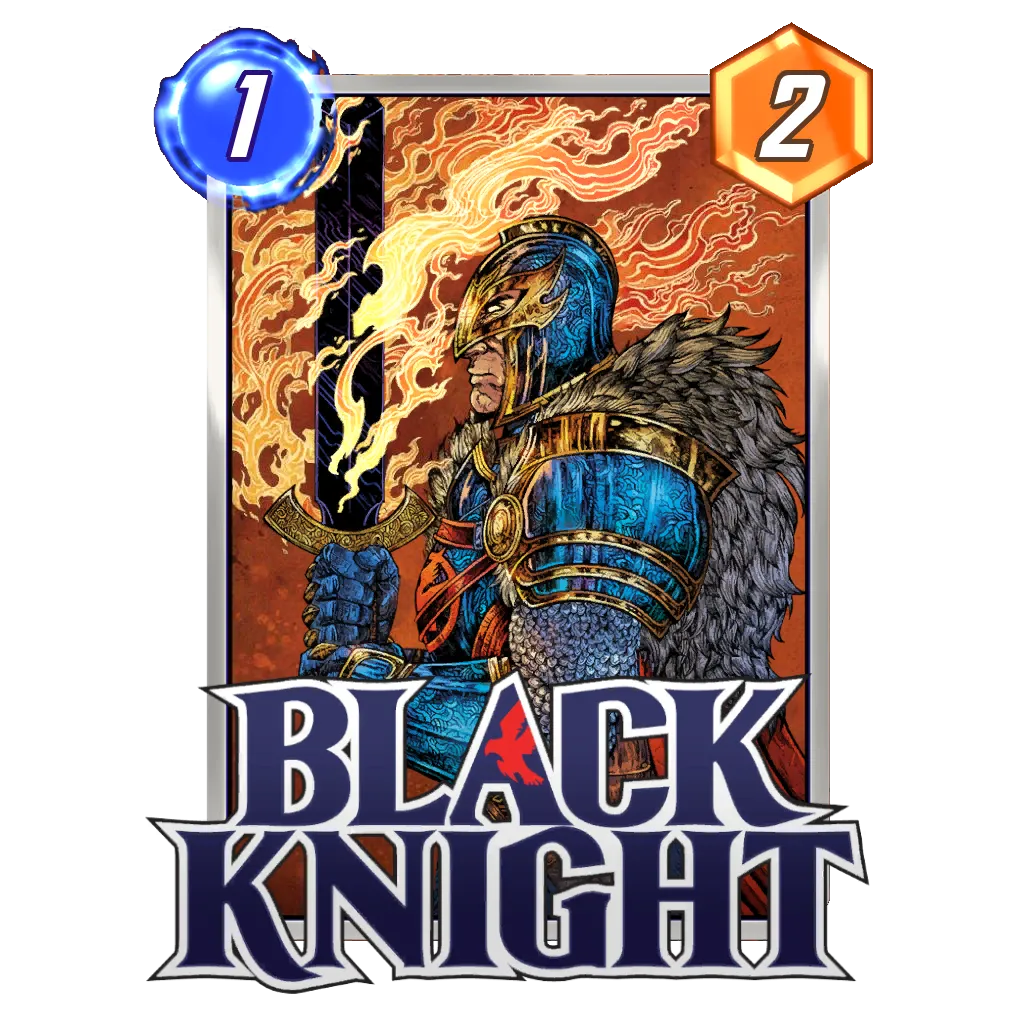
Then, while Discard Dracula managed to stay afloat, but isn’t anywhere near being a top contender any more, Hela built some momentum, and refined two different archetypes around her unique ability. Hela Tribunal was the flagship archetype around the card for several months, but the Lockjaw build has emerged as a really strong deck since Black Knight came along.
 den
den


Today, the archetype can easily be considered a top ten build in Marvel Snap, thanks to a nice mix of power through the big cards it is able to develop, and the relative safe routes it developed to get there over time. Learn how to play the deck in this detailed guide!
Concept and Strategy
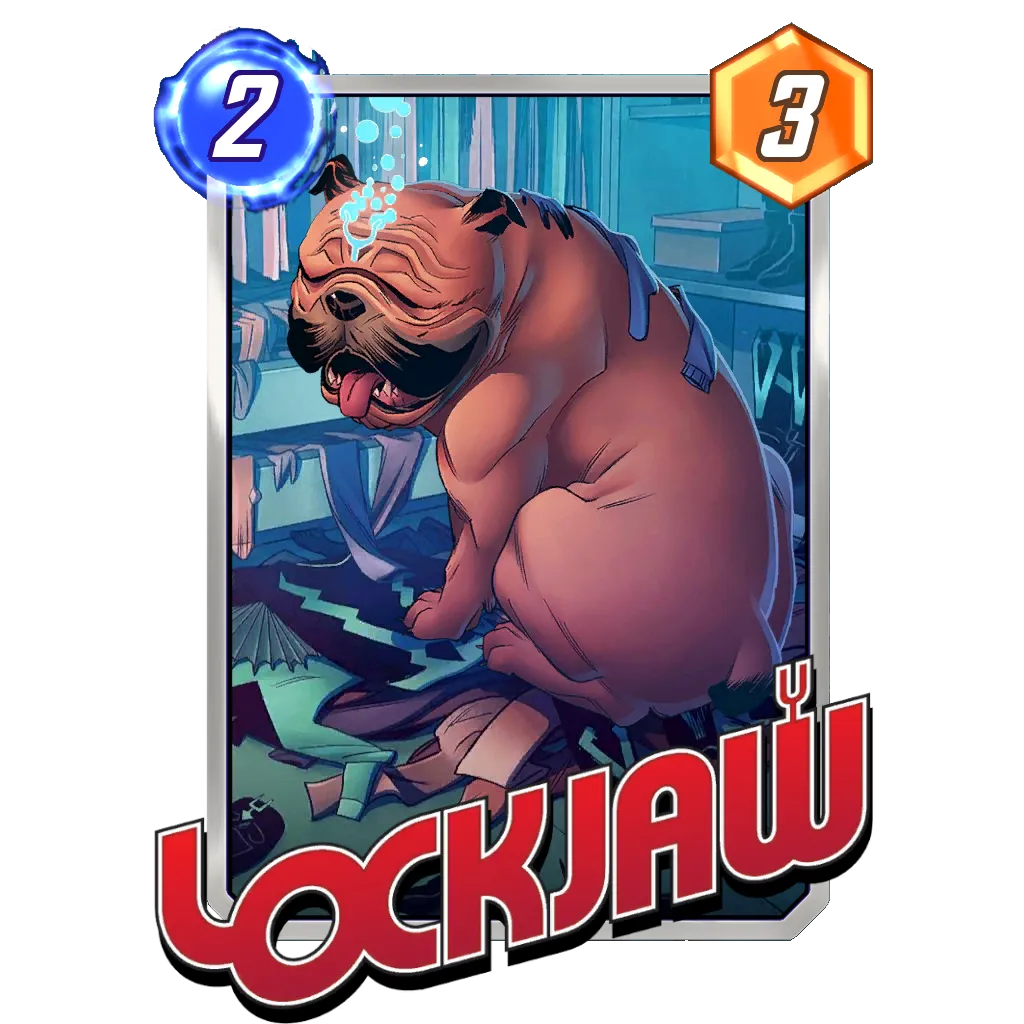
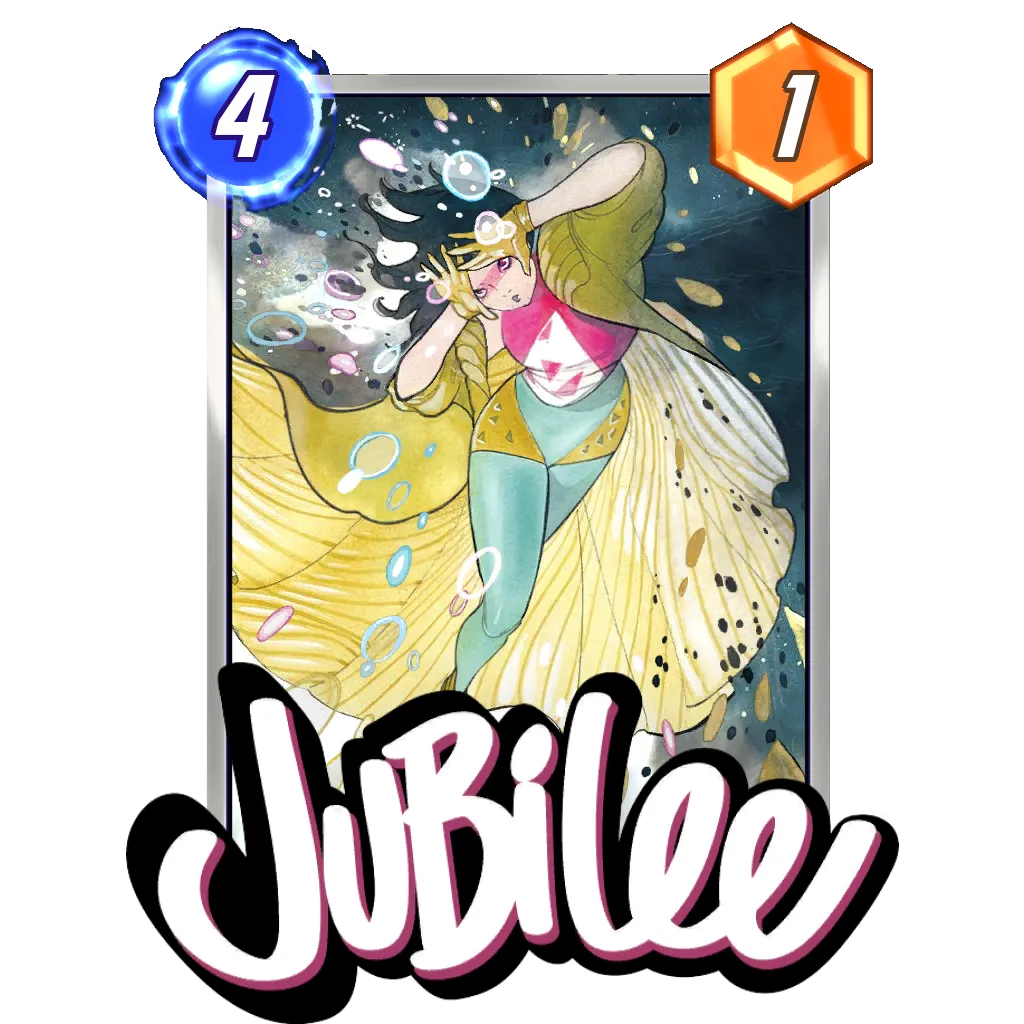
Hela Lockjaw is looking to get big cards onto the field through both its signature cards, and a little help from other energy cheating cards as well. if Hela summoning back cards worth more than 30 power will represent your ideal scenario, which the opponent can’t really plan around except for retreating. This deck can also decide how to spread its points through Lockjaw, Jubilee, Dracula, or the Ebony Blade often representing more points than their cost might indicate.
Then, Hela Lock could be considered a mix of a points driven deck, which only wins through putting up out more than the opponent can. Yet, the deck is far from being as inflexible as an Electro Ramp or Hela Tribunal deck, which rely on specific play-patterns or sequences of draw. Here, you can build your strategy whether Hela is in your hand or deck, and either develop points pro-actively, or just set up some fireworks for the last turn of play.
This is through this newfound flexibility, and more importantly, safe way to build Hela thanks to Lady Sif, Blade, and Black Cat feeding your discard pool while never putting Hela at risk, that you will thrive with this deck.
A good pilot will mostly be one able to scheme the upcoming turns, and build different scenario based on the outcome of some random events, such as the card you pull with Lockjaw or Jubilee. Then, being able to calculate the odds of important milestones for our gameplan is the key to mastering Hela Lockjaw.
In addition to simply discarding cards while summoning Magneto or Giganto, there are plenty of other synergies one need to keep in mind. Black Knight will demand you to discard at certain times, Dracula or Blade to manage your hand a specific way, Jubilee to know what is left in your deck, and Lady Sif to know when you should go for that one in three to lose Hela, as it is the winning line.
In addition to knowing these little intricacies to your own deck, knowing which disruptive cards are popular will also go a long way into winning a lot of games. Indeed, Hela Lockjaw can be weak to Shang-Chi, Alioth or Cosmo to name a few, and the game has always seen counter cards be a huge reason for an archetype’s success. None of these cards mean you are doomed to lose, as you have several ways to play around a disruptive cards. You can fight for priority for once, but also can summon Hela earlier than one could expect. Indeed, as long as the card is in your deck, you can always try to fetch it with Lockjaw or Jubilee on turn five, and simply slam Giganto or Magneto on turn six.
In the end, this deck has a clear goal: dominate through sheer amount of points. However, the many routes you can follow in order to get there, be it through a huge Hela, or simply a big Ebony Blade on a lane, while Dracula or Lockjaw contest the other, are where the true strength of this archetype lies.
Core Cards
Win Conditions


Hela Discard, or Hela Lockjaw as it is more commonly referred to, is mostly focusing on its own game plan, rarely able to disrupt the opponent. Then, the deck will focus on developing points through its various synergies, and pondering how can the opponent beat what will be on the field. In that plan, Hela and Lockjaw are the two engines to get big cards out on the field.
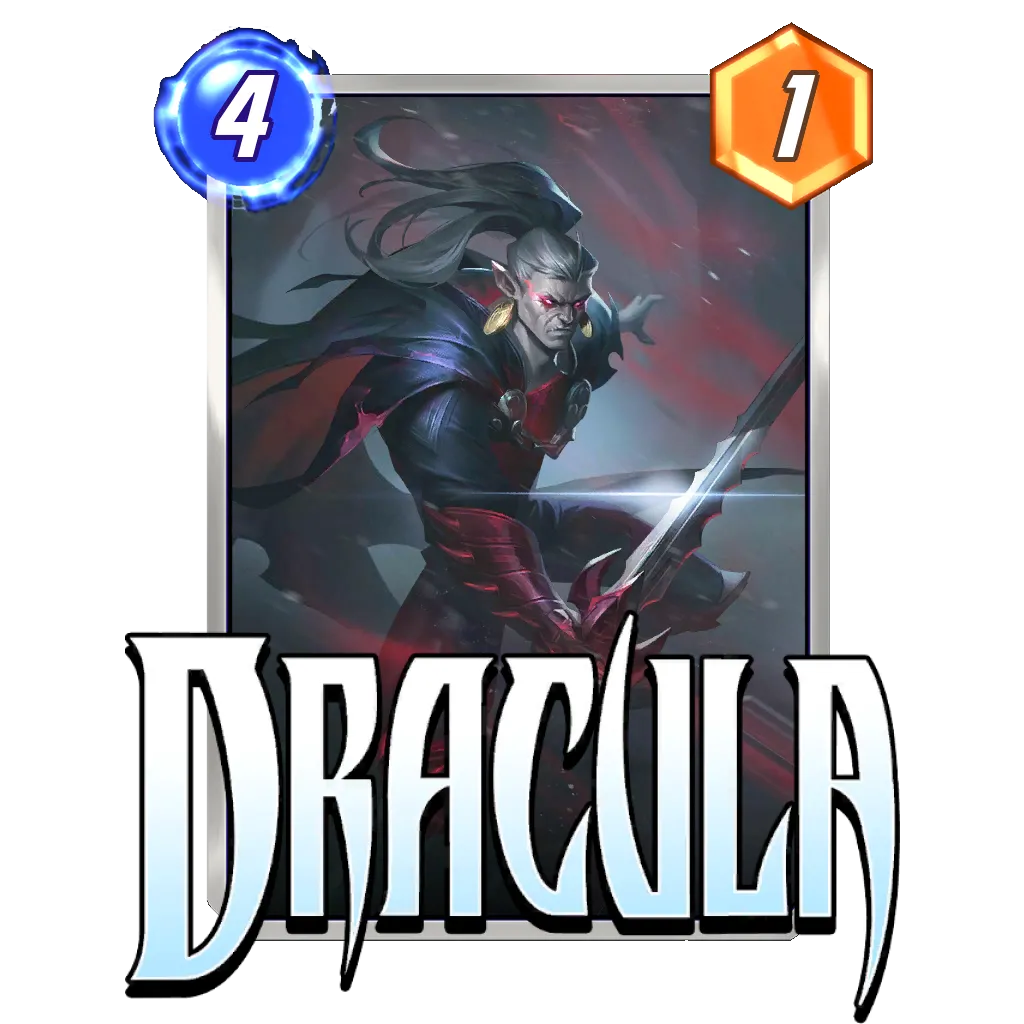
Dracula isn’t necessarily a Core Card, as many players will value Silver Samurai more, or simply build around Hela even more. Yet, if you decide to run the card, Dracula will be expected to be a double-digit power card and anchor a location, same as Lockjaw in a way. Especially in a metagame with a lot of decks running Shang-Chi, Dracula becomes very valuable to lose priority, and make sure Shang-Chi doesn’t clear the cards summoned with Hela.
Jubilee is Lockjaw’s best friend, and has a high chance of summoning a big card from our deck, or find Hela on turn six if she still is in there. She is more risky than Dracula, as you give the opponent a chance to answer the summon, or could get Hela in play too early in the match, but Jubilee still represent one of the deck’s best secondary win conditions.
Discard Core


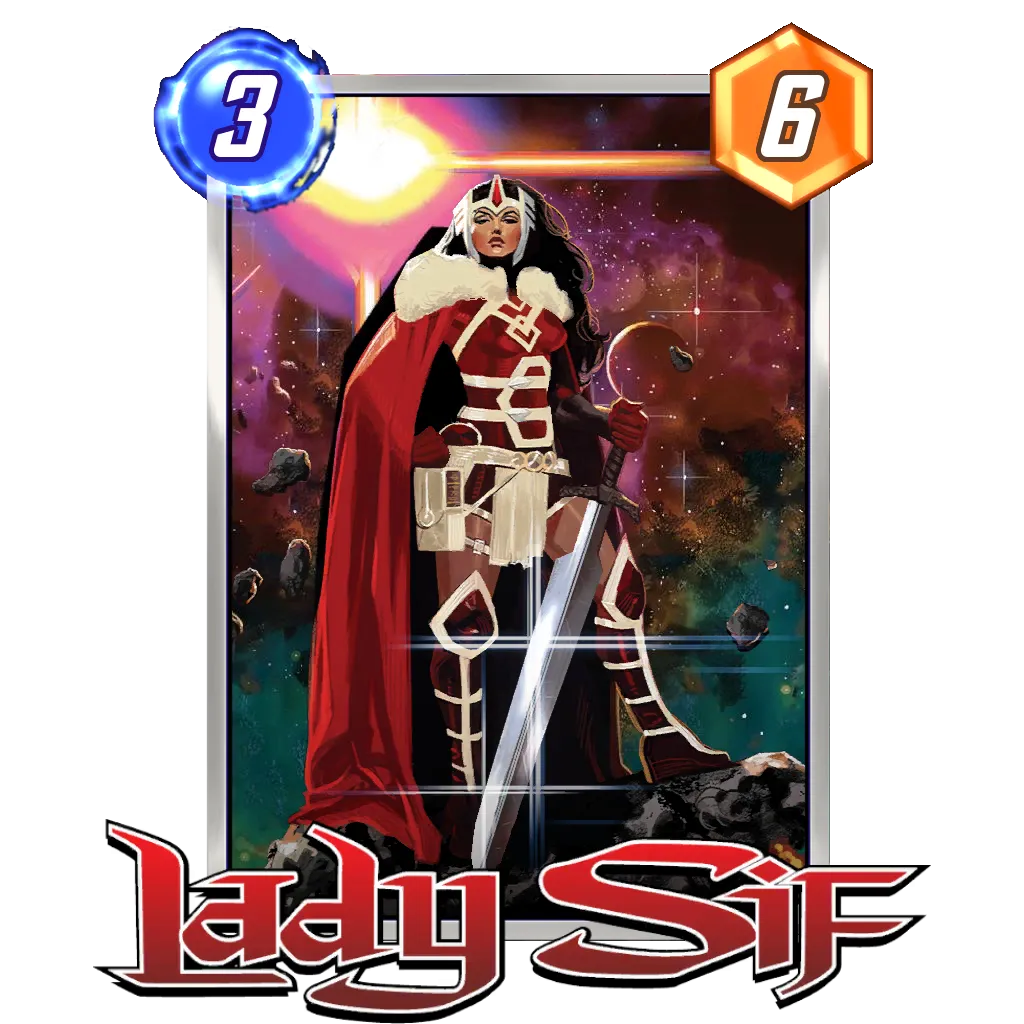


Blade and Lady Sif will make sure you can control your discards, and set-up Hela in the safest way possible. Thanks to their low cost, you also don’t have to play them right away, and can wait a few turns to draw the right discard, or to throw either one behind Lockjaw.
Black Knight is both a card you can throw behind Lockjaw late in the match, particularly on turn five as you will always have extra energy with a Dracula, Jubilee, or Lady Sif play, or a fine turn one play. In that second scenario, you will mostly expect Black Knight to give you an Ebony Blade to play on turn four or five, which should serve a similar purpose to Dracula, anchoring a lane while not risking the opponent to destroy your card with Shang-Chi. Compared to Dracula, the Ebony Blade is much stronger to seize priority going into the second half of the match, in case your opponent would be playing Alioth in their deck.
Black Cat has been seeing much more play since Black Knight has been included in the deck, as you get a [4/9] Ebony Blade if Black Cat is in hand when you play Black Knight. You can probably consider Black Cat the most flexible card of the Discard package, even if it is nice to just build towards a strong Hela.
Power Cards


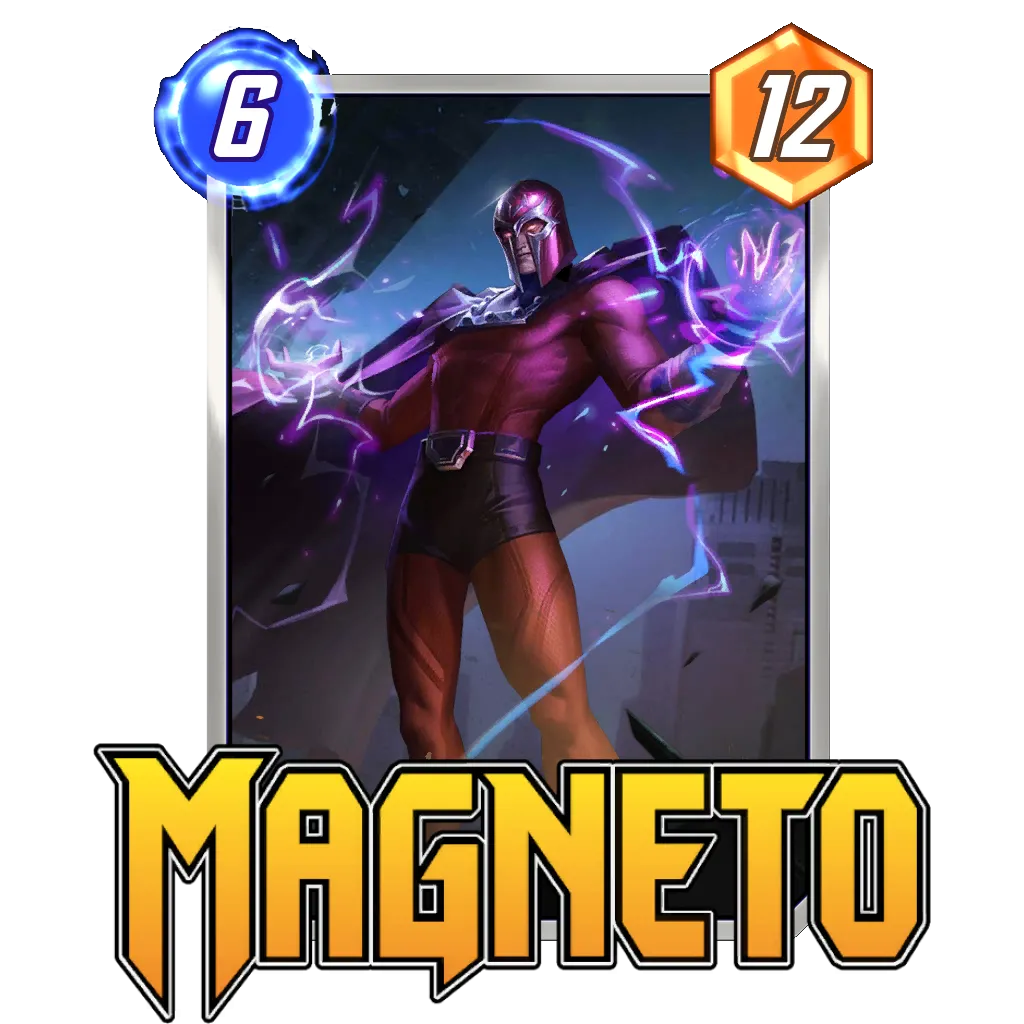

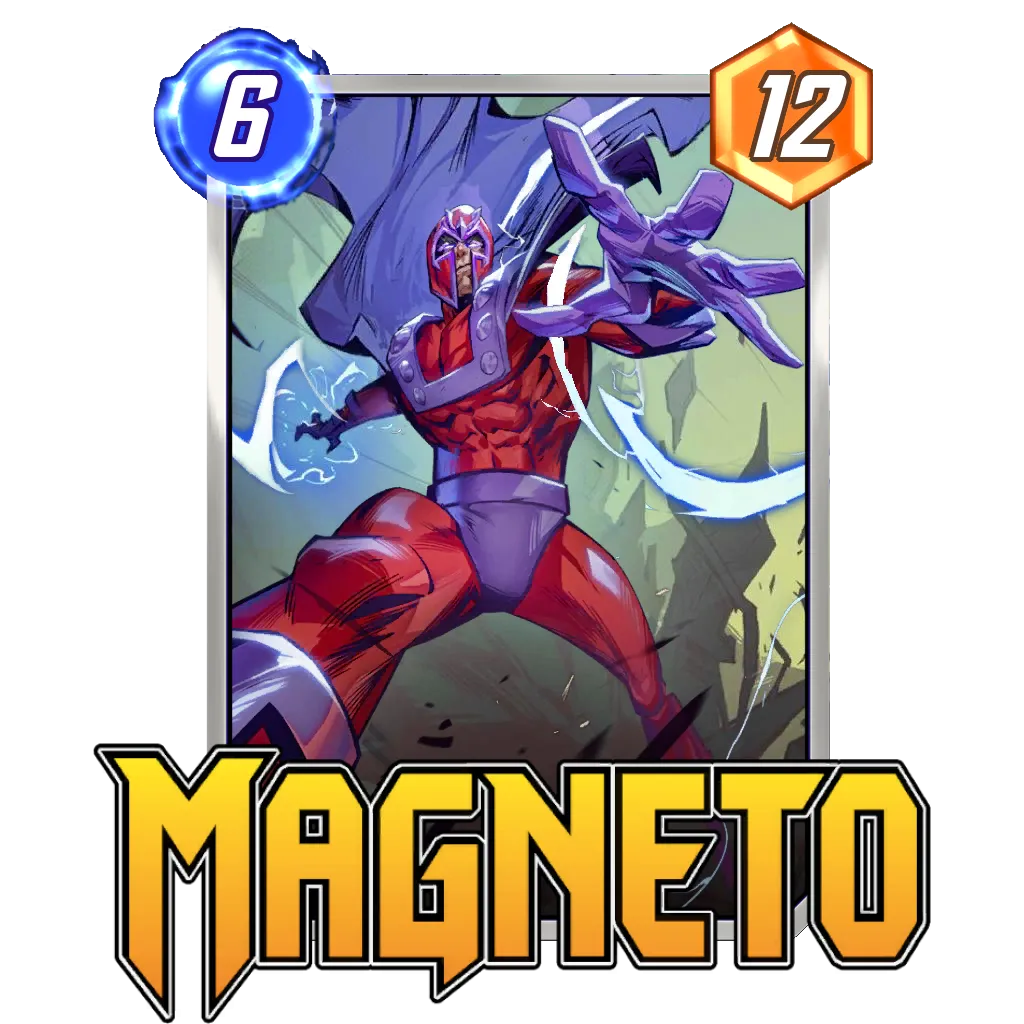

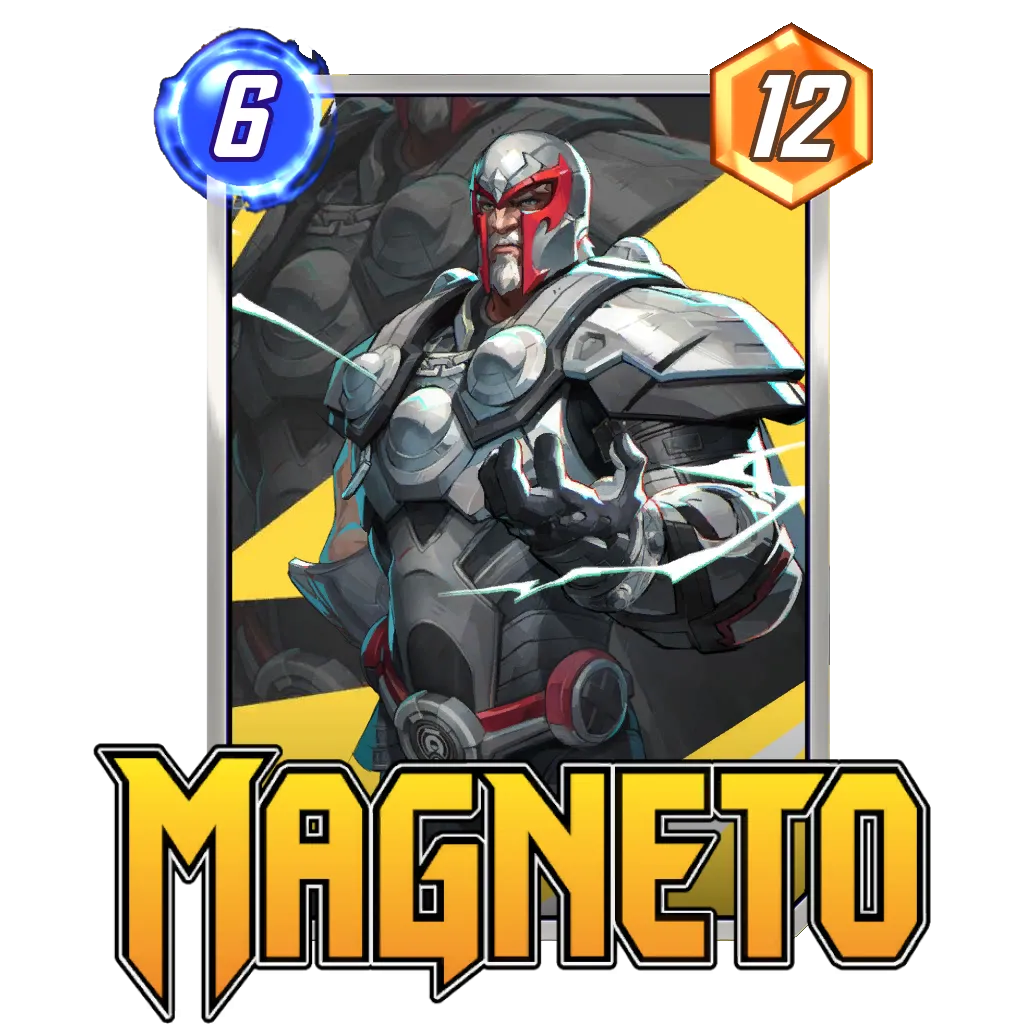


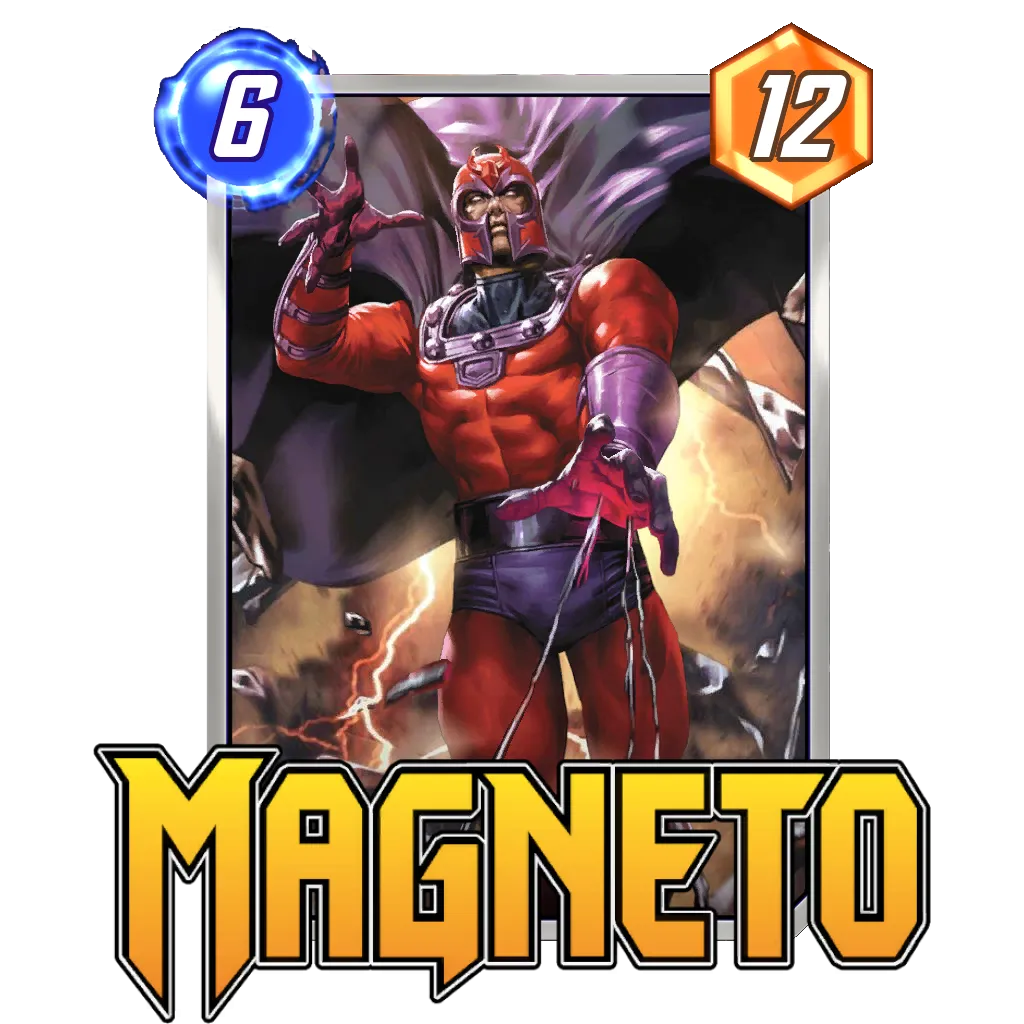

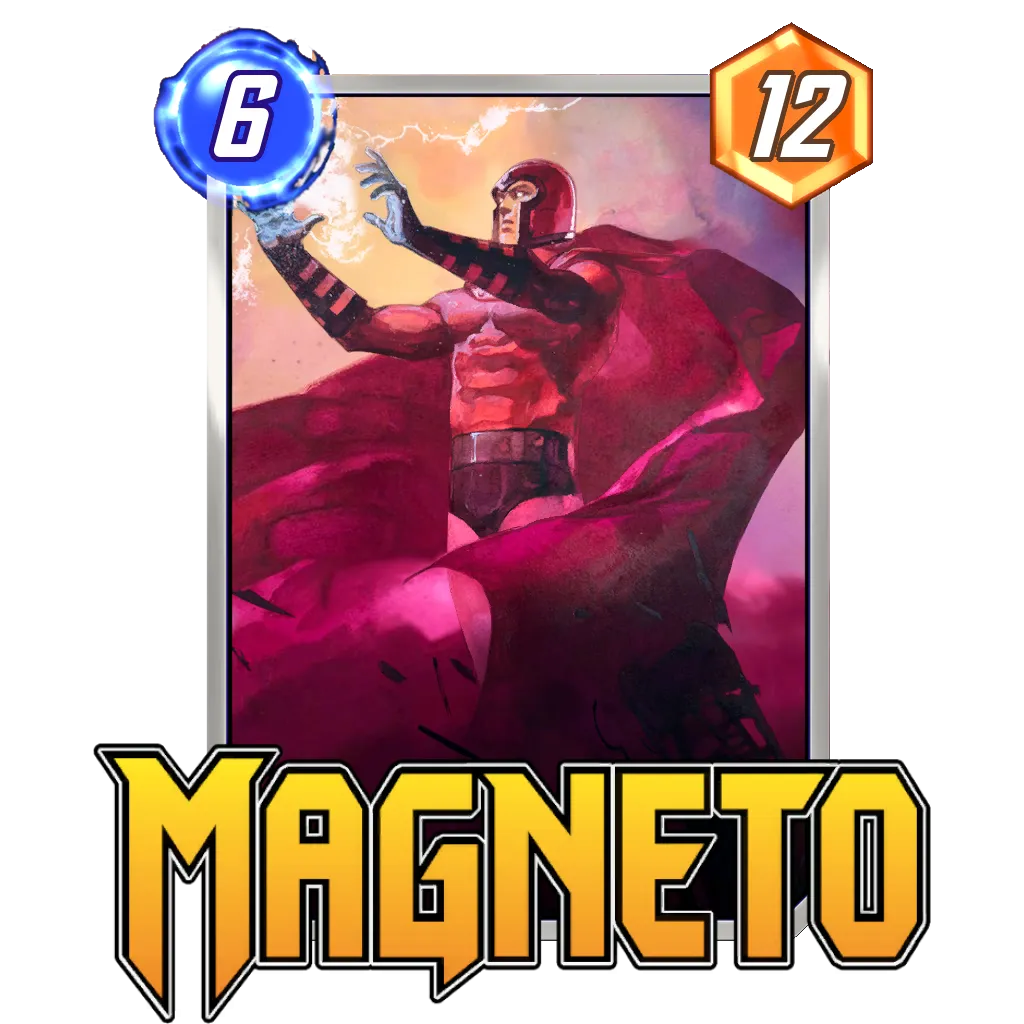


Death is played as a safe discard for Lady Sif while the other three simply are the best 6-cost to include power wise. If you had to remove one, the choice between Magneto and Giganto comes down to the value of Magneto‘s ability in the metagame.
Right Now, with Ms. Marvel being extremely popular, I would say the cut probably is Giganto if you wanted to include something else.
Card Substitutions


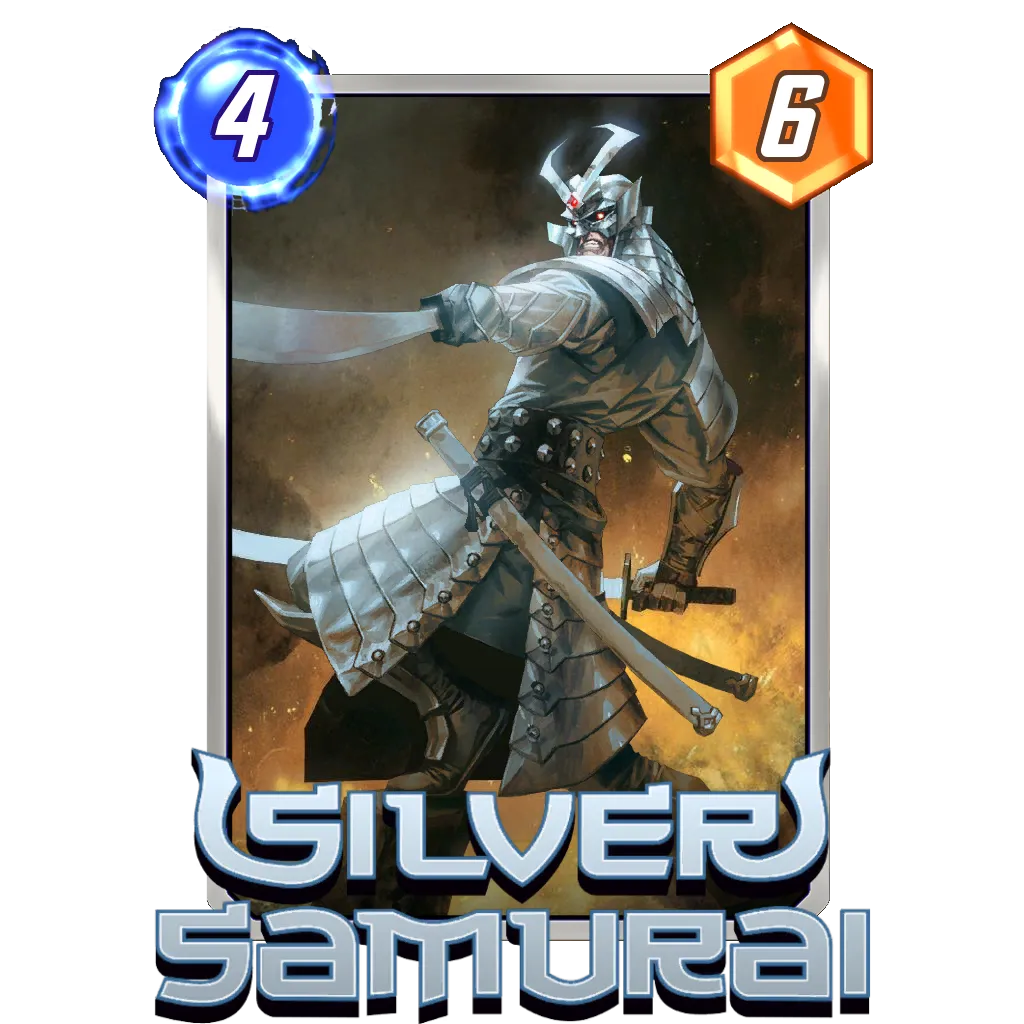


If you fancy adding another Discard ability in the deck, you will usually look at these three cards before the other ones. Silver Samurai is another safe Discard ability, but conflicts with Dracula or Jubilee, meaning you likely will have to cut Dracula in order to play this one.
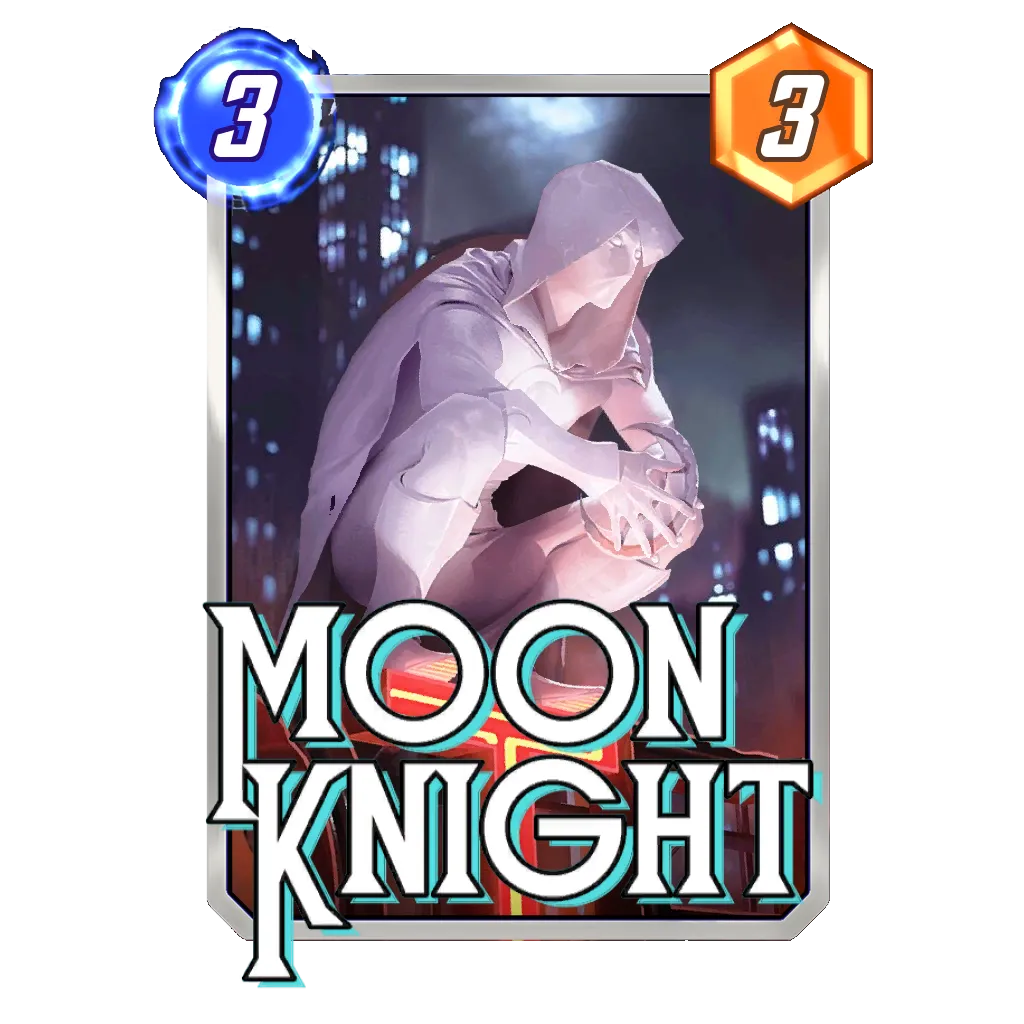
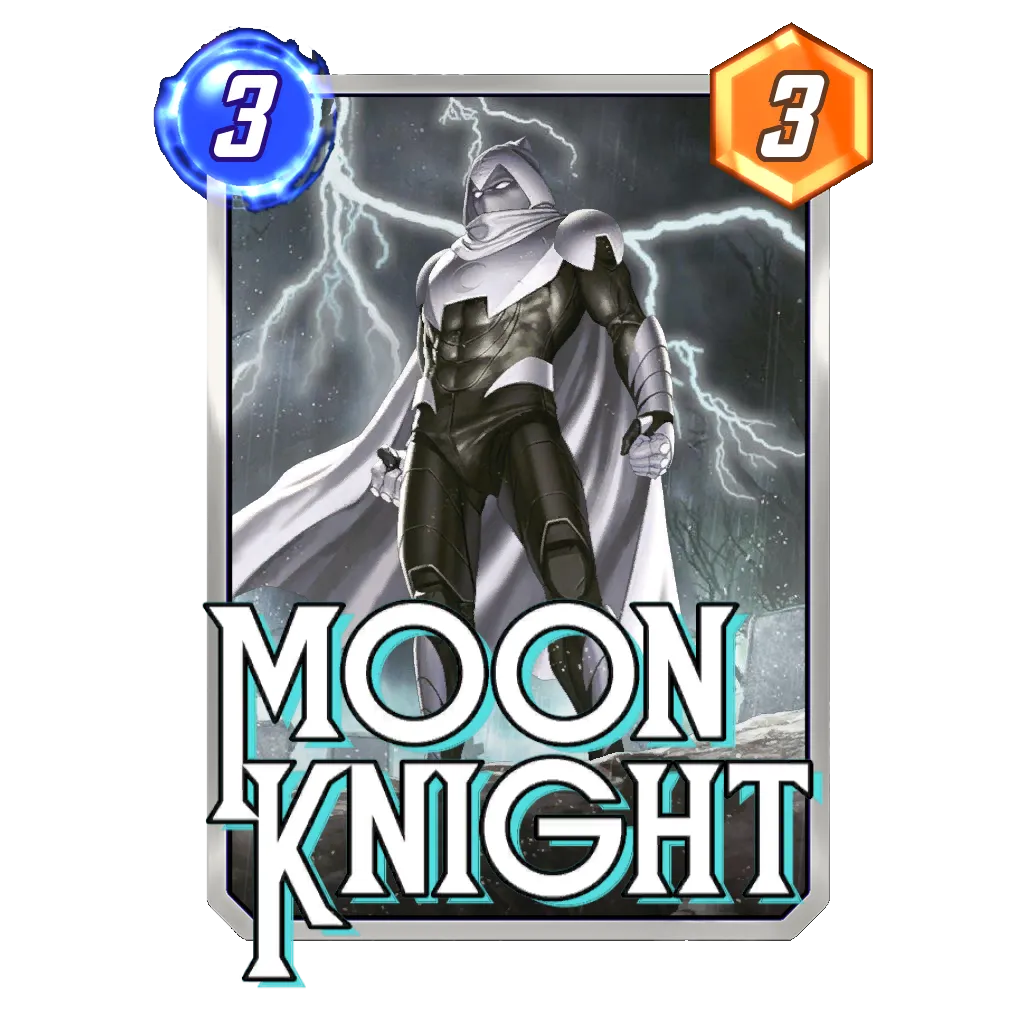
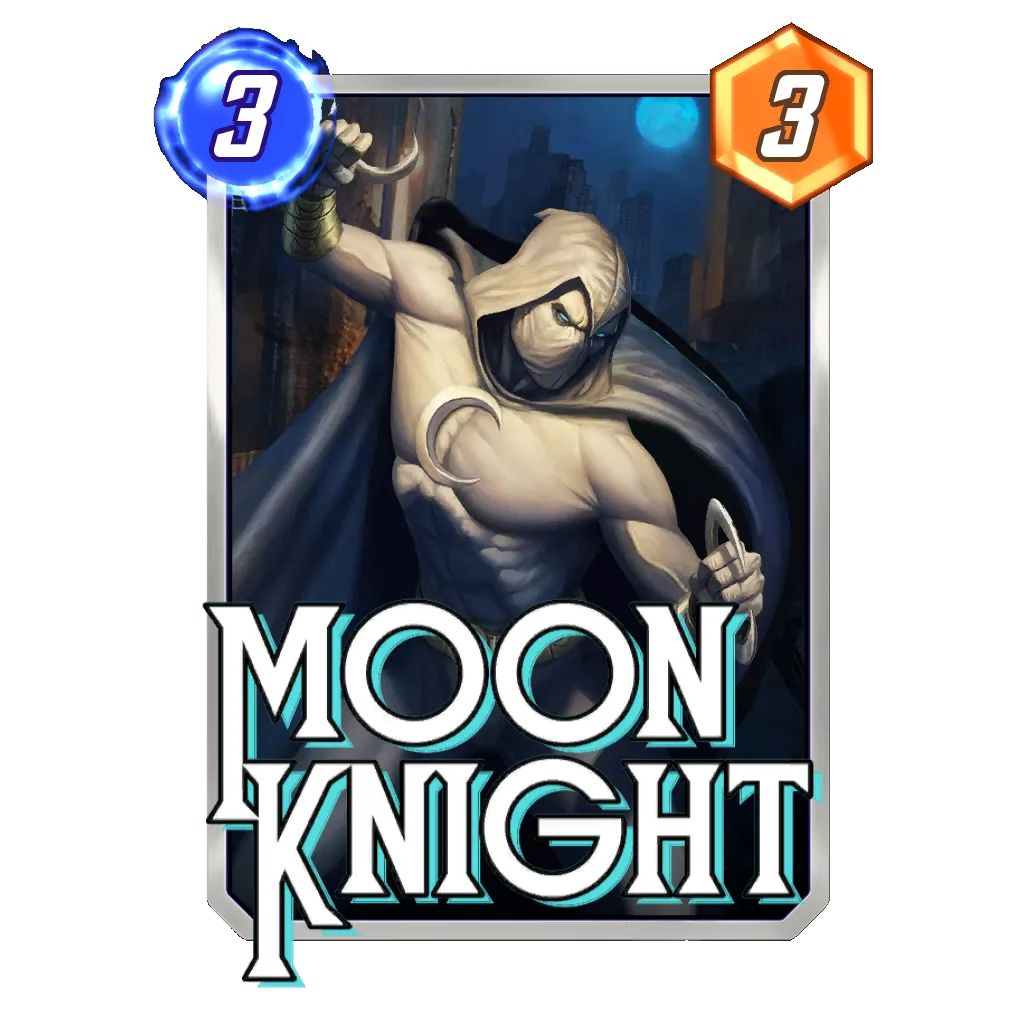
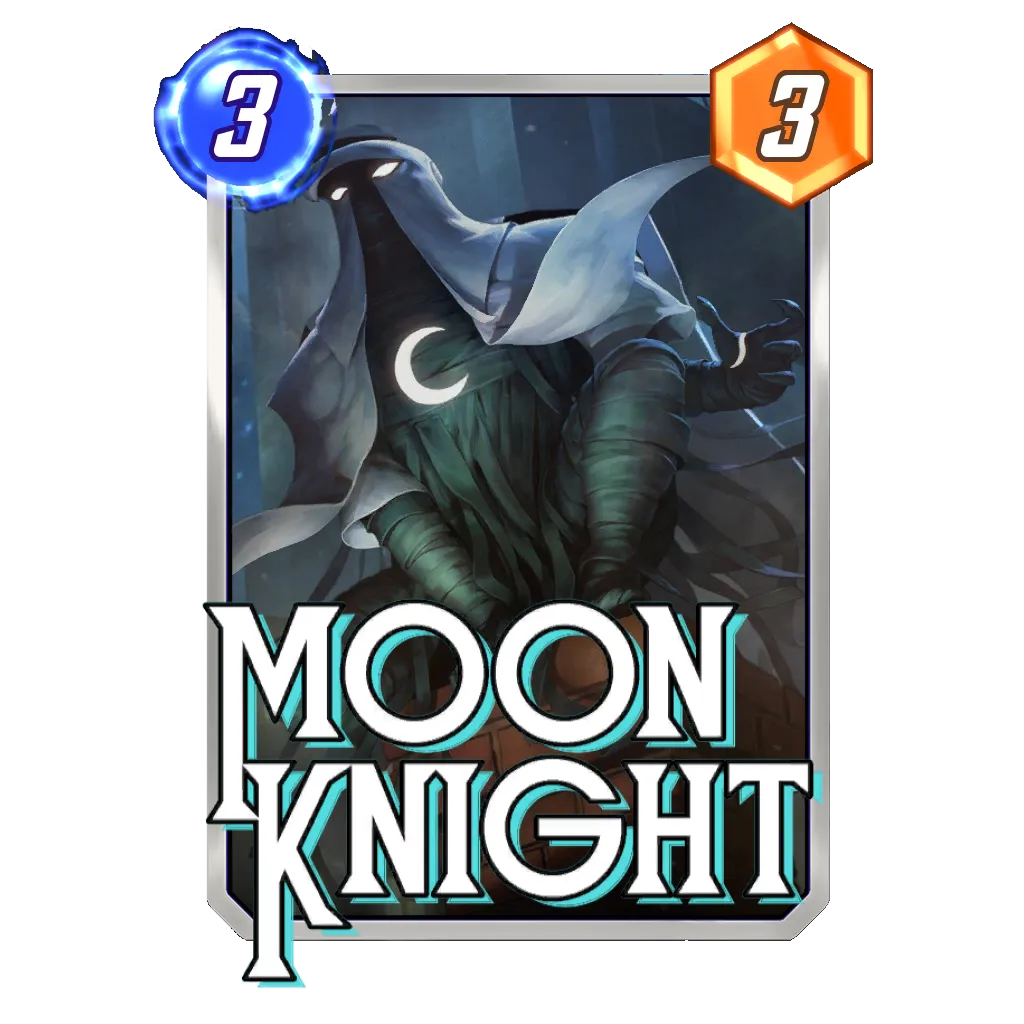
As for Gambit or Moon Knight, their biggest upside is the cost, three, which allows playing the Ebony Blade on the following turn if you had Black Knight in play, and the disruption they bring. Indeed, you will rarely need more points with this deck if you build a good Hela, therefore, you would much rather destroy an important set-up card in play for your opponent, or discard one of their synergistic pieces.


This duo was very popular in the past, as you could throw Swarm behind Lockjaw once discarded. The change to Blade and the arrival of Black Knight has pushed the deck in another direction.


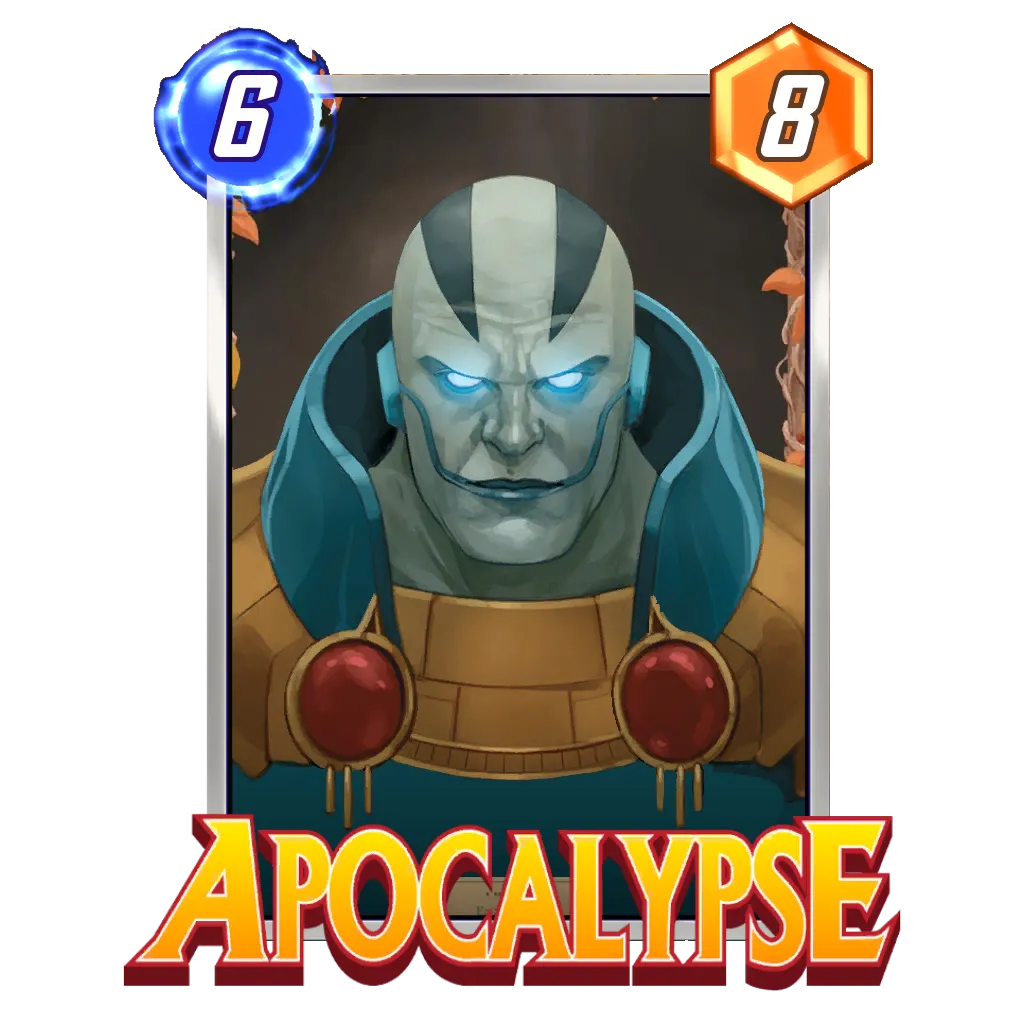


With Dracula in the deck, and Black Knight pushing for high power cards to be discarded, Apocalypse is the sole 6-cost to consider in the current, at least in the current iteration of Hela Discard.
Indeed, cards like Odin or Doctor Doom are great 6-costs, but don’t really fit for a deck with Black Knight plus Dracula included.


Kind of a small Hela, Ghost Rider is often considered in the deck, but only serves as a backup plan, allowing to play a more On Curve kind of play style, with just a big 6-cost on turn six. The card will usually replace Dracula and push for a similar idea, except you get the points immediately, which can be a good thing if you are looking for priority, but is worse with Shang-Chi around.
Other Ways to Build the Archetype
Apart from changing a few cards with similar contribution to the strategy, there isn’t really several ways to build the Hela Lockjaw deck. However, there is the Hela Tribunal deck which also build around Hela, and has its own guide here:
Snap and Retreat
Most of the snaps and retreats will be based on the quality of your hand early in the match. Indeed, as you are playing a very synergistic deck, your goal will be to snap early enough in the match so that your opponent can’t assess your potential yet. It doesn’t mean you have to snap on turn one or two all the time, but once you started discarding many high power cards, your opponent will be quick to understand how many points could be in play later on.
Then, if you can manage to craft a fairly precise game plan, starting on your current turn and up to the end of the match, you should also be able to assess whether it is reasonable to snap or not. Also, keep in mind playing with cards such as Hela or Lockjaw will always carry some sort of risk, or unpredictability depending on how certain effects go. This is just a situation you need to be in peace with before you start playing the deck. There will be some randomness in most games, but your goal isn’t to control everything, instead, you want to maximize your odds, and snap based on those odds being favourable.
It will backfire at times, the same way you will steal a game or two on the back of a lucky pull or Hela spreading your power exactly the way you needed it, but this is the way for Hela Lockjaw to be played.
The same idea goes for retreating, when your opponent snaps you, just see if you can picture how the rest of the game will pan out, and whether you have the tools required to compete. If you can find a scenario with reasonable chances to happen, you can stay in and play to your outs. If you still are missing several key cards, and suspect your opponent also could be playing some disruptive cards, then you are better off moving to the next game. Turn six is a time a lot of players are tempted to retreat, but it is important to stay in and take your chance, even when you only have a one in three chance to win it. Winning just one in four times will amount to the same number of cubes than if you retreat every time. Then, if your odds are better than a one in four chance, you should take it and pray for the best.
Speaking of disruption, there are a few cards you want to keep in mind, as they will impact how likely you are to pull off your synergies, which obviously will impact your decision to snap or retreat in certain games:
- Alioth and Cosmo will deny Hela, be mindful of an opponent with priority and a high chance of the card being in their deck. Leech on turn five can have a similar effect, although you should then be able to play a big power card instead.
- Professor X can lock a lane, preventing Hela from sending any cards there.
- Shang-Chi can destroy most of the high cost cards you would have cheated early on with Jubilee or Lockjaw.
Locations
Hela Lockdown doesn’t care that much about locations overall. We have Hela to send cards on unplayable ones, but we do like to hide where we could play Hela, so the opponent can’t easily snipe it with a disruptive card such as Cosmo or Alioth. With this in mind, unplayable locations are good for us, except if your opponent is packing Alioth or Cosmo, and can force you to play Hela on a certain spot.
Locations worth snapping for
- Quantum Tunnel: Lockjaw as a location should favour us on average
- Quantum Tunnel: Ebony Blade plus Hela are great to win this location
- Weirdworld: If you already have Hela, the rest of your deck is pretty difficult to use, while you can just play tempo with your opponent’s deck
- Wakanda: Passive protection against Shang-Chi and Alioth
Locations worth retreating if opponent snapped
- Bar With No Name: It is difficult to play Hela and hope we won’t have points on a certain location.
- The Peak: Apart from Jubilee and Dracula, all the other hits are terrible for us
- The Raft, White Hot Room: We will rarely, if ever, be able to compete here part from Lockjaw into Jubilee with a 1-cost already there.
- Gamma Lab: We don’t play Shang-Chi, and can’t really just abandon a lane either with this deck.
Matchups
Being focused on itself rather than trying to disrupt its opponent, Hela Lockjaw will mostly try to dodge the opponent’s traps while developing its synergies. As such, a match-up will mostly rely on figuring out the points potential our opponent has access to, as we can’t really do anything but draw better than an opponent with a higher ceiling than ours. Magneto could help change their points spread through moving their 3 and 4 cost cards, but that is about all we can do to impact our opponent’s side of the field.
Once we know our potential can beat what our opponent can do, the next important step is figuring out if they can stop or derail us. Cards like Alioth, Leech or Cosmo can be a problem for Hela, while Shang-Chi will punish us for developing proactively behind Lockjaw. Unfortunately, those cards aren’t tied to particular archetypes, and can be slotted in various builds. Good Cards, InSheNaut are running Leech, and could be running the other two on occasion, Ongoing decks tend to run Cosmo for protection, while Alioth can be played in most decks able to seize priority, which Ms.Marvel enables for a ton of strategies.
Outside these three cards, Hela Lockjaw is pretty well positioned, as it doesn’t care about many disruptive cards of the current metagame. Rogue, Echo, Mobius M. Mobius and such cards are not a problem at all, actually indicating the fact our opponent is mixing in some disruption, which will lower their maximum points potential. Space limiting cards, such as Storm, Goose, and pretty much all of those except Professor X are not really a problem, except if they lead to Alioth being easier to land for our opponent.
Regarding decks with a high power ceiling, Blob is able to compete on a lane with us, even if we get two 6-cost cards in there, meaning we often want to rely on Hela so the opponent can’t “kill” one of the lanes with invested into with Blob. Ongoing decks with Onslaught and The Living Tribunal can challenge us on points, even if Magneto can be useful to move Ms. Marvel to a different lane. Against those, it will mostly be about reading the situation, and making the most of your good draws, or your opponent’s bad ones.
One big upside of playing a Hela Deck is being favoured against Loki, which can’t really do more than just slam a big card when getting our deck, as they typically won’t have time to set up Hela, in addition to needing to copy specific cards to make it work in the first place.
Turn by Turn Breakdown
- Turn 1: Black Knight is safe to play if you have it. Blade can be a play if you have a nice discard opportunity. You could also consider passing her, as you don’t run any 2-cost, and give yourself another turn to see if you draw Lockjaw, and consider if you want to throw your 1-costs behind it.
- Turn 2: Exact same consideration as turn one, except for Black Knight which needs to be played now if you want to be able to play the Ebony Blade later on. Otherwise, you will have another shot at playing Blade, or throwing Black Knight behind Lockjaw on turn five.
- Turn 3: Lockjaw is the go-to here if you have it and can’t find a specific reason to hold the card. As for Lady Sif, if you played Black Knight already and don’t have a 4-cost in hand, then Lady Sif becomes higher priority than Lockjaw.
In other scenarios, except if Hela is at risk of being discarded, you should play it, and could even play it instead of Lockjaw if you have the guarantee to get The Infinaut in the pool. Depending on your opponent, how hot of a start they got, it might be worth risking the discard anyway if that is your only play, and just leaving for a cube if you get unlucky. If we can be flexible with our 1-costs, three energy is more difficult to use later on.
- Turn 4: This is where we start having multiple options, with Dracula, Jubilee or The Ebony Blade. This is also the point where we have a lot of information available, with all three location revealed and your opponent’s archetype revealed. From this point on, take a second to think about what is in your deck, the odds of certain draws, or random effects happening, it will go a long way into determining your next move.
In order to pick the right move, here are some important information to keep in mind:- Do you expect Alioth from your opponent, meaning you want to fight for priority going into turn six. Then, Jubilee is a higher priority than Dracula. The opposite logic applies if you expect Shang-Chi to be in their deck.
- Is Hela still in your deck or in hand ? When is the ideal moment to get it in play?
- How many discards do we have already, is Hela enough to win ? If not, can we place our cards to influence her.
- Turn 5: Basically the same consideration as turn four apply, except we can fit an extra 1-cost during this turn.
- Turn 6: Play Hela except specific reasons not to do it, such as not enough discards or Magneto being a surefire win because of the opponent’s deck. Most of the time, if you are still in the game and Hela is a possibility, you should have very little reason to retreat. Otherwise, check if just playing a big power card could have a shot at winning.
Closing Words
Hela Lockjaw is an archetype I always have fun coming back to on occasion, as it has this fun mix of a careless deck looking from the outside, but actually challenges you to deal with all the optimization possibilities when you are the pilot. If you are good at math, or just want to develop your game mapping skills as a player, I believe this deck could be just right for you. Same if you aren’t really good with your snaps and retreat, and tend to play every game until its end, Hela will teach you very quickly there are matches you snap, others you retreat, and some you just hope it goes well, as the odds are good enough to stay, although it is scary to press that end turn button.
I don’t think Hela will be a tier one deck anytime soon, as the synergy takes on more of a surprisingly strong performer role when the disruptive cards aren’t adapted against it. Since Professor X was nerfed, Alioth has lost a lot of popularity, making Hela much safer to play on turn six for example. Plus, the general focus for disruption is around the Ongoing synergy, Ms. Marvel in particular, or Zabu and Sera making a comeback. In that environment with a lot of Rogue, Enchantress or Mobius M. Mobius, a deck like Hela will rarely be disrupted, and definitely has a better points potential than most of those balanced archetypes.
As usual if you had any questions, find me on the Marvel Snap Zone community Discord, or follow my Twitter page where I share decks and biased opinions about the game.
Good Game Everyone.


More Content