
Table of Contents
Board space is one of the key resources you have to manage in Marvel Snap. In the average game, you have no more than 12 spaces to play cards. This point is very important when managing a game, so today we will discuss how it can be leveraged to your benefit during a game. We will use the two decks featured below to illustrate the idea, but the goal is to help you think about where you are placing cards based on how you want to maximize the power per card in any deck.
 SafetyBlade


First, a quick blurb on the decks above that we will use to discuss this topic. These two decks aim to limit the board space your opponent has, thus limiting what they can play in each lane. Since Marvel Snap is about winning two lanes, limiting what can be used to contest lanes can allow you to efficiently attack two lanes while having the potential to completely lock out a lane from your opponent.
With these decks, you want to play on curve as often as possible and always try to fill your opponent’s lanes whenever you can. This means taking some risks with Green Goblin and Debrii, which are often highly rewarding when they hit. Once you lock out one lane, you use cards like Titania and the Demon from The Hood to push your power over the opponent’s.
Man-Thing and Sentry represent significant power, which is important for decks like these because you need a way to win both lanes. Once you lock out one lane, you can push power or use tech cards to take the second one. They are both high risk and high reward strategies, and we will discuss the use of these cards throughout the rest of this article.
Power Per Card
When played effectively, Junk decks are about trying to maximize your power per card. This term is an attempt to capture a core idea that each of your cards in a location has to develop (or block) more power than your opponent can. You have four spots on a lane, so any spot that is blocked out can actually represent power.
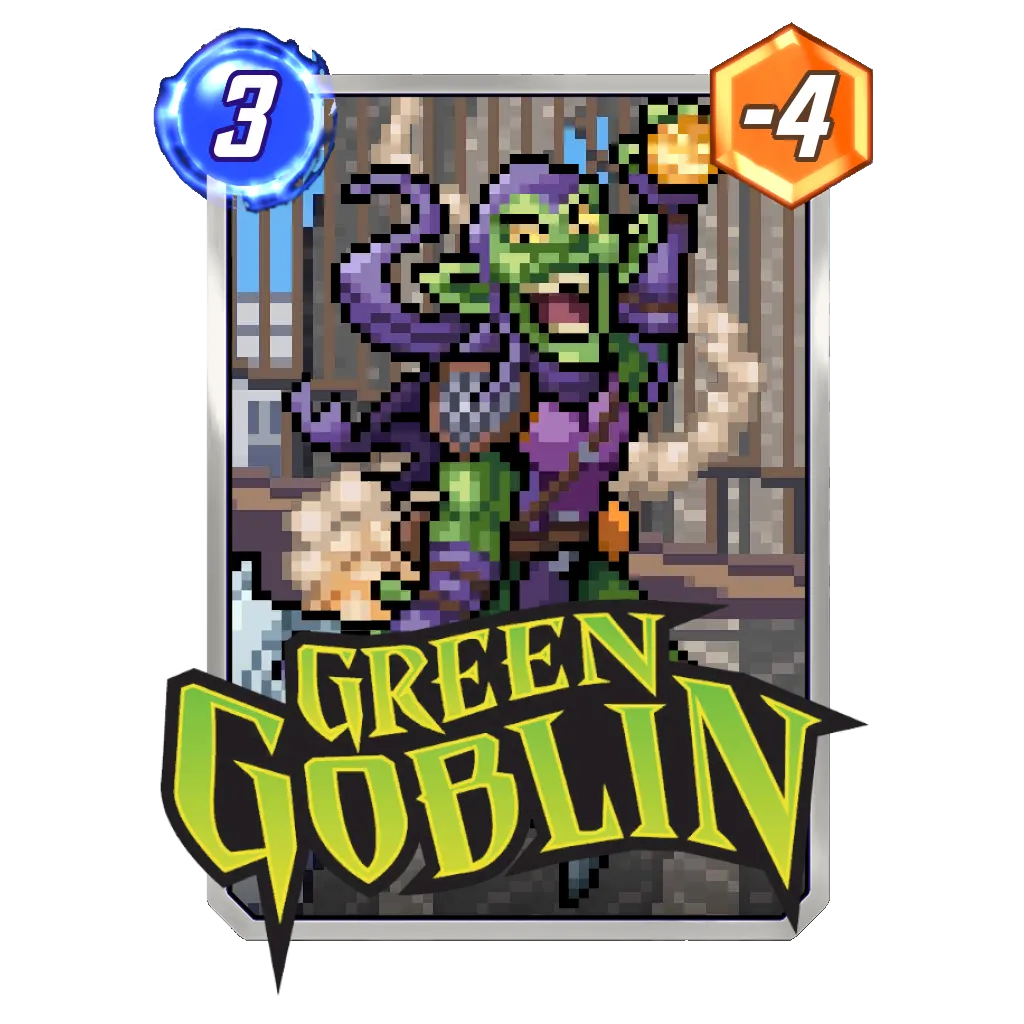

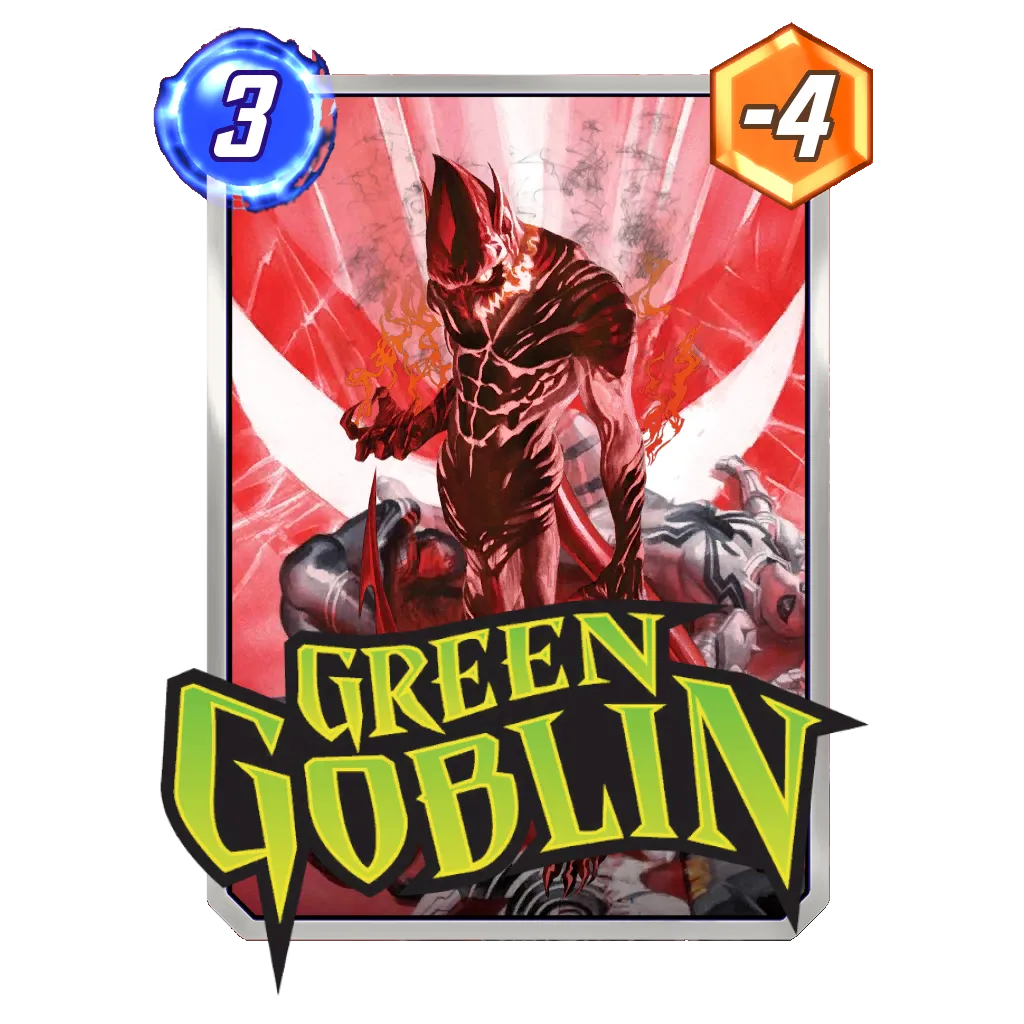


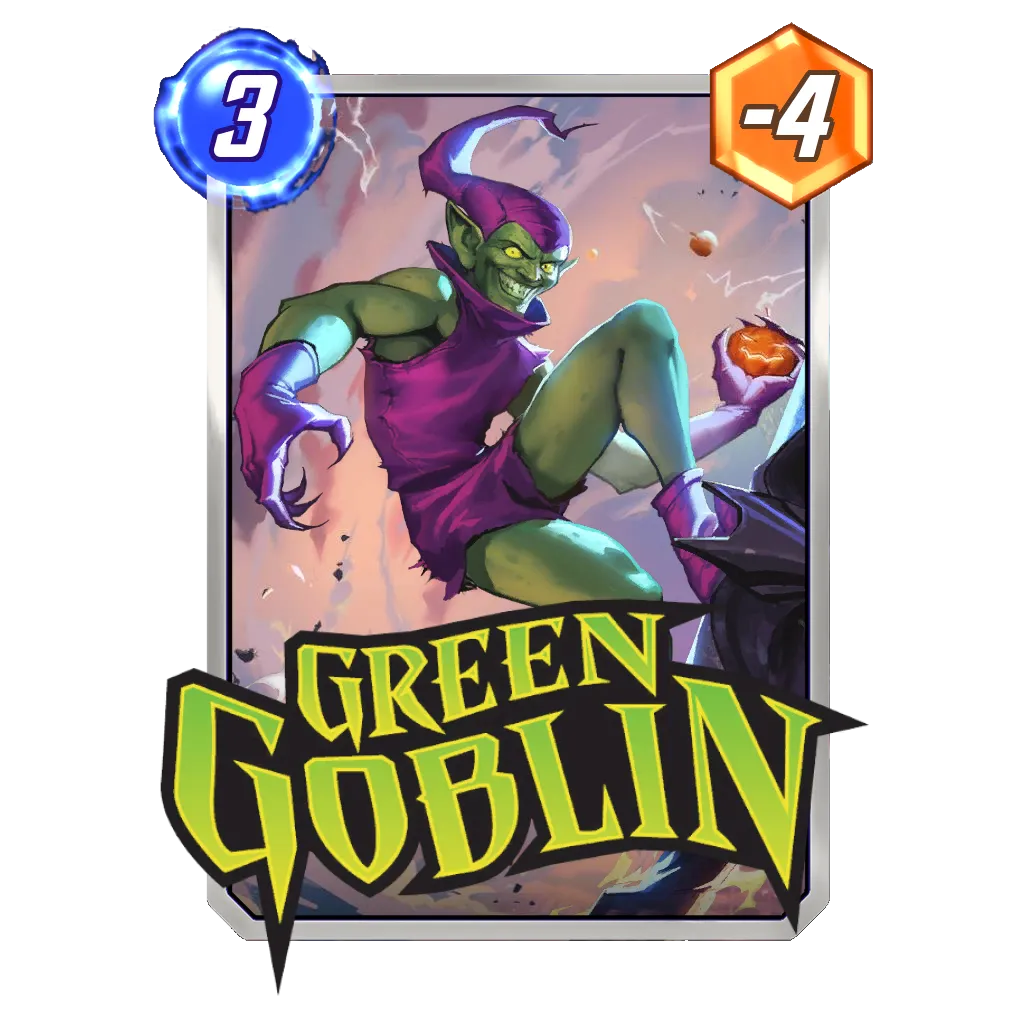


For example, Green Goblin has a base power of -3 on your opponent’s side of the board, but the card is worth much more than that. He represents -3 power AND denies your opponent the opportunity to play whatever power they were planning to play in that lane. Yes, this is conceptual, and it will not always be felt; nonetheless, the card has taken away a resource from your opponent. In short, you could see Green Goblin as just -3 power, but, if you’re facing a deck with Angela, blocking one additional play on that location is worth at least another two power. If Green Goblin lands on the third location, he is worth -3 power and also denies whatever card they wanted to play – which is much more actual power than just -3.

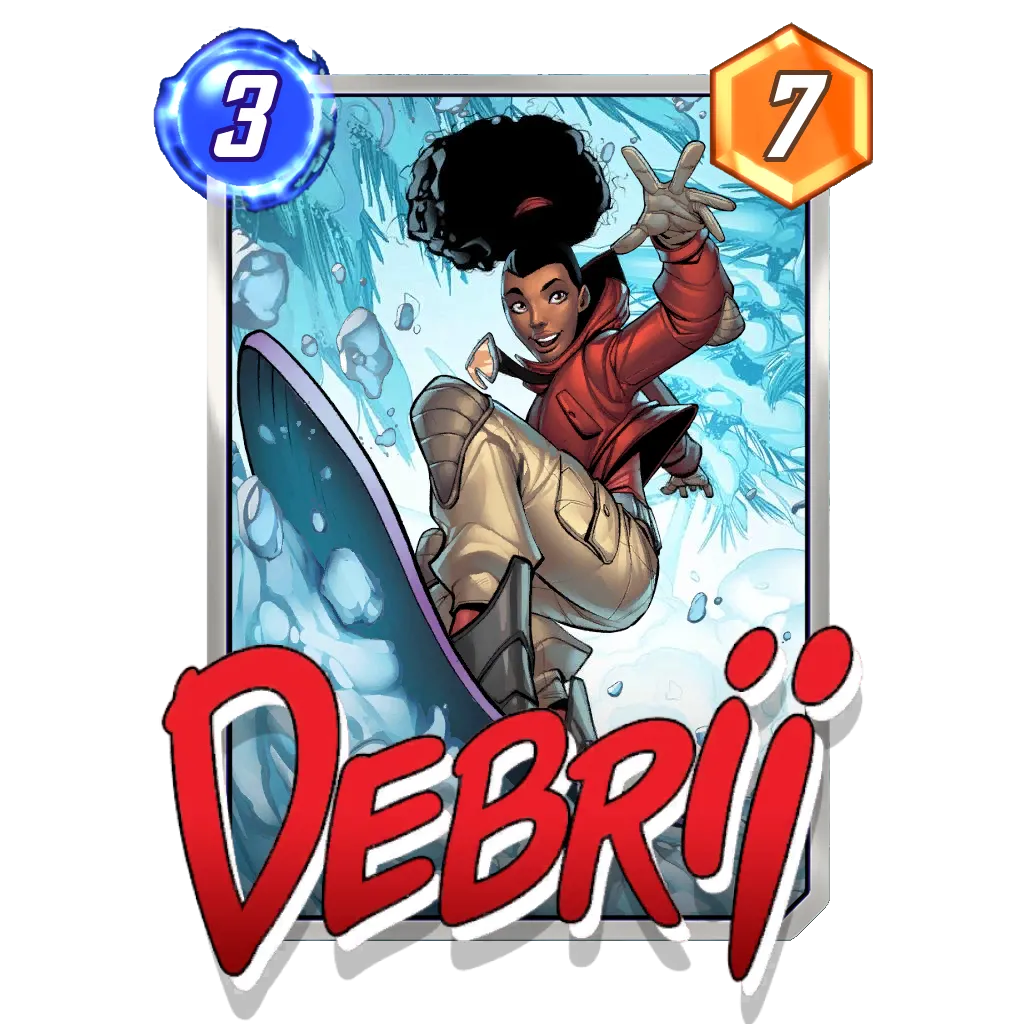


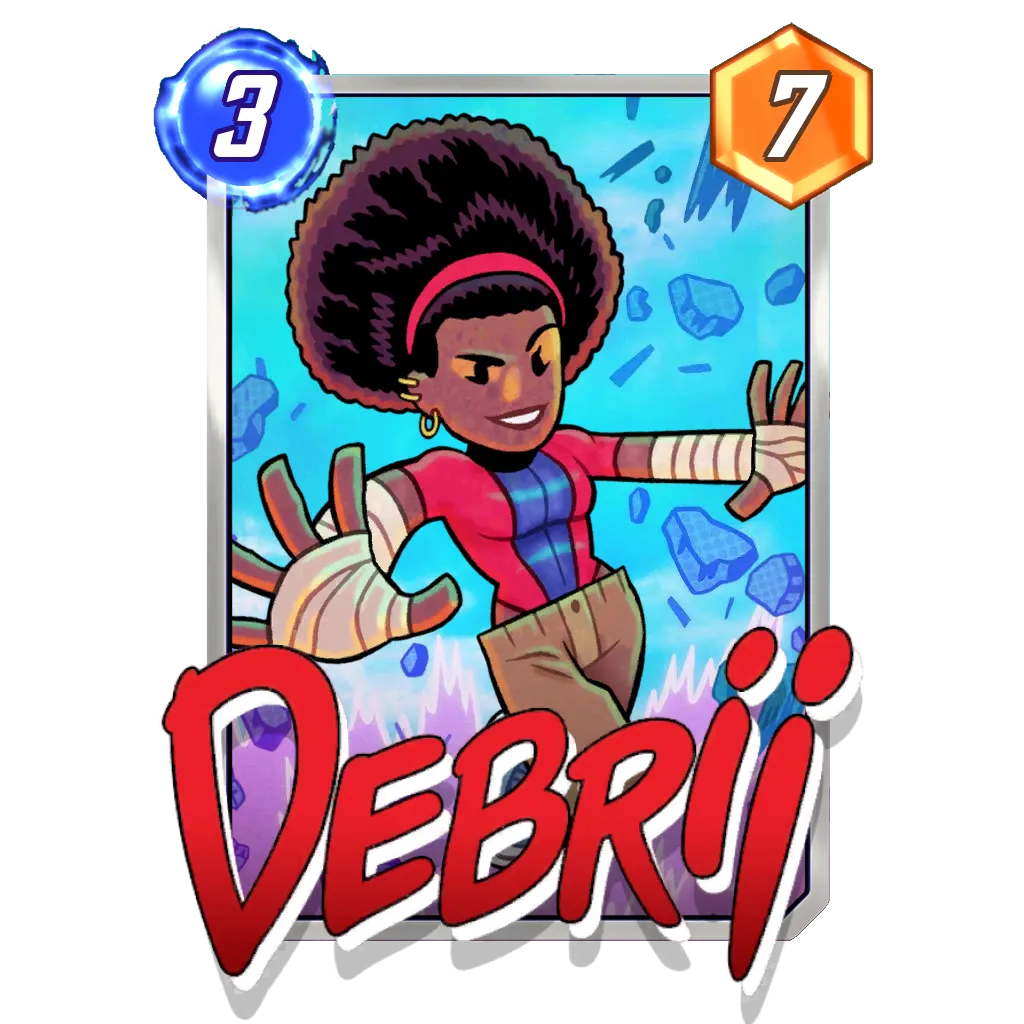


Debrii is also three power, but the effectiveness of the card can be increased in two ways. First, it gains power by blocking locations (similar to the Green Goblin example). The card can also enable an extra two power on Carnage, which makes the ceiling for Debrii much higher than its base power. It can also represent a -2 card for your opponent with Man-Thing.
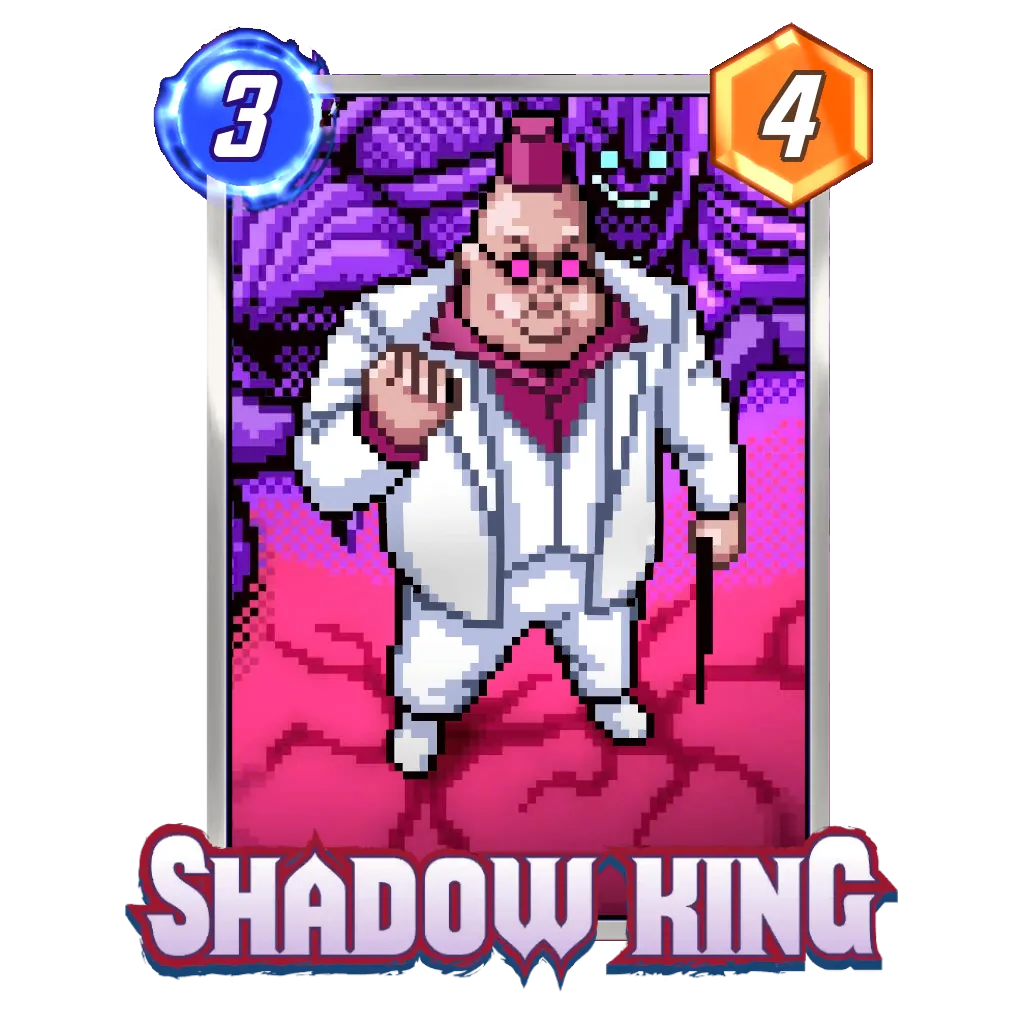


Shadow King is a card that can really open up this way of thinking about your plays. The baseline for Shadow King is two energy for three power. In some metagames, like this current one, it can be anywhere from three power to clearly absurd numbers like thirty depending on what you are able to reduce.
When you consider these cards in this way, you start to see the potential power per card is high. Thus, you need to play your cards in a way that maximizes the potential to hit these ceilings. There are times where playing Shadow King on Turn 2 would be correct, but, in most match ups, holding the card to see if there is an option to get more power later is more valuable. The limited board space and resources mean that if you’re putting a card in your deck, you should be playing in a way to maximize the value of your cards over your opponents whenever you can.
Avoiding Limitations


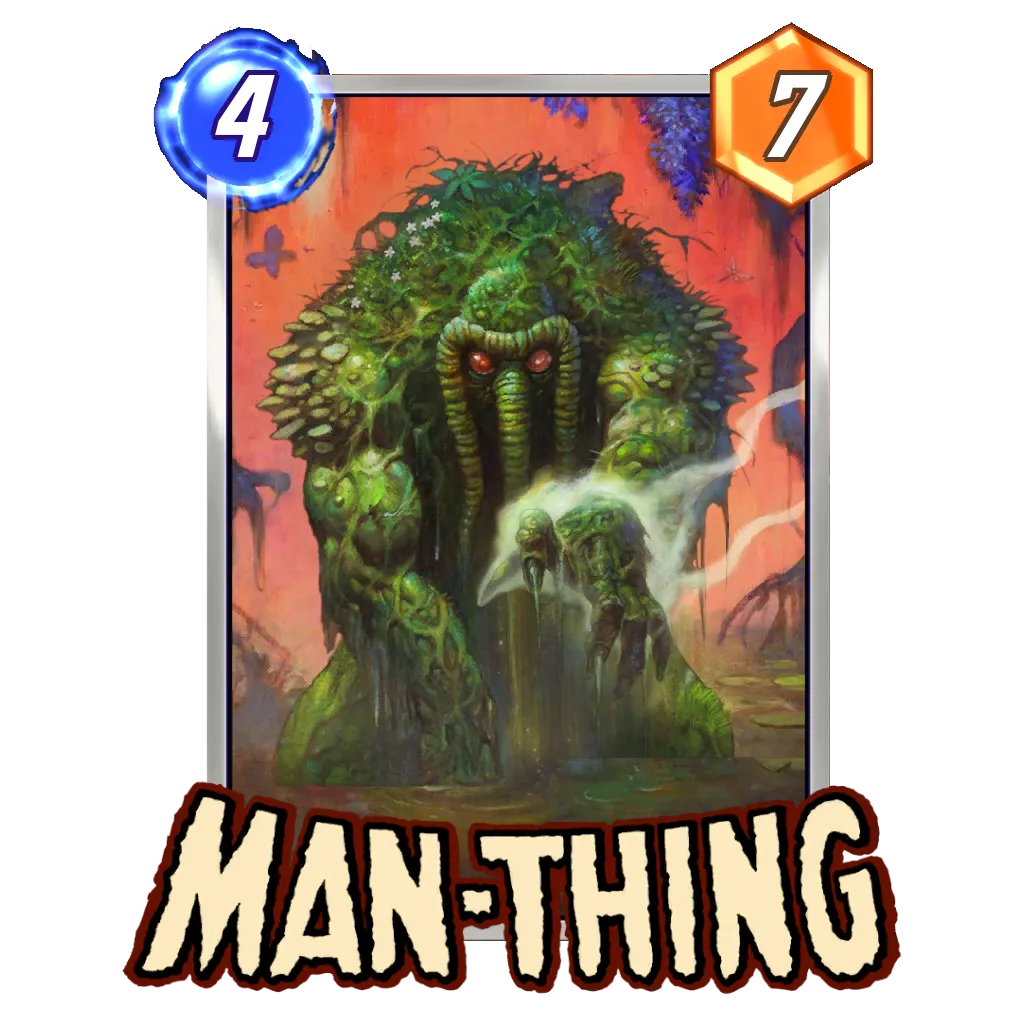
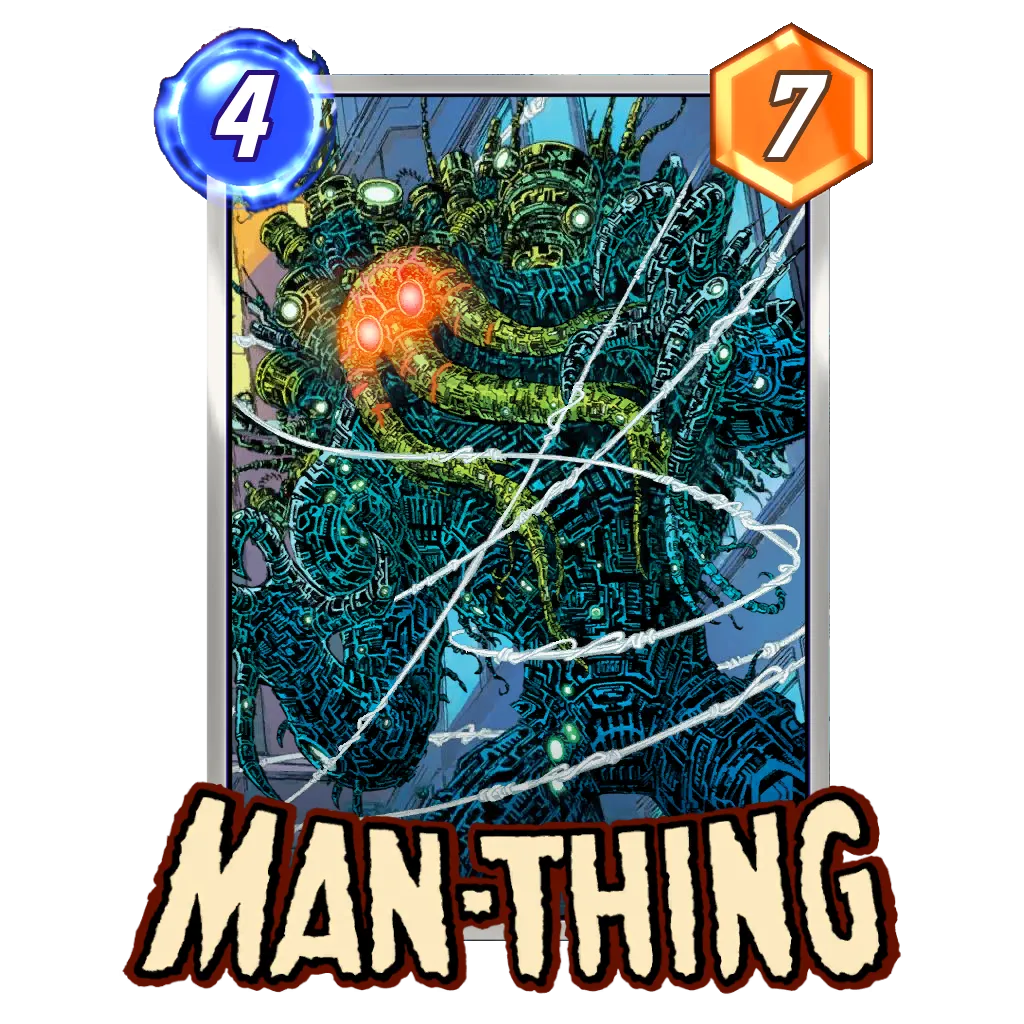


Man-Thing is a great example of a card that has a significant limitation, one that you cannot ignore in deck building: he will impact the power on your side of the board as well. This is an excellent example of how avoiding limitations can raise the ceiling of a card. If you play Man-Thing on an empty lane, he is worth five power. If the lane has any cards that are 3-Costs or below on your side of the board, you have to start subtracting two power from its ceiling. Otherwise, you can play Luke Cage to remove the limitation. The card’s power goes up by two for each card on your opponent’s side of the board that meets the condition.
Marvel Snap it is about playing your cards together to enhance the power per card of each card. By herself, Debrii is worth three power, but the Rocks in the other lanes represent potential opportunity costs for both players’ power. For your deck, that cost is often little to nothing, while your opponent’s is higher. Then you add in Man-Thing on Turn 4, which adds five power to the lane (since the Rocks on both sides are now -2).
Finally, Luke Cage comes in and adds two power, but also enables another two power from your Rock reverting back to zero. These three cards alone only have ten power, but together they become 13 power + the power of the lost space for your opponent. Always play your cards in a way that gives you the most upside and you will have more success with all decks – especially Junk decks.

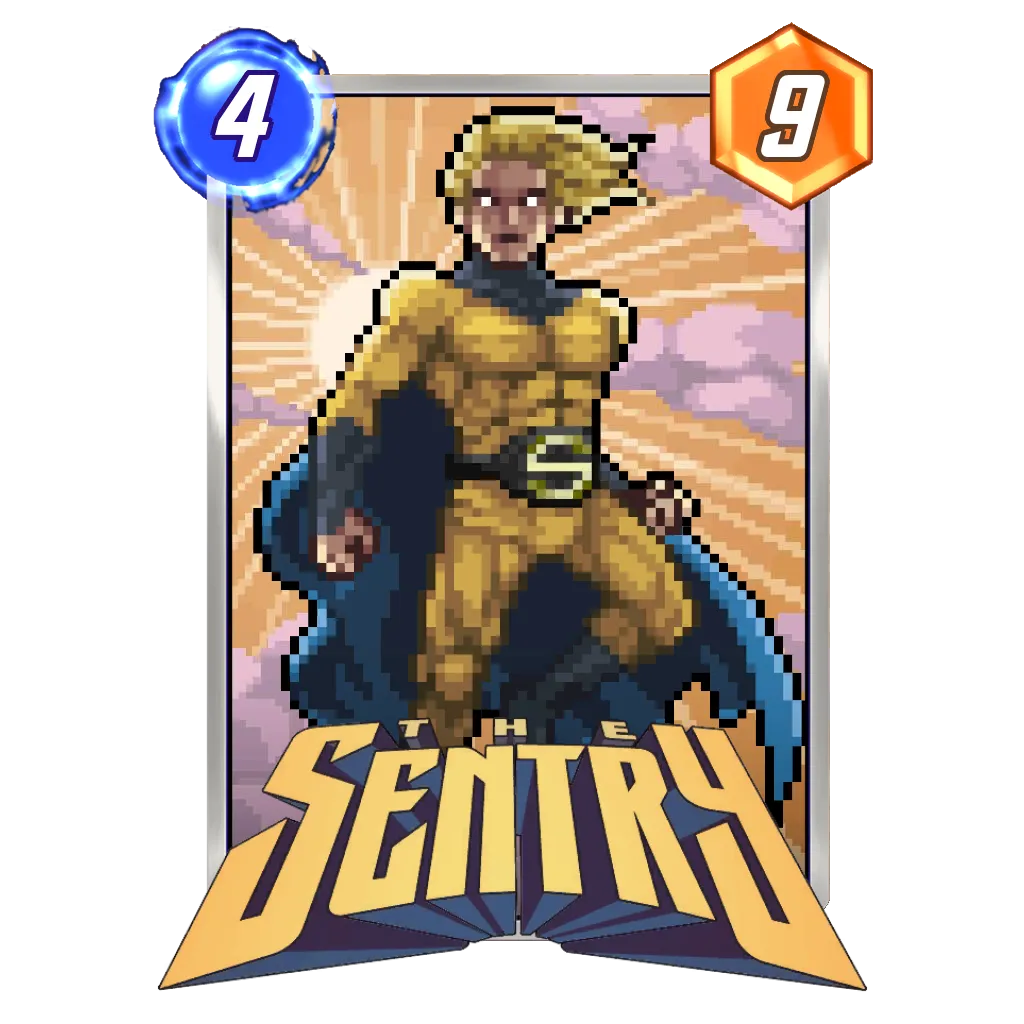


Sentry is included in the other list, and it can be thought of in a similar way (with even higher swings). By itself, Sentry is in fact four energy for zero power. The Void‘s negative power is on another lane, which can be important if you know that it’s going to a lane you don’t need to win. With that aside, avoiding this limitation increases the power of Sentry.
For example, Carnage can destroy The Void for +2 power and leave the ten power from Sentry, so the two cards have cost you six energy for 12 power. With Viper, it is even higher since you can send The Void to your opponent (this translates to a two card combination that has cost you six energy for 23 power). There are other ways to support Sentry as well, like filling the right lane or locking it with Professor X, that can bring him back to ten power.
The Lesson
We often consider the best case scenarios when building decks but fail to consider how playing cards in locations will impact the cards in our hands or the cards we can draw. Junk decks can be more difficult to play because, even though we consider these factors when building decks, when playing turn by turn we are often not considering the impact our plays can have on how much power we are going to extract from every card.


Imagine this scenario: it is Turn 4, you have had Sentry in hand since Turn 1, and you play him for zero power. Then you draw Viper and realize you have also played The Hood on right earlier in the game. You now have a problem since you’re no longer guaranteed to send The Void over to your opponent. The correct line was to never play The Hood on the right because you had Sentry in hand, even without Viper or Carnage. This way, you maximize your chances of avoiding the limitations of the card since two cards can remove The Void instead of only one of them being useful to you.
If you had Sentry and Carnage in hand on Turn 1, The Hood should have gone right early. This way you can destroy both of them or abandon the right lane entirely later on. This maximizes the ceiling of your cards based on what you have in your deck and in your hand. Always ask yourself whether the placement of a card in a specific spot will synergize with another card in your hand or deck and choose the option that gives you the most upside. Always.
Conclusion
Although this wasn’t a specific deck guide, I hope the concepts here help you think about your plays in different ways. Not only for the decks featured here, but for all decks you play in the future.
Good luck, Have Fun, and Stay Safe


More Content