Table of Contents
Greetings, dear readers! It is a pleasure to present this new deck guide to one of the most adaptable and surprising decks in Marvel Snap.
On this occasion, we will be reviewing Thor Miracle in detail. It’s a deck that has many similarities to Bounce and Sera Control, but Thor and Jane Foster Mighty Thor make the game plan fundamentally different from those archetypes.
Decklist and Stats

With an amazing .83 Cube Average and a 60.05% Win Rate, the Raw Miracle list is what you want to be playing. There are a few other iterations of this archetype with a higher number of games, but omitting the reactive cards makes this version have the best results overall.
I have tried multiple versions of this archetype, and there is certainly room to play cards that can make your life easier at certain times depending on the evolution of the metagame. Later in the guide I will make clear what those flexible slots are, and what cards you could use if necessary.
Concept and Strategy
In the same way as other Hit Monkey decks, Thor Miracle aims for a big Turn 6. The big difference between this archetype and other Hit Monkey decks, though, is the inclusion of Thor and Jane Foster Mighty Thor to set up a stronger Turn 6.
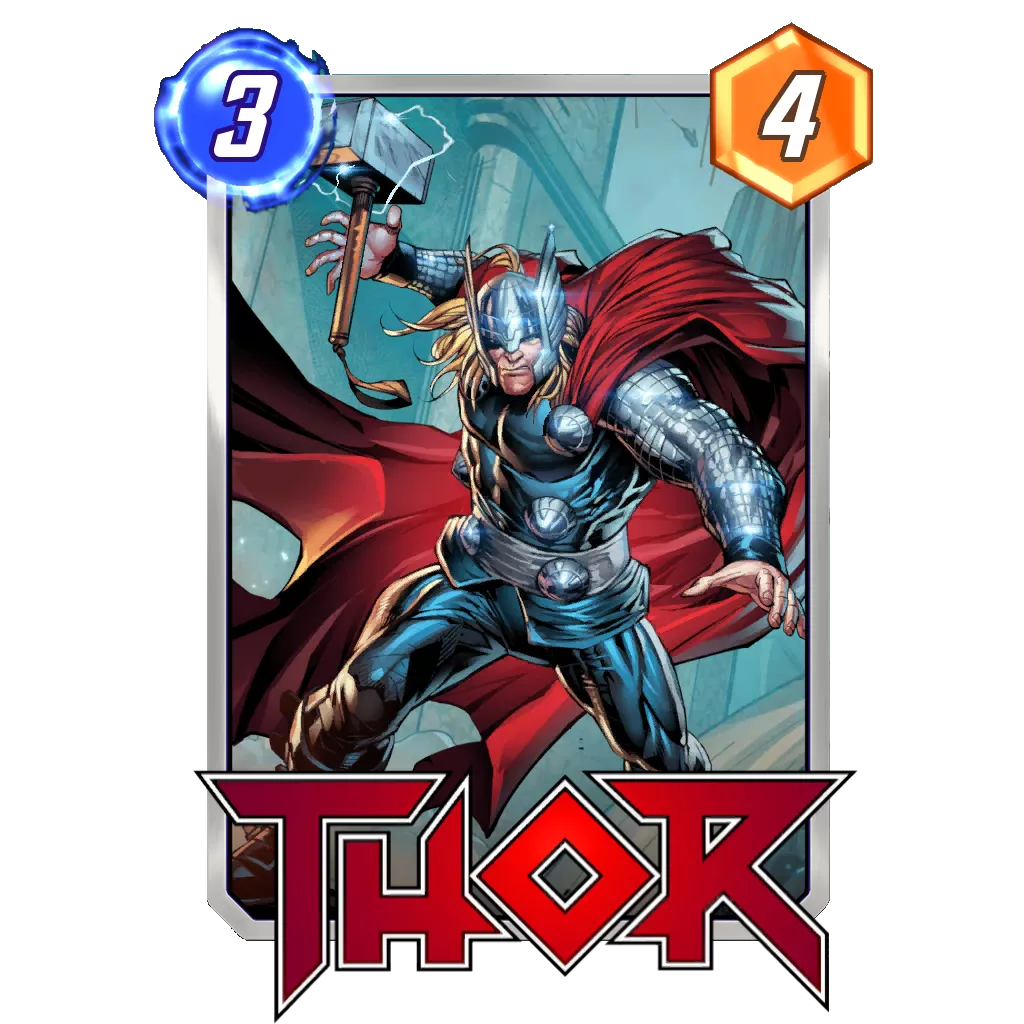
Thor gives you another anchor that strengthens your curve. Not having Bishop on Turn 3 or Angela + Kitty Pryde could sometimes be weak, but Thor can anchor a lane during the transition between the early- and mid-game.
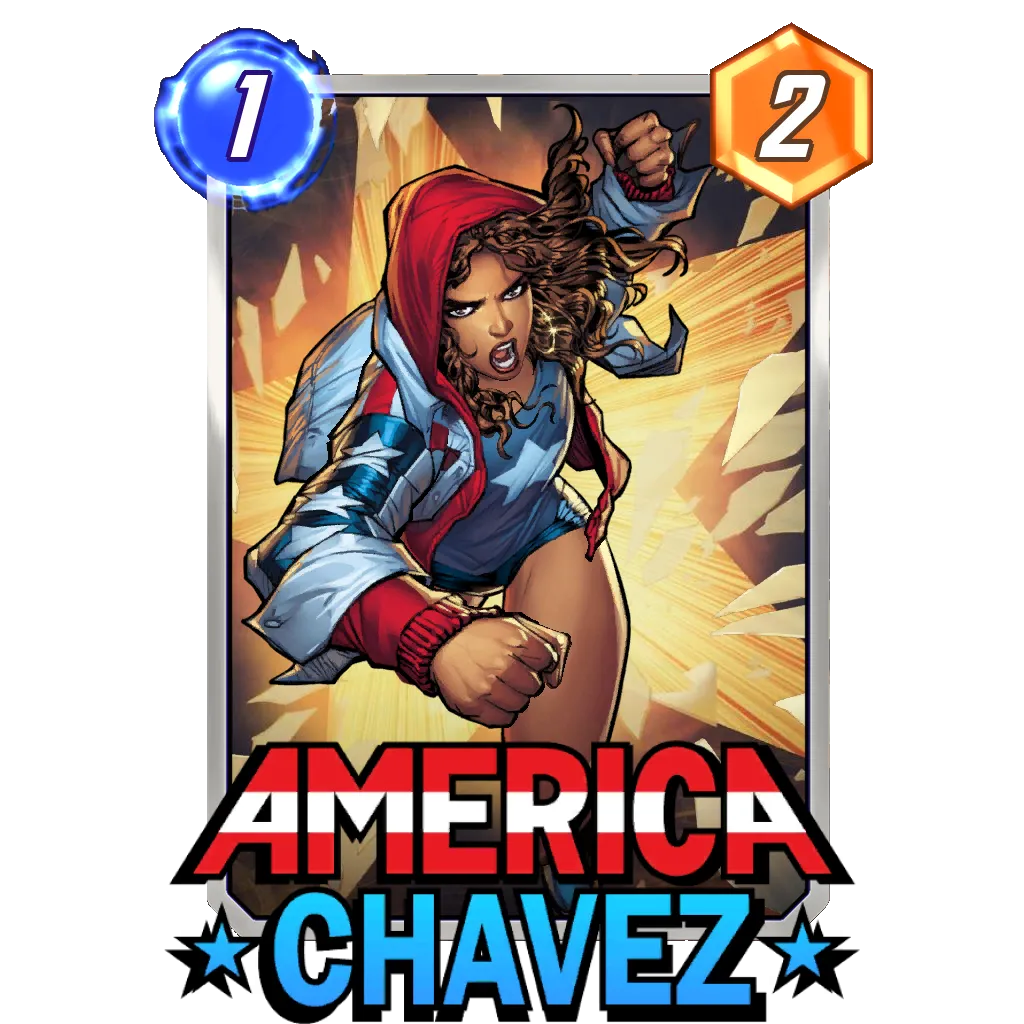
The presence of Jane Foster Mighty Thor gives this archetype much more consistency for its explosive turns. Other Hit Monkey decks rely on good draws with America Chavez or building complicated setups with Falcon and Beast. Jane makes everything easier by letting you draw all your 0-Cost cards, including Mjölnir, which facilitates the amount of heavy-impact decisions during the game.
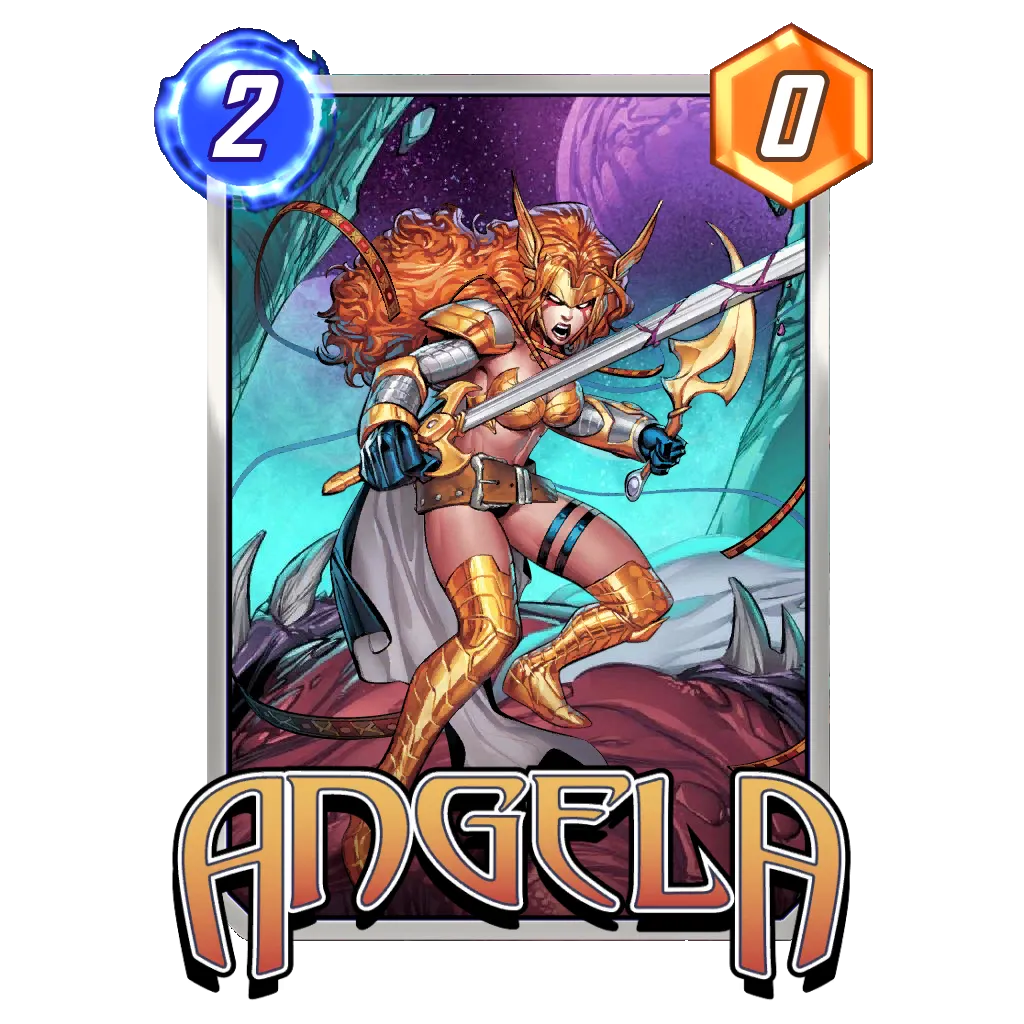
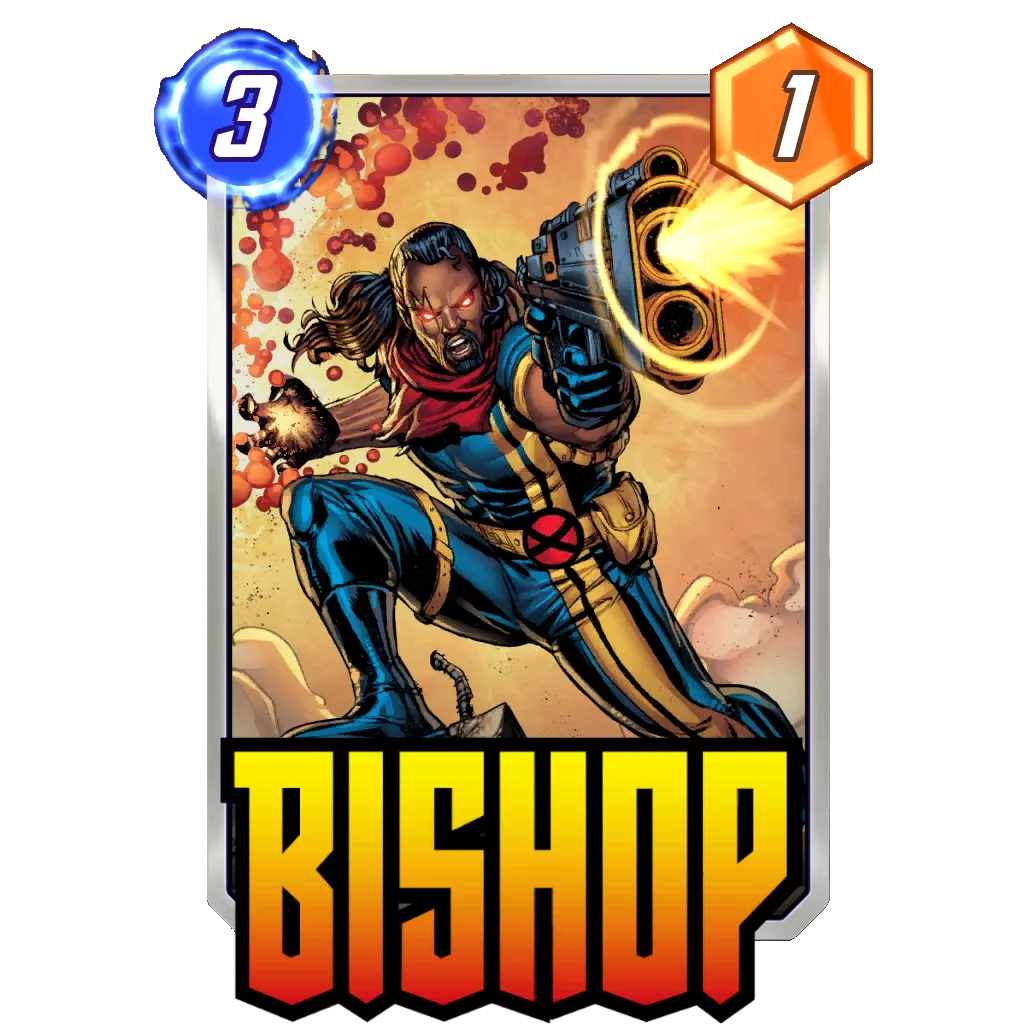
These 0-Cost cards do more than you might think. Thanks to Elsa Bloodstone, Angela, and Bishop, getting value out of them is easy, and in most cases they end up as [0/4]s at least.
With all this in mind, the plan is easy. Anchor two lanes with Angela, Bishop, and/or Thor, play Kitty Pryde every time you can, and drop Jane Foster Mighty Thor on Turn 5. This lets you begin Turn 6 without priority most of the time, which protects your board against reactive cards and gives you the opportunity to decide between spreading your power or fighting hard for two lanes.
Anchors Core
The term “Anchor” has become popular in the community. It refers to a card that (generally) comes into play during the first turns and that declares that, in one way or another, you will be competing for that lane. This is because Anchors tend to increase their power in the lane as other cards are played.
This is useful for engaging the opponent early or forcing them to leave the location quickly. To clarify the point, other examples of Anchors present in other archetypes would be The Collector, Morbius, Dracula, and Iron Man.
Support Core


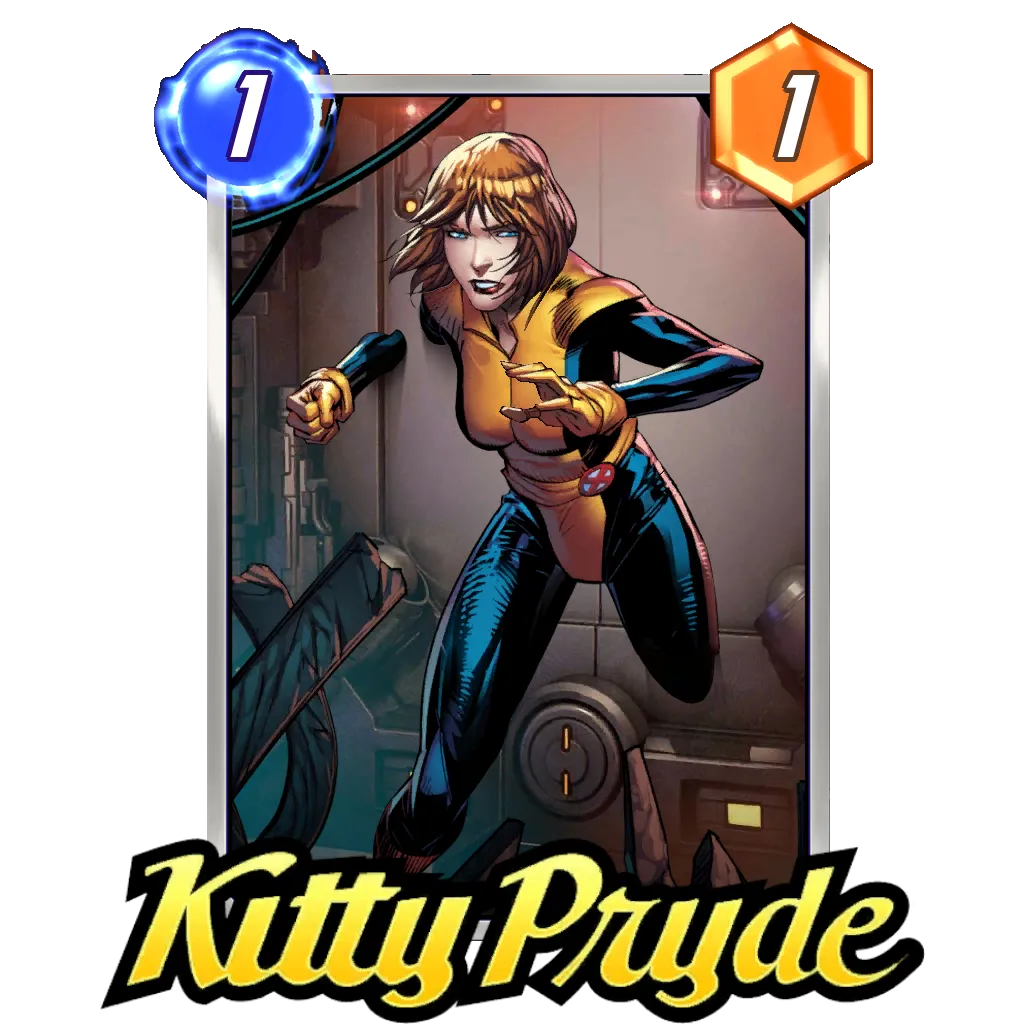


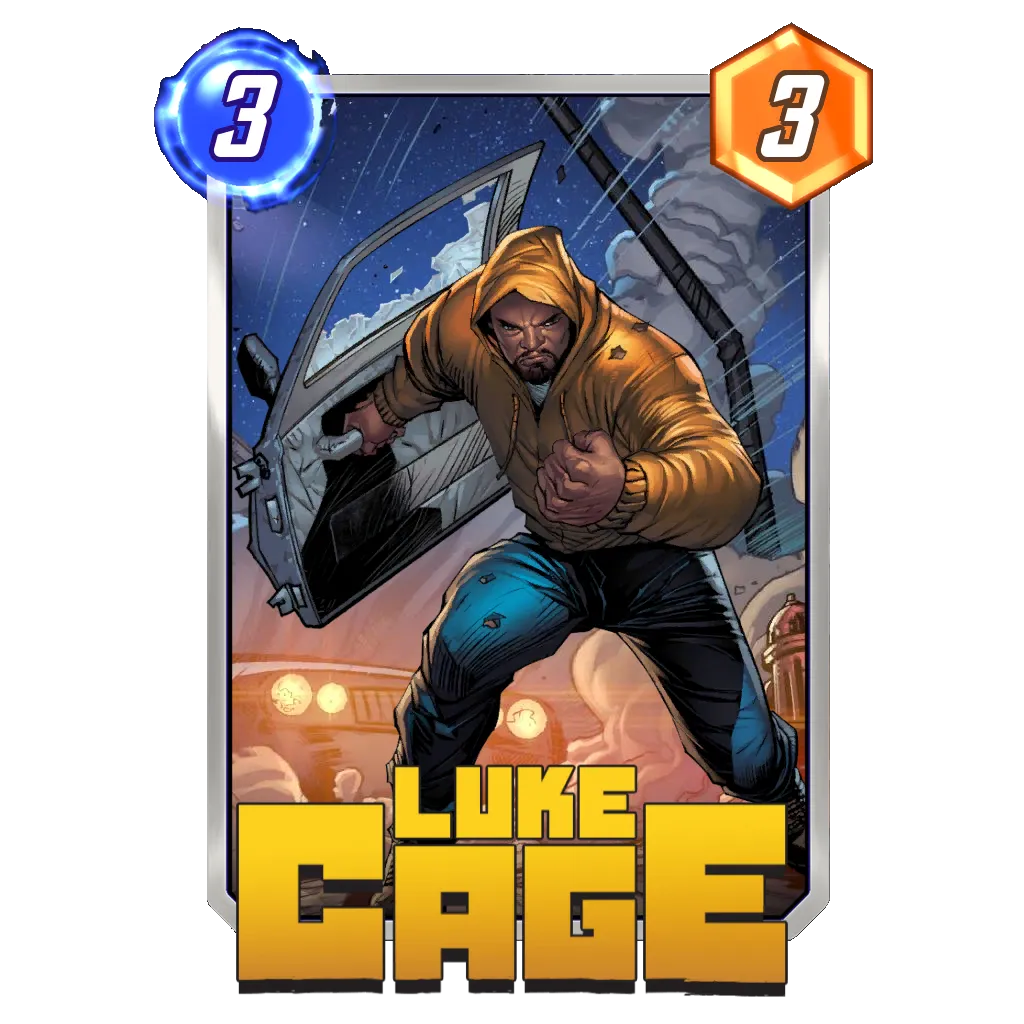


When i talk about supports i AM referring to cards that, thanks to their effects, maximize the efficiency of the other cards in the deck.
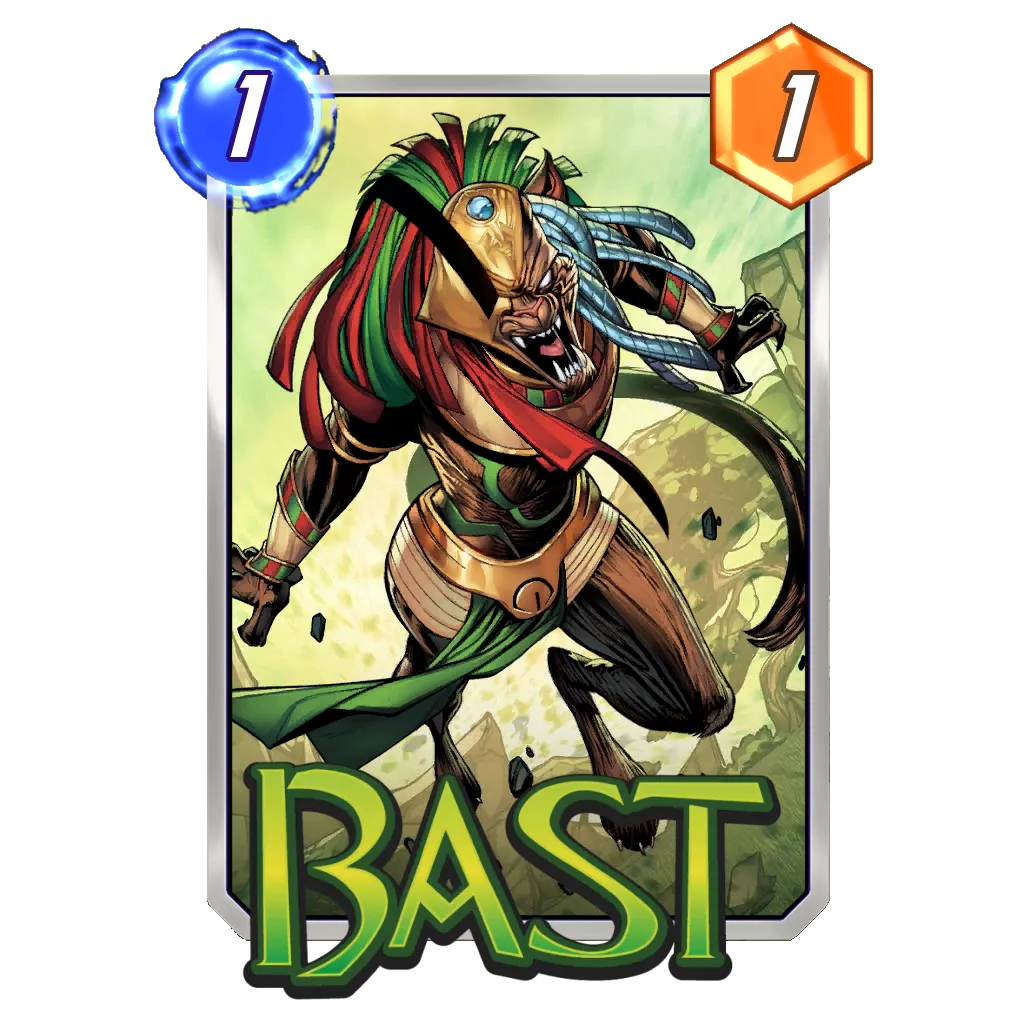
Bast wasn’t considered when this archetype first saw the light of day. However, playing a large number of zero to two power cards makes that seem like a mistake to me. In a normal scenario, Bast can represent an extra five or six power with ease.
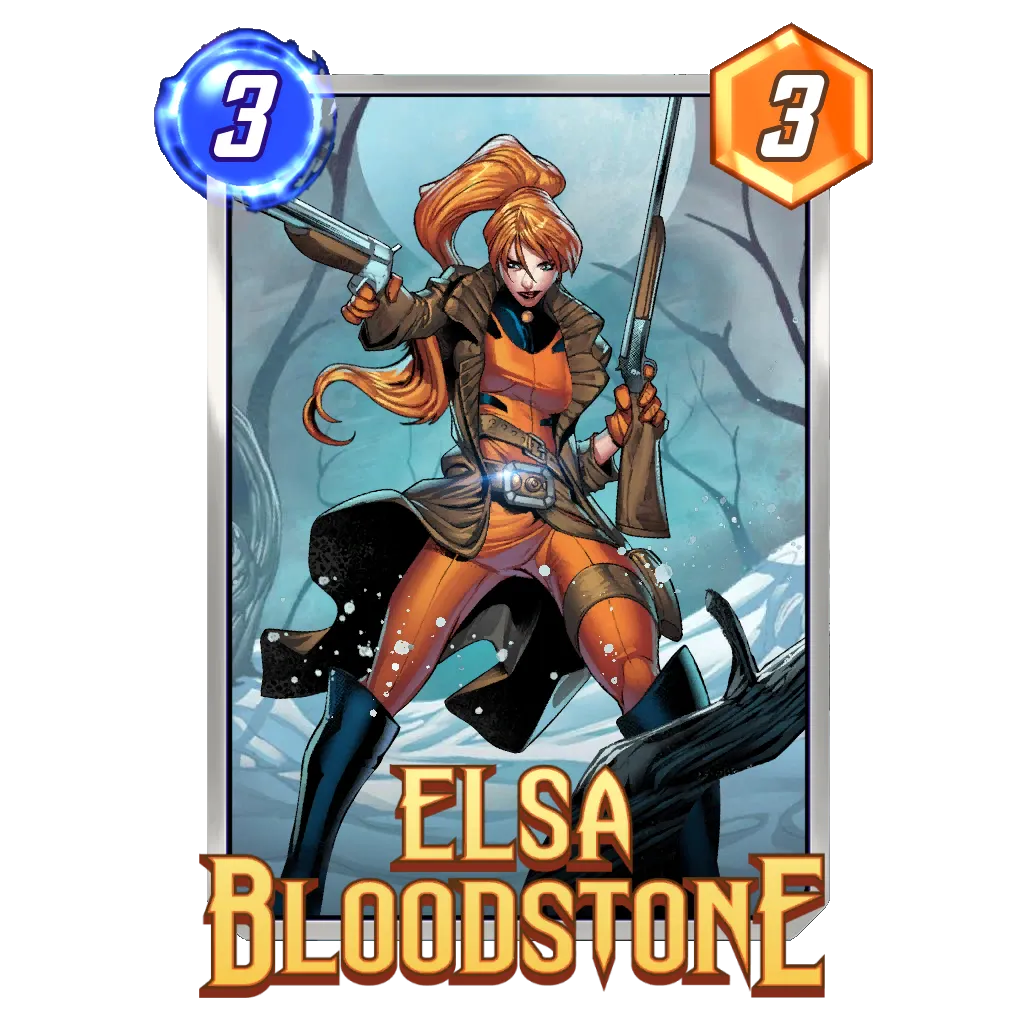
For her part, Elsa Bloodstone has become an essential part of a winning deck. Especially when we talk about archetypes like this since they usually end the game with all locations full. By simply activating her effect twice, which is quite simple, Elsa already represents eight power for two energy.
I consider Kitty Pryde a support card because, even though she receives support from Bast and Elsa Bloodstone, playing her repeatedly also provides support to cards like Angela and Bishop.
For its part, Luke Cage does not increase the power of your cards; instead, it prevents them from losing their power. This, in addition to giving you the advantage when uncomfortable locations like Negative Zone or Jotunheim appear, supports the use of Yellowjacket and allows you to play it whenever without having to worry about an empty lane during the last turn.
Explosive Core
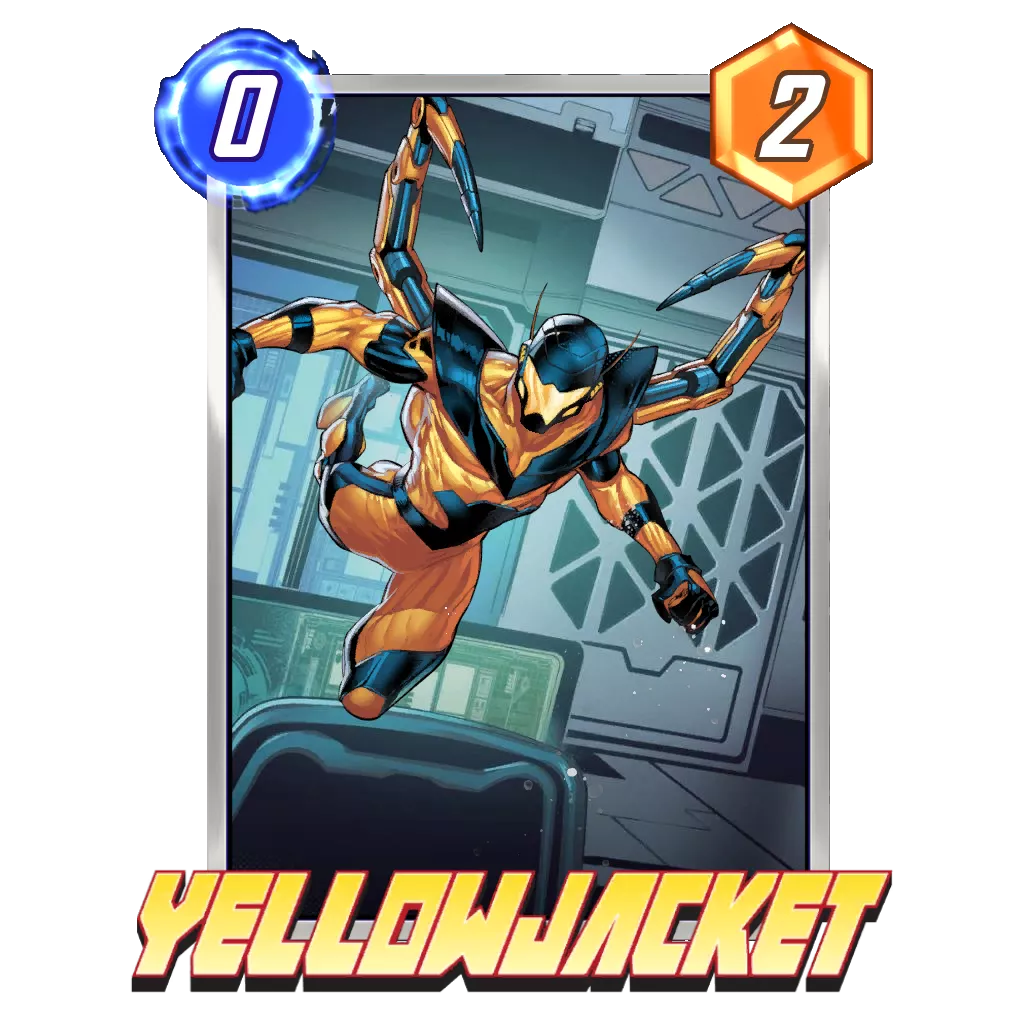


Playing these four cards during the last turn is worth at least 19 power for five energy. Now, let’s be clear about the potential of this deck and why it is called Miracle. The term Miracle comes from Hearthstone. Miracle Rogue was a deck that aimed to take advantage of cheap cards to power up other cards.
If we take into account that the support cards can increase the potential of this core of cards, the amount of power that you can place on the board during the last turn is usually upwards of 30 on average. That sounds like a lot, but the reality is this: the trick is knowing how to decide which two locations you should fight for and which you will use for your excess/utility cards.
Angela will grow from these cards, and Bishop will too. Mjölnir will make Thor grow in addition to obtaining and giving benefits to multiple other cards. Elsa Bloodstone will activate at least one or two more times. This is why drawing some 0-Cost cards early is usually not that harmful. Sometimes simply playing an Anchor and Kitty Pryde can be enough for the first few turns.
Enablers Core


I consider Jane an enabler because her ability puts you in a position to have a good Turn 6 regardless of the conditions of the game.
With Thor, Jane can be worth at least 17 points. This takes into account that you will draw Wasp, Yellowjacket, and Mjölnir in addition to its natural eight power.
Even if you already have the 0-Costs in hand, playing Jane on Turn 5 puts a non-negligible amount of power on the table. It is thanks to this card that this archetype is very solid and much easier to play compared to other Hit Monkey decks like Bounce.
Card Substitutions
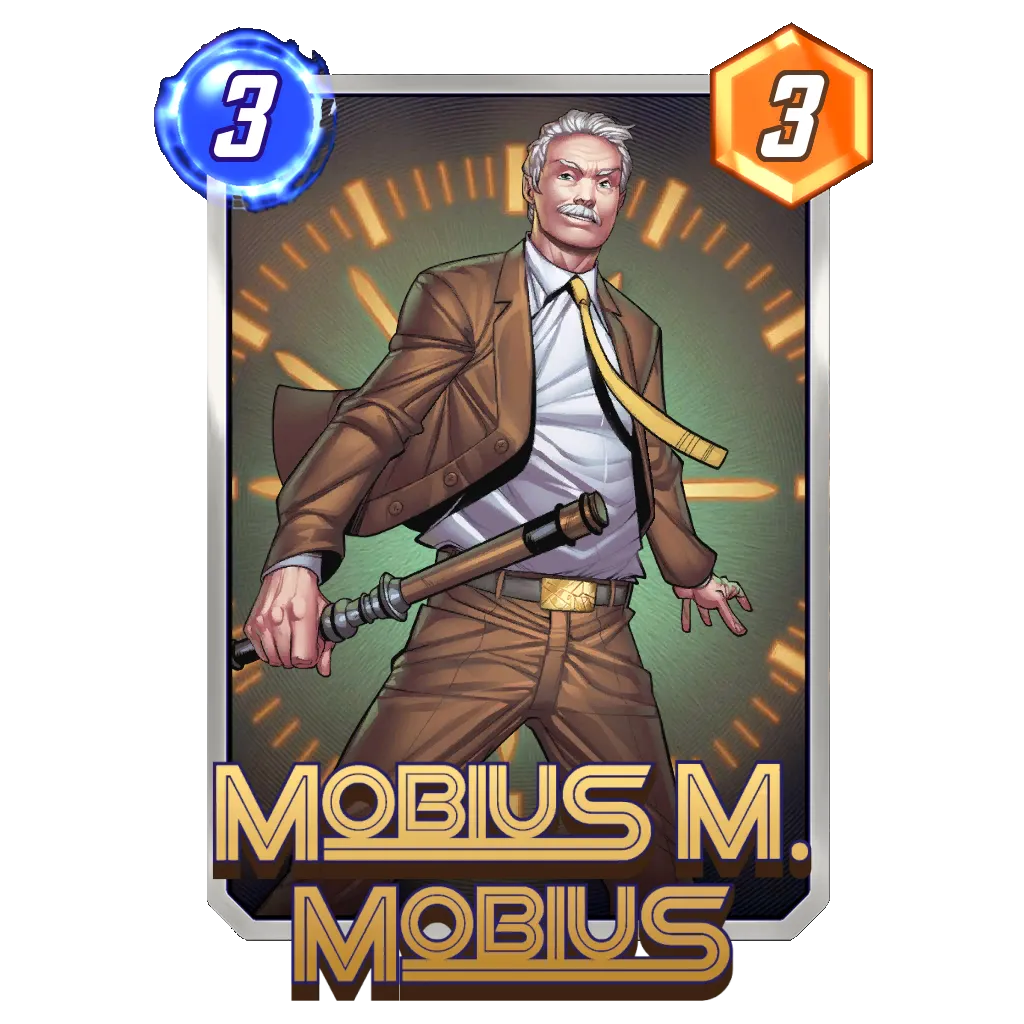


There are two main options when using reactive cards in this archetype, and the first of them is Mobius M. Mobius.
Playing M3 can be the difference between victory and defeat in a metagame where Wave is present. He also has several important interactions. The main one is to help you when Dream Dimension appears, allowing you to play Jane Foster Mighty Thor through the location.
Similar situations happen with The Peak and Elysium. M3 allows you to retain the advantages of both while avoiding the drawbacks and staying ahead of your opponents.
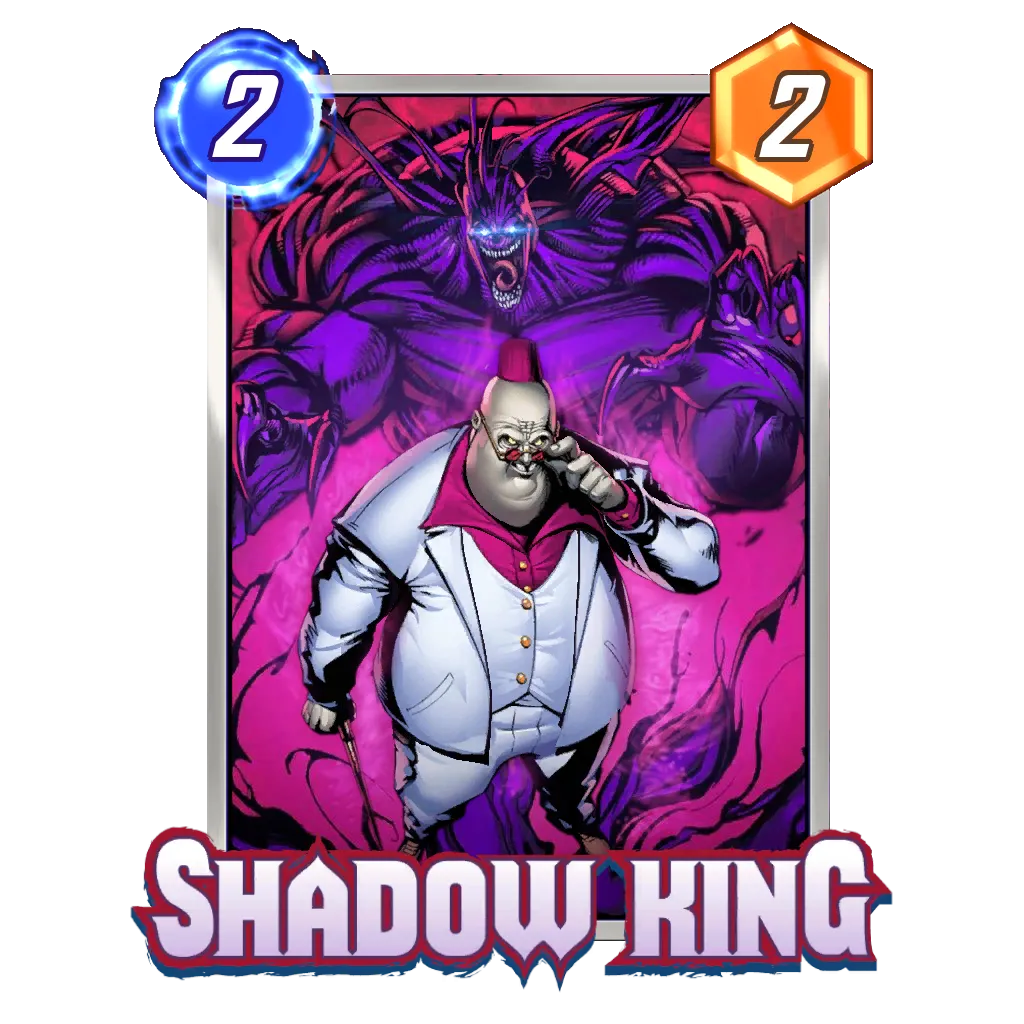


The second popular choice for a reactive tool is Shadow King. Its energy cost makes it very efficient in Hit Monkey decks, which allows you to play it on the last turn without losing the possibility of playing a relevant number of cards.
In addition, having Luke Cage means that your cards do not reduce their power, which causes Shadow King to return the opponent’s cards to their original power without your cards losing anything they’ve gained during the game.
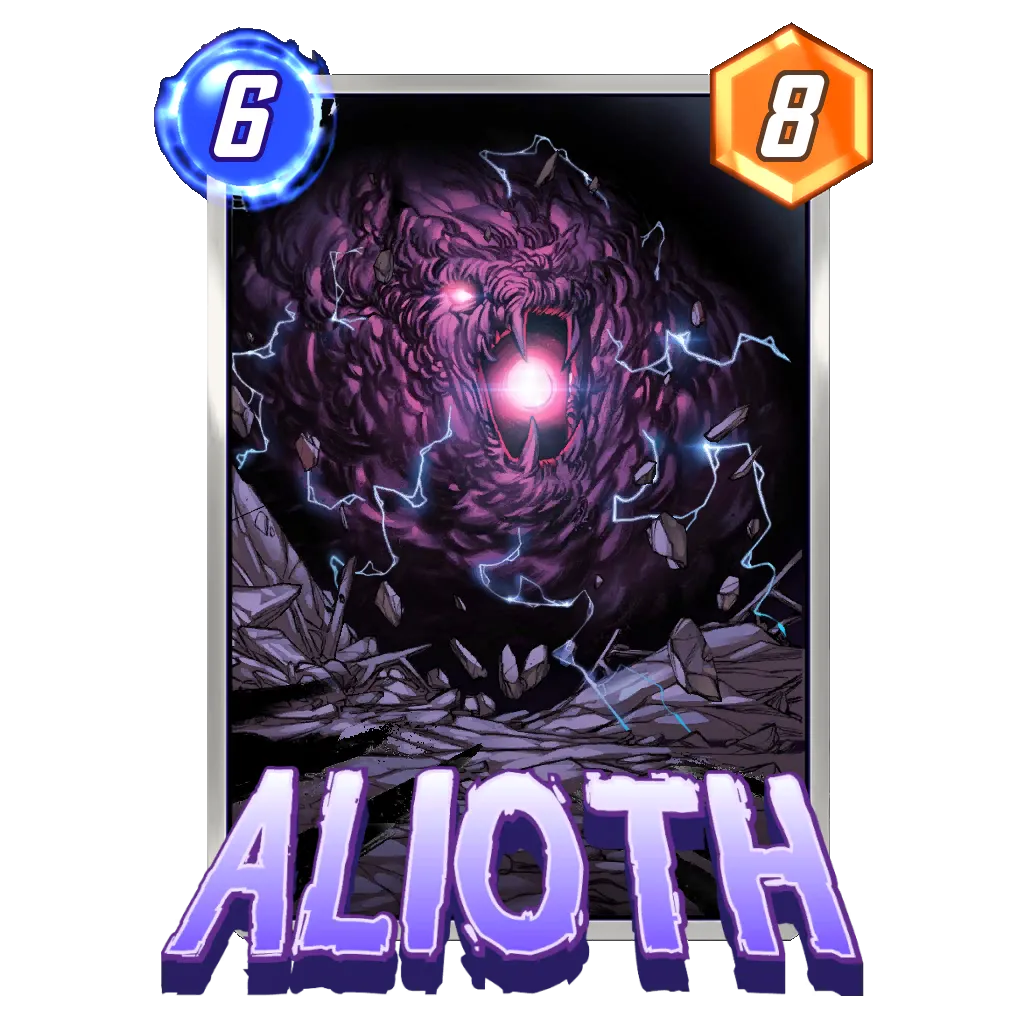
Armor appears from time to time as a way to fight against Alioth and Destroy. Although that card can be considered dangerous for this archetype, I consider that it is the Alioth player who has to guess where you are going to play Hit Monkey, which makes Armor not extremely necessary. Still, it’s not bad to consider it – especially in Conquest.
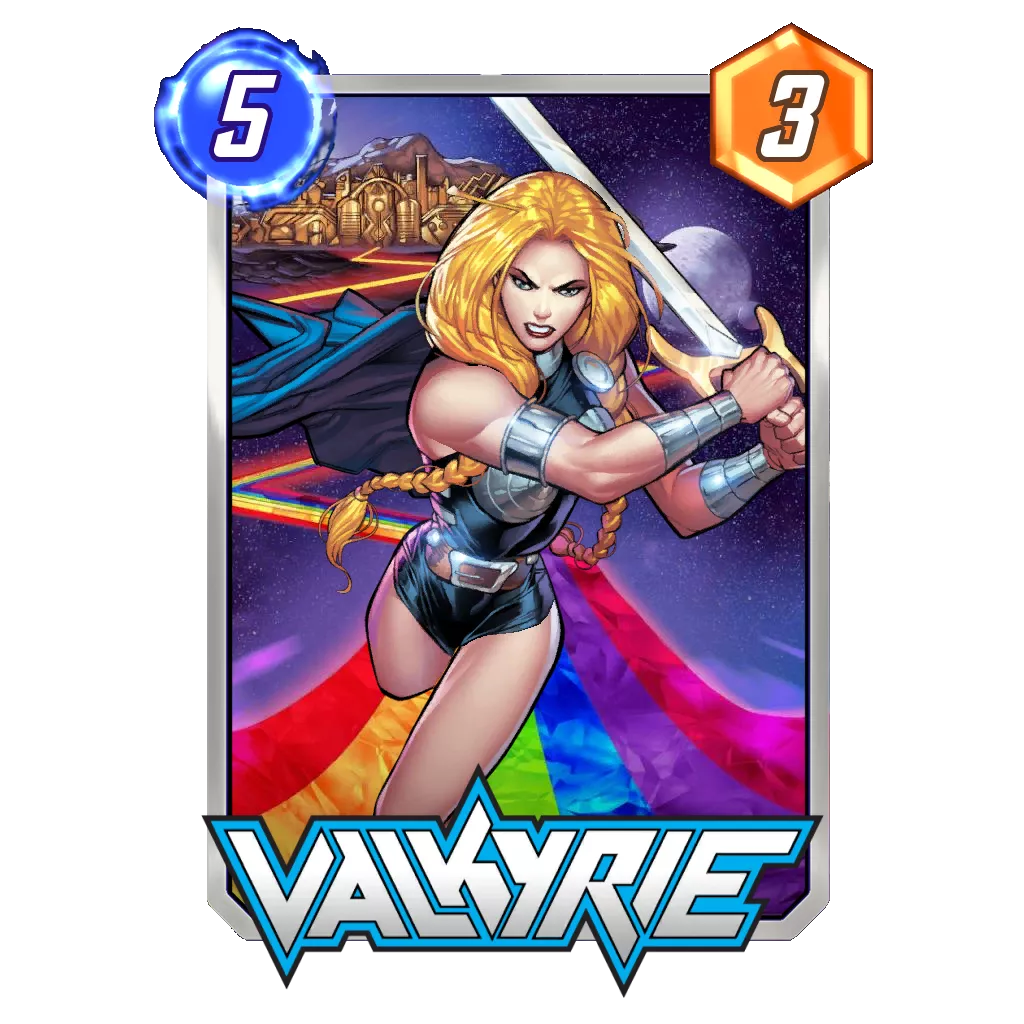
Valkyrie is a good option because having more cards than your opponent in a lane is usually easy.
Other Ways to Build the Archetype
When Mobius M. Mobius and Shadow King are played together, the most common cards they replace are Bast and Mysterio.
Although you are exchanging power potential for cards that allow you to have support and answers, a 59.63% Win Rate and an average of .72 cubes per game in more than 2,600 games in the statistics in the Marvel Snap Zone Tracker show that the idea is solid.
When choosing to keep Mysterio, you maintain some of the explosiveness in the last turn, which seems fine to me if Wave is not present in the meta.
Choosing to keep Shadow King gives you tools against powerful decks that are based on Shuri or Black Knight, as well as any with anchors like Angela, The Collector, etc.
This version is the second most popular with a Win Rate of 58.42% and a .69 Cube Average in almost 3,800 games.
The most popular version is the one that substituted Bast for Mobius M. Mobius. It aims to keep the power potential of Mysterio and forgoes Shadow King, forgetting about the opponent’s plan and concentrating on making as many points as possible.
Using M3, regardless of whether the opponent plays Wave, has several advantages that prevent your cards from costing more due to locations.
With the highest total number of games among all iterations of the archetype (almost 5,400), this version maintains a solid 58.14% Win Rate and .66 Cube Average.
Snapping and Retreating
One of the great advantages of this deck is that it allows you to Snap without providing much information to your opponent. This is because you are not going to play four or five of your cards until the last turn.
The main thing to take into account to be able to Snap with confidence (and at the right time) is to do it after you have already anchored a lane with Angela, Bishop, or Thor, and you know that you will be able to play Hit Monkey on the last turn for at least eight power.
Early Game
The key signs that let you know that you are in a good position in the early game are:
- Playing Bast on Turn 1 or Turn 2 and gaining at least five points of additional power.
- Playing Kitty Pryde starting on Turn 1 and having Angela in hand.
- Enabling Elsa Bloodstone to activate its effect on Turn 3 (normally this deck would be to be able to do that on Turn 4).
Recognizing these positions allows you to Snap, continue playing in case of an opposing Snap, or counter Snap.
Late Game
During the transition from the mid-game to the late-game, there are two key plays:
- Being able to anchor a second lane with Bishop or Thor.
- Playing Jane Foster Mighty Thor on Turn 5.
Either of these two scenarios is not enough on its own to Snap or decide to stay in the game. It is their conjunction with any of the scenarios presented in the early game that will let you know that you are in a position to Snap or stay in the game.
The main reason for Retreating if an opponent Snaps would be that these scenarios do not occur together, or that you have not yet drawn Hit Monkey for the last turn.
Good Locations
- Asgard, Gamma Lab, Kyln, TVA: You are very good at playing around these early game locations.
- Cloning Vats: You can clone a big Kitty Pryde or Hit Monkey on Turn 4 or Turn 5 to give you more tools for the last turn.
- Great Web: Even though this is an annoying location, you can play around it much more easily than other decks thanks to Elsa Bloodstone, Angela, and Kitty Pryde.
- Kamar-Taj: One of the best locations for Hit Monkey.
- Mojoworld, Nidavellir, The Raft, The Sacred Timeline, White Hot Room: It is very easy for you to fill locations quickly.
- Morag: Another location that can be a problem for many decks, but not for you thanks to the high amount of cheap cards you play.
- Shuri's Lab: Almost an instant Snap if you have Kitty Pryde.
- The Big House: Very restrictive for other decks, but not for you.
- Vibranium Mines: You like to play Bishop or Thor here. Having one or two [1/4]s for the last turn is not bad for you, and doing so gives you a big tempo advantage.
- Wakandan Embassy: The more cards your deck aims to play, the better this location is.
Bad Locations
- Altar of Death: Even though this lets you accelerate Jane Foster Mighty Thor, you can’t access this kind of restrictive location.
- Asteroid M: It can be problematic when you try to play Bishop and Thor on Turns 3 and 4.
- Crimson Cosmos: One of the worst locations for you. It blocks basically all of your cards.
- Death's Domain, Luke's Bar, Sanctum Sanctorum: You have a hard time winning when these restrictive locations appear. You can only sometimes win them thanks to Bast + Mysterio.
- Dream Dimension: No Jane Foster Mighty Thor could be problematic.
- The Space Throne: Every location that limits the playable space is bad for you.
Versus Move
A deck that has unquestionably established itself at the top of the meta for a few months now.
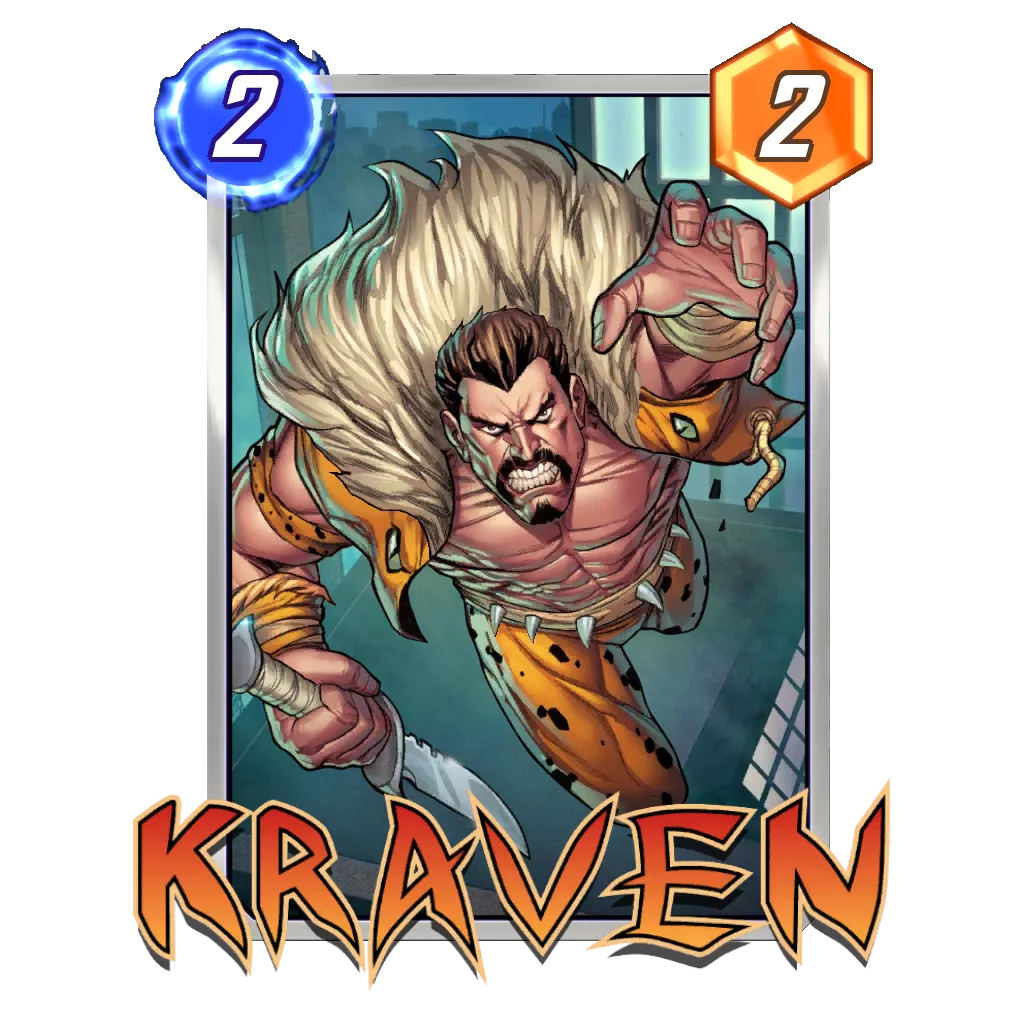
They have two anchors and you have three, which allows you to have more options than them when looking for tempo in the game. Furthermore, when two of your anchors cost three, this allows you to know where to play them to respond to their Angela or Kraven.
Your main advantage here is activating Elsa Bloodstone multiple times during the last turn. While Move can get a lot of power out of Elsa power and reposition it all, you can do it all on the last turn of the game thanks to Kitty Pryde, Mysterio, and the 0-Cost cards, which makes you much less predictable. This is because they have to move their cards to continue taking advantage of Elsa, and, little by little, they are left without much room to maneuver.
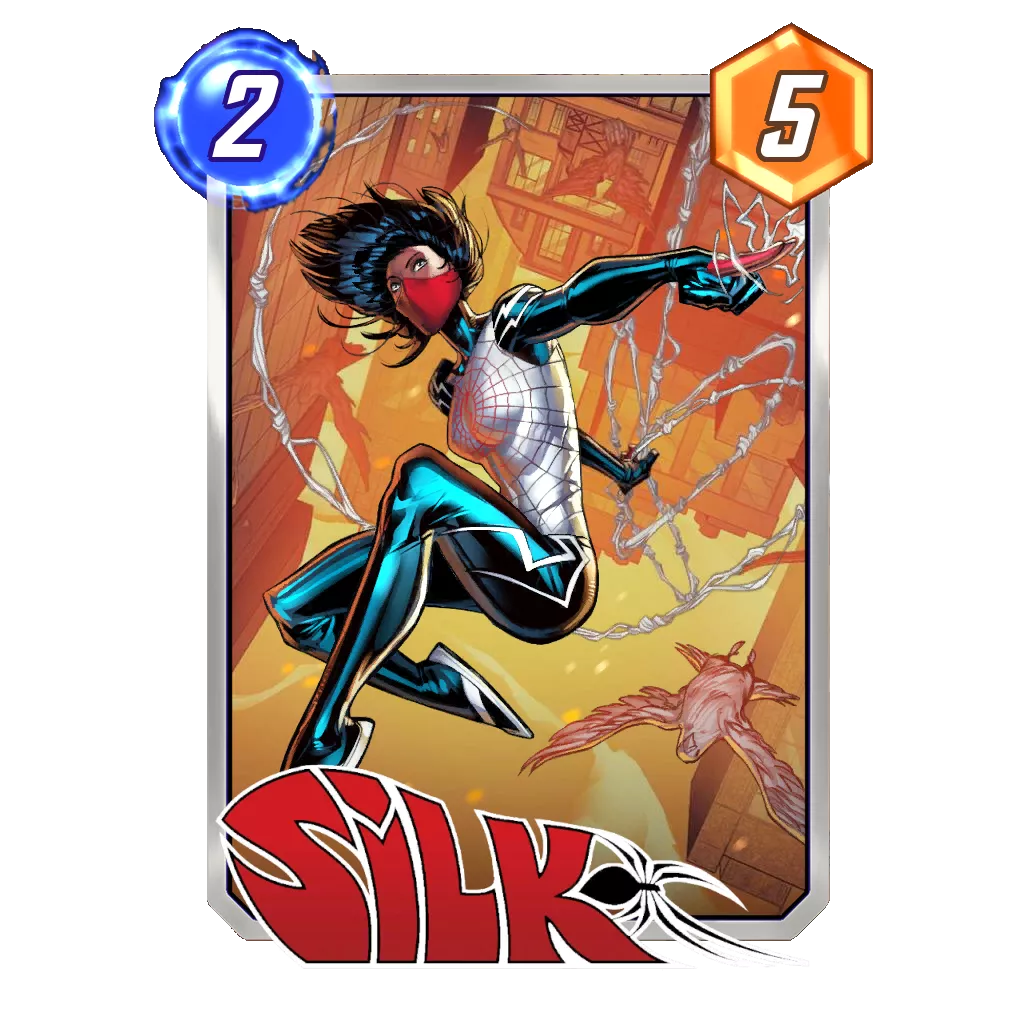
Doctor Doom is not able to compete against you on Turn 6 if there are no Waves involved. Plus, the ability to play many cards on the last turn allows you to decide where Silk will end up. Play around Alioth on Turn 6 and you’ll be safe.
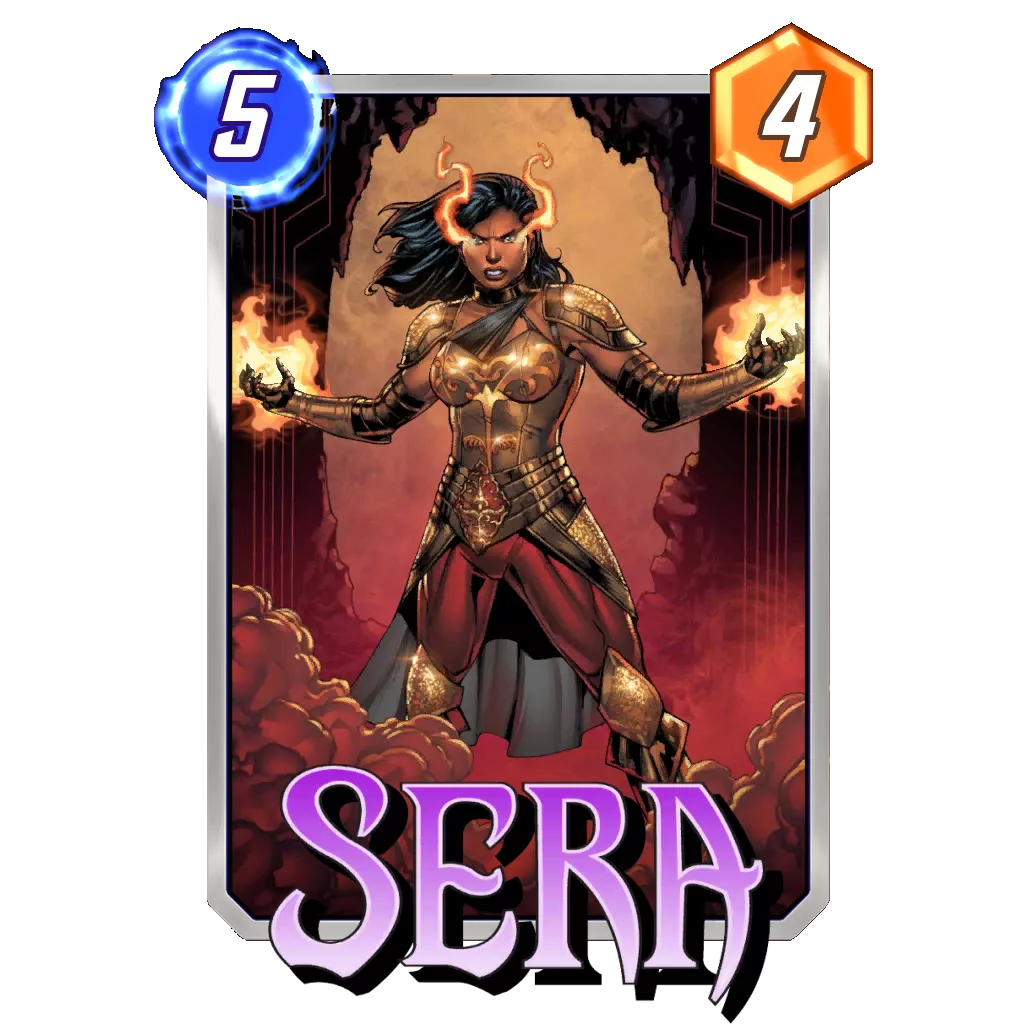
Versus Sera Control
This confrontation may seem like a mirror match, but the reality is that it is far from it.
Although you cannot ignore the similarities and you must consider that they can still play Hit Monkey + Mysterio on the last turn, it is really difficult for their Hit Monkey to be superior to yours.
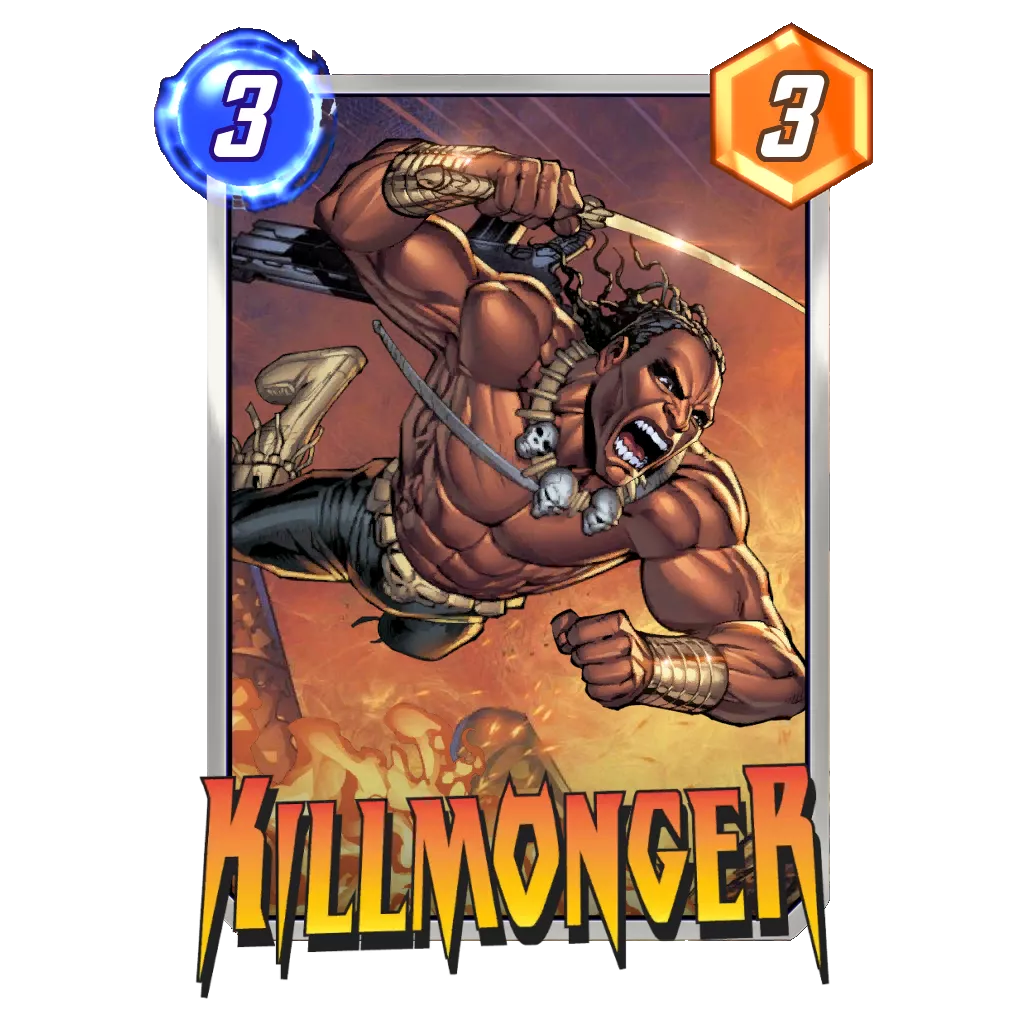
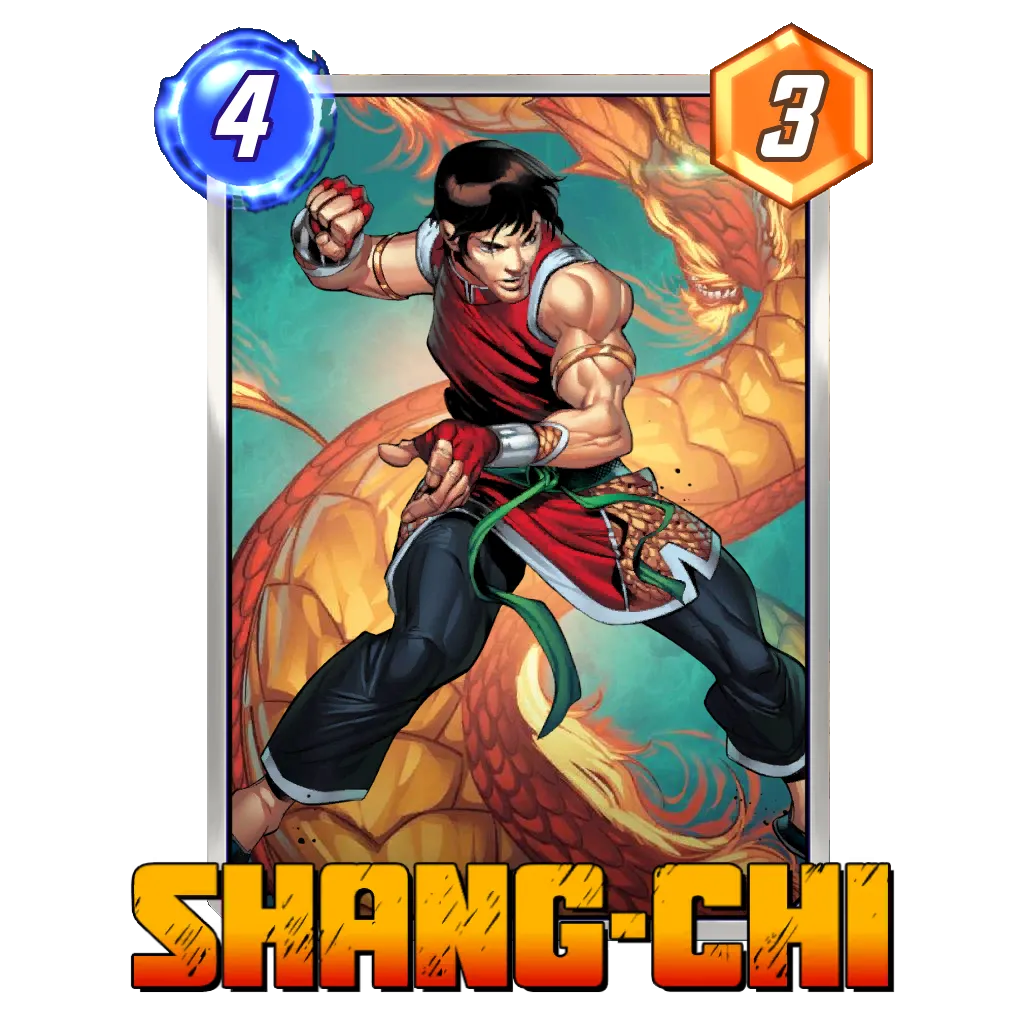
The key is to try to give priority whenever possible since this archetype plays many reactive tools. Killmonger and Shang-Chi are the main annoyances, but if you give them priority then they won’t really be that useful.
Shadow King is something you need to be careful of, as many of your cards gain increased power throughout the course of the game. However, when you are playing against this archetype, playing Luke Cage becomes a priority, which makes their Shadow King nothing to worry about.
Turn by Turn Breakdown
Turn 1
When you have to decide between Bast or Kitty Pryde, meaning you have both cards in hand, Bast is the correct play. If you don’t have Bast, start with Kitty Pryde.
Don’t worry if Bast reduces Jane Foster Mighty Thor‘s power; once Luke Cage enters the game, its power will return to eight.
Turn 2
Angela will always be your preferred play over Elsa Bloodstone, especially if Kitty Pryde is present.
Luke Cage would be your option only if you don’t have either of the other two options. It might even be preferable to just play Kitty Pryde over Luke Cage, despite the energy inefficiency.
Mysterio is not a card you want to play this turn.
Turn 3
The decision between Anchoring on Turn 3 with Bishop or Thor has different aspects.
In games where you have the best possible scenario, Bishop can get bigger than Thor; however, in complicated games where growing Bishop seems difficult (a complicated location, for example), Thor is usually the better option.
In the same way, having or not having Jane Foster Mighty Thor can help you decide since she ensures Mjölnir will make it to your hand.
Turn 4
This is the turn that is normally the last moment to position your Anchors and create the best possible setup for Elsa Bloodstone.
This is where you’ll typically want to activate Elsa + Kitty Pryde for the first time. Likewise, it is correct to Anchor a second lane if you have not already done so.
Turn 5
The best possible scenario would be to play Jane Foster Mighty Thor this turn and draw Wasp + Yellowjacket + Mjölnir.
Remember that this card shows your opponents in its animation whether you draw cards or not. Even if you already have some of the 0-Cost cards in your hand, playing Jane usually gives you more points than other plays.
If you don’t have Jane, the normal thing would be for you leave the board in a scenario where you can activate Elsa Bloodstone‘s effect three times during the last turn and/or boost Angela, Bishop, Thor, and Hit Monkey as much as possible.
Turn 6
Remember to play Yellowjacket first to avoid affecting the rest of your cards. If you have Luke Cage, this is not important and you can play it in any order.
Think carefully about which two lanes you are going to compete for. The normal thing is that you want to play hard in two lanes. You should have already decided this from the last turn depending on the position of your Anchors and the development of the game.
Also, remember that Mysterio gives six power to Hit Monkey and three to Bishop, which means 13 points just for playing that card (19 if was affected by Bast).
It is not easy to count the number of points you can place on the board, but take your time so you can distribute the power in the best possible way.
Closing Words
Thor Miracle is an archetype that has one big difference from the other Hit Monkey decks. It has the same points capacity as decks like Bounce (sometimes even Shuri Red Skull). It is also very flexible, just like Sera Control or Move.
All this together means that, despite having much more favorable games against other reactive decks, it is able to face proactive decks without much problem.
Being able to give up priority and put 20+ points in multiple lanes makes it a really powerful option to consider. Additionally, having Jane Foster Mighty Thor makes it a much easier deck to play in general terms compared to other Hit Monkey decks.
Let me know your thoughts on the Marvel Snap Community Discord, the comment section of this article, my Twitter, and my Stream. I always like to read your comments; even though I sometimes cannot answer all of them, I’m always happy to read them and take your opinions into account for my future work.
Don’t forget that the Premium subscription to Marvel Snap Zone gives you access to exclusive features on the web as well as additional services. Also, I have started providing personal coaching services for Marvel Snap. If you want to contact me, you can look for me on Discord as bohettv, on my Twitter, or via email at [email protected]
Thanks for reading, and as I always say, don’t forget to smile; I assure you that it makes a difference.

⭐ Premium
Enjoy our content? You can Support Marvel Snap Zone and your favorite content creators by subscribing to our Premium community! Get the most of your Marvel Snap experience with the following perks for paid membership:
- No ads: Browse the entire website ad-free, both display and video.
- Exclusive Content: Get instant access to all our Premium articles!
- Meta Reports: Exclusive daily meta reports, such as the Top 10 Decks of the Day, Top 30 Cards, and Top Card Pairs tailored for you!
- Team Coaching: Join our free weekly team coaching call sessions on the Discord server. Claim your Premium role and gain access to exclusive channels where you can learn and discuss in real time!
- Premium Dashboard: Get full instant access to the member-only dashboard, the all-in-one page for all your benefits.
- Support: All your contributions get directly reinvested into the website to increase your viewing experience! You get also get a Premium badge and border on your profile.
- Special offer: For a limited time, use coupon code SBYREX4RL1 to get 50% off the Annual plan!


