
Table of Contents
The Featured Location for the next 24 hours is Yashida Base: At the end of the game, destroy the last card to get here. This is a brand new Location added to Marvel Snap for the August 2023 season, Big In Japan, that starts on selected Wednesdays at 3 AM GMT. For 24 hours, it has a 50% chance of showing up in games.

Players who strategically build around the location or counter the decks that do so can have an advantage over their opponents! So what will you play?
Update
Please Note: Yashida Base is not currently working as the location text describes it. Currently, the last card that resolves at the location is being targeted for destruction instead of the last card to get there. This is not the intended interaction for this location, because of this, Yashida Base will be temporarily disabled and removed from rotation until the issue is resolved. Thank you for your patience.
It looks to be replaced with Time Theater, an upcoming Featured Location in the September 2023 Season.

Strategy and General Tips
This effect is hard to evaluate, but anything that destroys the cards you play is sure to ruin some days. The effect is worded in a way that may allow for some interesting plays, though, and it may be that the best option here is to simply be aware of the location more than play for it. Still, there are a few cards that can make an impact here.


We can always turn the location off with location effects or Armor/Professor X. The value of turning this one off may be lower than other locations since the effect is only impactful with misplays. There is a conundrum this location poses, though. Let me explain:
- If you have priority going into the last turn, your opponent has to play two cards to contest.
- However, if the last card you played on the location gave you the lead, your opponent can completely ignore the location and your card will be destroyed.
- So, if you’re leading thanks to the last card you played there, you also now have to play into the location.


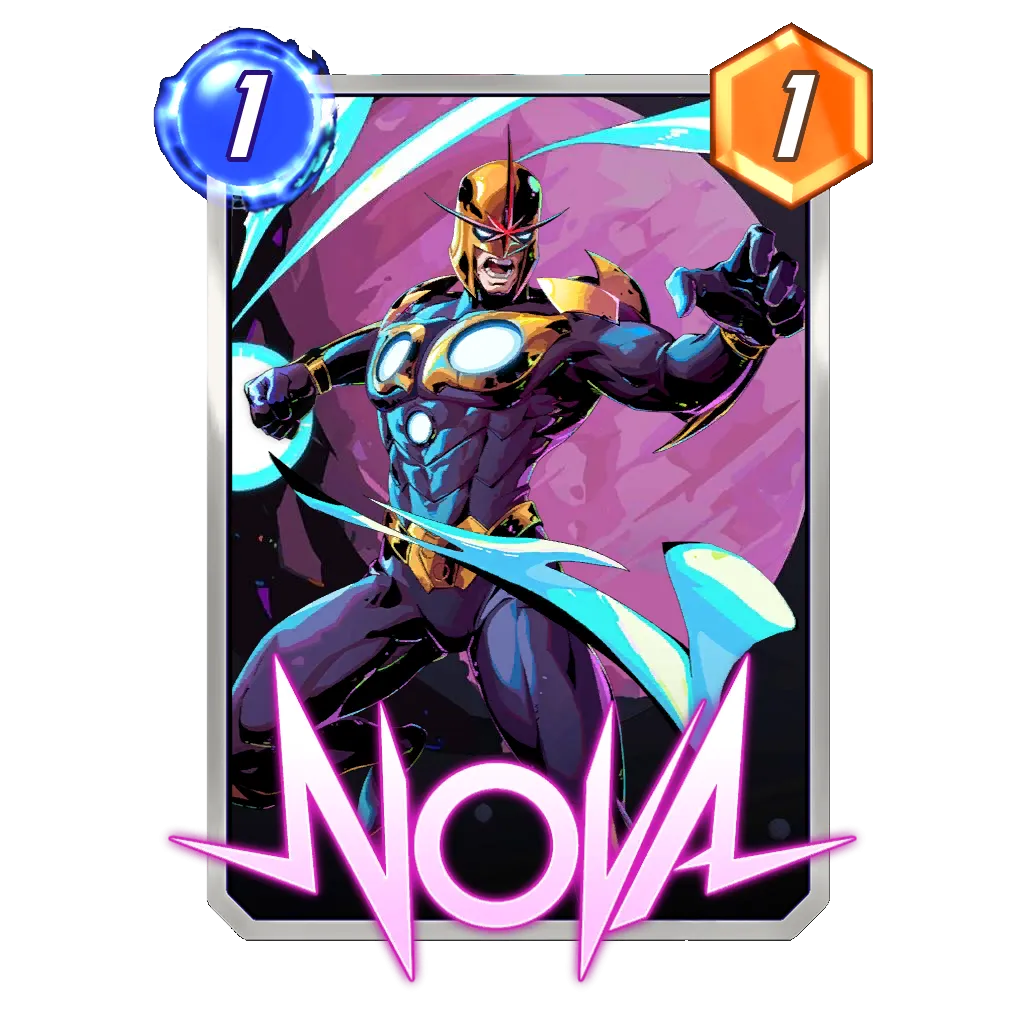


The real thing to consider for this location is including cards you want to play as the last card at the location. Nova and the Muramasa Shard are two excellent examples. This allows you free activations on these cards, and you can play strategies aimed at dropping as much power as possible over having to carefully manage priority. It will also allow you to maintain leads on the location and potentially add power elsewhere at the same time.


Wasp and the Infinity Stones from Thanos may also serve the purpose of defending your cards from being destroyed. Lockjaw could be another interesting direction for the location as the deck runs or generates 0 cost cards you can use to protect your final play on the location. This potentially means sacrificing the hammer or Wasp but it helps you be able to play big cards like Hulk on the location last turn to win the location.


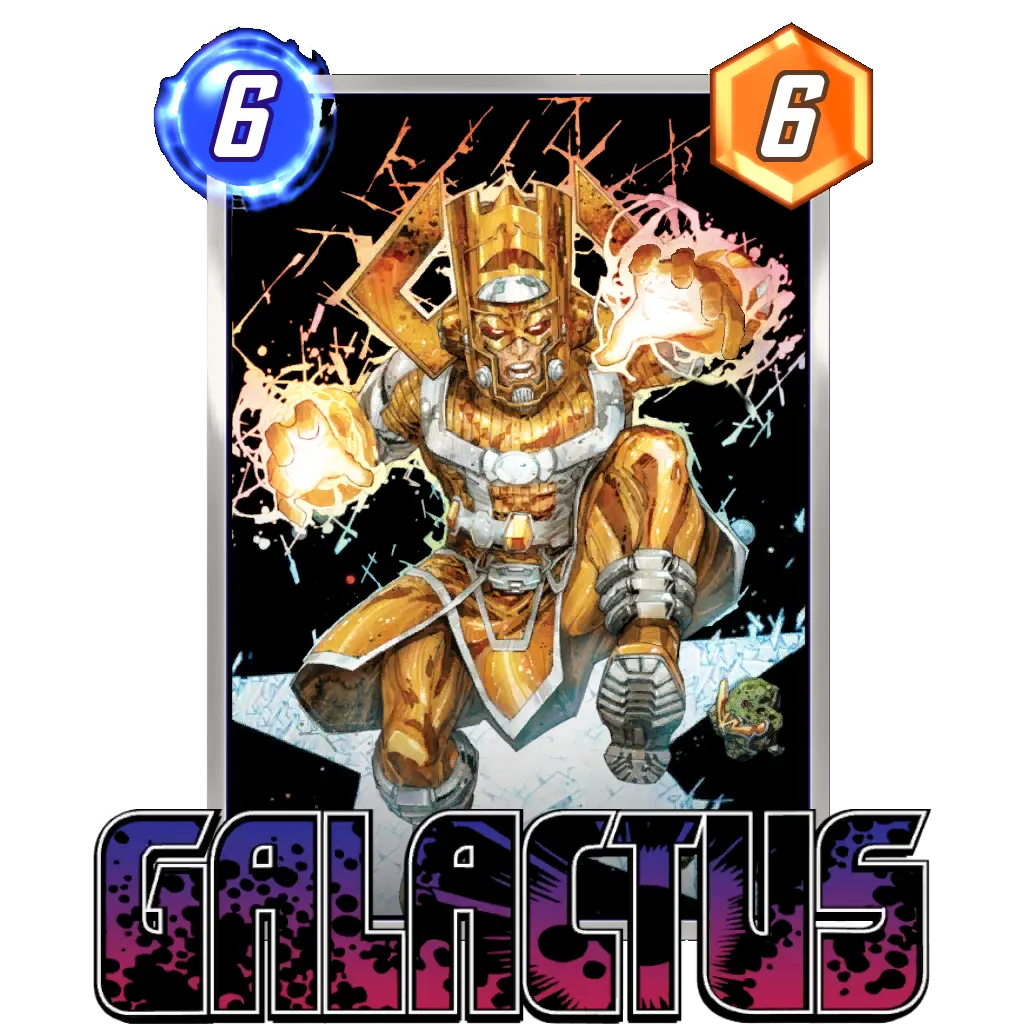


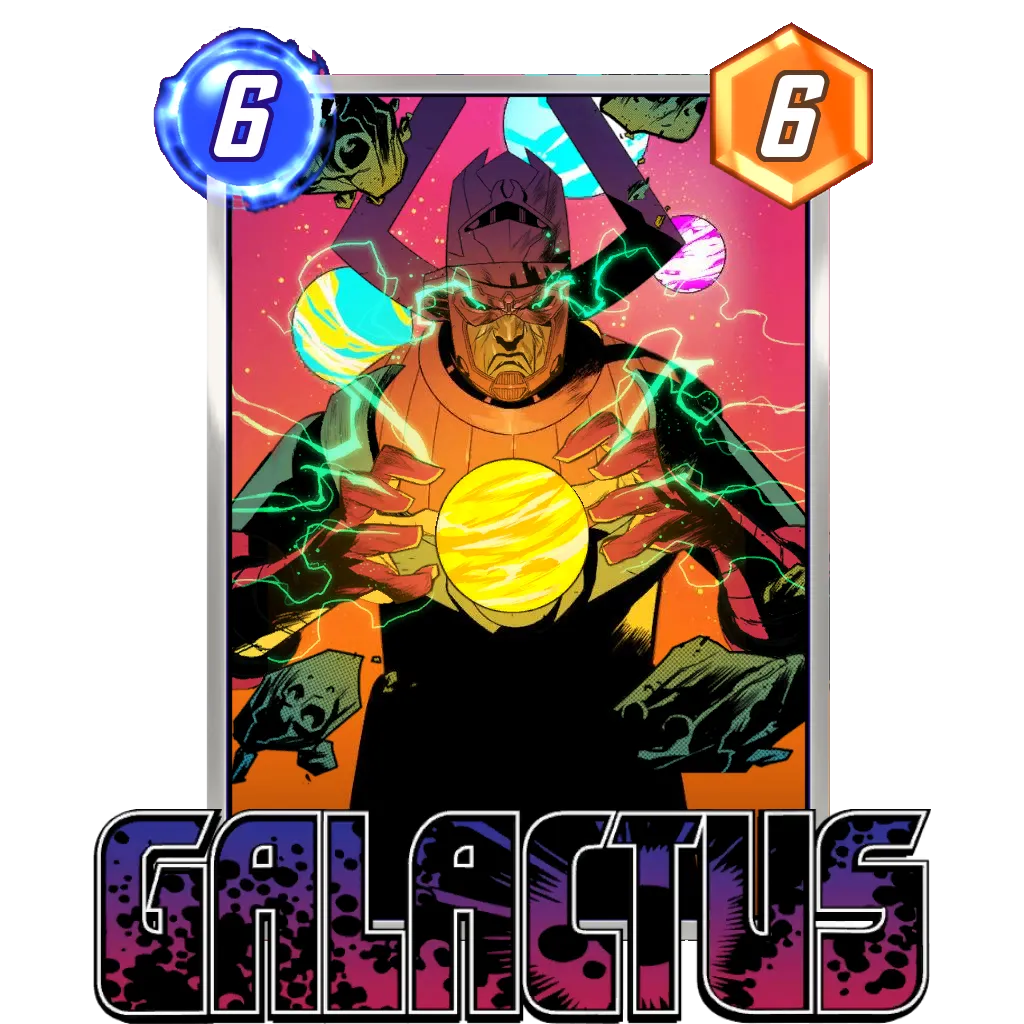


Finally, Galactus. If you can land Galactus on this location, you will be in an incredibly strong position. You will likely have priority, so your last card won’t be destroyed if your opponent plays a card. In short, if you can land Galactus on the location and stay ahead, your chances of winning will be extremely high.
Thanos Control
 SafetyBlade


The Thanos Control list has a lot going for it with the location. We have Stones to play last if we are winning, ways to shut the location down, and Galactus for when we can play it on the location in time. This combined with the flexibility of the deck makes it an excellent choice for the location. The plan is to play Stones often and destroy them whenever possible. You can also ramp into cards like Professor X and Galactus.
Lockjaw
SafetyBlade


Next up – Lockjaw! Yes, this deck could potentially be the way to go with the location because it can use the 0 cost cards late in the game after playing your big 6 drop on the location. It can also easily win the lane with Lockjaw consistently. Combined with the high roll potential and a potentially simple Snap strategy (Lockjaw = Snap), this deck takes advantage of the location without sacrificing competitive viability. It’s potentially great for climbing during the final week. Featured the High Evolutionary build and a budget build this week to try and provide some options for everyone. Just remember the card pulled by Jubilee or Lockjaw will be destroyed by the location.
Sera Stats
SafetyBlade


 SafetyBlade


The final option for this week is basically just dropping as many stats as possible. This deck also doubles as a great Ladder strategy for your final week of climbing. The plan here is to play Sera on Turn 5 and then just drop as many cards as possible on Turn 6, ending with Nova, X-23, or the Muramasa Shard on the featured location. In an awkward situation, you can also align a Mysterio clone as the last card to protect your stats. This deck has one of the most explosive strategies currently, and we can build a similar all-in strategy without the expensive cards, too.
Series 2 and Below (pre-CL 474)
SafetyBlade


Series 2 and below should aim to include the Destroy package as much as possible. Bucky Barnes, Nova, and Wolverine can all protect the location while adding power. We can also use these cards earlier in the game so we don’t have any crazy plans to try following. Gamora is excellent here since she can be played with one energy remaining to protect your from the effect on Turn 6 (or you can just play her on Turn 5).
Wrap Up
What is your strategy? Let us know in the comments below, or our Discord community! Remember to share your decks using our deck builder and browse our deck database!
Good luck, have fun, and stay safe!


More Content