
Table of Contents
The Hot Location for the next 24 hours is Shuri's Lab: After you play a card here, double it’s power. This is a Hot Location for Marvel Snap’s August 2023 season, Big In Japan, that starts on selected Wednesdays and Sundays at 3 AM GMT. For 24 hours, it has a 50% chance of showing up in games.

Players who strategically build around the location or counter the decks that do so can have an advantag
Today’s Hot Location was originally The Triskelion and changed to Shuri's Lab. We apologize for any inconvenience caused!
Strategy and General Tips


Shuri's Lab doubles the power of every card played on the location. Playing decks that carry plenty of cards with a high base power (looking at you, Red Skull) is the obvious synergy. Combining this with Taskmaster to split the power across to other lanes is effective and allows you to push significant power across two lanes.


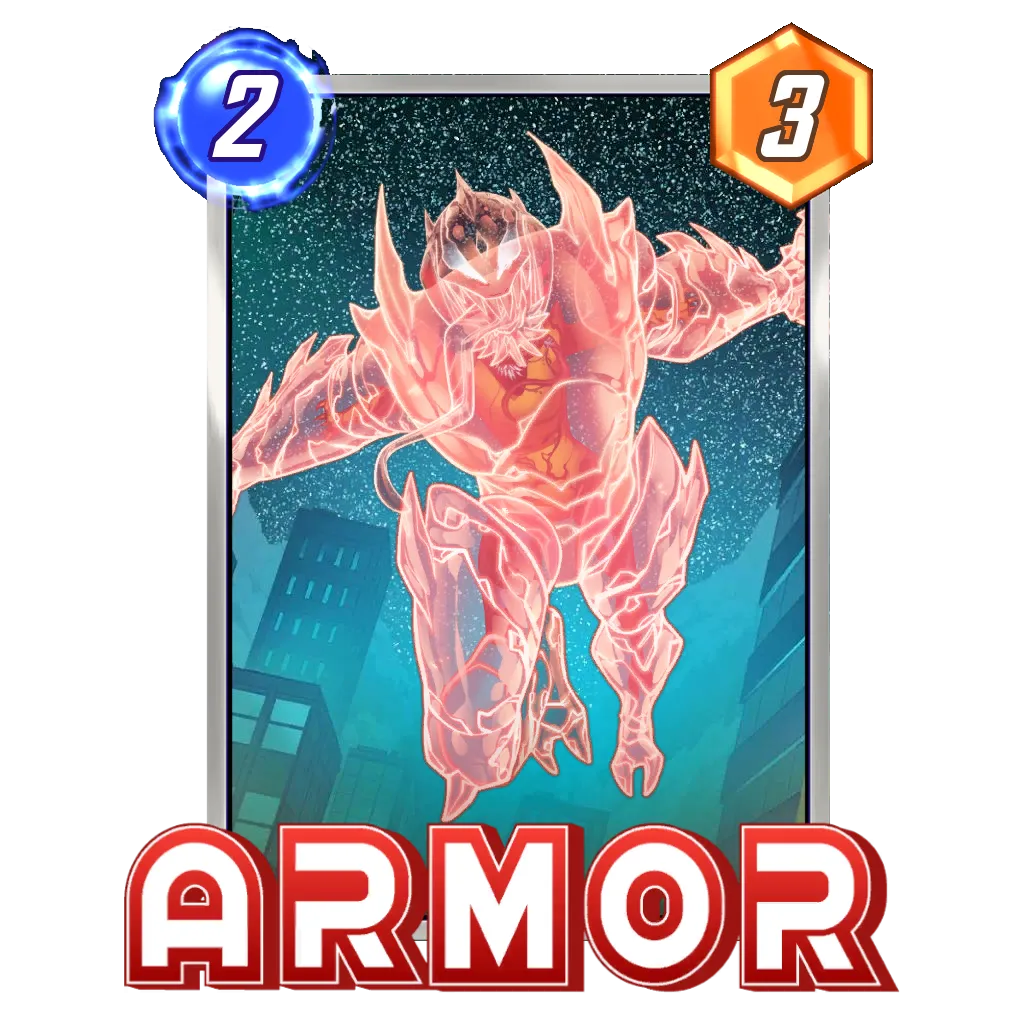
If you go in this direction, Armor and Cosmo should be auto includes in your deck as they will protect your lanes.


Shang-Chi is a card, and if you’re not running cards looking to be buffed by the location then he can be an incredibly effective counter. Locations like this one showing up 50% of the time can also allow you to run decks with the sole purpose of countering the deck style you’re most likely to encounter. In this case, we can use Lockation strategies to lock other lanes early and limit our opponent’s ability to spread power across the board.


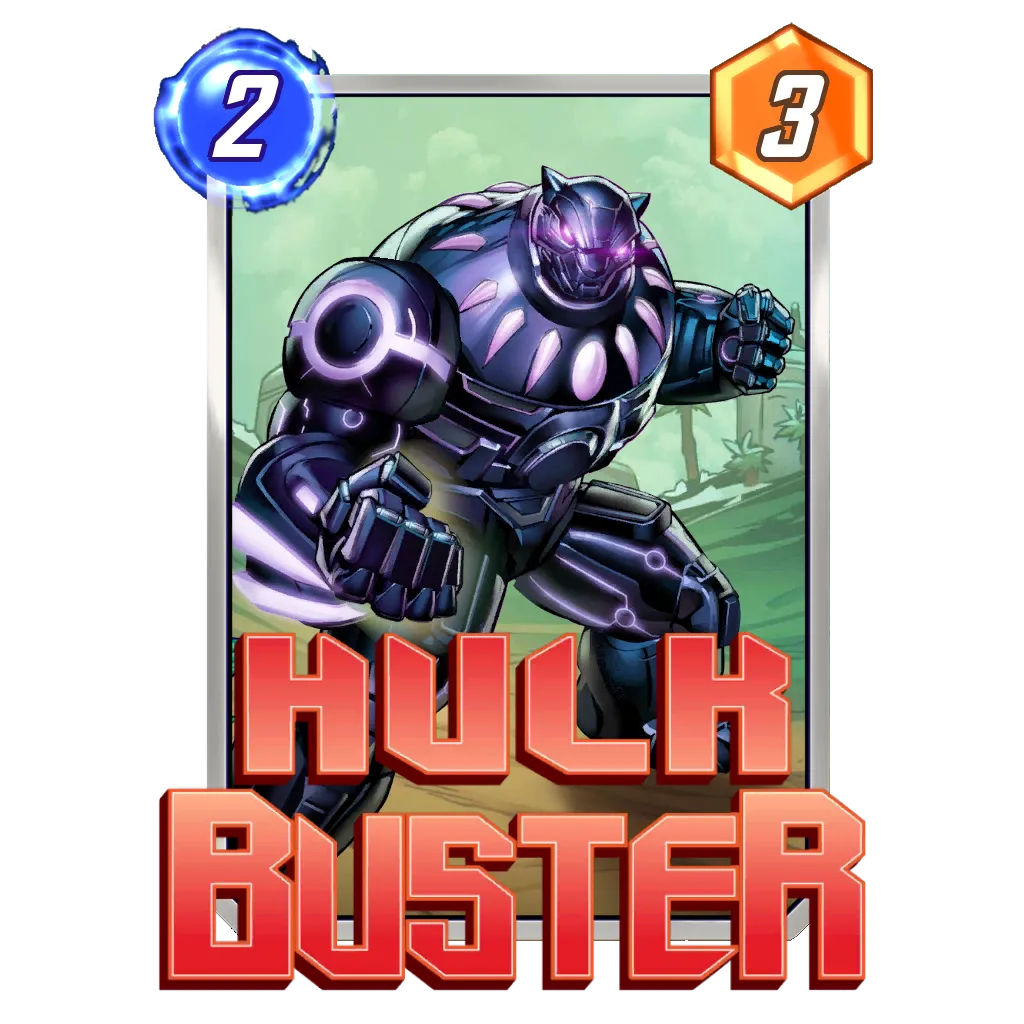
Some cards can take additional advantages from the buffs, by doubling again or adding extra power on top. Daken and Hulkbuster both can combine on this location also and if we can activate the shard win the lane alone. The problem often is how do we dodge Shang-Chi?


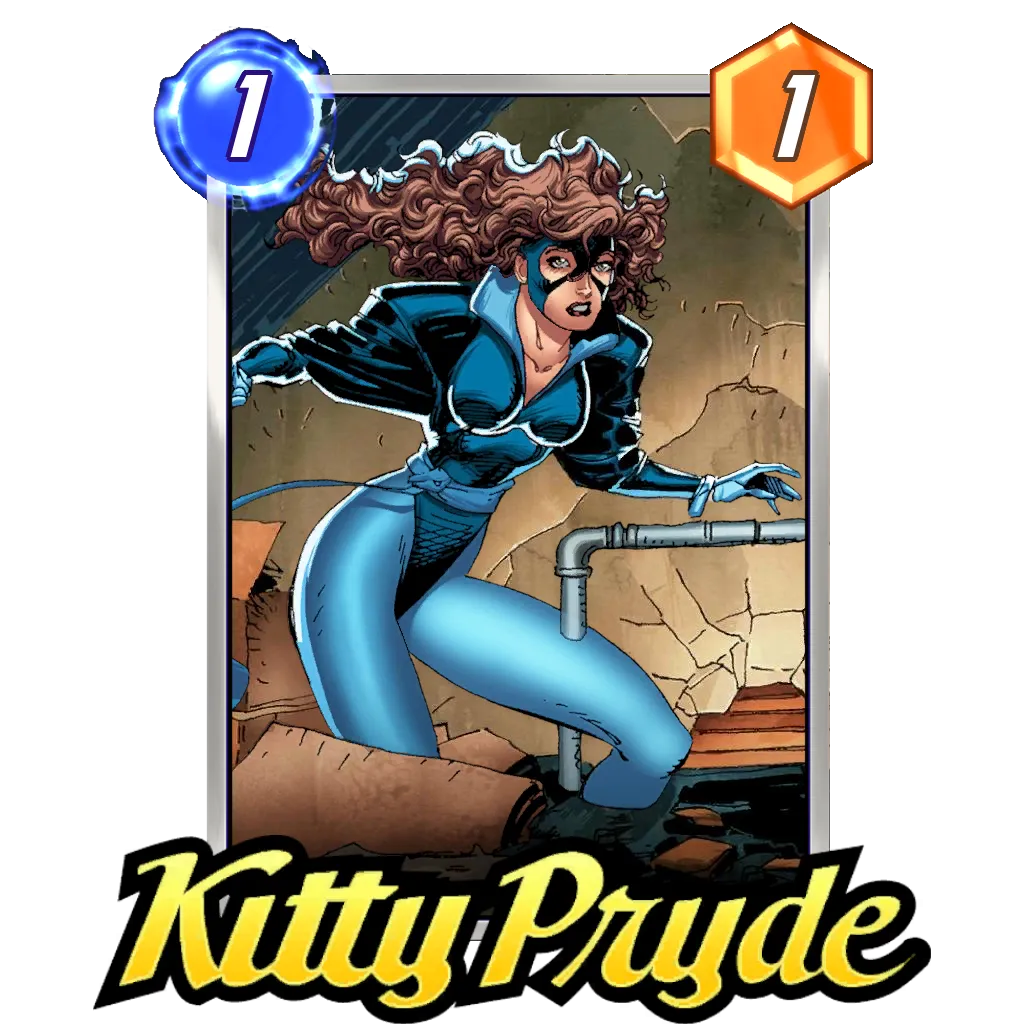
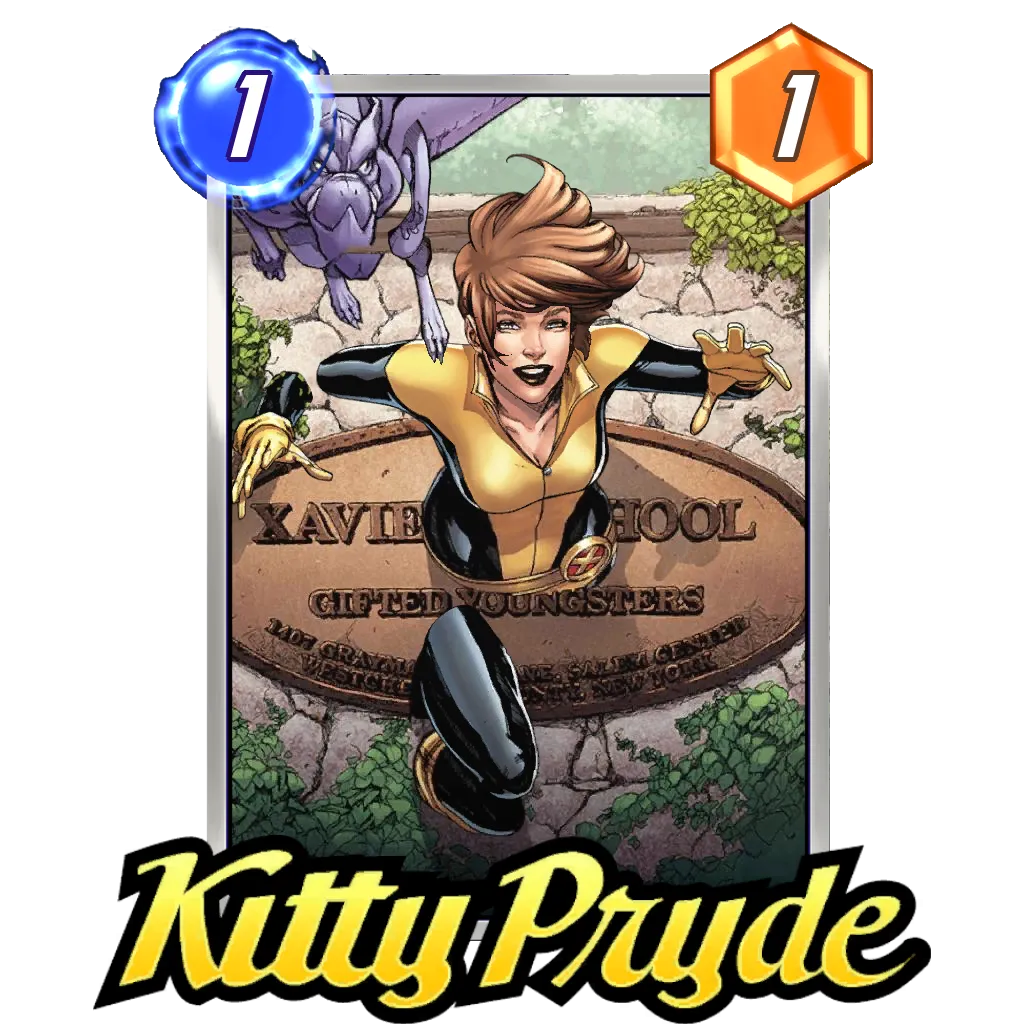
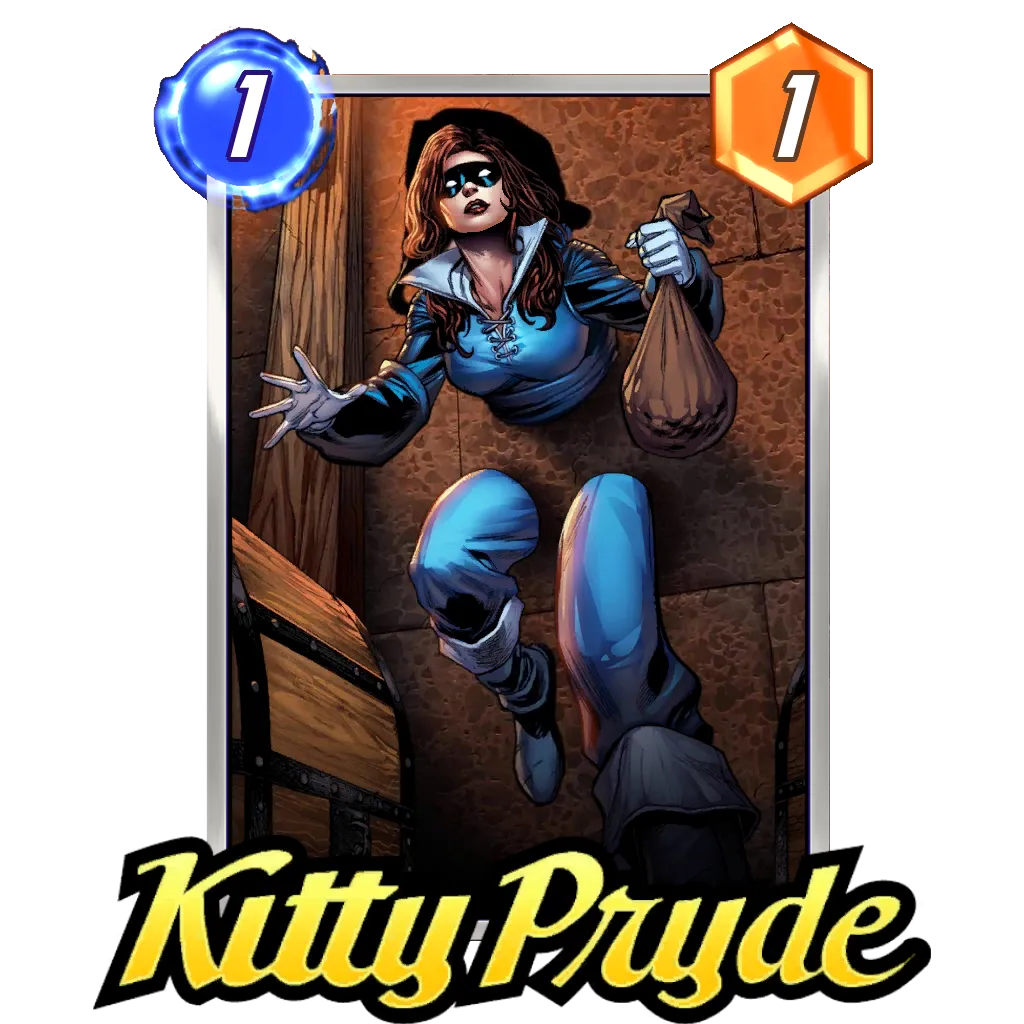
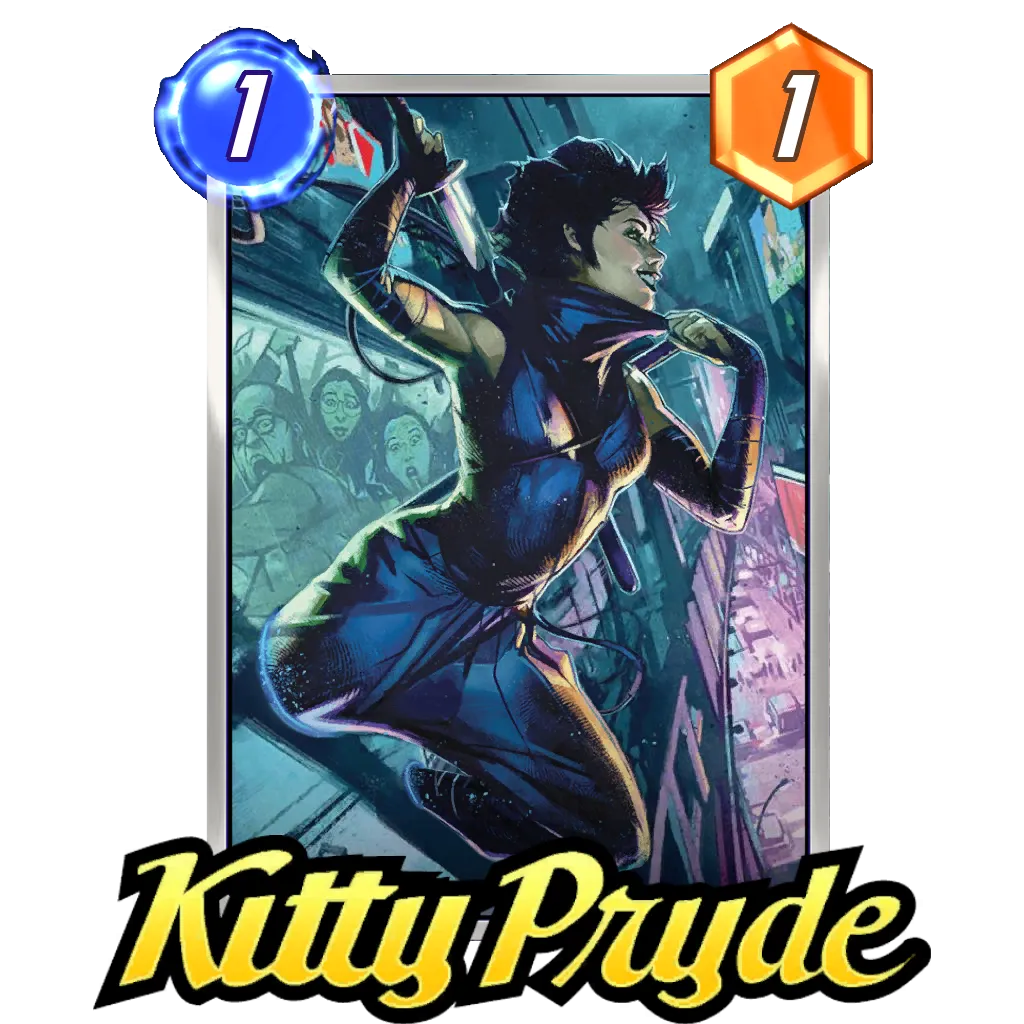
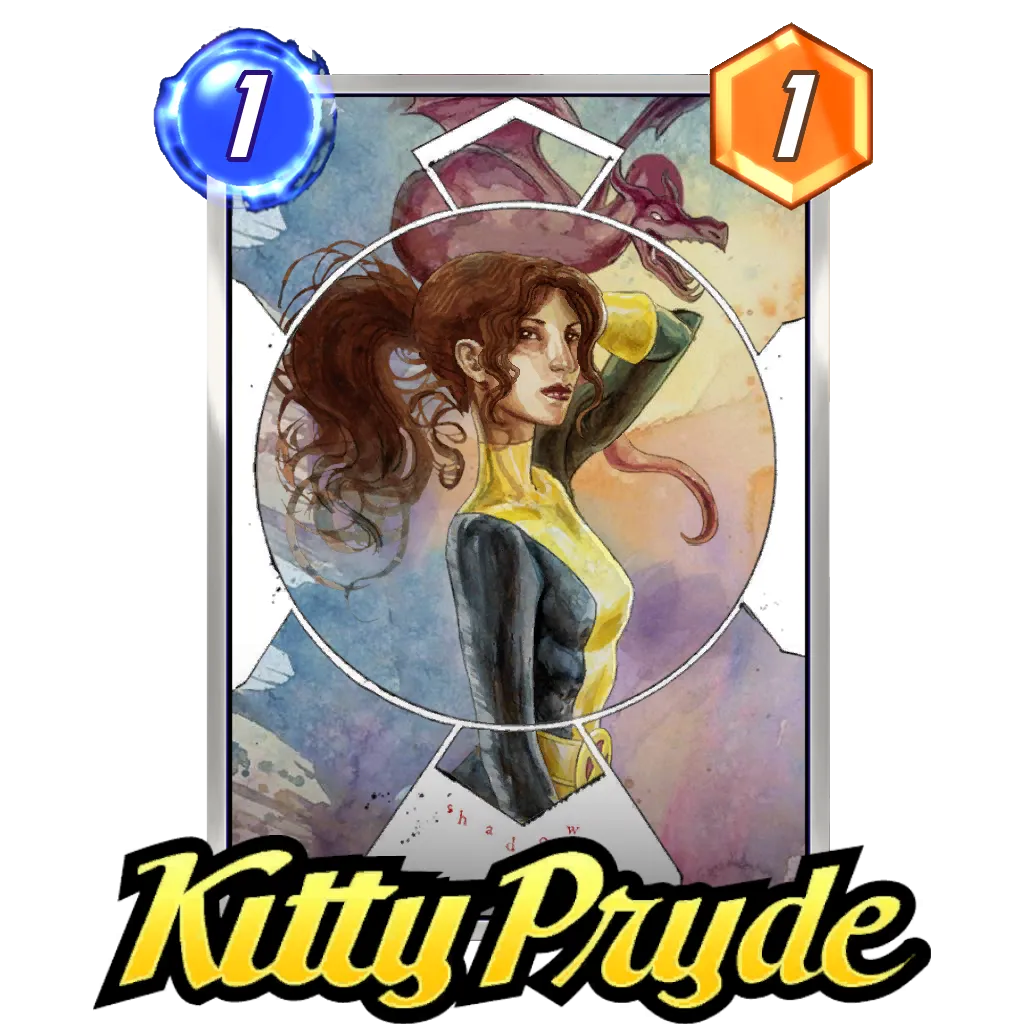
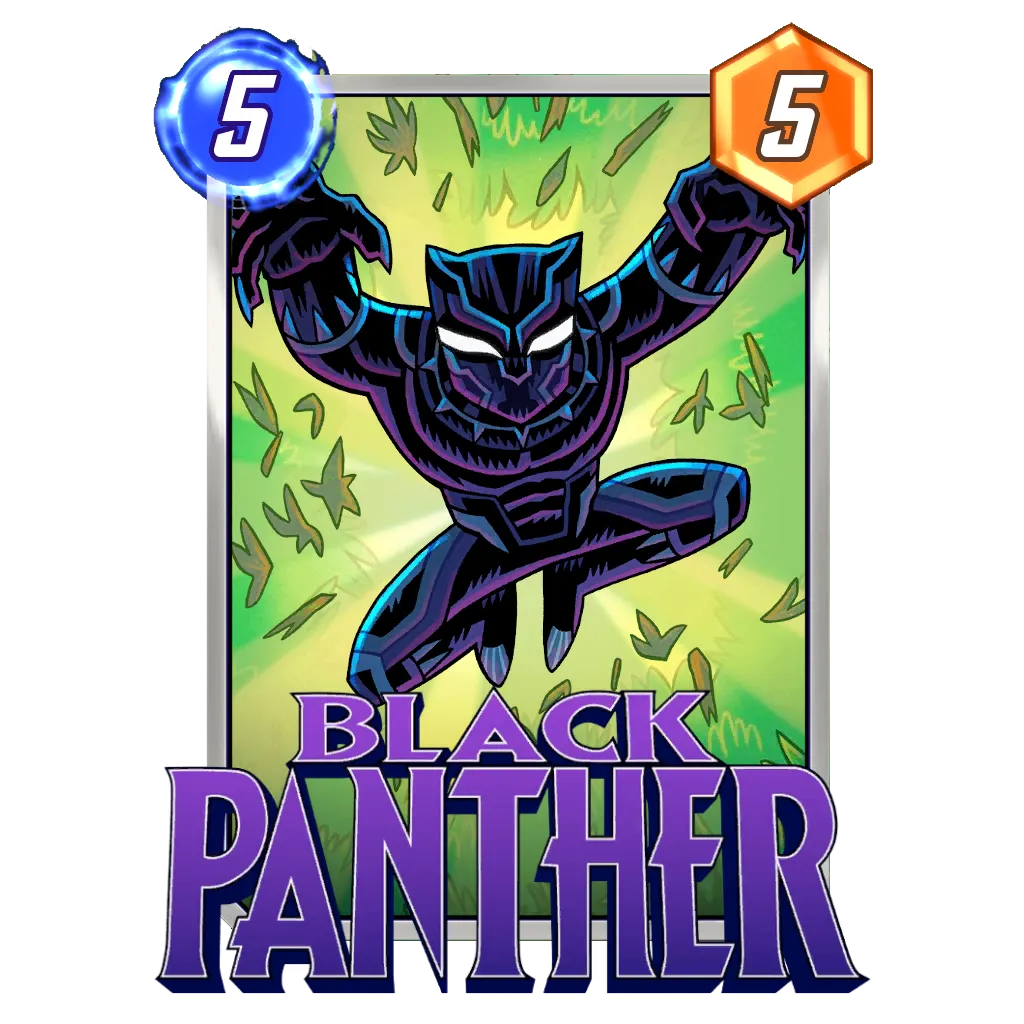
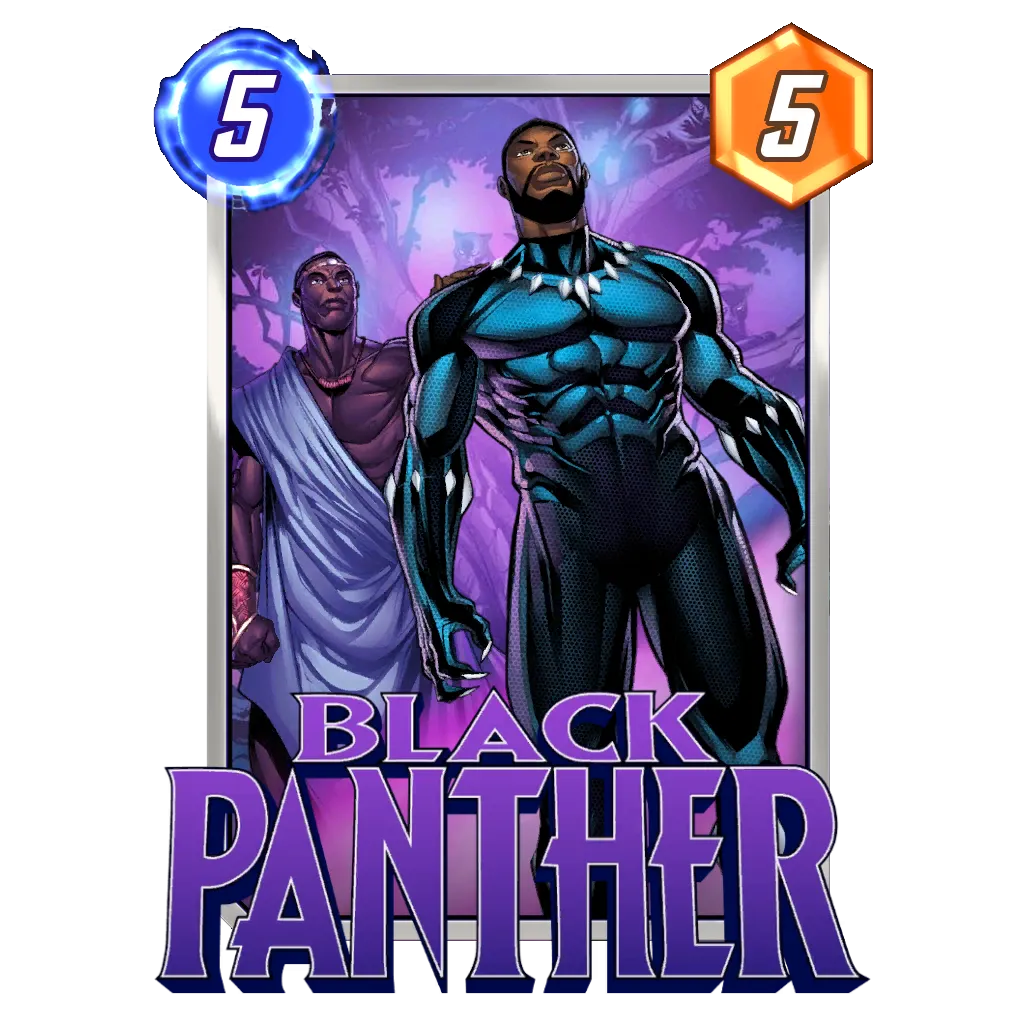
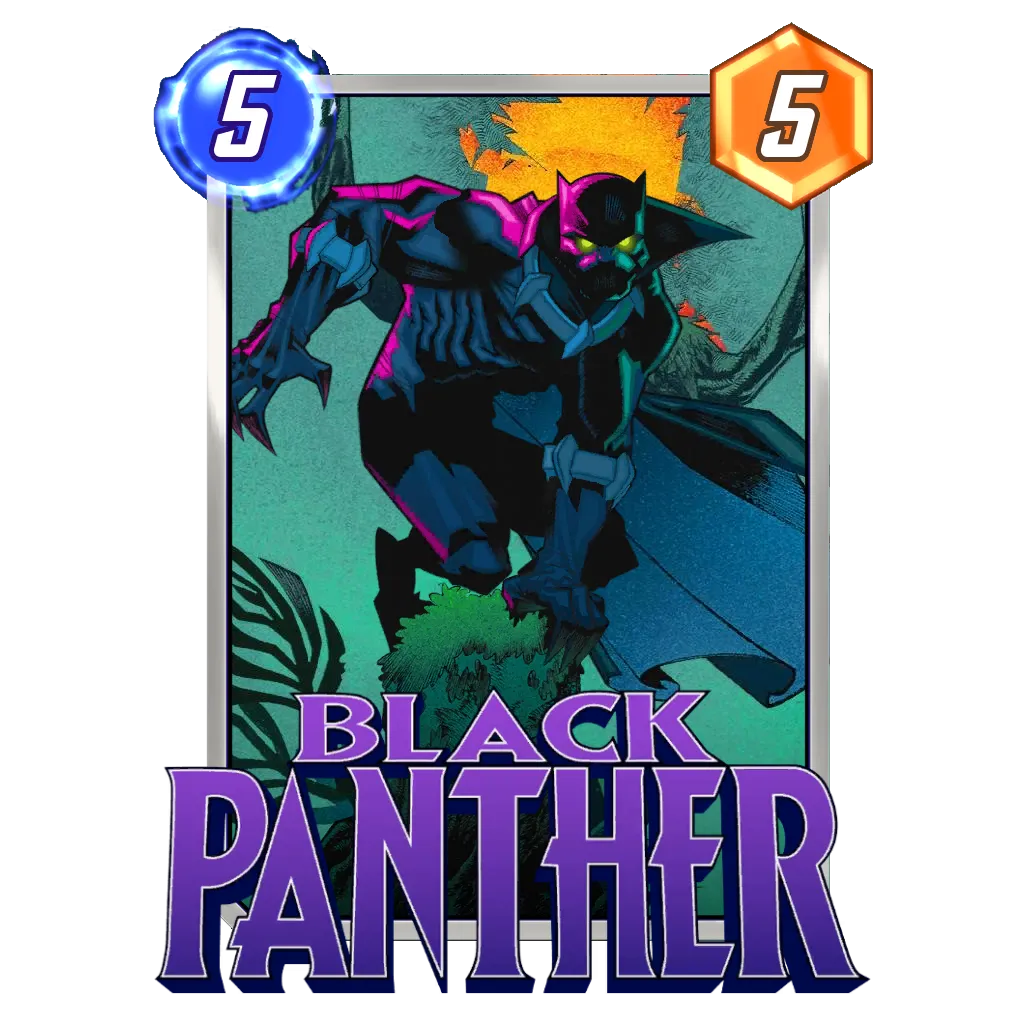
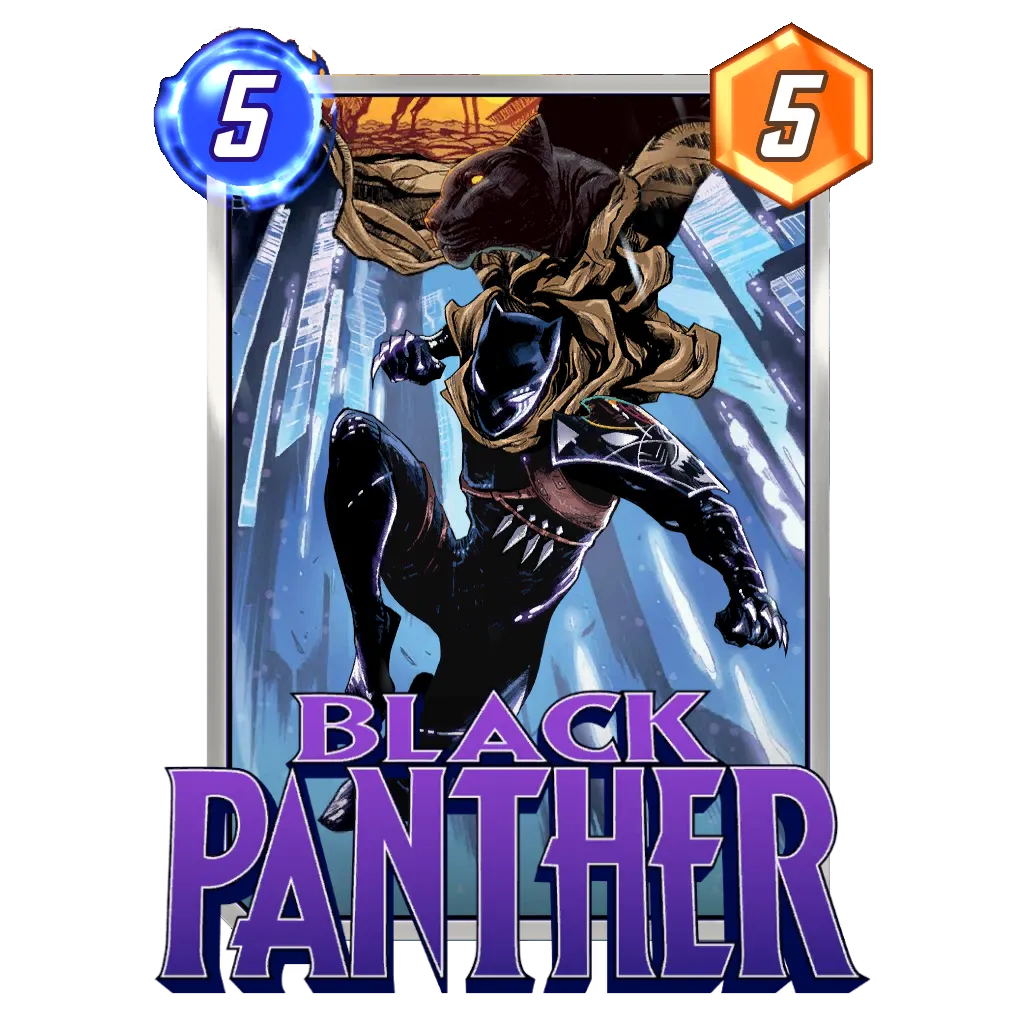
Kitty Pryde solves this problem as she leaves the board every turn, allowing you to play it where you need on 6. Another card which tends to do better avoiding Shang-Chi is actually Black Panther if we can ensure we have priority, we have lots of options of how we duplicate or protect the power on the lanes we need.


The last synergy worth noting are the Movement cards. These cards have the added advantage of using the location and then moving where you need them, hopefully dodging counter cards and taking advantage. The ceiling tends to be lower on these synergies but its often the safer route with the location. You can use the buffed card to overpower the other lanes whilst your opponent cannot.


Shuri Lab – Ramp
 SafetyBlade


This ramp deck is built to compete with the location by doubling the power of big cards and going for copies with Taskmaster or Arnim Zola. To achieve this whilst being able to get ahead of the counter cards like Shang-Chi, we have 2 early game cards aimed at maintaining priority.
Silk could be a silent MVP during the location as she will become 10 power and could potentially hold priority of a location until your able to get your copy off. Sandman is core here at stopping opposing attempts to do combinations on later turns also.
Daken and The Force


We have to include Daken this week as this combination is hard to ignore. The issue with the destroy route is the anti-synergy with the cards to counter Shang-Chi such as Armor and Cosmo.
So to try and counter this to some degree, we include
Knull acts as our final way of countering the counters as if we expect the potential Shang-Chi, Knull can be plated to absorb the destroyed power.
Shuri Sauron


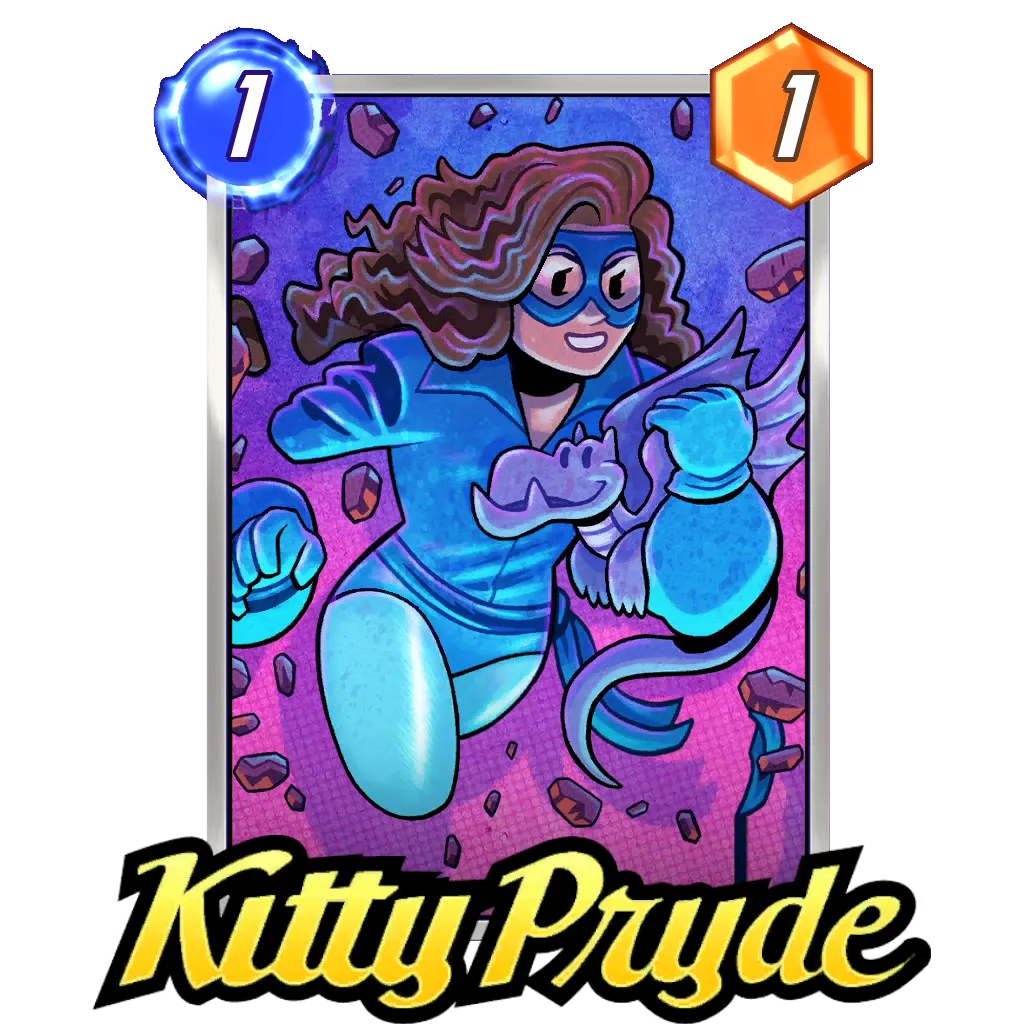
The best choice however may be the simplest. Sauron and Shuri can afford to play Armor to help negate some of the wilder combinations your likely to see during the location, you have big cards to copy and a simple way to duplicate it across lanes and it can be extremely consistent and throw priority for She-Hulk into Taskmaster. The old favorite always shines during this location and can now play Kitty Pryde to really abuse the scaling from this location. Remember to Snap if you draw Kitty on Shuri's Lab.
Power Moves
SafetyBlade


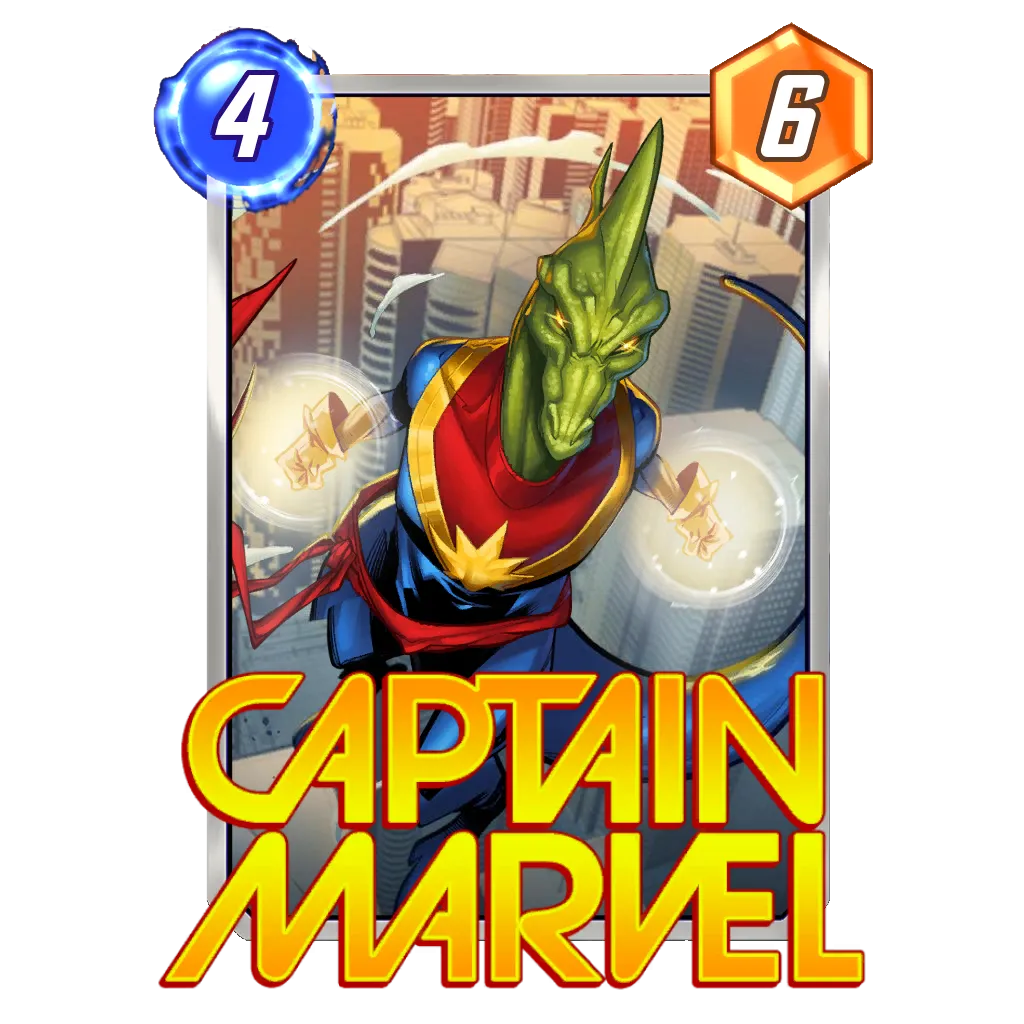
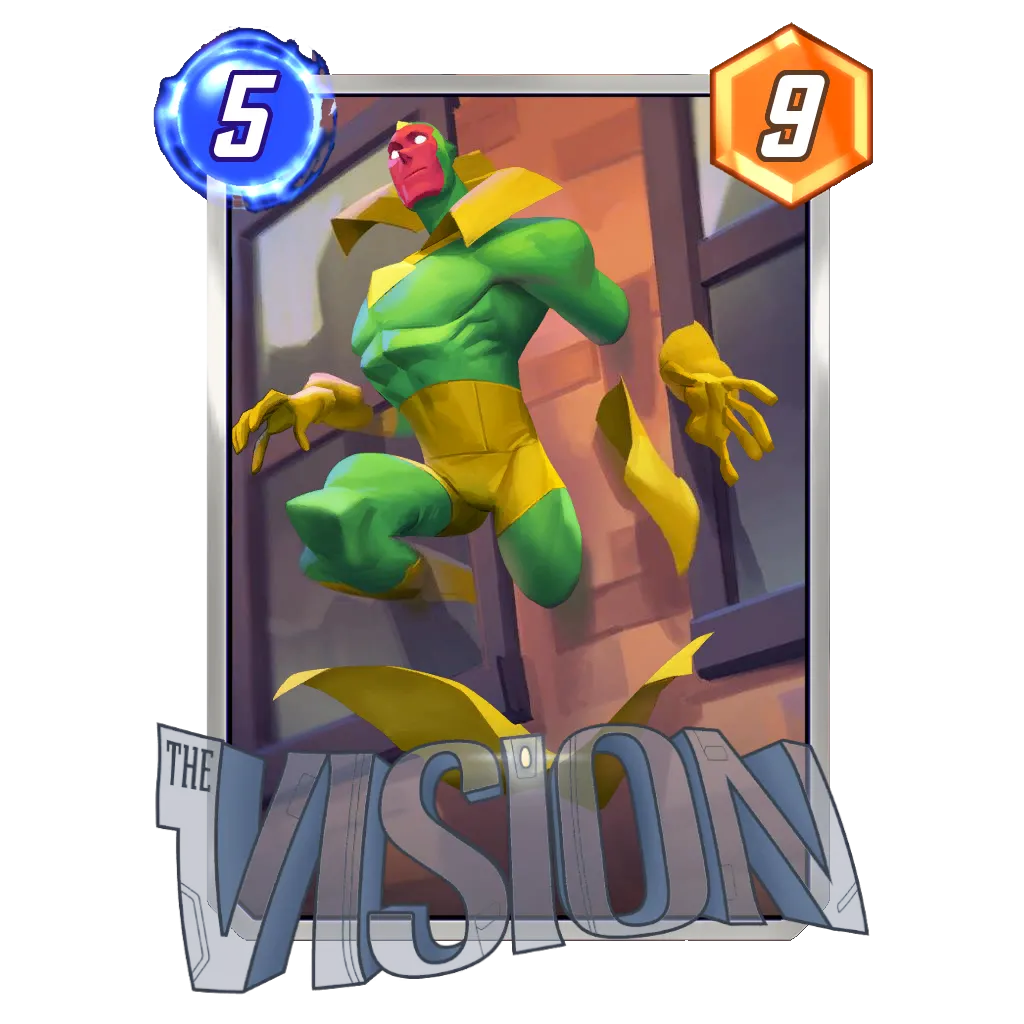
The final deck for today tries to take advantage of the newly patched Spider-Man as a surprise card, using a basic Zabu shell and cards which can start on Shuri's Lab then move. Vision and Captain Marvel are great on the location, and you should be able to easily activate Miles Morales on most turns of the game.
Although the numbers are not as high as some of the crazy combinations, this one steals just enough value our of the location whilst having flexibility to play in different ways.
Series 2 and below (pre-CL 474)
SafetyBlade


The above deck is a Series 2 control deck which can utilize Vision on Shuri's Lab to create a large power card that we can move where we need to. We want to lock down one lane with Storm, play into Shuri's Lab with Vision, and then move to the lane we need to win on turn six.
What is your strategy? Let us know in the comments below, or our Discord community! Remember to share your decks using our deck builder and browse our deck database!
Good luck, have fun, and stay safe!


More Content