
Table of Contents
This week’s Marvel Snap Featured Location is The Bifrost: After turn 4, move all cards one location to the right. This is a brand new location that is now added the location card pool and will show up 40% more frequently in games during the feature period, for the next 48 hours.

As we explained in our latest meta tier list article, the Move ability deck has been buffed a little bit from the balance updates, such as Kraven and Doctor Strange receiving some power bonuses. The deck can also be quite a tough one to master, but it can bring a lot of unpredictability to your opponents!


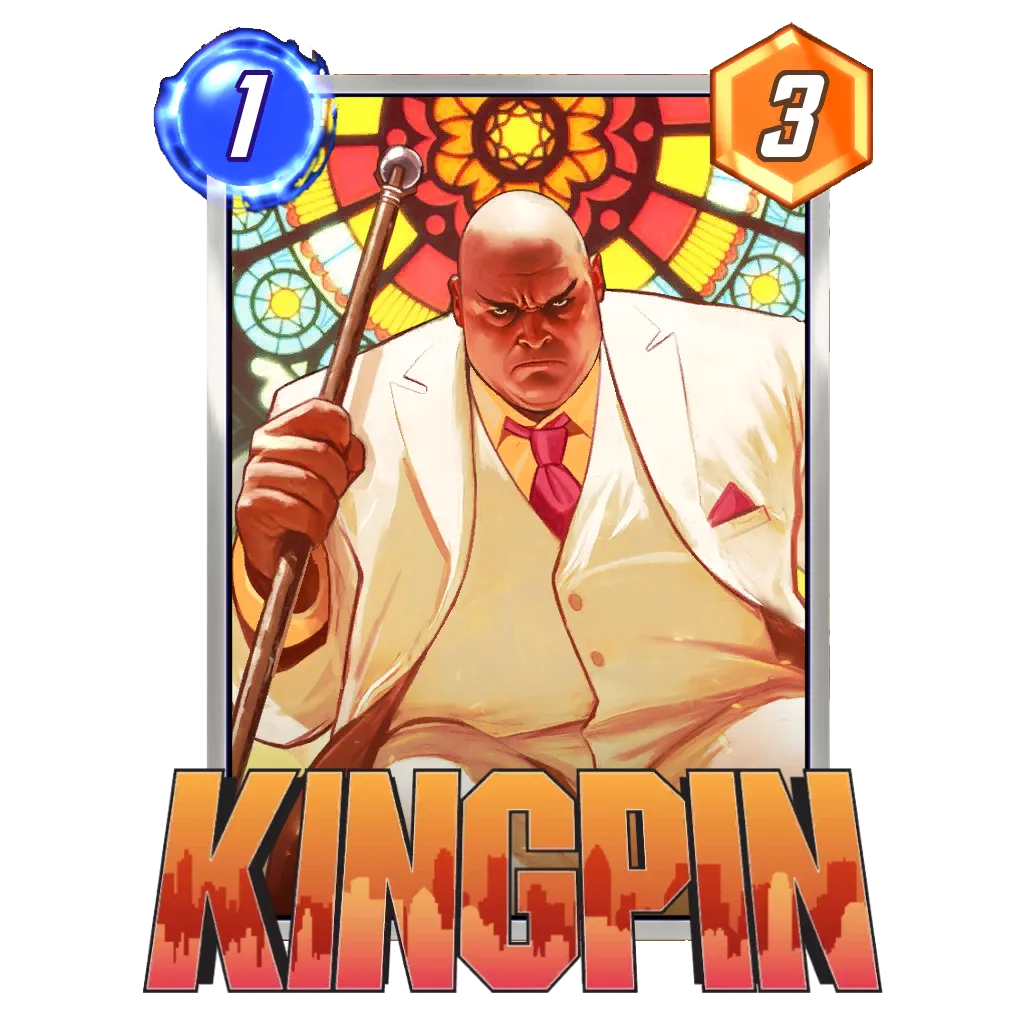

To go with the theme, we have two Movement decks for you here today. For this location in particular, Kingpin should slot well in any of your decks should you have pulled him from Pool 3. The first one is a budget build with just Pool 1 and 2 cards, whereas the second one is a properly tuned deck (with a detailed write up from the author) but has Pool 3 cards. Human Torch really pulls in a lot of weight for the deck, as it can go above 100 power on its own.
 den
den


 Paper
Paper


Hey I’m Paper, a 3x Infinite Rank player and streamer, and this is the Movement deck that I used to win the community event Cube Rush #3. Movement is a solid deck archetype that requires a lot of planning on unit placement even from turn 1.
The main point of this deck is to move your movement buffers (Human Torch, Dagger, Vulture) around with movement activators such as Iron Fist, Cloak, and Doctor Strange to create massive threat that your opponent will have a hard time tracking down. This deck works off of misdirection and careful planning so that you always know where your cards are going to end up in the end, but keeping your opponent on their toes.
This deck is one of the most difficult decks I’ve played yet in Marvel Snap. I’m going to do my best to lay out some of the play patterns in this deck, but really the best way to learn this kind of deck is to play with it yourself and familiarize yourself with the movement mechanics as every card that moves other cards can be used in a unique way. This deck is also an auto-retreat if your opponent plays Professor X in the middle and you’re not winning that lane. Professor X in the middle means none of your cards can move at all from Heimdall and is usually a death sentence for this deck.
Gameplan
The core gameplan of this deck is to have a large Kraven with 3 other units in his lane move to another lane with Heimdall. When Heimdall moves all 4 of the units in Kraven’s lane with him, Kraven will activate for each of the cards that move after him. For this reason, Kraven needs to be the first unit in the location for maximum effect. Usually You will aim to play Kraven in the middle or right lane, leaving the lane to the left of him empty. I usually prefer to play Kraven in the middle since Iron Fist will be able to move a unit to his lane, but the right lane is just as viable with a smart Cloak play. With this strategy, Kraven should be end up around 10-12 power depend on how units ended up in his lane.
This will win Kraven’s lane most of the time, but what about the other lane? Well since we have so many movement buffers, we can normally place a Dagger or Vulture in the right lane to make a large buffed Vulture in the middle by the end of the game. Heimdall will end the game usually in the right lane (often alone) so our other goal is to ensure our middle lane has enough power to win as well.
Tech Choices
This deck has some fluidity in card choices in key positions. Cards like Multiple Man, Storm, Juggernaut, and Captain Marvel are all cards that this deck can survive without, though each brings a unique benefit to this deck.
Perhaps the card that I debate with myself the most about including is Multiple Man. This card was built for this deck in so many ways. He brings a way to fill your board with every move which, at lower collection levels, feels great. Once you have more movement-specific cards, however, the more you realize that Multiple Man really becomes detrimental to the flow of this deck. While you typically want as many cards as possible on the board in Marvel Snap, in movement decks, a flooded board can mean less cards moving when you play something like Heimdall, resulting in less activations of your important movement buffers like Dagger and Vulture. There is a version of the deck at lower levels that utilizes Hulk Buster with Multiple Man to make multiple 7 power clones all over your board. That is a solid strategy, but in this Kraven-centric build, it is quite slow and can do more harm than good.
Storm and Juggernaut are on the fence for flexibility for me in this deck. They are a great combo that can lockdown a zone in 2 turns and Juggernaut’s movement can even buff your Kraven if the opponent’s cards land on his zone (Cloak is also great for this, place him on Kraven’s zone and if your opponent dares to use the Cloak’s effect, it buffs your Kraven). The only reason these cards can be considered removable is because they are not a core part of the strategy in this deck despite their synergy. Locking a zone with Storm is not the end of the world in this deck, as you can always move cards to the Flooded zone with Heimdall and Iron Fist.
Captain Marvel is simply a fallback option. Her being a pool 3 card means not everyone has her. She’s completely replaceable and I only have her to fix my mistakes with miscalculations that occur with the many moves this deck makes. Hulk Buster can replace her in this deck 1-for-1 and this deck will still work great.
Possible Additions: Hulk Buster, Nightcrawler, Vision
Counters: PROFESSOR X
Gameplan
- Turn 1 I usually skip unless I have Human Torch. I usually place him in the left lane if I’m playing him turn 1 and the location is safe. This is because I will always aim to move him either to Kraven’s lane or another lane to set up Heimdall’s movement. I usually save Iron Fist for Vulture since moving Vulture for 4 energy is much more efficient that 5 or 6.
- Turn 2 is ideally Kraven. You can play Iron Fist + Human Torch here as well.
- Turn 3 is where things start to diverge a lot. If Kraven is on the board our immediate concern is getting units into his lane via Cloak and Iron Fist. I generally play Cloak on Turn 4 or 5 so that I have a few options to move into Kraven’s lane. Additionally, setting up Storm on Turn 3 is quite strong. You can set her up on the right lane (or any lane that has a troublesome location) and hopefully combo with Juggernaut for a free lane win and potentially a couple of additional power to Kraven. If this isn’t an option, Vulture is an okay play, as well as using Iron Fist here to set up a move next turn or this turn with a 2 cost target.
- Turn 4 is Cloak+Dagger more often than not. You don’t necessarily need to move Dagger into Cloak’s position the following turn, it can be used as a fakeout of sorts in some cases. By this point, we hopefully have 2-3 movement targets on the board and Heimdall in hand with Cloak coming out. Play Cloak on Kraven’s lane if available.
- Turn 5 is when your movement really takes off. Moving cards with Cloak’s ability, hopefully into a Kraven, will begin your Kraven’s ramping power. You can move a card with Cloak and play Dr. Strange to great effect for something like +10 power on your Vulture in one turn. Just be aware of how much power Kraven will have after the Cloak moves happen, as they register before played cards are revealed. Pulling Kraven with Dr. Strange can often be not ideal. Playing Captain Marvel here is also great because she can make up for your miscalculations in some cases.
- Turn 6 is Heimdall most of the time. Make sure you’re aware of how many cards can move to each location keeping in mind Multiple Man clones, cards in the left lane preventing middle lane cards from moving, and your final power for each lane. Generally, turn 6 takes the full turn timer as I’m calculating each scenario, despite me only playing 1 card in most cases.
Movement Tips
The order in which cards were played to a location will determine the order they move. For instance, if there is 1 card in the left lane and you have 4 cards in the middle lane, if Heimdall actives, the first 3 cards in the middle lane will move and the 4th card will not. This can be used to great effect when aiming to keep a card in a lane after a Heimdall play. For instance, that last card can be a buffed up Vulture, or even a Kraven that you drew late and had to play on turn 5. Letting him stay as the 4th card in the middle and moving 3 new cards into his lane can salvage that generally crummy draw.
Multiple Man’s clones appear AFTER all of Heimdall’s moves take place. This means that if the location that Multiple Man moves from now has 4 cards in it after a Heimdall, he will not be able to create a clone.


What is your strategy for The Bifrost? Share your decks using our deck builder or browse our deck database!


More Content