Our daily Deck Highlight aims to feature decks from our vast deck database (as we work to implement more filtering features, stats, and data) that our users have put extra effort into sharing, with detailed guides and videos.
Today we feature a Agatha Harkness deck guide by IV, and we can train our Snapping and Retreating skills!
I’ll start off by saying, that this is and never will be the best deck option for you to play if you want to climb ranks. Don’t be deluded by lucky streaks. There are decks that let you leverage your skill and game mechanics to your advantage much better. If you’re looking for best deck to easily grind to infinite, this is not it. This deck is high RNG and you will see your cubes fluctuate. The main contributor to your cube gains will be your snapping and retreating game, more on that later. And just like any other deck, the hot location and prevailing meta can have big effect on your average outcome.
So why even play Agatha? The disadvantages of playing her are pretty clear. She has no AI guiding her plays. She plays cards she can afford in random order to random locations, with only rule being that she will always play herself first if it’s possible. Pulled a rock from deck in turn 4 and had Jubilee in hand? Too bad, Agatha might just play that and leave you sitting with 3 unspent mana. And at the end of the game she will take all the booster points for herself. Her 14 power is good, but that’s just 2 more than Hulk. However the part that the game does really poor job of telling, is that with Agatha you start with +1 card in your hand. Combined with Domino and Chavez being guaranteed to not be in your starting hand, you will have 4/9 of the remaining cards in your hand by turn 1. This brings the chances of pulling off your combo up quite drastically. Let’s have a pessimistic look at what you can expect in worst cases without taking locations into account.
Turn 1 – 4/9 or 44,4% chance of starting the game with any specific cards in your hand. You want to see Wave, but Jubilee is alright as well.
Turn 2 – domino
Turn 3 – 5/9 or 55,5% chance to have Wave by turn 3, which is always followed by Agatha turn 4 which lets you play turns 5 and 6 yourself.
Turn 4 – 3/9×3/9 or ~11% chance of not having neither Wave or Jubilee at hand at this point. 66% to have Wave, if you don’t have her here or Agatha plays Jubilee instead, you don’t get to play yourself this game.
Turn 5 – Guaranteed to have a play, absolute worst case scenario is not having pulled Jubilee or 5 drops here which is at ~1% and pulling wave, which happens roughly in 0,25 % of the games. Other bad outcomes are pulling Wave here and Agatha playing her instead of 5 drop at , and Jubilee pulling Wave from the deck. Bad octopus pulls into retreats are common here as well.
Turn 6 – Chavez is pulled and Agatha plays herself to random location, 2 cards remain in the deck for Jubilee pulls.
So your odds of getting to do some moves yourself are roughly 66%. From my experience about 10-15% of games get absolutely bricked by bad draws and placements by Agatha. You just have to accept the lowrolls and take the retreats.
Which brings us to the snapping/retreating game. Because the actual gameplay and decision-making with the deck is very limited, your outcomes will heavily depend on recognizing when to retreat and when to snap. This is by far the hardest part to make any definite guide for as the meta is ever shifting, and people react and snap wildly differently depending on the rank etc. Frankly you’ll just need to develop your own intuition on these. Personally I avoid snapping before all locations are revealed, and most of my snaps are from turn 3 waves or turn 4 Agathas into good locations. Turn 6 snaps also scare lots of opponents away that might have otherwise checked the result for 2 cubes. From my experience not being the first to snap and taking the cubes from those who snap super early tends to yield me most cubes. Your mileage will definitely vary, and todays good strategy might be bad tomorrow.
Retreating is the other side of the coin. At first letting the game run to turn 5 with bizarre plays by Agatha and then just retreating instead of showing off your Agatha for 1 extra cube cost can feel bad. I find myself still struggling with it from time to time especially if something funny or flashy happens. Sometimes still the thumbs up and fistbump from opponent is definitely worth the 1 cube for me. But if you want to climb every cube matters. At it’s core Agatha is fun RNG deck, and that and sweaty grinding for cores are hard to harmonize together. Just remember, that if your opponent was skilled enough they could determine you were playing Agatha already on turn 1 by checking your card count.
Gameplay: Agatha does most of the playing for you. You hit End turn, Retreat or Snap. Duh.
Well, actually since most of the games you get to play the most important turns 5 and 6 you do actually get lots of input to the end result of the game. But even then your plays and options are pretty straightforward and combos limited. I’ll go over them next while going over the cards for the deck.
Domino – Effectively shrinks your deck size by 1, always gets pulled on turn 2 so you always play her on turn 2 which prevents your hand from being filled before turn 5 and guaranteeing you always get to play card by then
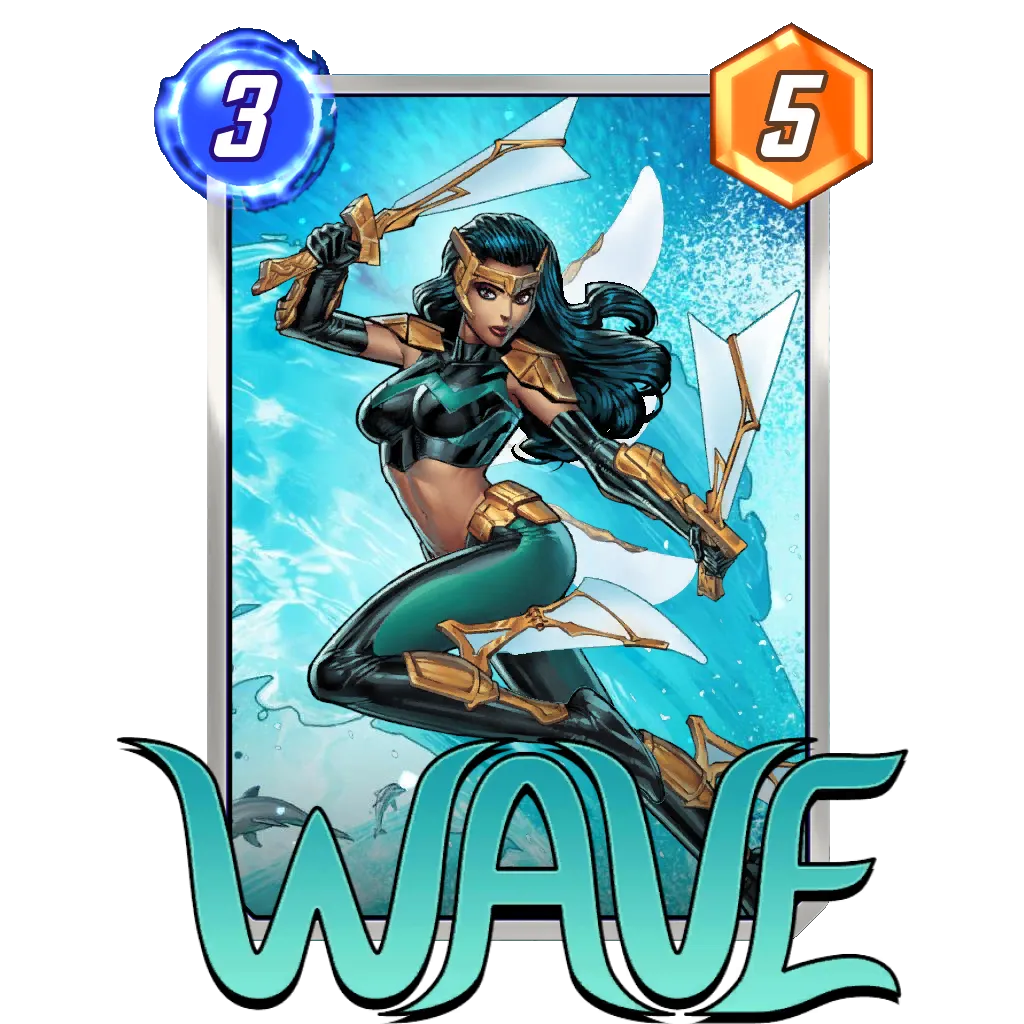
Wave – Your tool for getting rid of Agatha early. Helps or hurts opponent at the same time. If meta favors high cost decks this is worse for you and if meta favors low cost decks it can mess up enemy curve by letting them only play one card instead of the combo they intended to play or throwing them off in some other way.
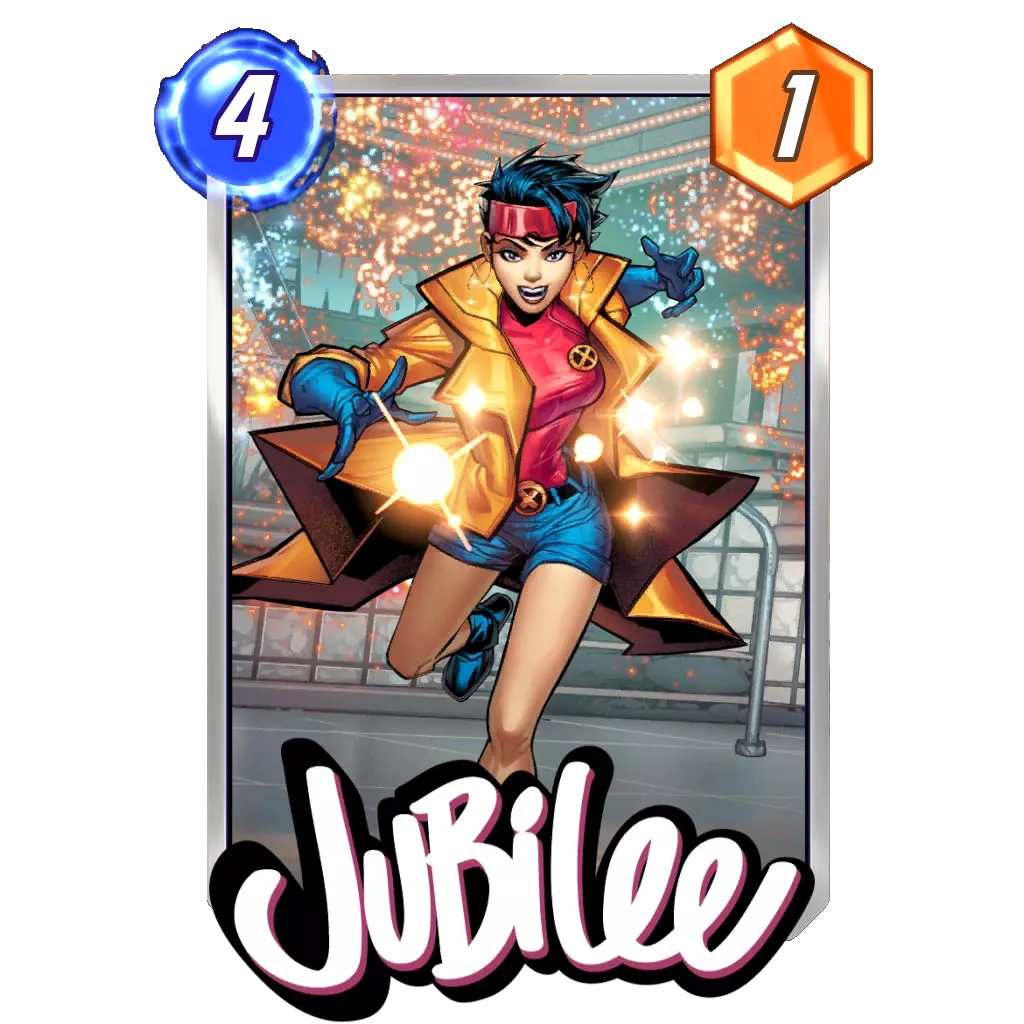
Jubilee – Your backup option for when Wave isn’t pulled. You have fairly low pool of cards this pulls out of, especially on turn 6 when it’s 50/50 for the 2 remaining cards. Jubilee pulling Odin is super rare, but satisfying when it happens. You also very rarely get to retrigger Jubilee with Odin, as that requires Jubilee pulling wave on turn 4 into Agatha turn 5 and then still having the space for Odin retriggering. Some locations can make this combo happen though
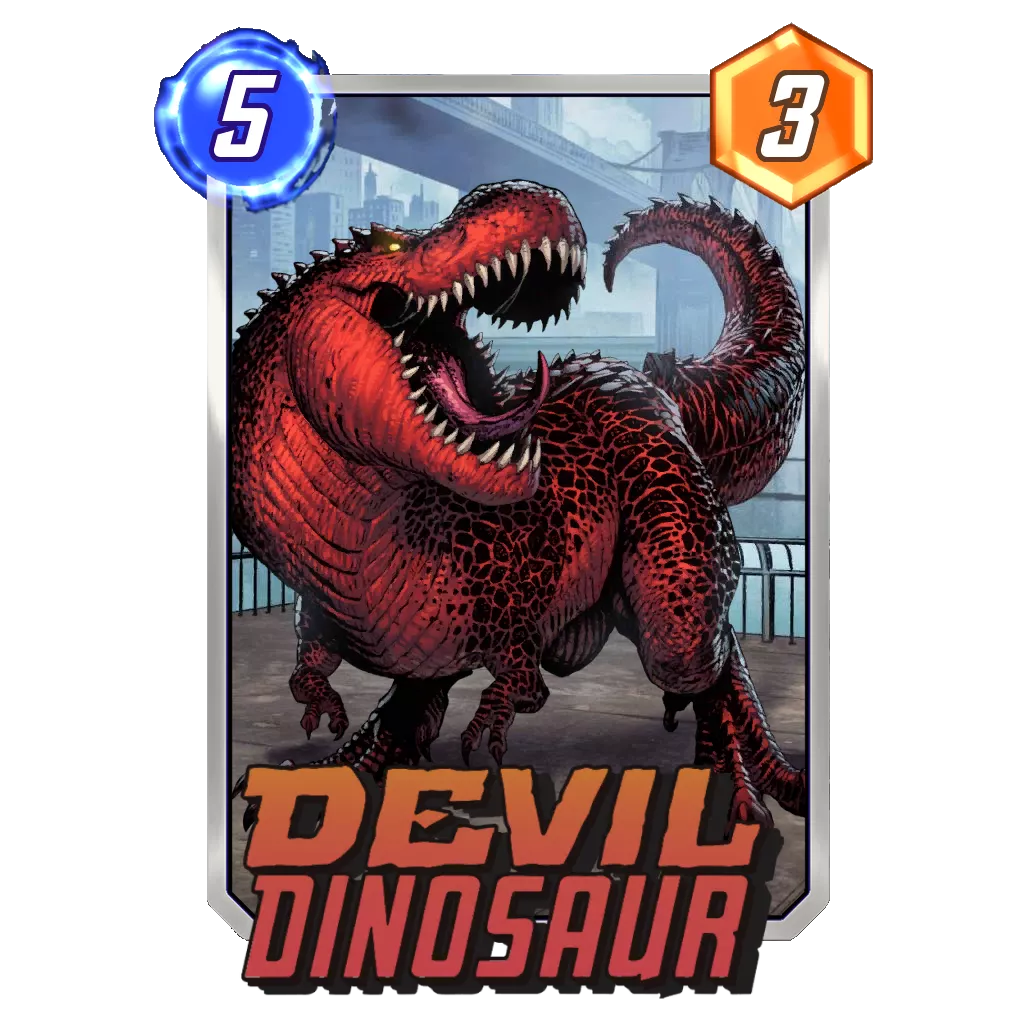
Devil Dinosaur – Your hand is always going to be quite full, so it’s pretty much guaranteed high power at 5 cost securing your curve and putting high. In most of the games you will end with 5 or 6 cards in hand. If you played Wave on turn 3 then it will end up at 13 power and if you didn’t then it will be 15 power at the end of the game.
Doctor Octopus – The card I’m least confident about keeping in the deck. Honestly I like keeping it for the wild and clutch plays it creates as well as having some kind of response for combo pieces like Wong other than just retreating straight away. Keeping two 5 drops on the deck is important for avoiding the occasional game where your hand is full and you don’t have a card you can play. Feel free to replace
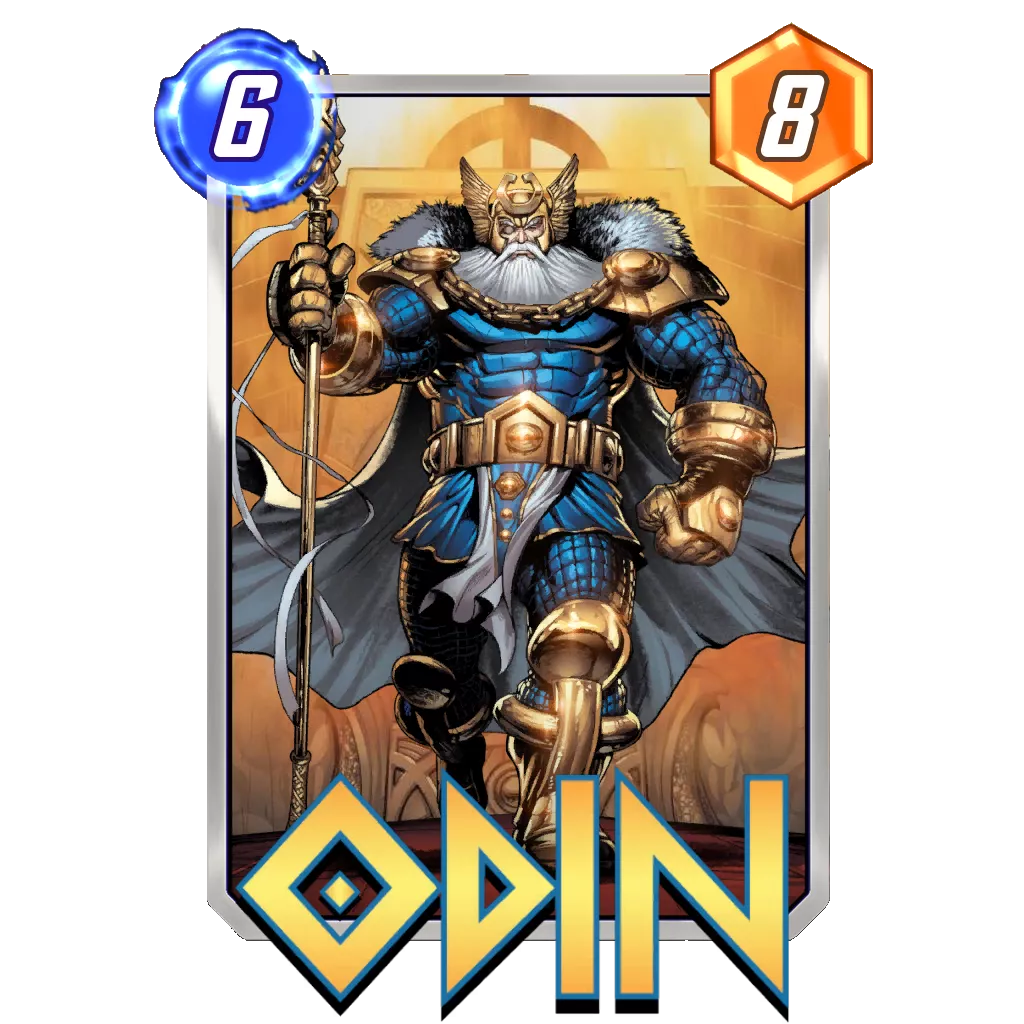
Odin – Relatively weak on power, and quite rarely pulled by Jubilee. Shines in clearing off Hobgoblins by making them jump back to enemy, also in some rare cases you get to trigger Wave again to block enemy from playing more than one card. Definitely replaceable
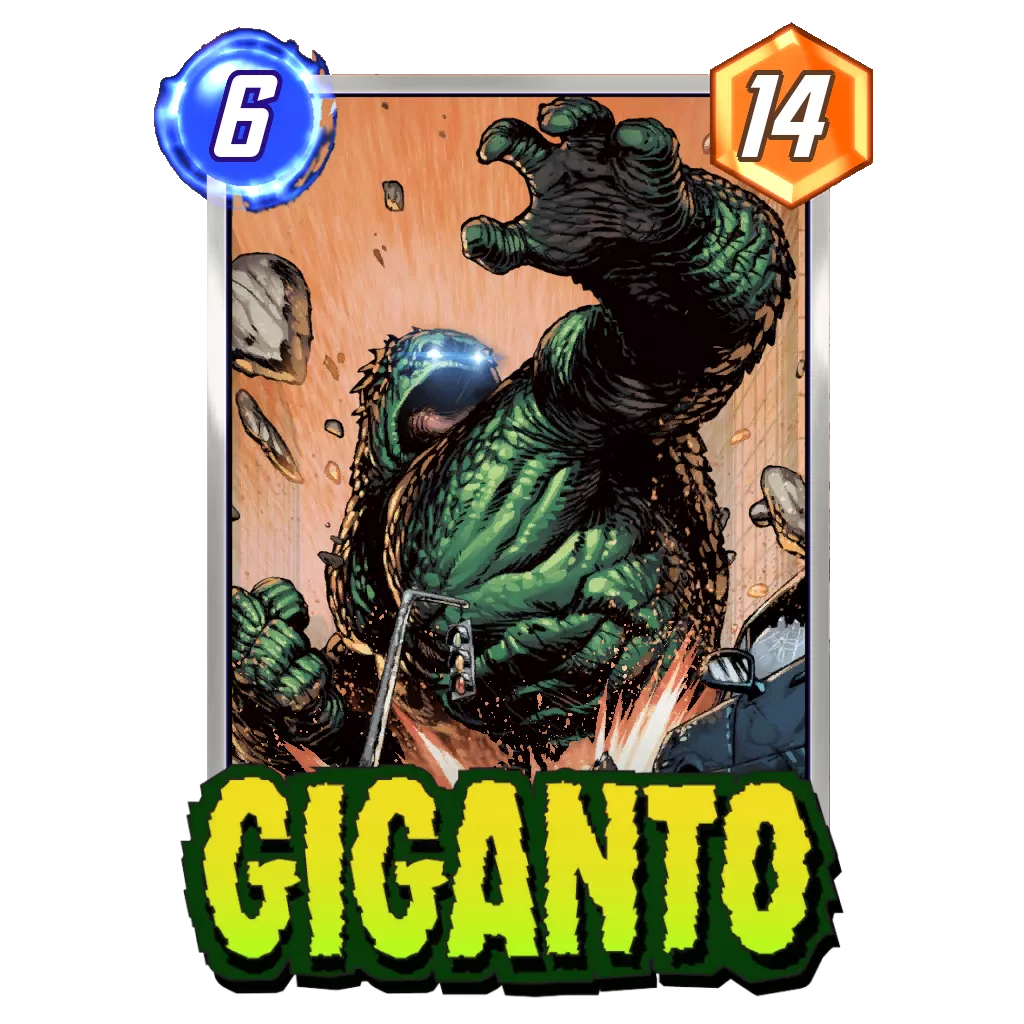
Giganto – Big body, good for Jubilee, dead card when left position is blocked off. Replaceable as well
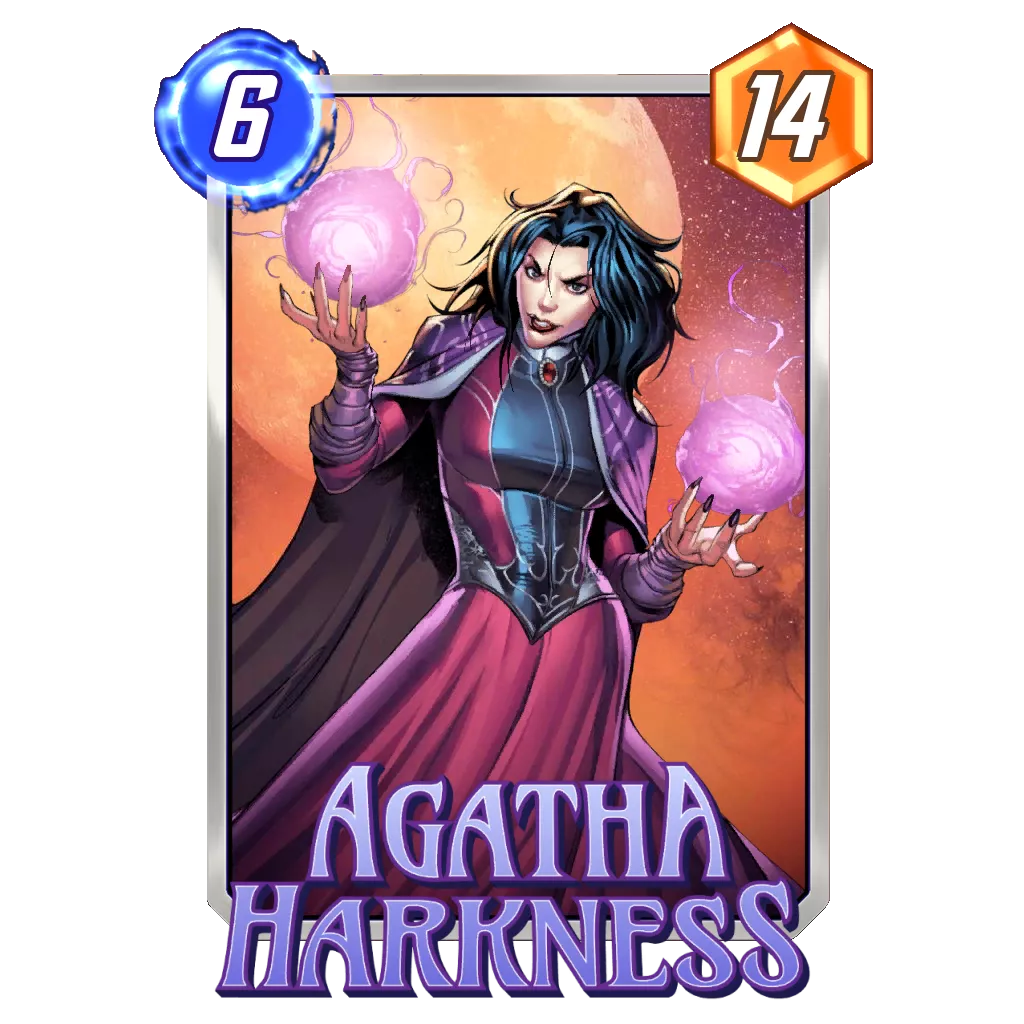
Agatha Harkness – Well, you can bastardize this deck by dropping her and taking bit lower odds for the cost of having complete control. But what’s the fun in that?
Infinaut – Jubilee combopiece. Very rarely gets played on hand, though sometimes locations or bad enemy iceman procs might make that the case. Most of the games dead card in your hand, but it’s alright since most games you end with 5 cards unplayed anyways.
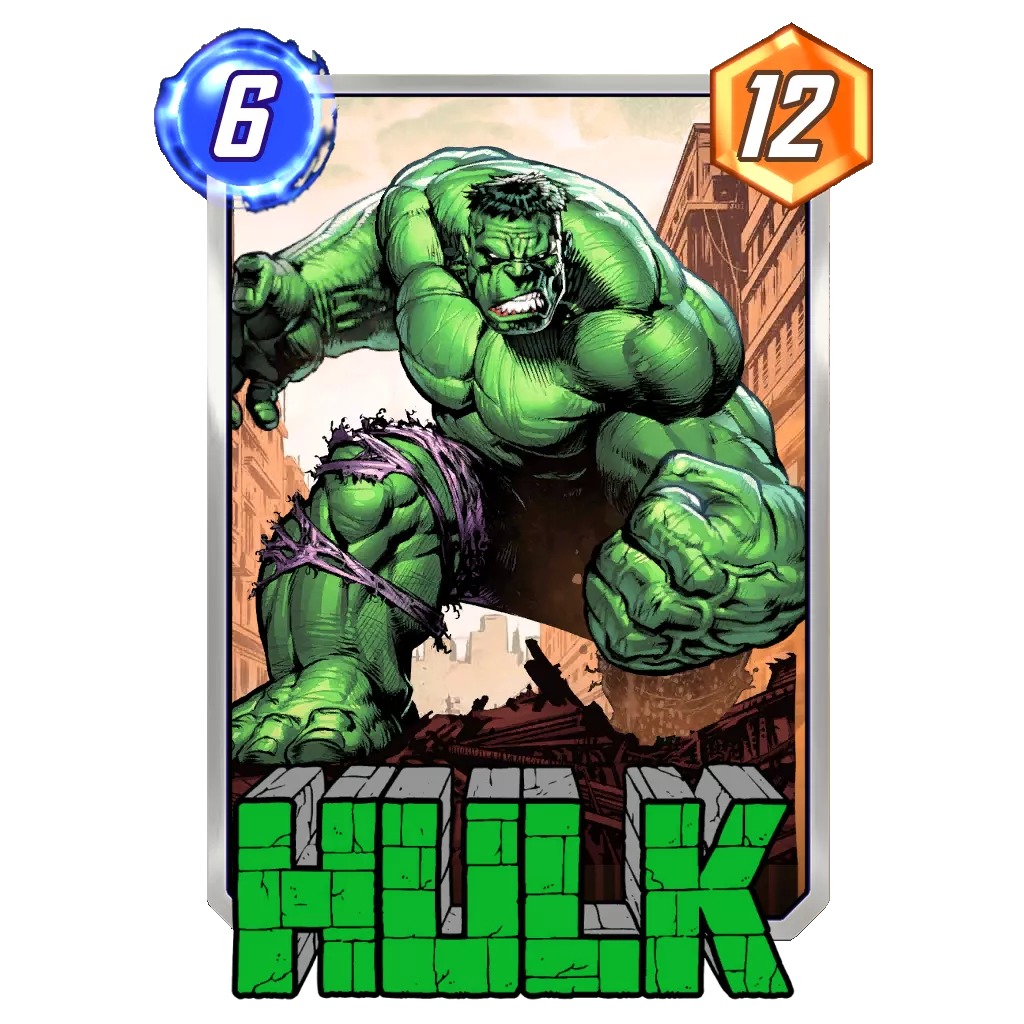
Hulk – Hulk smash! Very basic, strong, very little drawbacks. One of the last cards I’d drop on the deck.
Chavez – Rarely played, does her job by staying out of the way till turn 6 and working as backup option if your hand happens to be full of unplayable bricks
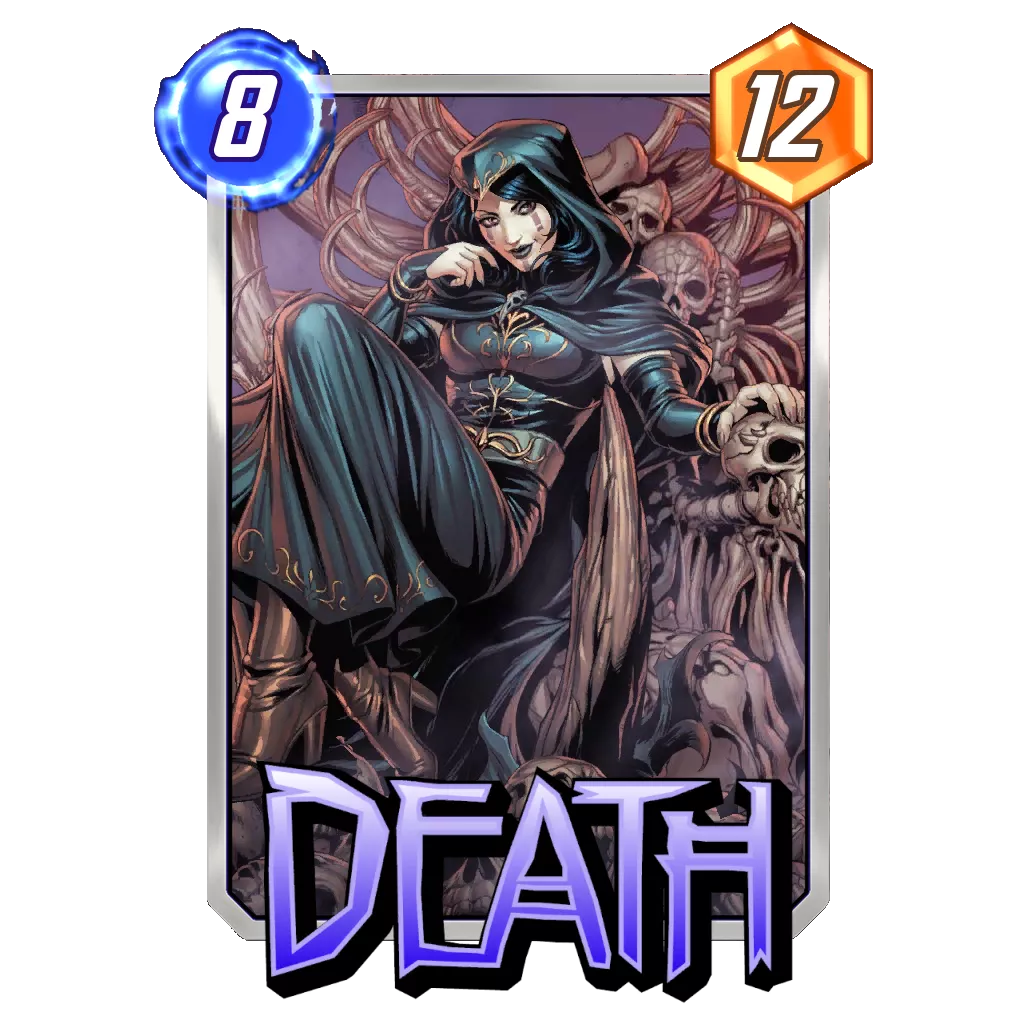
Death – Dead card most of the games, mostly Jubilee target, activates against destroy decks, when Wave reduces the cost to 4 the discount from destroyed cards gets applied on top of that, sometimes bumping her price down to 0.
Alternative card options:
Quicksilver – Mainly good when you lack other good cards for the deck. Thins out the pool of cards just like Domino. Running both is unnecessary as Agatha tends to place them in bad spots or filling up location, and you don’t need both to avoid hand from being overfilled. Also negative synergy with Devil Dinosaur, as you will have 1 less card in the hand at end of the game if you run Quicksilver. The dead turn 1 is mostly much better than having – 1 spot and 2 extra power on board
Sunspot- Most of the games only turn 1 is dead turn and it mostly ends up becoming a clutch card for false hope in games you would have retreated safely from otherwise. Killmonger is ran by lots of decks and Shang Chi and Electra deal with him as well. You always have play on turn 5, so waiting for Infinaut is usually inferior play.
Red Skull- Situationally strong, but the +2 on opponents hurts often. If cerebro decks become popular then this can be great counter to ruin their day.
Abomination – Flat out 9 strength, alright budget option.
Spider Woman – Bit weak on the power if not enemy side is empty good synergy with Odyn.
Captain Marvel – Ran this for a bit, the lack of raw power ended up losing me more games than her swapping spots won them for me. Doesn’t synergize that well with the deck as most of the games you’re only playing for 2 locations anyways
Gamora – Another budget filler with high variation on outcomes.
Klaw – 10 power divided up into 2 locations and being reduced to 4 power if played on right is not all that great, you rarely need the extra power to filled up location anyways. Good for countering professor X decks or if there is ongoing related hot location.
Magneto – Looks good for messing up enemy board and plays, haven’t got him yet, but looking forward to trying him out
Arnim Zola – Optimally good synergies with copying Agatha, Dinosaur, Jubilee or something she pulled out, not so great if he ends up picking Wave or Domino instead.
She-Hulk – Looking forward to trying her out on the deck as well, adds another safeguard to games where Wave or Jubilee doesn’t get pulled so you can play her on turn 4, should also make turn 5 Wave plays bearable as it should allow dropping 6 drop for 4 cost and She hulk for 2 on turn 6.
Doctor Doom – Lots of power but spread out, awesome for hot locations that prevent playing cards there directly.
Got a cool deck you want to share with us and have it featured on Marvel Snap Zone? Share your decks using our deck builder and discuss them in our community Discord server! You can also start tracking your detailed performance using our new Marvel Snap Tracker so be sure to download that and check it out!


