
Table of Contents
This week’s Marvel Snap Featured Location is Rickety Bridge: After each turn, if there is more than one card here, destroy them. This is a brand new location for Marvel Snap’s Savage Land Season, now added to the Location pool. For the next 48 hours, it will show up 40% more frequently in games during this feature period. Let’s find out what the best strategies, cards, and decks are!

What is Rickety Bridge?

Next up on our tour of the Savage Land, is a Rickety Bridge. Please remain single file as we pass through here!
Strategy


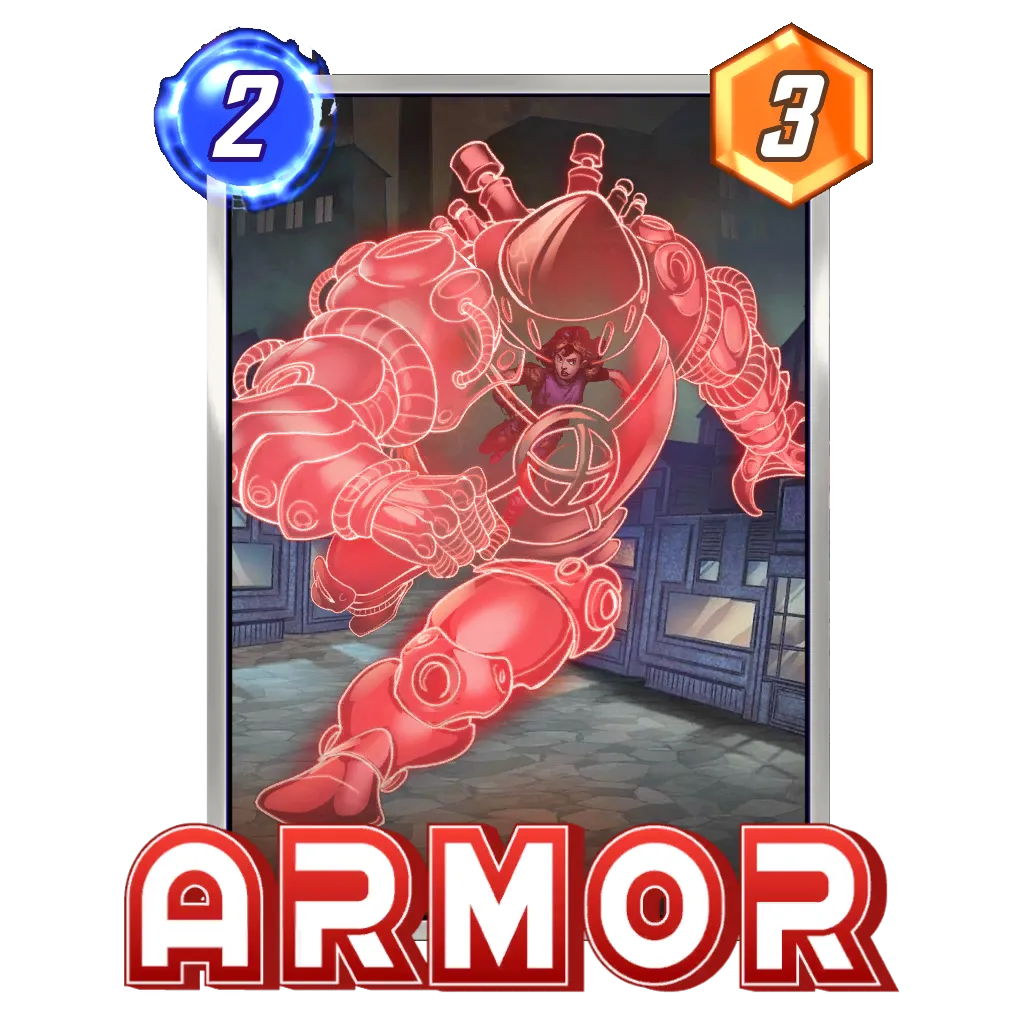


If this works as described, only one card can be on this location at the end of any turn. This leaves one obvious card to include in every deck – Armor. We could almost end the article here this week, which may not be a bad thing.
There is one other synergy: Any effects which want us to destroy cards or where we abuse the card to destroy cards we don’t want on the board.


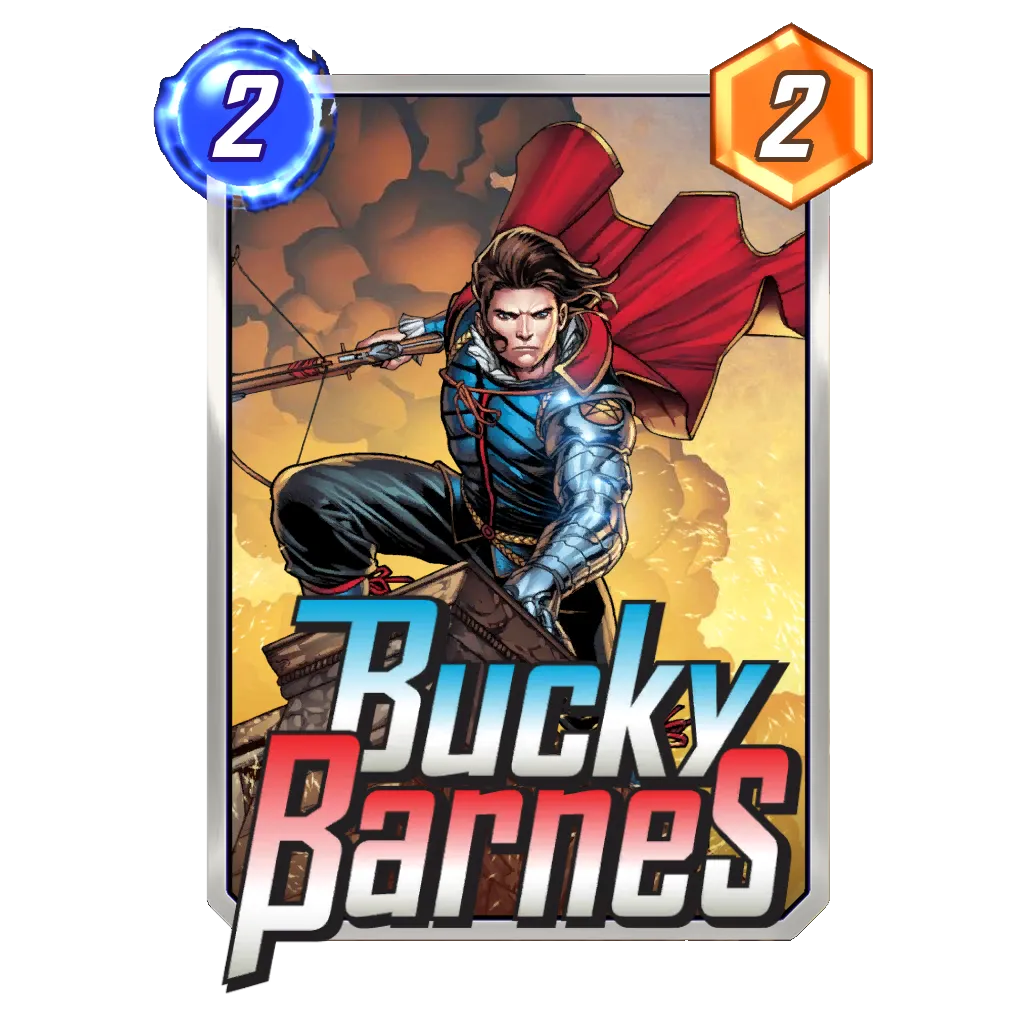


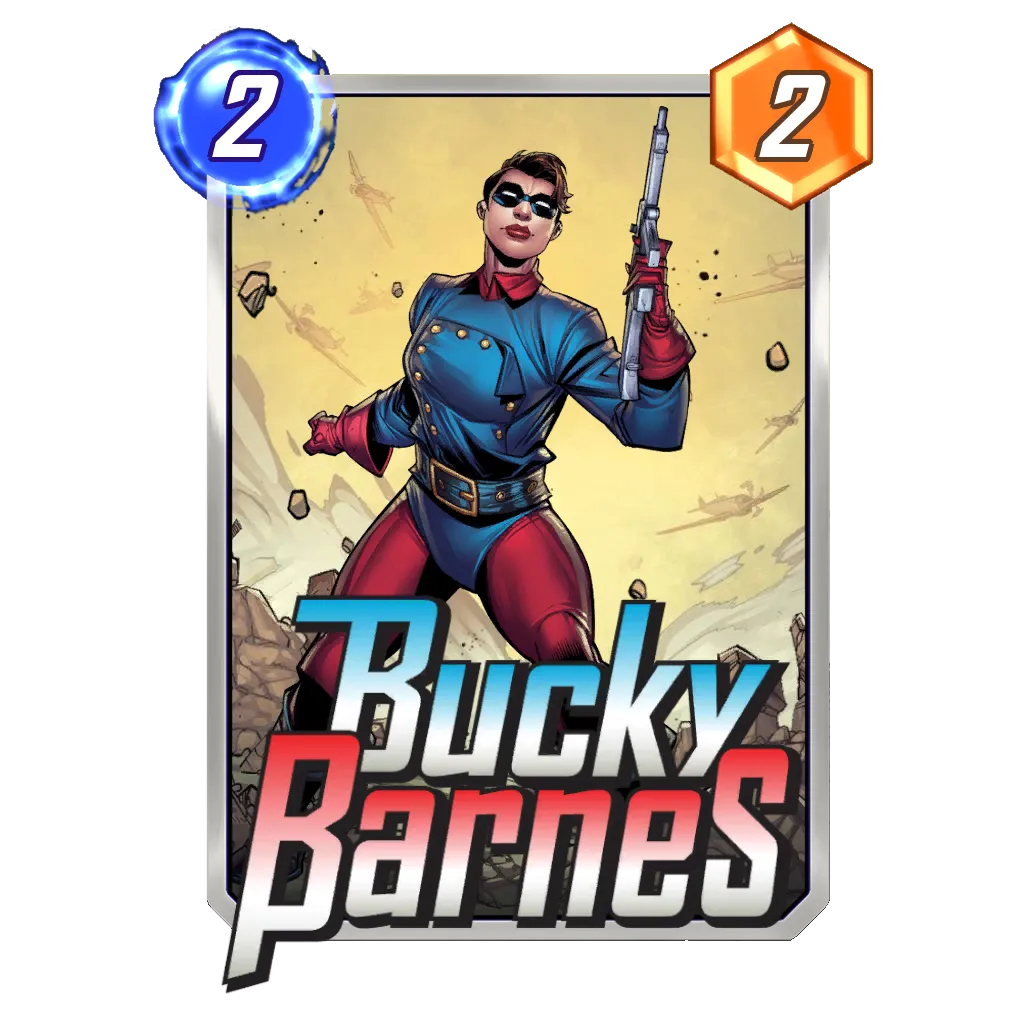
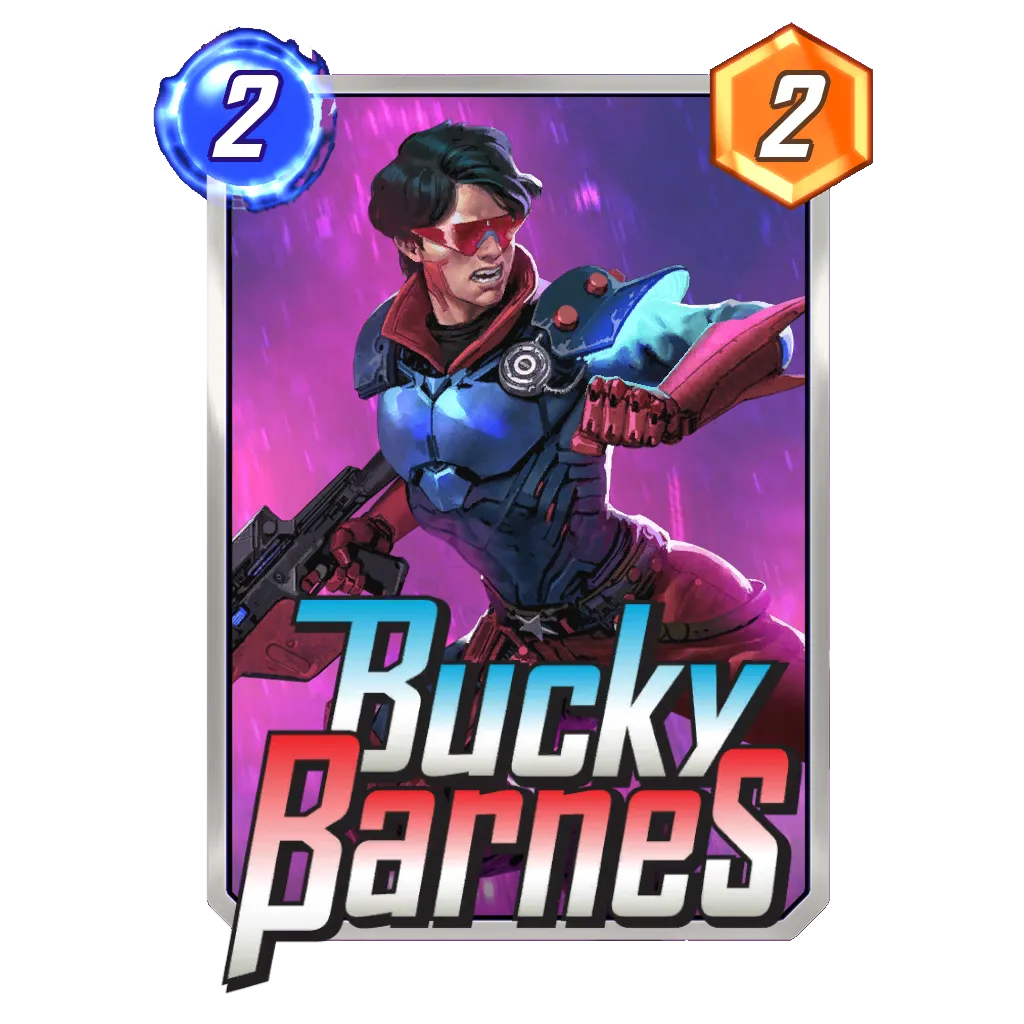


There is some synergy with Bucky Barnes and Nova, this will likely be more awkward as the effect remains on the board and your left over Winter Soldier can be destroyed with the same effect. So enter Electro.


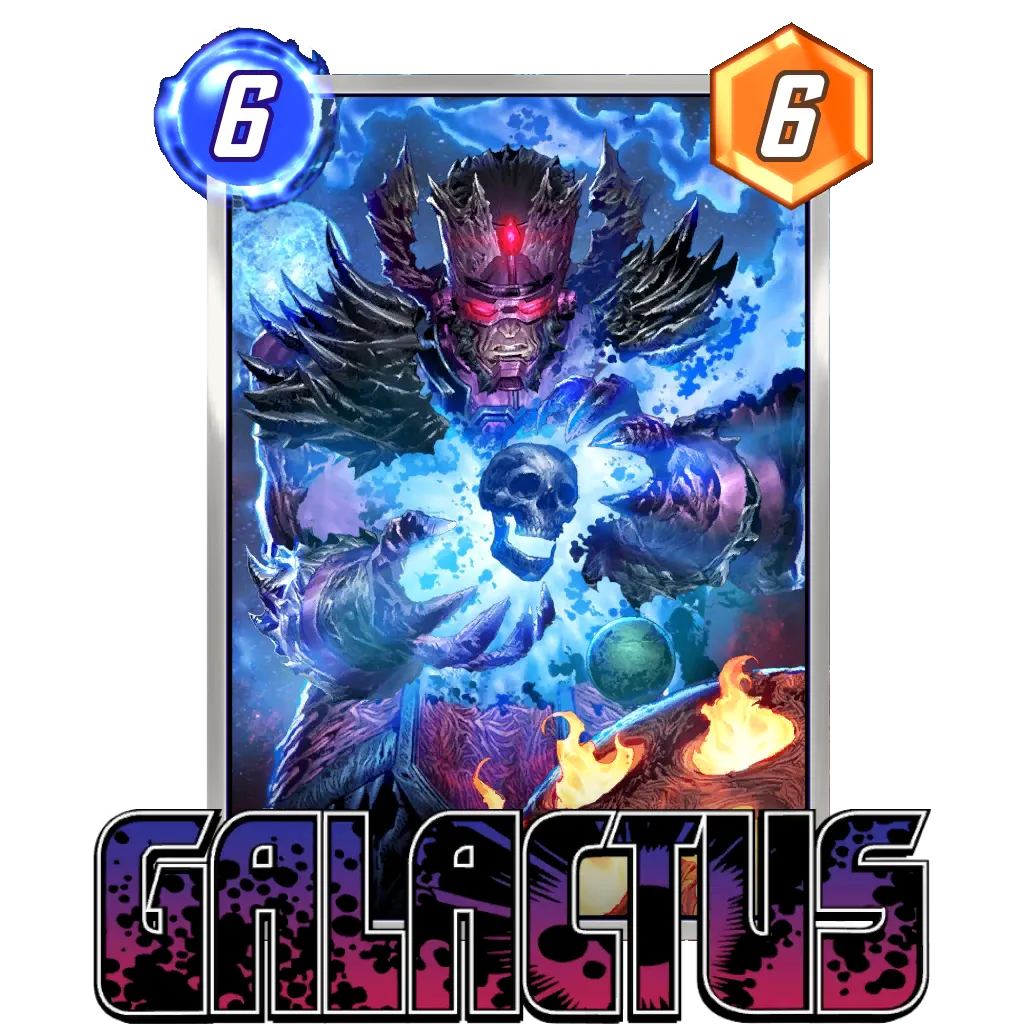


Electro can be played on 3 into Rickety Bridge with any other card on board and both get destroyed. Also think about this one – Galactus on Rickety Bridge followed by Bucky Barnes on Turn 6.
So we return to recommendation one for this location, play Armor. Although the potential for back and forth mind games with this location exist when it is not featured, during the Featured Location period we should probably just want to turn this one off as much as we can.


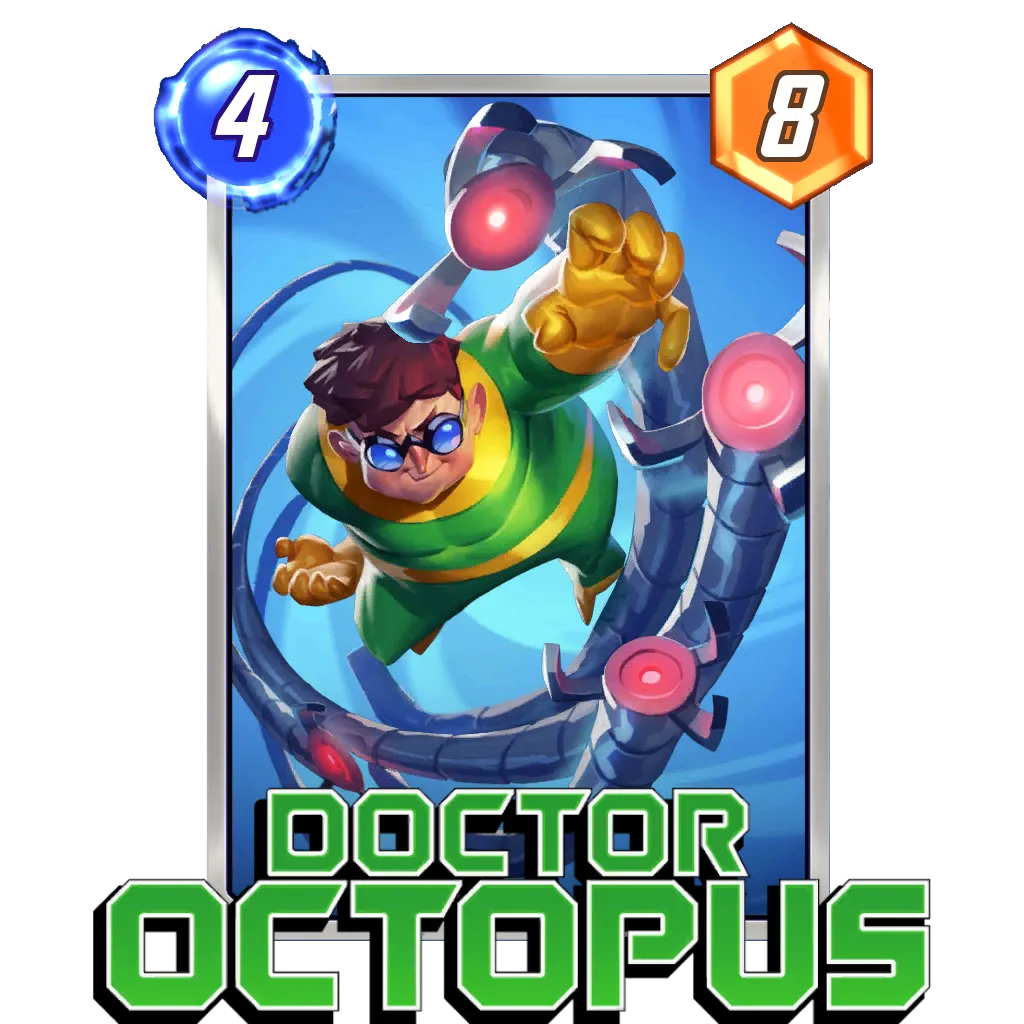


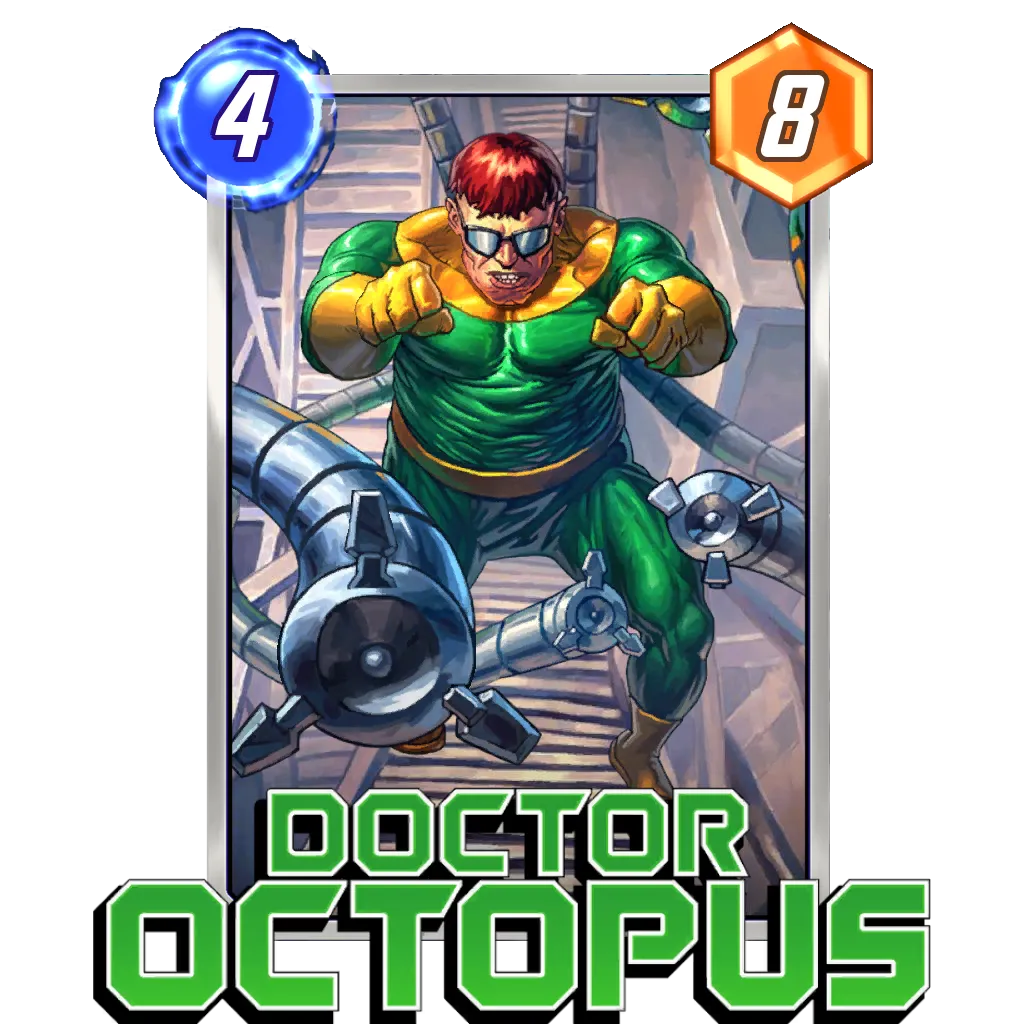


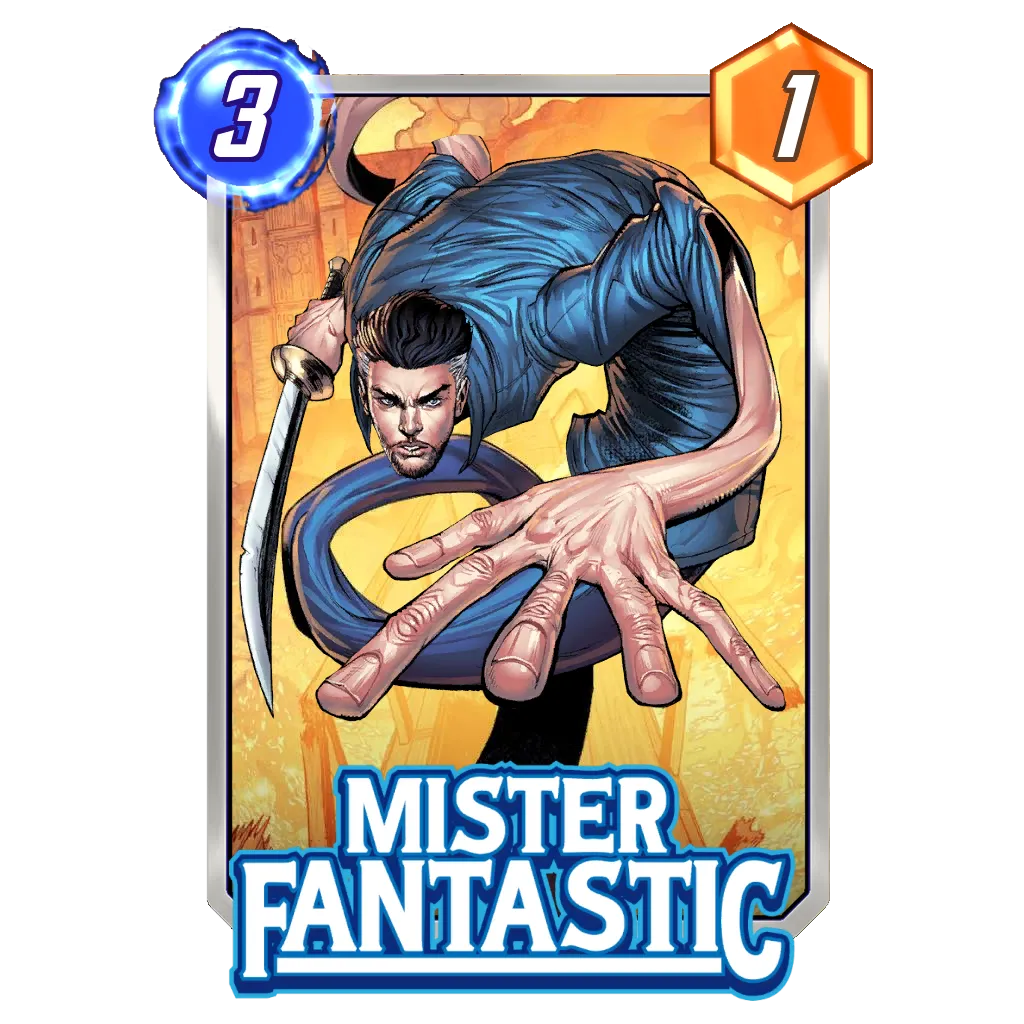


If we do want to try abuse the location, Doctor Octopus is potentially the card. He will pull your opponent’s cards and they will all end up destroyed. We could pair this with cards such as Mister Fantastic and Klaw for pushing power safely into the lane. In the earlier Series, Professor X on 5 may just be enough by himself also to win the lane.
Cards and Deck Ideas
The best versions of these lists are starting to be built with Series 4 and 5 cards. Where they are not the required for the strategy I will include a note on what cards to swap in.
Daredevil + Leader


There are several 5 drops which can be strong into Rickety Bridge. Doctor Octopus, Professor X and Aero could all be devastating on Rickety Bridge in the right circumstances.
- Doctor Octopus – play on 5 into Bridge and destroy all the cards.
- Professor X – Play on 5 into Bridge and win the lane if nothing is played there
- Aero – Pull all your opponent’s cards to Rickety Bridge and destroy all the cards.
Then we can run Daredevil on 2 so we make sure our massive Turn 5 play goes as expected. The rest of the deck just pushes efficient power in preparation for Leader. Mister Fantastic is push a little more power into another lane but may be better as Cosmo.
 SafetyBlade


Spectrum Destroyer


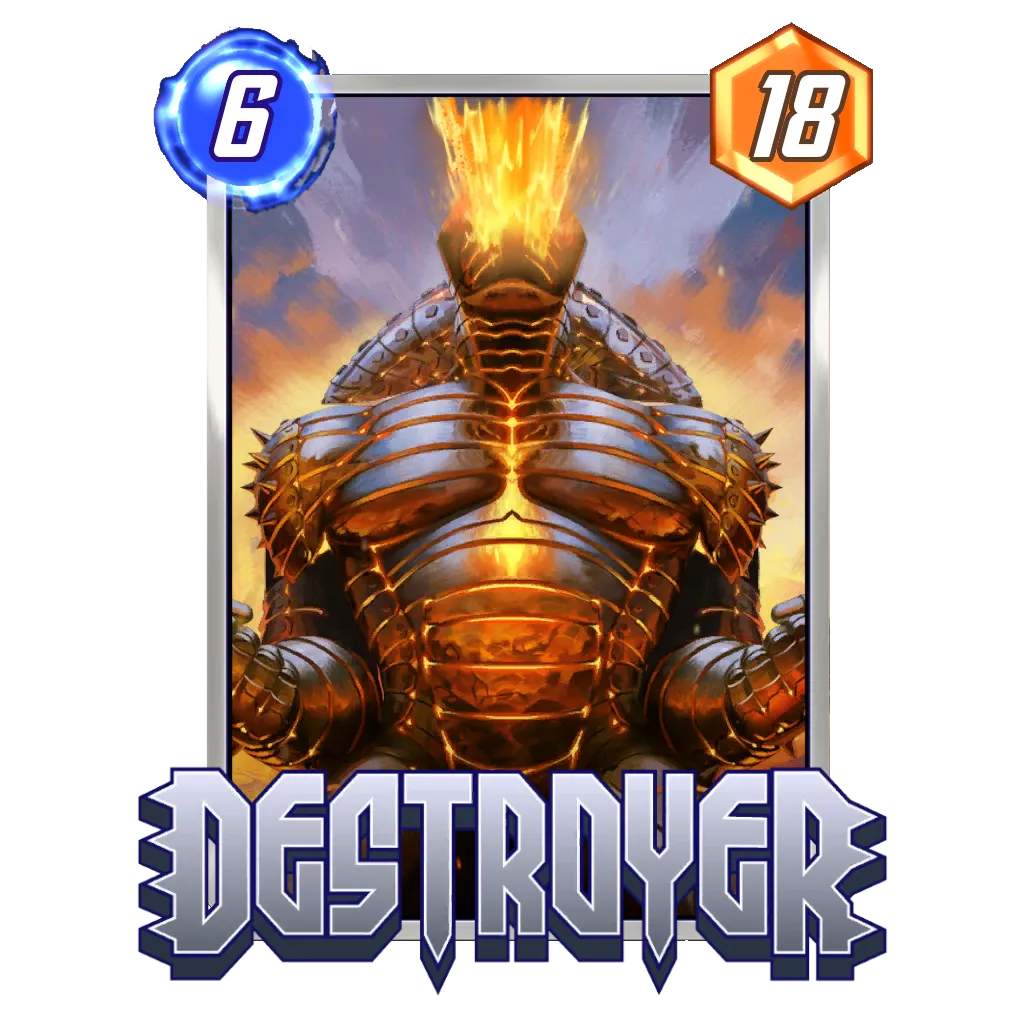


One package which has multiple cards which can stick power in Rickety Bridge is Ongoing. So the most accessible deck we can feature this week is Spectrum Destroyer. It can stick power onto the location and push efficient power across other lanes. The Ongoing pieces can be swapped out with more expensive and less expensive cards but this is a shell to consider for the location.
SafetyBlade


Cerebro 3


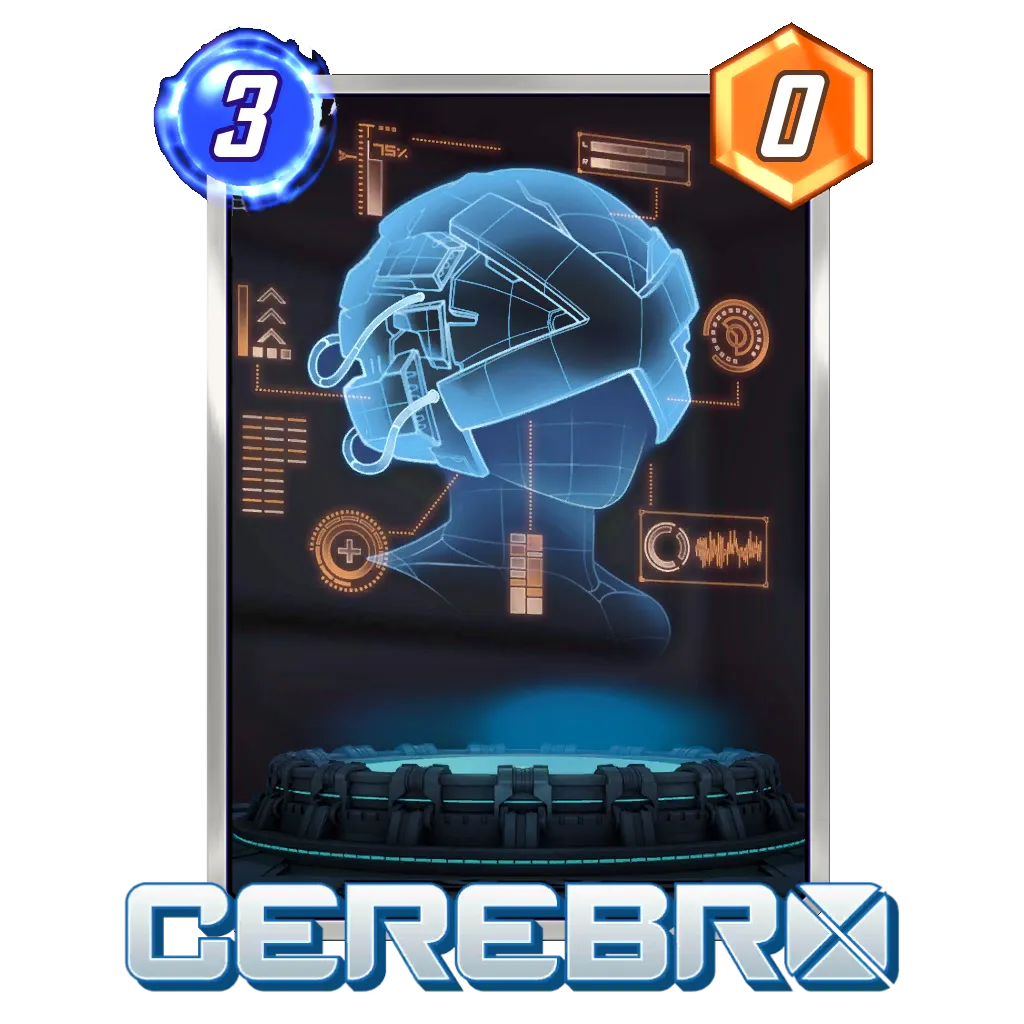
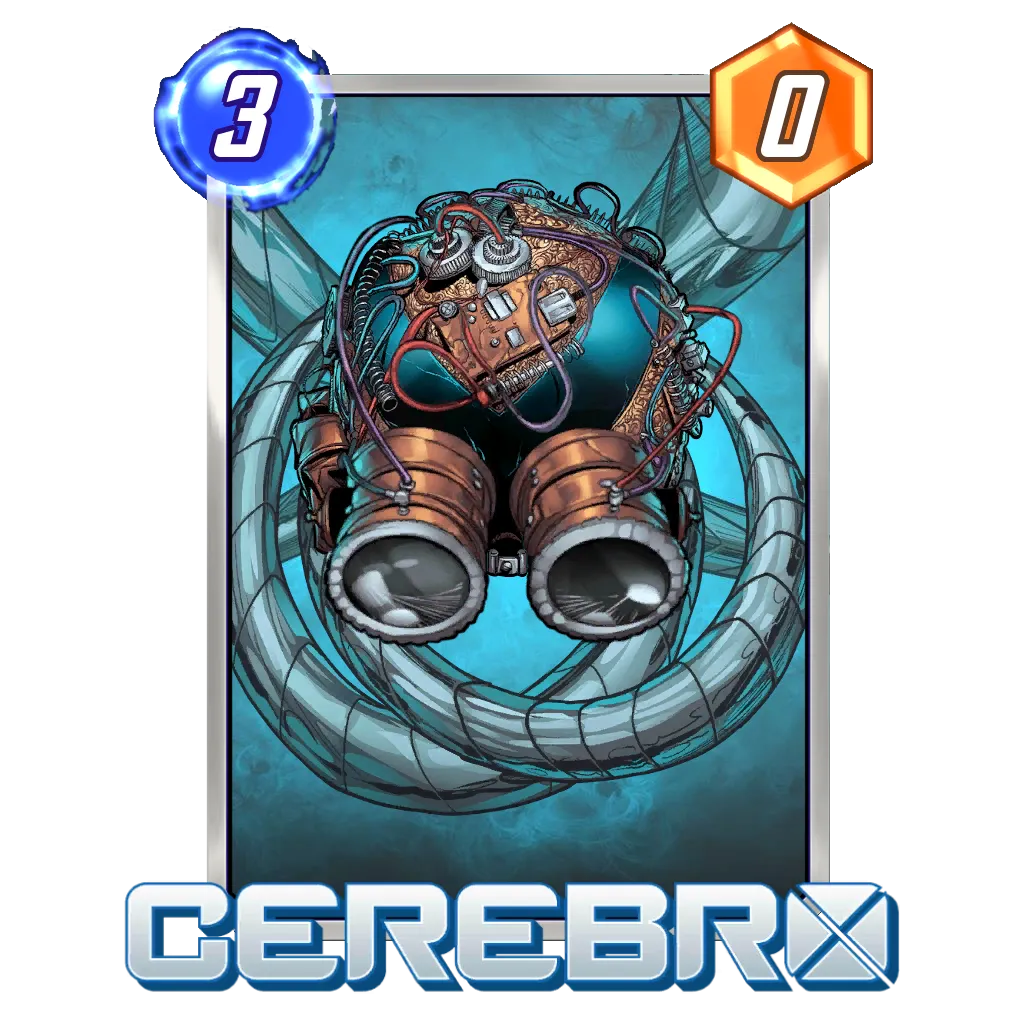


As the slightly off-centre recommendation to try this week, Cerebro 3. Considering Armor is significantly better when we can choose to turn off the effect when its beneficial for us, Cerebro 3 could be a shell which supports Armor and can control the board somewhat.
Additionally, this version running the small discard package can run Wolverine, which can be played on the location and destroyed without losing power if your opponent does play into the location early. Not expecting this one to take over the game during the location but it may be stronger.
Valkyrie should be replaced with any other 3 power card you like for this one.
SafetyBlade


Galactus
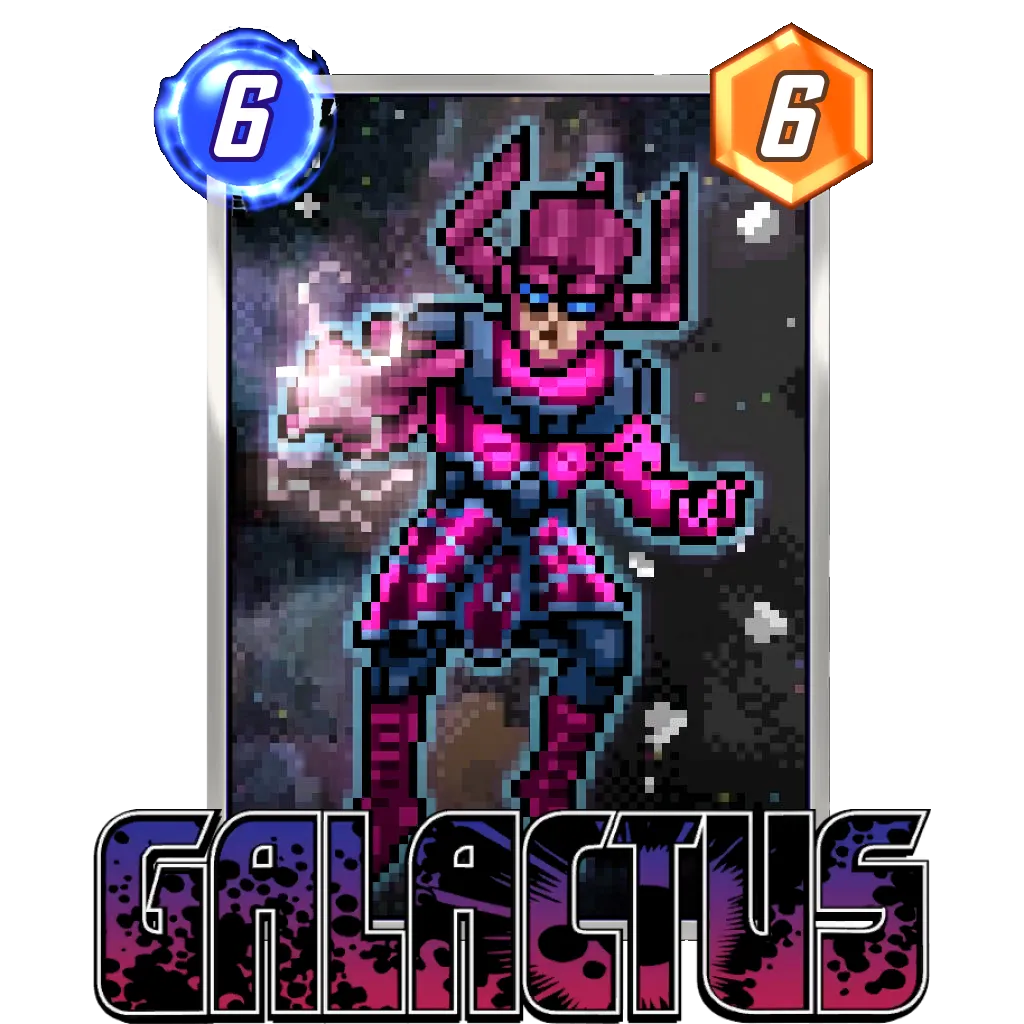


Feels like every week we are featuring a Galactus deck and Rickety Bridge is no different. Comment on why this is: When we can be more confident on a specific location and how it can benefit the deck we can be more confident running Galactus. The plan this time is to play a card onto Rickety Bridge, followed by Electro or Wave so both cards are destroyed, leaving your board empty or under control for Galactus to be played. Doctor Octopus as a set up tool and way to abuse Rickety Bridge.
Enchantress is the interesting card added here. The goal with her is to play her on an Armor lane if we are seeing people trying to turn off the Rickety Bridge with Armor. This may be too niche so consider Shang Chi instead. Knull could also be big again this week but not featured in the initial list. If you have Knull drop Bucky Barnes and add him in.
SafetyBlade


One Lane Zabu


A lot of good Zabu decks will still be good during the location. In the interest of presenting new ideas, this is what I will be trying to force during the location. Idea is to win Rickety Bridge without playing on the lane if possible, using Armor if we need too. Zabu allows for Omega Red, Rescue or Namor (yes I am aware this may need to be cut but one day he will work) to be played easier and then we can follow up with Ironman or Klaw.
SafetyBlade


What You Should Play
SafetyBlade
The Leader deck is the main recommendation this week. It’s a proven shell and can leverage the location well.
Series 1
SafetyBlade

The Series 1 Ongoing package can play well into the location. Colossus, Armor and Professor X can stick power. Klaw can send power into the lane and Spectrum sends a buff across.
Series 2
SafetyBlade
This leads directly into the Series 2 version which does the really big change of swapping Namor for Warpath! Same plan here, locking lanes with the Ongoing cards which can push power into Bridge and finishing with Spectrum.
Final Turn
Remember at the time of writing, these starter decks are untested. These are theorycraft ideas to get you going and looking forward to seeing what everyone comes up with for Rickety Bridge. Make sure to leave a comment below, share your ideas on our Deck Builder and discuss with the community on our Discord!
Good Luck, Have Fun, and Stay Safe!


More Content