Table of Contents
Our daily Deck Highlight aims to feature decks from our vast deck database (as we work to implement more filtering features, stats, and data) that our users have put extra effort into sharing, with detailed guides and videos.
Today we feature a detailed guide for the Electro Ramp deck by Sporium used to reach Infinite rank this season.
Hi! I’m Sporium, and I’ve been playing Marvel Snap since its global release. This deck brought me to Infinite rank for the first time this season, “The Power Cosmic”, so I’ve decided to share this deck and include a guide on how to play it in hopes of some of you readers finding success with it as well! I won’t claim to be a pro card gamer or anything, but this deck is the culmination of my experience with Snap and CTGs in general thus far. That’s enough prologue though, so let’s talk about the deck. You can’t have a deck without…
THE CARDS
Every card in this deck serves 1 of 2 different purposes: Ramp and Win Condition. The primary aim of the deck is to play out ramp on turn 3, then overwhelm the opponent through enormous plays that cascades into a waterfall of cubes. Let’s start it off with the lower end first, which is…
RAMP
Ramp typically refers to cards that increase your resource total, thus allowing for larger units to arrive sooner than they typically would. There are 3 ramp cards in the deck (and 1 ramp support card), and they are essential to the strategy. Each one allows for a slight variations of play patterns (from turn 4-6) that are essential to the deck’s success, individually having their strengths and weaknesses.
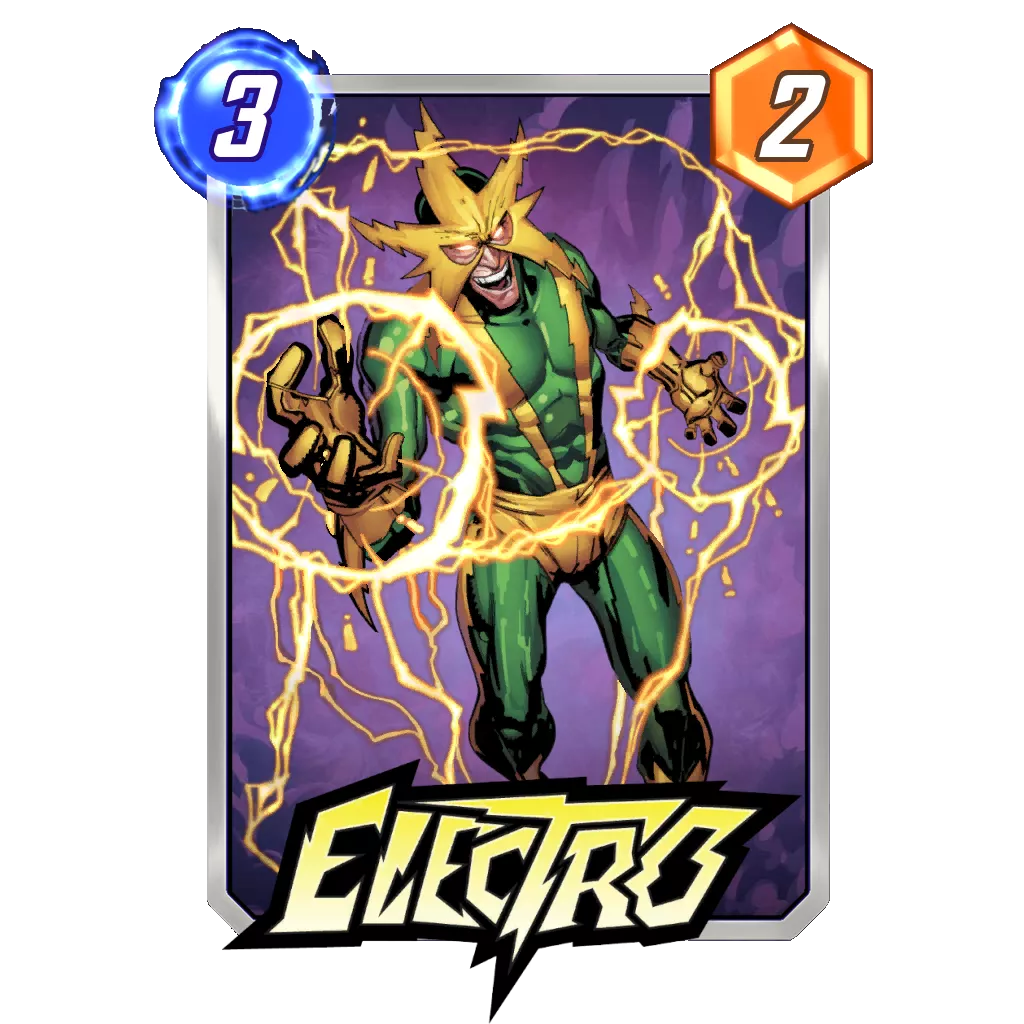
- Electro – Perhaps the card most associated with the archetype; Electro is an essential pillar of ramp. Increasing your maximum energy by 1 allows your play pattern to be 5 cost – 6 cost – 6 cost. His downside of playing only 1 card per turn is easily mitigated by the quantity of big drops in the deck. You can get rid of his Ongoing ability through certain locations, which isn’t very necessary (but can lead to a large combo if your cards are drawn right- more on that later!)
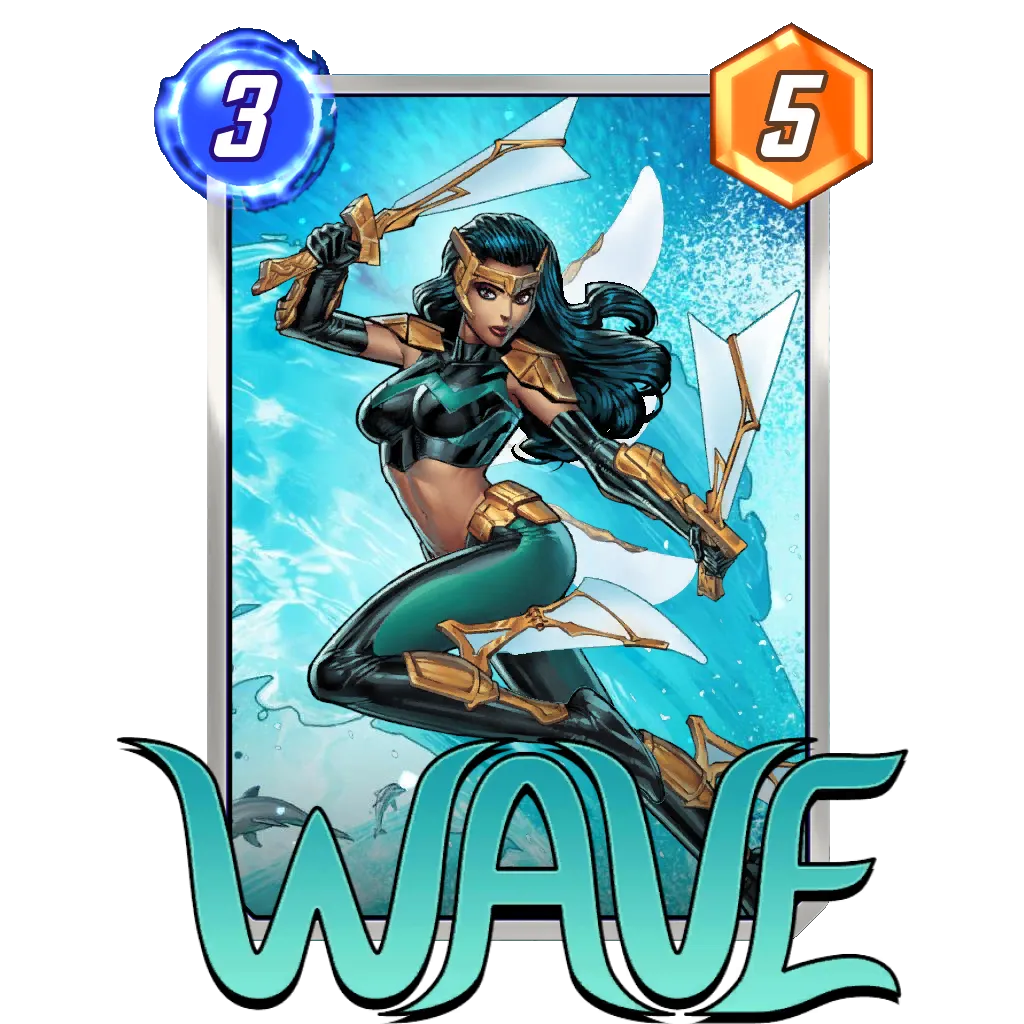
- Wave – Usually associated with the infamous Baero combo, Wave fits rather nicely into the game plan of this deck. Her play pattern is 6 – 5 – 6, which is as strong as Electro’s, but comes with a more formidable downside: your opponent can also play a large drop early, making a big lead harder to maintain depending on the opponent’s hand. There’s a way to turn this into an advantage thanks to a certain green alien, but unless you have him readily available, Wave should be used with the enemy in mind.
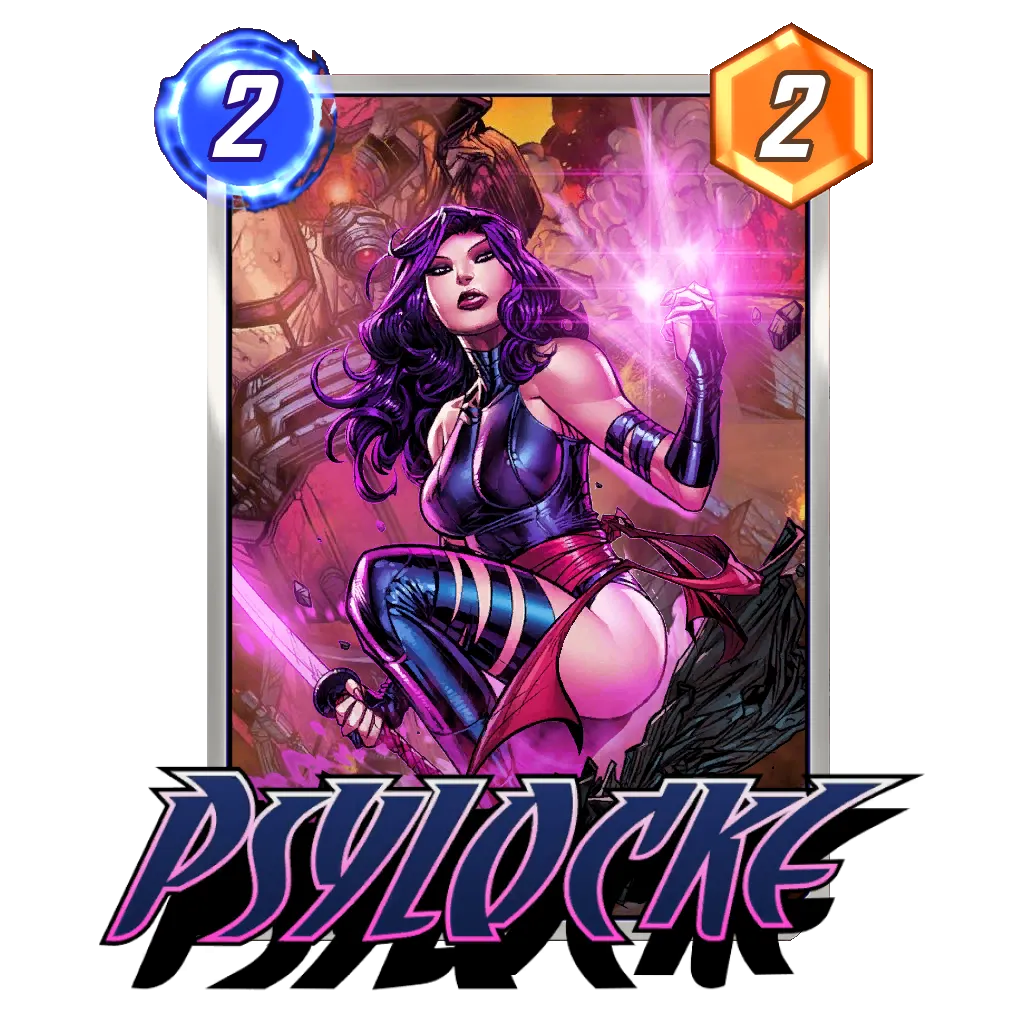
- Psylocke – Definitely the most overlooked card for this type of strategy, Psylocke lends a helping hand by being a 3rd option if you can’t use Electro or Wave, due to either not drawing them or not wanting to play them into certain locations or strategies. Her play pattern is slightly smaller, being 5 – 5 – 6, but don’t be fooled: you shouldn’t underestimate the power of an additional 5 drop, especially the ones used here.
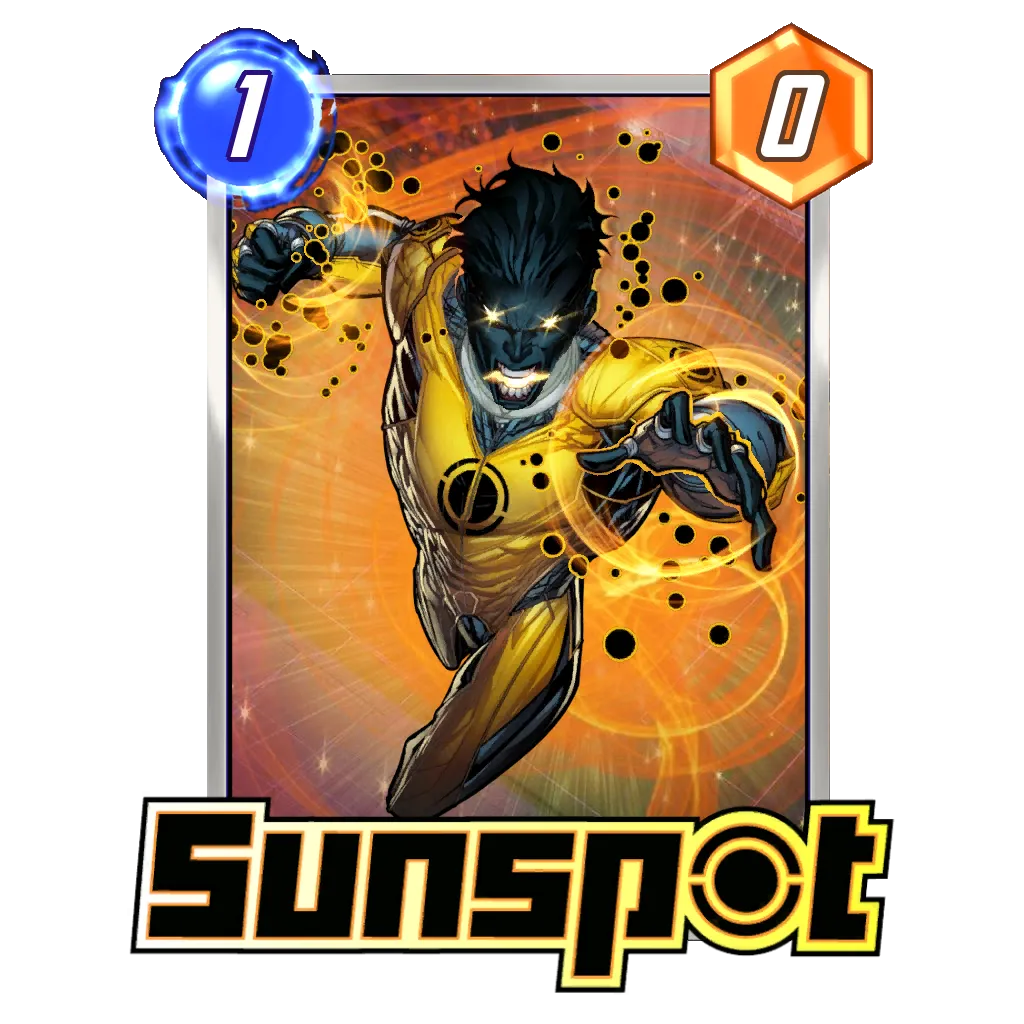
- Sunspot – While he doesn’t increase your resource total, Sunspot pairs with the other ramp cards like a fine wine with fancy cheese on either turn 1 or 2. Sunny assists the strategy by making use of those pre-turn 3 energies and puts them towards some free stats. Also, he can sometimes make up for the lack of a drawn ramp by ramping up in stats while waiting for your bombs to drop late game, but this is unreliable due to the vulnerability of 1 drops. Thanks, Killmonger. Nonetheless, a good bonus to your final power totals.
These cards are the reason why the deck can exist, but that doesn’t mean you should discount the importance of the…
WIN CONDITIONS
These cards are how you net your dubs. Big effects and/or stats that complement each other shockingly well. There are 4 five drops and 4 six drops, most of which can turn the game on its head on their own. You get these power plays 3 times a game (outside interference excluded), and when used correctly, can flip almost any early lead into an easy victory.
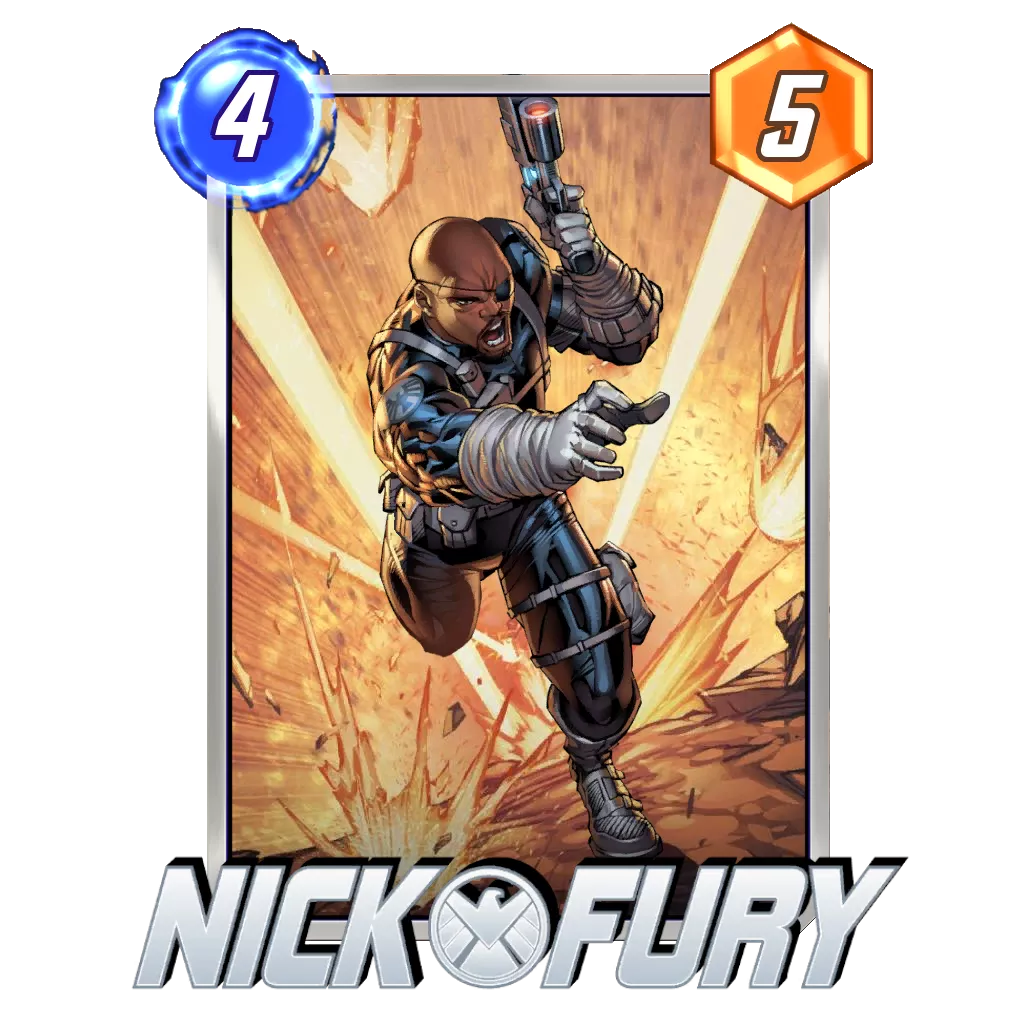
- Nick Fury – I figured I’d get the weirdest inclusion out of the way first. Nick isn’t technically a “Win Condition”, but he can most certainly steal a lot of games. His trifecta of 6 drops usually are fodder for the big bad Devil Dinosaur, but the variance of the big pool is beneficial a lot more often than you might initially think. Depending on the locations or the opposing strategy, it’s sometimes preferrable to take the occasional Ultron or Galactus over your typical cards. Basically, don’t underestimate the old man in a profession where people die young.
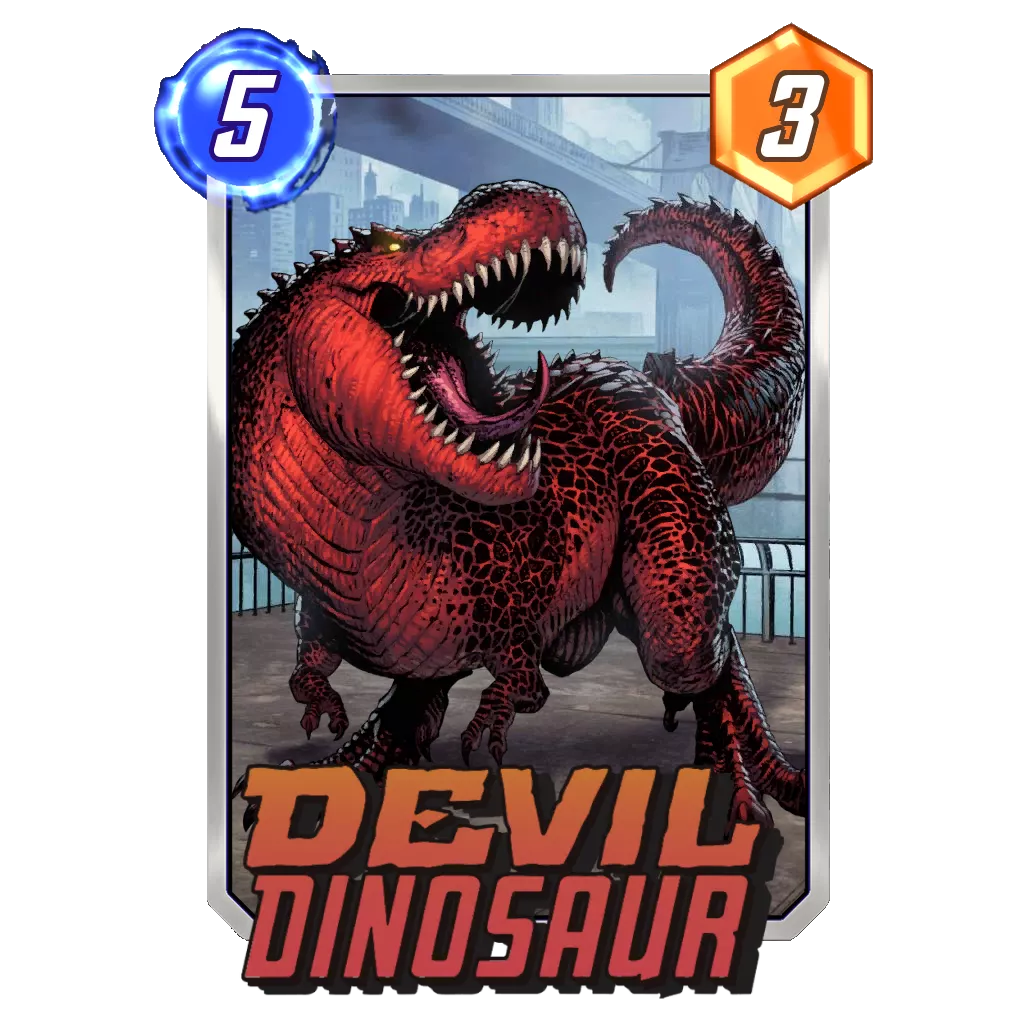
- Devil Dinosaur – You know him, you loved him(her?) in pool 2 with Moon Girl, and he’s(she’s??) included in this deck too! Moon Girl in this deck is replaced with Nick Fury as Devil Dino’s best friend, which works pretty nicely as a surprise +6 Dino power. You aren’t playing your entire hand as ramp regardless, so even without Nick, Devil Dino’s usually sitting at a good 11-13 total power. The best aspect about the card in this deck is undoubtedly its ability to bypass Cosmo, who is usually a tough cookie to crack when it comes to the rest of the deck’s wincons.
- Aero – This card feels like cheating a lot of the time, sometimes even surpassing the BS levels of Leader. Not complaining though, she was my 4th pool 3 card and I am quite happy about it, thank you. Anyhow, controlling your opponent’s plays is always going to be strong, especially when it’s attached to an 8 power body. Play her into the lane you’re giving up to watch your opponent’s soul fracture.
- Leech – Leech. Next card- JK, lol. I’ve been running him in the decks that led up to this one, and he’s always been strong in my opinion. Playing Leech early is much more brutal, disabling cards from turn 4 on rather than turn 5. Though, it should be mentioned that you NEED to anticipate what drawbacks Leech can have if you aren’t paying attention to what your opponent is probably running. Don’t play him into Zero or Patriot decks and you’ll usually be well enough off.
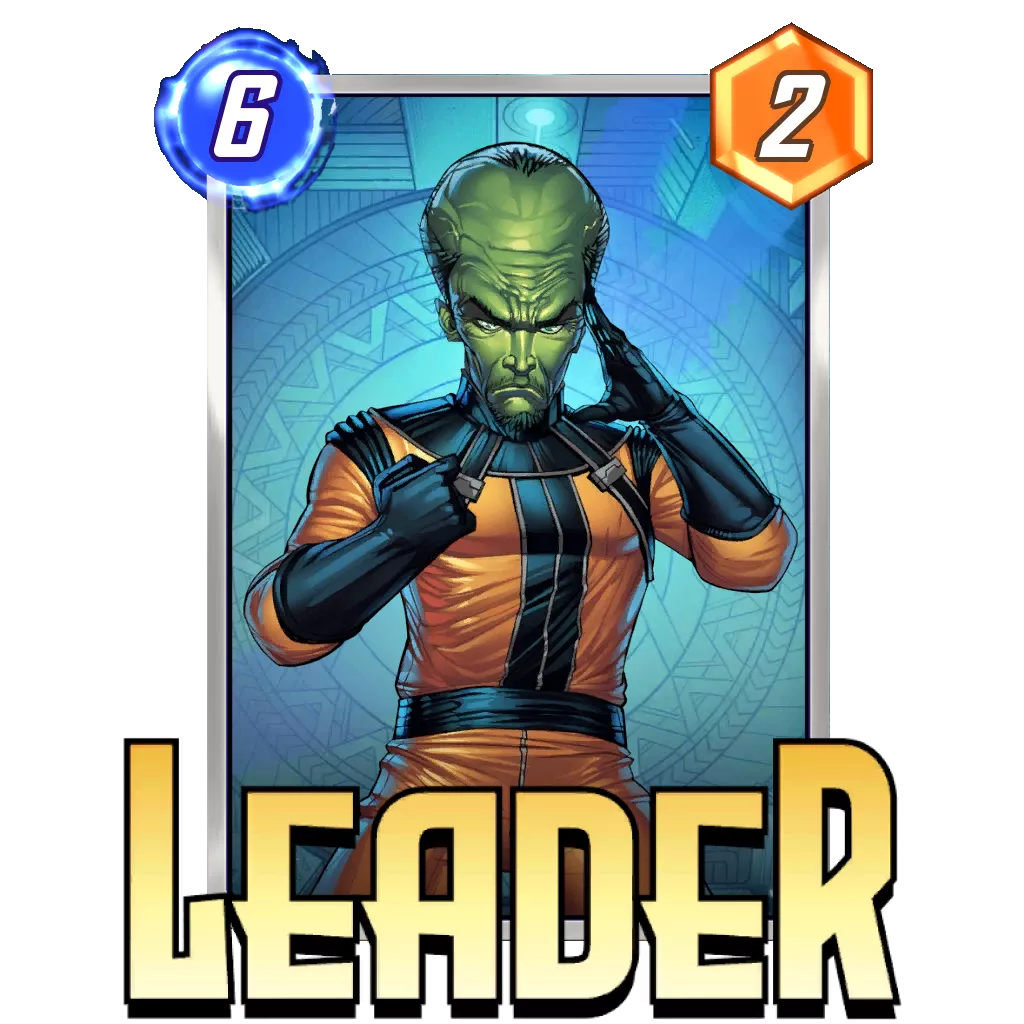
- Leader – You know him. You hate him. It’s the big brain play that feels like someone unplugged your game controller, it’s Leader. Because Leader is so popular, turn 6 is usually traversed carefully while regarding his existence. Yet, you don’t have to play him turn 6. Early Leader is a lot more unexpected and typically just as infuriating as a late game Leader. To make the most out of him, play him in spots where either he gives you a power advantage, matches/is less than the number of cards your opponents has at the location, or both, if possible.
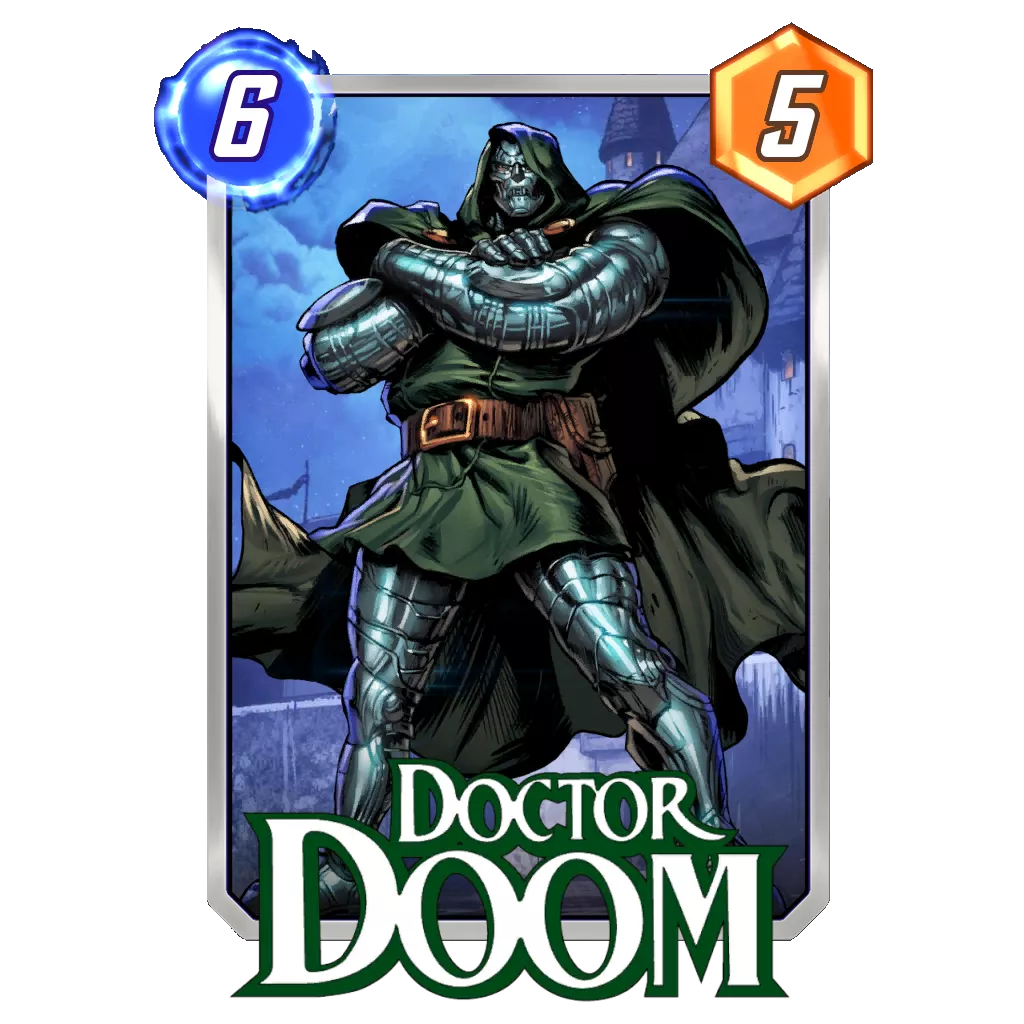
- Dr. Doom – A quintessential card for deck filling, Doom has the unique ability of threatening every single lane at the same time. Because you’re playing so few cards, Doom’s exceedingly helpful when it comes to securing victories in multiple locations at once. He’s also your only way for reaching into difficult to breach locations. Overall, a super solid card that works wonders. Just make sure you mind your card distribution if you plan to play him to maximize his value.
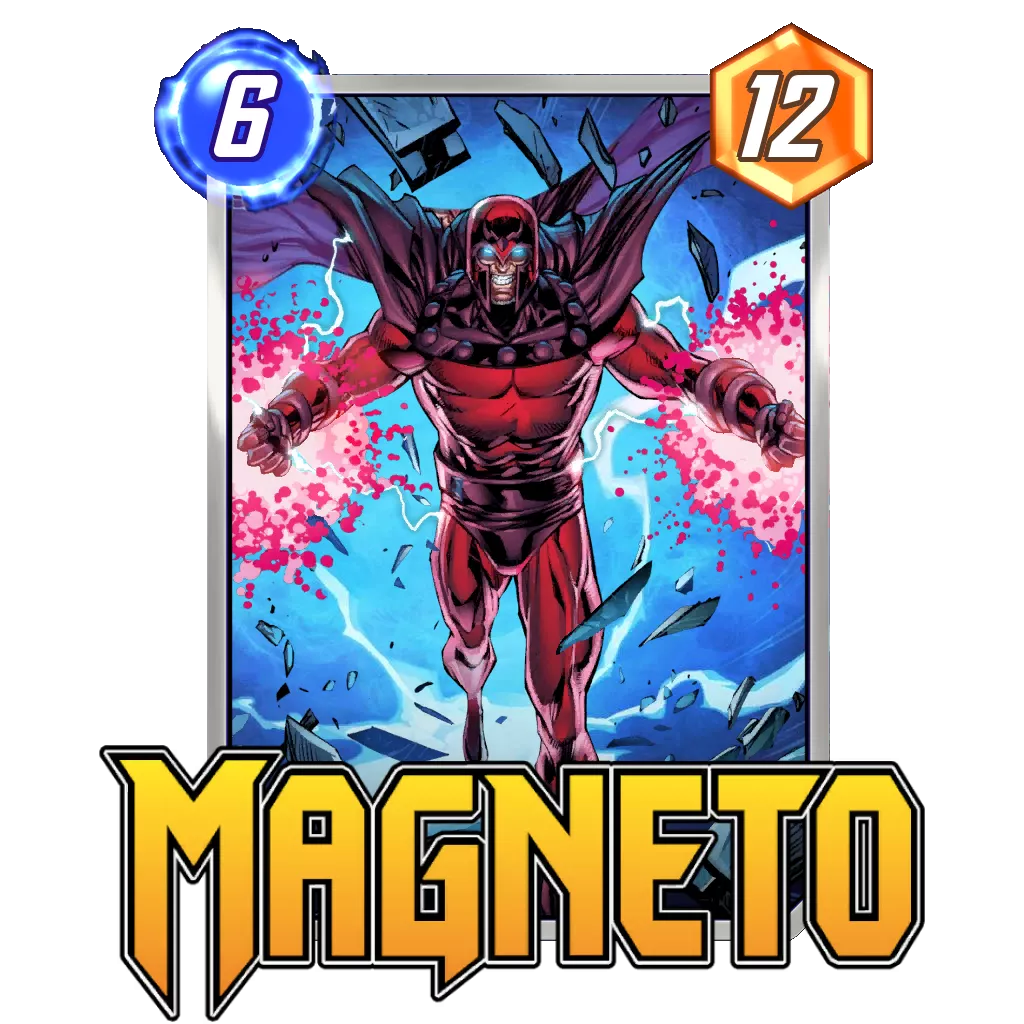
- Magneto – Hulk 2. The largest base stat line out of all the cards in the deck, and throws that weight around well when used correctly. His best case scenarios are using him to fill up an opposing location as to lock their plays out and negating opposing powerhouses. Basically, if you see 3s and 4s on the field and a half full lane, help your opponent out by filling it up for them. :]
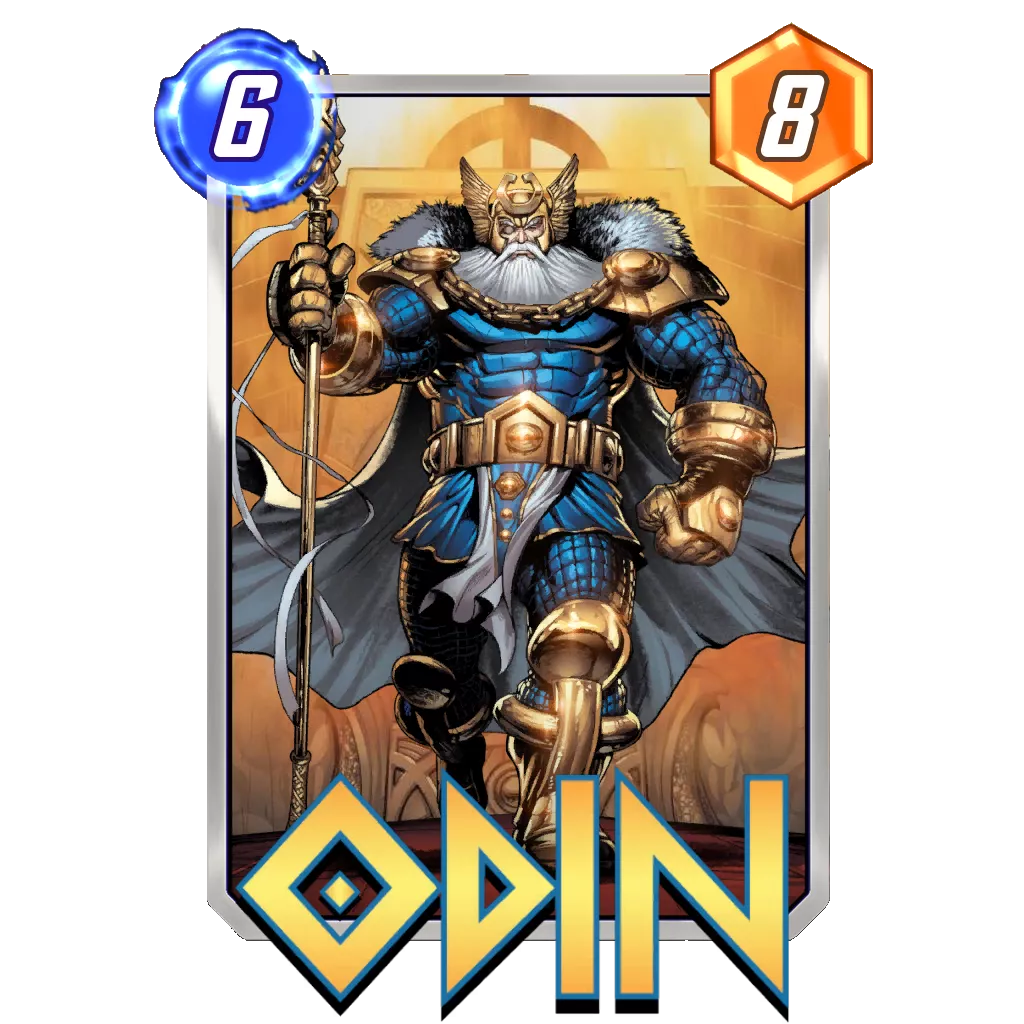
- Odin – Now, pay attention now, because this is the largest curveball in the entire deck. You may have noticed that almost every single other win condition has an immense On Reveal ability that turns the tables. Now think about what would happen if you did those again. That’s Odin. Doubling down on the card(s) that most effectively counter your opponent’s strategy is the role that the all-father takes up in this deck. Pretty much every repeated On Reveal is a highlight. Doubled Dr. Doom. Doubled Aero. Doubled Magneto. Even doubled Leader (which is particularly nasty.) The biggest strength of Odin is that once your opponent sees you play a huge game twister, their mind typically shifts to “that already happened, so I need to play around the after math of the card being played.” Most players would consider the effect outside of your future plays just because it’s on the board.
So those are the cards. How do you play them? Let’s cover that now in…
THE STRATEGY
At first glance, the deck appears simple to play: T1/2 – Sunspot, T3 Ramp, T4/5/6 Win Conditions. If it were that simple, I wouldn’t have to write this stuff out. Because you’re sacrificing your first 3 turns to increase the power of your last 3, the decisions you make are a lot more impactful. Keep the following in mind:
- Counter is Key – Your strongest tools are the ones that keep your opponent’s plan from being completed. This is mostly talking about Leech, Leader, Aero, and Magneto: you need to understand what your opponent wants to do to play them optimally. With Aero and Magneto, you should anticipate where your opponent is going to play next and punish them for it by either locking them out of a location through capacity or dragging power away from a location. This intuition can be learned by studying the meta, but the primary source of it is experience. When you see the signs for a certain set up, be ready to ruin it. The same goes for Leech. If your opponent is telegraphing a large late game combo, smack them with an ability wipe. Out of all of the counteractions, Leader is the one that requires the least pre-emptive thought, but you should still aim to place him where he either isn’t in the way of their plays or puts you over the edge in terms of power.
- Spread Em’ Thin – All of your cards’ numbers are important. If locations won’t punish you for it, place your smaller bodies that you aren’t planning to combo with across all the locations; this will usually force your opponent to act likewise and make them vulnerable to your more power heavy plays later on.
- Snap Aggressively (Especially w/ Combos) – This deck has combos, believe it or not. Some are more impactful than others, but I’ll be listing all of them below. The important thing to recognize is as such; if your hand lets you do a combo that hurts your opponent’s archetype, snap. Do take this tip with a grain of salt though, if your mental is weak to losing 8 cubes, don’t follow this one. It’s just that snapping aggressively works wonders with this deck as long as you can gauge your opponent’s play potential.
BIG COMBOS
If it looks like they’ll be effective against your opponent’s deck, snap on sight!
- Odin Sandwich – As the name suggests, this combo is essentially stacking a couple of huge on reveals in a lane, then Odin-ing directly on top of it on the last turn. For the best results, have either Aero, Leader, or Doctor Doom in the pile to contest whatever your opponent does in the other lanes. This combo is pretty adaptable to different scenarios, but my personal favorite sandwich is the Aero + Doctor Doom stack: Aero nullifies their turn 6 influence on any other lane and Doctor Doom brings in reinforcements to claim said locations. Fun & interactive :]
- Baero Deluxe – You may be familiar with the Wave + Death/She-Hulk combo by now, but what if you could play ANY card alongside that other 4 cost instead of some stat stick? Enter probably the most unexpectedly effective combo in this whole deck: Literally just all of the ramp. If locations allow you to nullify Electro, you can play Psylocke + Wave on the semifinal turn to set all cards to 4 cost and give you 8 energy on turn 6, effectively giving you the Baero high but with even more flexibility. This one won’t come up too often, but when the opportunity arises, be sure to snatch it, because it’ll typically net you 4/8 cubes. For best results, use with either Aero or Leader, as usual.
COMMON COMBOS
These ones aren’t nearly as universally applicable as the other two, but they’re still more powerful than a non-synergistic play.
- Angry Green Men – Unless you’re reading this in a future meta where this became obsolete (lucky), you’re probably all too familiar with the Leech Leader combo. Turn their hand into garbage with Leech, then follow up with Leader in case any of that garbage is kinda big. It’s not in the stronger combo section because the meta appears to evolve against this combo, so use with caution!
- SHIELD Sponsored Dinosaur – Nick Fury into Devil Dinosaur is a lot more formidable than most players would likely give it credit for. This will usually be the best line of play when playing off of a Psylocke play pattern. Also make sure you try to keep Nick and Devil Dino in different lanes to contest multiple locations!
- Wishy Washy – This one can technically fit into the Odin Sandwich, but you’d want to do this before the last turn, so it’s a different category. Bite me. Anyhow, if your opponent is looking to play multiple cards on their last turn (i.e. Sera decks), you can completely stifle that plan by playing Odin on your Wave lane. Obviously, this one’s pretty niche; not only will you need to have Wave as your ramp for that game, but you’d also need some form of external ramp through locations because Wave’s play pattern directly counteracts this technique (6-5-6) AND you’d have to see through your opponent’s deck, which can be pretty difficult to do. Regardless, something to stash into your brain for the scenario where it steals you a game.
That’s about all of the stuff I can talk about for how to play your cards, but obviously that’s only 1/3 of the game. There’s also your opponent’s plays and locations, which I’ll fully summarize in…
THE EXTERNAL INFLUENCES
To play the perfect match, you’ll not only need to know what you’re deck wants to do, but you’ll also need to know what your opponent wants to do and how the locations affect both of those plans. Because it’s a more consistent thing to look out for, I’ll start with…
DECK COUNTERS
Ramp is pretty difficult to stop once it gets going, but it isn’t immune to tech. Also, there’s certain cards that can completely shut down certain lines of play. Let’s go over them.
- Cosmo – As is the nature of all decks that rely on On Reveal effects, Cosmo is your nemesis. She’s not really a problem when pestering your late game combos (you can just Magneto the dog out of the way.) The real threat is completely shutting down your turn 3 ramp. If you get sniped by the dog, your chances of winning plummet. Avoid this and retreat when it happens (unless you have a hopeful Sunspot on board.)
- Goose – Ramp’s second least favorite household pet to play against. When Goose comes down, your only power in that lane is going to be your ramp, your Sunspot, and your Doombots. Not impossible to play around, but can get very irritating very fast when combined with a bad location or another counter.
- Iceman – If you don’t have another ramp option and he snipes your Electro/Wave, you’re probably going to lose. Nothing more to do about it because he’s impossible to play around. Notably, doesn’t work against Psylocke due to her smaller cost, so he’s not always going to be able to ruin your ramp.
- Shang Chi – Once again, not quite a card you can counter; just one you have to anticipate. If you suspect your opponent is going to erase one of your powerhouses, the best way to counteract him is to play Doctor Doom to help fill in whatever gaps are left. Nonetheless, he shouldn’t be too much of a threat because your plays should be relatively spaced out, making it hard for Shang-Chi to cover all of your claims.
- Rogue/Enchantress – Same deal as Shang-Chi, but specifically against just Devil Dinosaur. Can be mitigated by having a good spread, but Rogue can be particularly devastating.
- Killmonger – Funny 1 drop tech makes Sunspot sad. That’s about it.
That’s all there is to talk about in the counter department. You might’ve noticed that the deck doesn’t actually have very many direct counters; it’s primary enemy is not drawing the counter to the opponent’s game plan in time. Regardless, that means the only thing left to discuss is the..
LOCATIONS
No deck is strong enough to completely ignore the influence of locations. I’m not going to go over every single one here, but I’ll list the ones that are particularly good and the ones that reek. Because of how long I’ve already dragged this one out, I’ll summarize each of their effects in 1-2 sentences tops.
GOOD LOCATIONS
- Crimson Cosmos – Doesn’t gatekeep anything but your ramp.
- Dark Dimension – Very sneaky; helps hide an Odin Burger very well.
- Death’s Domain (and Danger Room*) – All locations that can get rid of Electro’s downside are good. Danger Room is sort of an addendum because it can be good, but because Danger Room sucks it usually won’t from my experience.
- Elysium – More ramp = more wincons
- Fisk Tower – Aero and Magneto’s favorite place to hang out and make people mad
- Gamma Lab – Recycle Electro into a Hulk!
- Grand Central – Can be bad sometimes, but because of the sheer quantity of big drops, is usually a lot better for you than your opponent.
- Hala – Can get rid of Electro or be used to ruin your opponent’s turn 4 play with Aero.
- Isle of Silence – Shut up Electro.
- Kamar-Taj – Double Doom, but more importantly Double Sandwich! (Success not guaranteed)
- Klyntar – Feed Electro to the Symbiotes.
- Kyln – Closes just in time for you to sneak in something big (usually a Dino). Also can be easily manipulated with Magneto and Doctor Doom.
- Lamentis-1 – The birthplace of Leechder. Obviously, they’ll shine here.
- Limbo – More cards baybee!
- Luke’s Bar – Electro is banned from all alcoholic establishments.
- Murderworld – Electro hates me. I don’t care.
- Oscorp Tower – If you hate me so much, Electro, go help(hurt) the opponent instead! (Snap if you see this location with Electro in hand.)
- Project Pegasus – More big cards = more power.
- Sakaar – Like Grand Central, can be bad, but usually good because of your big drops. Helps set up Odin Burgers.
- The Nexus – Great spot to set up your fat guys and almost guaranteed place to bait and switch cards with Aero or Magneto.
- The Superflow – RAMP GOOD.
- Titan – RAMP GOOOOOOD
- Warrior Falls – Throw Electro off a waterfall for good measure. On another note, a great spot for Aero and Magneto.
BAD LOCATIONS
- Central Park – Clogs up your board with rather useless Squirrels.
- Dream Dimension – Everyone hates Dream Dimension. This deck REALLY hates Dream Dimension.
- Knowhere – It’s like Cosmo, except your opponent didn’t have to pay 3 energy for it. Can’t kill your ramp though. Place Dinosaurs here.
- Lemuria – I cannot stress how much I hate this location whenever it pops up as the third location. Your ramp doesn’t work unless it’s revealed turn 3, and guess what bozo? Lemuria.
- Mindscape – Oh no all my good cards :[
- Mojoworld – Not impossible to win, but does require your fodder power to be dedicated there in order to have a decent shot. On another note, if Nick Fury generates Ultron, you can swap this to the good section.
- Muir Island – A location that rewards players for placing your early fodder there, which you’d rather spread about.
- Savage Land – Raptors are the same size as squirrels and just as useless for you.
- The Big House – Locational Goose :[
- The Ice Box – Please stop hitting my ramp every single time.
- The Raft – You won’t be getting this unless you randomly get Ultron. On the other hand, you can render it useless for your opponent as well by playing Leech turn 5.
- TVA – You do kind of just lose here. Unless you draw perfectly, your chances are very low to win here.
- Weirdworld – My good cards! ?
CONCLUSION
So… yeah. That was a lot! If you made it to this point, congratulations, you’re now a little too familiar with the ramp archetype, just like me! I hope that the read was somewhat enjoyable because dang this took a lot more time than I thought it would. Best of luck out there on the ladder, and I’ll see you next time!
Got a cool deck you want to share with us and have it featured on Marvel Snap Zone? Share your decks using our deck builder and discuss them in our community Discord server! You can also start tracking your detailed performance using our new Marvel Snap Tracker so be sure to download that and check it out!


 Sporium